The crisp autumn air brings a familiar craving for cozy, comforting flavors, and nothing captures the essence of the season quite like
baked pumpkin donut holes. When you bite into one of these tender bite-sized treats, you instantly experience the warm embrace of rich spices and sweet cinnamon sugar.
Baking these delights at home allows you to enjoy the nostalgic charm of a local bakery right from your own kitchen, without the mess, hassle, or added heavy oils of deep frying. Perfect for brisk morning coffee pairings, afternoon snacks, or autumn gatherings, these soft oven baked treats bring warmth to any occasion. If you want a wholesome, delicious, and incredibly simple treat that the entire family will adore, learning how to make easy
baked pumpkin donut holes is the ultimate cozy fall baking project.
What Is This Baked Pumpkin Donut Holes Recipe?
This delicious
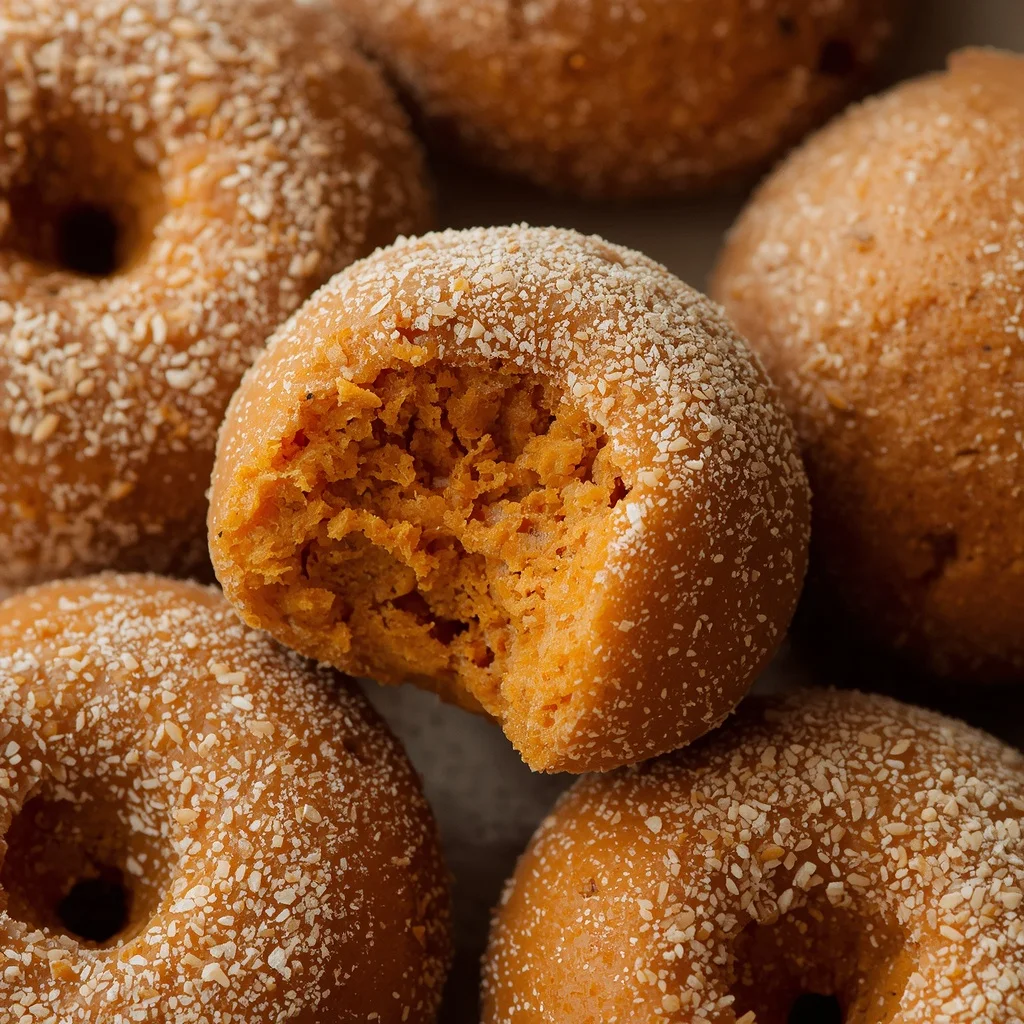
baked pumpkin donut holes recipe is a modern, oven-baked take on the traditional fried sweet shop classic. Instead of dropping rounds of dough into hot oil, this recipe uses a quick, cake-style batter that rises beautifully in a mini muffin pan. The result is a light, cakey morsel with a delicate crumb infused with real pumpkin purée and aromatic autumnal spices.
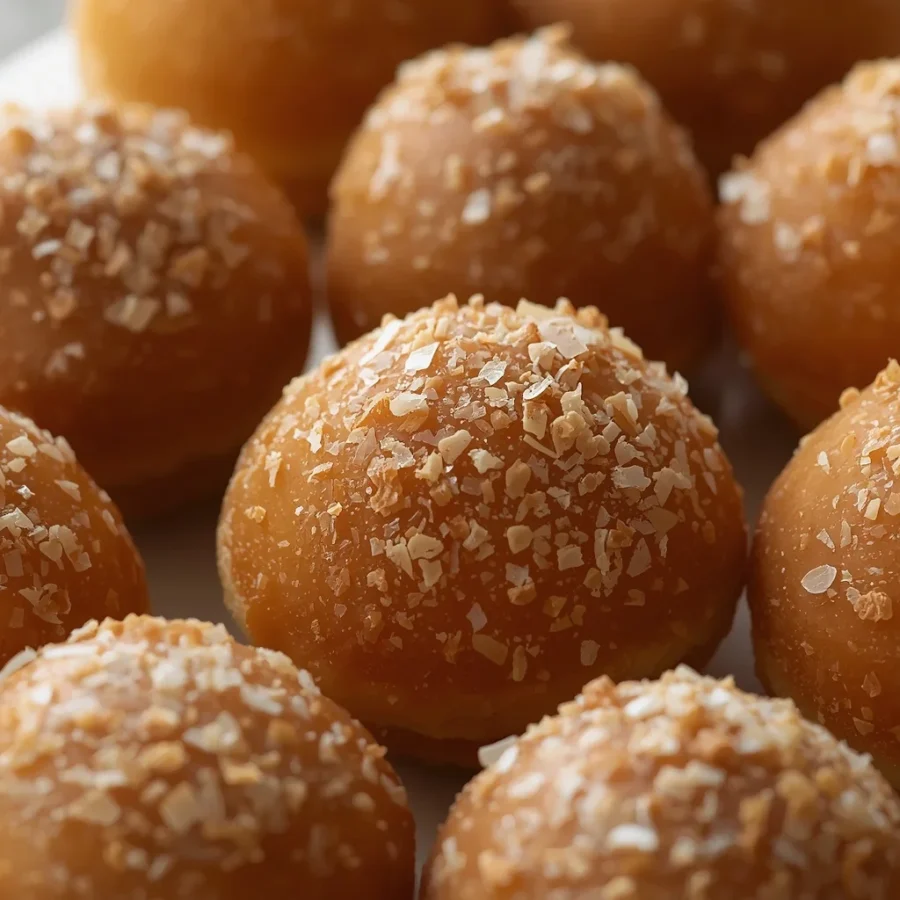
Once baked, each warm piece gets brushed with melted butter and rolled in a generous coating of cinnamon and granulated sugar. The outer layer creates a delightful, soft crunch that contrasts perfectly with the cloud-like interior. Because they are baked rather than fried, these little snacks offer a lighter alternative while preserving all the rich, comforting flavors you expect from a classic fall pastry.
The Origin of Pumpkin Treats and Donut Holes
To appreciate these sweet morsels, it helps to understand how two beloved culinary traditions came together. Donut holes themselves have a fascinating history tied to traditional ring donuts. Legend holds that mid-nineteenth-century sailors or bakers began punching out the centers of dough rings to ensure the pastries cooked evenly through to the middle. Eventually, bakers realized those discarded dough centers could be fried and sold as bite-sized treats of their own, giving birth to the beloved donut hole.
Meanwhile, pumpkin has been a staple of North American agriculture for thousands of years. Indigenous peoples cultivated squash and pumpkin long before European settlers arrived. As baking techniques evolved, cooks began blending mashed pumpkin into yeast breads, quick breads, and cakes for natural sweetness and extra moisture. In recent decades, the explosion of seasonal spice culture elevated pumpkin to stardom. Combining pumpkin spice with easy home baking techniques led directly to recipes like these simple baked pumpkin donut holes, blending traditional American bakery culture with modern home kitchen convenience.
Essential Ingredients and Exact Quantities: baked pumpkin donut holes
Creating these delightful pastries requires simple kitchen staples. Because precision ensures the softest texture, using the right measurements will guarantee incredible results every single time.
For the Soft Donut Hole Batter
-
All-purpose flour: one cup (one hundred twenty-five grams)
-
Real pumpkin purée: one-half cup (one hundred twenty grams)
-
Granulated white sugar: one-fourth cup (fifty grams)
-
Whole or reduced-fat milk: one-fourth cup (sixty milliliters)
-
Unsalted butter (melted): two tablespoons (twenty-eight grams)
-
Large egg (at room temperature): one large egg
-
Baking powder: one teaspoon
-
Ground cinnamon: one-half teaspoon
-
Ground nutmeg: one-fourth teaspoon
-
Fine salt: one-fourth teaspoon
-
Pure vanilla extract: one teaspoon
For the Sweet Cinnamon-Sugar Coating
-
Granulated white sugar: one-fourth cup (fifty grams)
-
Ground cinnamon: one teaspoon
-
Unsalted butter (melted): three tablespoons (forty-two grams)
Step-by-Step Directions and Preparation Method: baked pumpkin donut holes
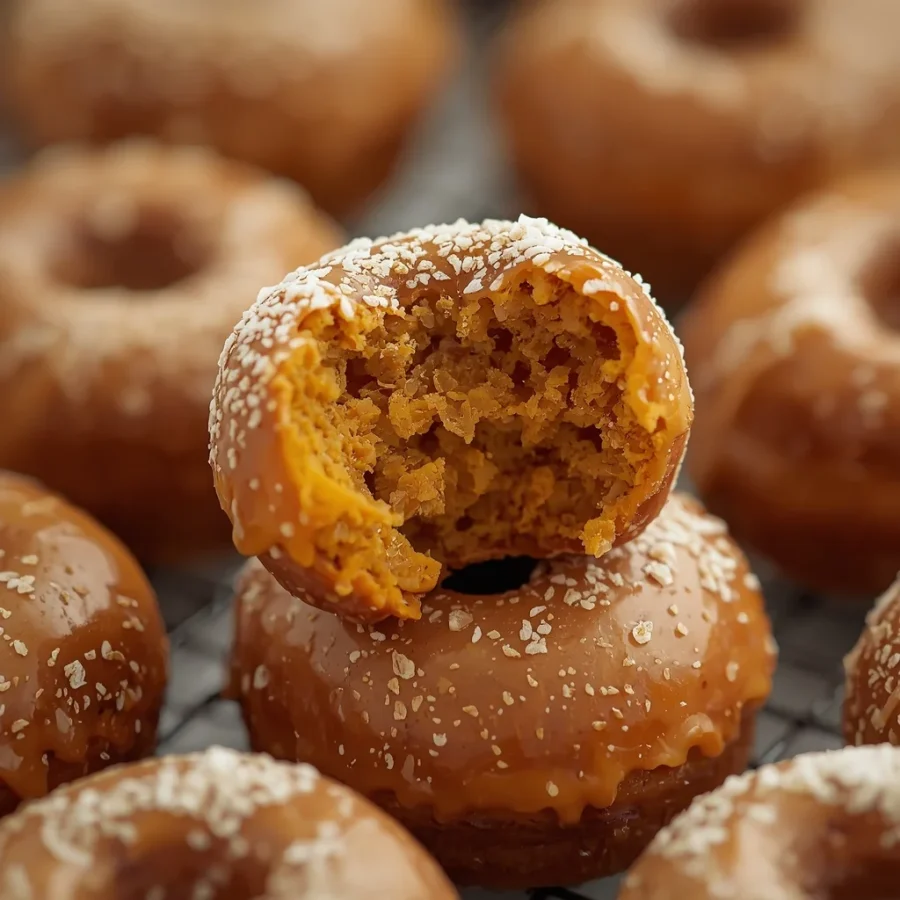
Preparing these homemade baked pumpkin donut holes is straightforward and requires no complex equipment. Follow these steps to bake a batch in under twenty minutes.
Step One: Oven and Pan Preparation
Begin by preheating your kitchen oven to three hundred fifty degrees Fahrenheit. While the oven heats up, prepare a twenty-four-count mini muffin pan. Generously grease each cavity using softened butter, melted shortening, or non-stick cooking spray. Proper greasing ensures that your baked treats release effortlessly after baking without losing their shape.
Step Two: Mixing the Wet Base
In a large mixing bowl, whisk together the pumpkin purée, granulated sugar, room temperature egg, milk, melted butter, and vanilla extract. Whisk vigorously for about one minute until the wet mixture appears completely smooth, glossy, and fully combined.
Step Three: Incorporating the Dry Ingredients
Add the all-purpose flour, baking powder, ground cinnamon, ground nutmeg, and salt directly into the bowl with the wet ingredients. Using a rubber spatula or wooden spoon, gently fold the dry ingredients into the wet mixture. Stir just until the flour disappears into the batter. It is crucial not to overmix the batter at this stage, as overworking the gluten will result in tough, dense pastries rather than soft, cakey ones.
Step Four: Filling the Mini Muffin Pan
Spoon the smooth batter into the prepared mini muffin cavities. Fill each cavity approximately three-quarters full to give the batter room to rise into rounded tops. You can use two small spoons or a tiny cookie scoop to make this process quick and clean.
Step Five: Baking to Perfection
Place the pan on the center rack of your preheated oven. Bake for ten to twelve minutes. You will know they are finished when the tops spring back gently when pressed, or when a wooden toothpick inserted into the center of a donut hole comes out clean without wet batter attached.
Step Six: Mixing the Cinnamon Sugar
While the pastry rounds are baking, prepare your coating. In a small, shallow bowl, combine the one-fourth cup of granulated sugar with one teaspoon of ground cinnamon. Stir with a small fork until the spice is evenly distributed throughout the sugar crystals. Place your three tablespoons of melted butter in a separate small bowl nearby.
Step Seven: Coating the Warm Treats
Allow the fresh baked rounds to cool in the pan for three to five minutes so they set properly. Transfer them gently to a wire cooling rack. While still warm, brush each piece thoroughly with melted butter using a pastry brush. Immediately drop the buttered piece into the cinnamon-sugar mixture, rolling it around until every side is fully coated in sweet spice.
Step Eight: Serving and Enjoying
Serve your freshly coated treats immediately while warm. The contrast of warm spice, melted butter, and soft sweet interior makes them irresistible straight out of the oven.
Delicious Recipe Variations to Try: baked pumpkin donut holes
While the classic cinnamon-sugar coating is divine, you can easily customize these baked pumpkin donut holes to fit your personal taste preferences or special occasions.
Maple Vanilla Glaze Variation
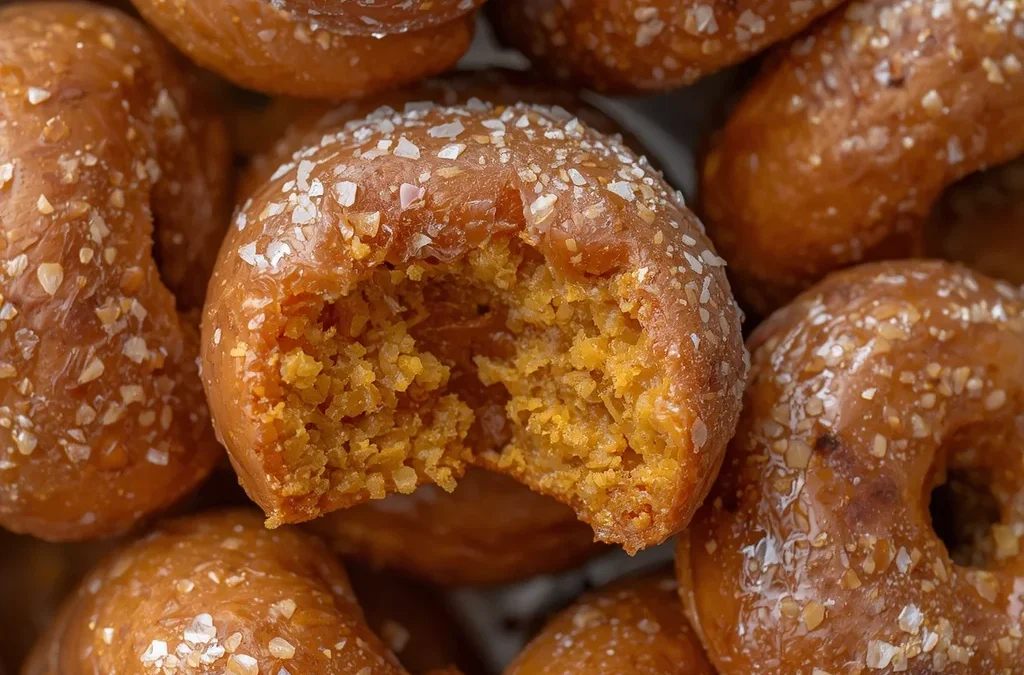
If you prefer a smooth, rich glaze over a sugar coating, skip the cinnamon-sugar process. Instead, whisk together one cup of powdered confectioners’ sugar, two tablespoons of pure maple syrup, one tablespoon of milk, and a splash of vanilla extract until smooth. Dip each cooled baked hole into the glaze and set them on a wire rack to firm up.
Rich Chocolate Chip Pumpkin Twist
Pumpkin and chocolate are an amazing pairing. Gently fold one-third cup of mini semi-sweet chocolate chips into the batter right at the end of mixing. The melting chocolate pockets inside the warm pumpkin cake create an indulgent snack.
Spiced Pecan Crunch Coating
For an added textural contrast, finely chop one-fourth cup of toasted pecans or walnuts. Mix the finely minced nuts directly into your cinnamon-sugar coating mix. When you roll the buttered donut holes, the crunchy nuts adhere to the surface, offering a nutty crunch with every bite.
Extra Autumn Spice Blend
If you adore bold spice profiles, replace the plain cinnamon and nutmeg in the dry mix with an equal amount of traditional pumpkin pie spice blend. This adds subtle notes of ground ginger, allspice, and cloves for a deeper fall flavor profile.
Essential Baking Tips for Complete Success
-
Choose the Right Pumpkin: Always purchase pure canned pumpkin purée rather than canned pumpkin pie mix. Pumpkin pie mix contains pre-added sugars, water, and spices that will alter the liquid ratio and ruin the batter structure.
-
Measure Flour Correctly: Avoid scooping flour directly from the bag with your measuring cup, as this packs the flour down and adds too much dry ingredient. Instead, fluff your flour with a spoon, scoop it loosely into your cup, and level it off with a flat butter knife.
-
Do Not Overbake: Because these treats are small, leaving them in the oven for even two extra minutes can dry them out. Keep a close eye on your timer and check them right at the ten-minute mark.
-
Coat While Warm: Make sure to coat the pastries while they are still warm to the touch. The warmth helps the melted butter seep slightly into the outer crust, allowing the sugar crystals to adhere strongly.
Frequently Asked Questions: baked pumpkin donut holes
Can I make baked pumpkin donut holes without a mini muffin pan?
Yes, you can still enjoy this recipe if you do not own a specialized mini muffin pan. You can use a standard twelve-cup muffin pan instead. Fill eight of the standard cavities about halfway with batter. Keep in mind that larger muffins will require a longer baking time, typically between fifteen to eighteen minutes. Once baked and slightly cooled, brush the tops with melted butter and sprinkle heavily with cinnamon sugar.
How should I store leftover donut holes to keep them fresh?
To keep your baked goods tender, store them in an airtight container at room temperature. They will remain fresh and delicious for up to two days. Avoid storing them while still hot, as trapped steam will make the cinnamon-sugar coating soggy. If the sugar dissolves into the surface on the second day, simply toss them in a fresh tablespoon of cinnamon sugar before serving.
Can I freeze these pumpkin donut holes for later?
Absolutely. You can freeze these treats easily. For the best texture, freeze the donut holes after baking but before adding the butter and cinnamon-sugar coating. Place the plain baked rounds on a baking sheet in a single layer and freeze until solid. Transfer them to a zippered freezer bag for up to two months. When ready to eat, thaw at room temperature, warm in the oven for three minutes, and then apply the melted butter and cinnamon sugar.
Why did my donut holes turn out dense instead of fluffy?
Dense baked goods usually result from two common mistakes: overmixing the batter or adding too much flour. When mixing dry and wet ingredients together, stir only until the flour pockets disappear. Overmixing develops gluten, which creates a tough texture. Additionally, measuring flour by weight using a digital scale guarantees the precise moisture balance needed for a light crumb.
Can I substitute the all-purpose flour with a gluten-free option?
Yes, you can substitute the all-purpose flour with a high-quality one-to-one gluten-free baking flour blend that contains xanthan gum. The texture will remain very close to the original version, allowing anyone with gluten sensitivities to enjoy these wonderful autumn treats.
Conclusion: baked pumpkin donut holes
Baking your own autumn treats at home does not have to be complicated or time-consuming. This quick recipe for
baked pumpkin donut holes offers everything you love about fall baking in one simple, accessible package. With basic pantry ingredients, a single mini muffin pan, and less than thirty minutes of your time, you can create soft, spice-infused, cinnamon-coated pastry bites that easily rival any traditional bakery product. By choosing to bake instead of fry, you achieve a lighter snack that highlights genuine pumpkin flavor and warming spices in every single bite. Gather your ingredients, preheat your oven, and enjoy making these delicious seasonal treats for your family and friends today.