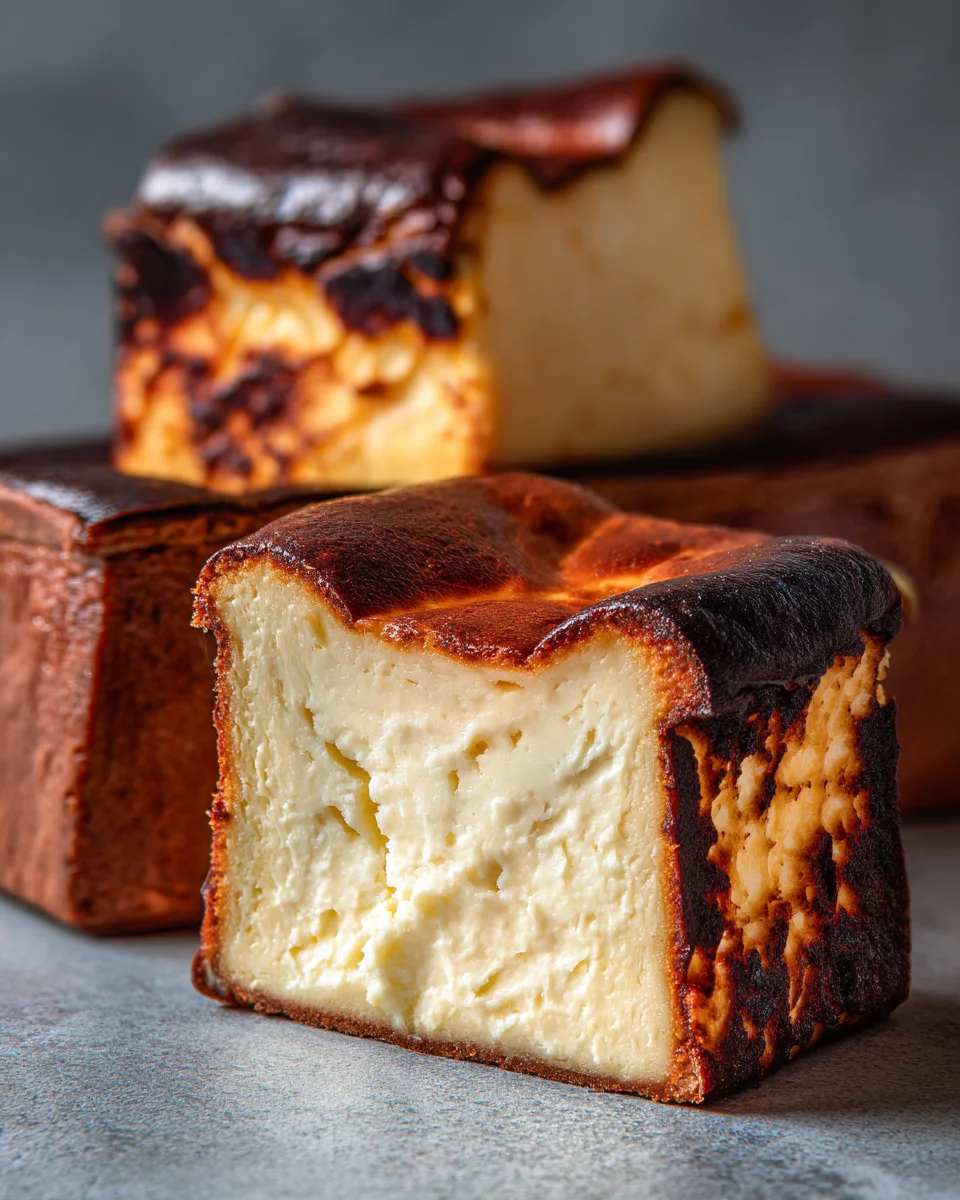
If you have spent any time looking at dessert trends over the last few years, you have undoubtedly seen the striking, dark-topped masterpiece known as the Basque cheesecake. Traditionally baked in a large round springform pan, this “intentionally burnt” dessert is famous for its cracked, caramelized exterior and its impossibly creamy, custard-like center. However, not everyone wants to bake a massive cake that serves twelve people. That is where the basque burnt cheesecake loaf pan recipe comes in. It is the perfect solution for smaller households or anyone who wants the elegance of a professional dessert without the excess.
In this guide, we are going to walk through the process of adapting this legendary Spanish treat for a standard loaf tin. We will explore the science behind that iconic charred top and show you how to achieve the perfect “jiggle” in the middle. This version is just as decadent as the original but much easier to slice and serve for a cozy dinner or a weekend treat.
What is the Basque Burnt Cheesecake Loaf Pan Recipe?
The basque burnt cheesecake loaf pan recipe is a simplified, smaller-scale version of the classic Tarta de Queso. Unlike the New York-style cheesecake, which requires a gentle water bath and a pale, crack-free surface, the Basque version thrives on high heat. By using a loaf pan, we create a deeper, more rectangular cake that offers a beautiful ratio of caramelized “burnt” edges to silky interior.
The recipe is unique because it contains no crust. There are no graham crackers or digestive biscuits involved; the structure comes entirely from the high-fat content of the cream cheese and eggs, along with a tiny amount of flour to help it set. It is a high-temperature bake that results in a complex flavor profile—tasting of toasted marshmallows, salted caramel, and rich vanilla all at once.
The Origin of the Burnt Cheesecake
This dessert was born in the heart of San Sebastian, Spain, at a famous bar called La Viña. Created by chef Santiago Rivera in the nineteen nineties, the recipe was a departure from every existing rule of pastry. Instead of trying to prevent the cake from browning, he pushed it to the limit, allowing the top to scorch.
The result was a sensation. Locals and tourists alike flocked to the Basque country to try the cake that looked “ruined” but tasted like heaven. In recent years, it has become a global phenomenon. The adaptation into a loaf pan is a modern evolution, allowing home bakers to recreate that restaurant magic using the most common pan in their kitchen.
Ingredients with Quantities for Basque burnt cheesecake loaf pan
Because this recipe uses a loaf pan rather than a large round mold, the quantities are specifically balanced to ensure the cake reaches the top of the tin for maximum browning.
-
Four hundred and thirty grams of full-fat cream cheese: It is vital that this is at room temperature to avoid lumps.
-
One hundred and twenty grams of granulated sugar: This provides sweetness and helps with the caramelization of the top.
-
Three large eggs: These should also be at room temperature to ensure a smooth emulsion.
-
Two hundred and ten milliliters of heavy cream: Also known as double cream, this provides the signature richness.
-
Fifteen grams of all-purpose flour: Just enough to give the cheesecake a bit of stability.
-
One teaspoon of vanilla extract: To enhance the creamy flavor.
-
One quarter teaspoon of salt: To balance the sweetness and bring out the tang of the cheese.
Step by Step Direction and Preparation Method: Basque burnt cheesecake loaf pan
To get the best results with your basque burnt cheesecake loaf pan, you must follow the mixing order carefully. Air is the enemy of a dense, creamy cheesecake, so we want to mix thoroughly but gently.
Preparing the Loaf Pan
Preheat your oven to two hundred and ten degrees Celsius. While the oven heats, prepare your loaf pan. Unlike other cakes, you do not want a neat lining. Take two large sheets of parchment paper and crumble them up into a ball, then flatten them out. This makes the paper more pliable. Line the pan with both sheets, overlapping them so the paper sticks up at least two inches above the rim of the pan. This “collar” of paper is necessary because the cheesecake will rise like a souffle during baking before settling back down.
Mixing the Cream Cheese and Sugar
In a large bowl, beat the room-temperature cream cheese and sugar together. You can use a hand mixer or a stand mixer, but keep it on a medium-low speed. You want the sugar to fully dissolve and the cheese to be completely smooth. Scrape down the sides of the bowl frequently to ensure no lumps remain.
Incorporating the Eggs and Cream
Add the eggs one at a time, mixing fully after each addition. Once the eggs are incorporated, pour in the heavy cream, vanilla extract, and salt. At this stage, the batter will look very thin, almost like a heavy soup. This is perfectly normal.
Sifting the Flour
Sift the flour over the batter. Use a whisk or a spatula to fold it in gently until you see no white streaks. For the smoothest possible texture, some bakers prefer to pour the finished batter through a fine-mesh sieve into the loaf pan to catch any tiny bits of unmixed flour or cheese.
The High-Heat Bake
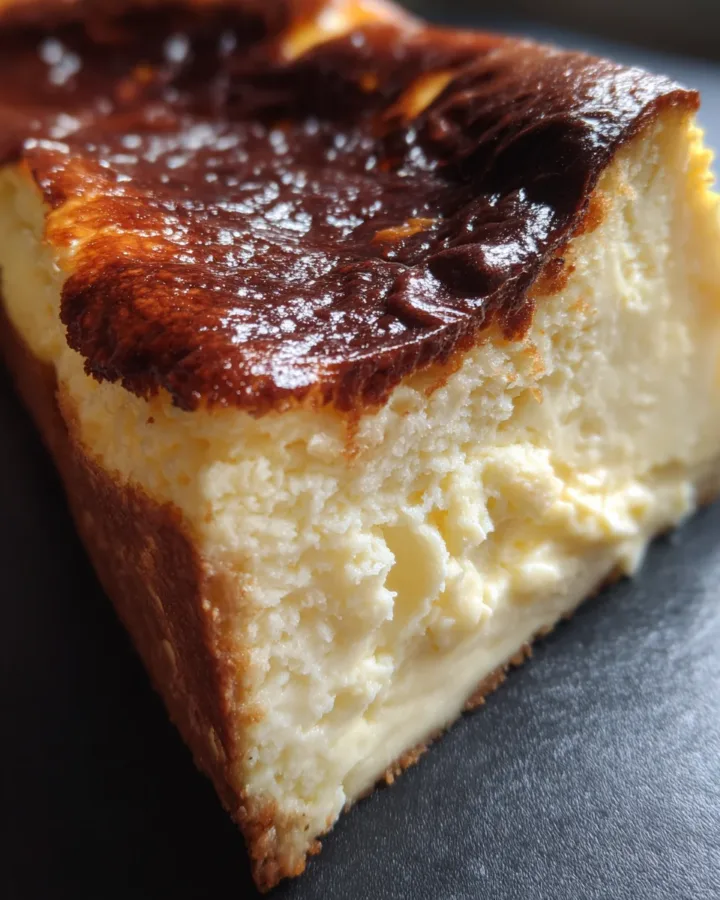
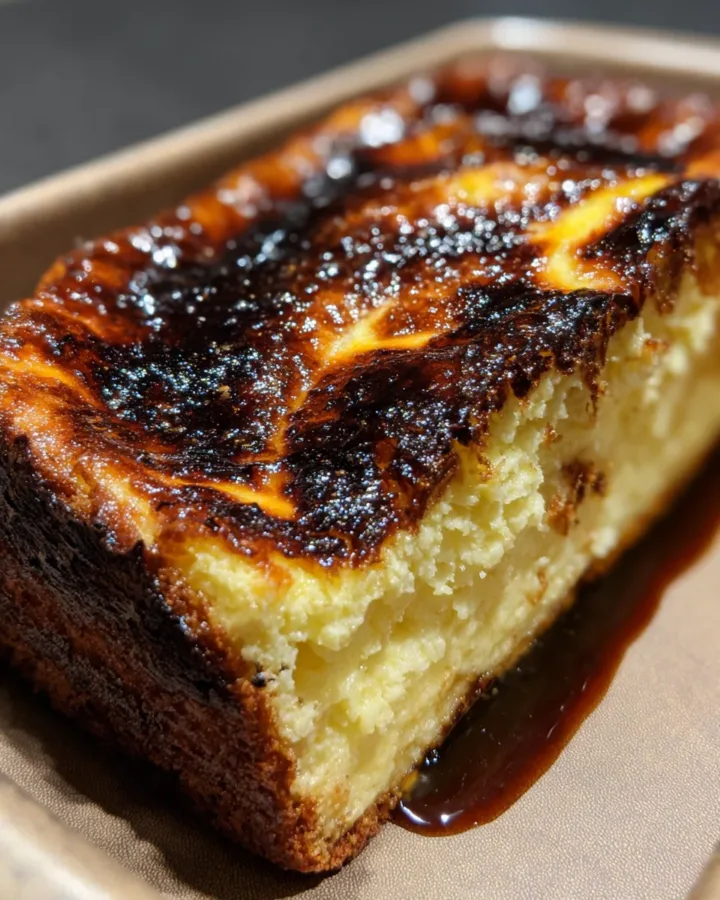
Pour the batter into the prepared loaf pan. Place it in the center of the oven and bake for twenty-five to thirty minutes. You are looking for two things: a deep, dark brown (almost black) top and a significant jiggle in the center. If you shake the pan gently, the middle should move like Jell-O, while the edges feel set.
The Cooling and Setting Process
This is the hardest part: you cannot eat it yet. Let the cheesecake cool completely in the pan at room temperature. As it cools, it will collapse and the center will firm up. Once it is at room temperature, transfer it to the refrigerator for at least six hours, though overnight is best. This chilling period is what develops the flavor and creates the fudgy texture.
Variations of the Basque burnt cheesecake loaf pan
While the classic vanilla version is hard to beat, you can easily customize this basque burnt cheesecake loaf pan recipe to suit your preferences.
Matcha Basque Cheesecake
Sift one tablespoon of high-quality matcha powder along with the flour. The earthy bitterness of the green tea cuts through the richness of the cream cheese beautifully, and the bright green interior looks stunning against the dark burnt top.
Chocolate Burnt Cheesecake
Melt fifty grams of dark chocolate and stir it into the cream before adding it to the batter. This creates a deeply decadent, truffle-like cheesecake that feels incredibly luxurious.
Citrus and Honey
Add the zest of one lemon and a tablespoon of honey to the batter. This highlights the natural tang of the cream cheese and gives the dessert a bright, Mediterranean feel.
Frequently Asked Questions: Basque burnt cheesecake loaf pan
Why did my cheesecake sink in the middle?
Sinking is actually a requirement for this recipe! Because we do not use a water bath and because there is a lot of air incorporated during the rise, the cake will naturally dip in the center as it cools. This creates the perfect dense, creamy texture.
Is the top actually burnt?
While it is called “burnt,” it is actually deeply caramelized. The sugar and proteins in the cream and cheese undergo the Maillard reaction, creating a bitter-sweet crust that tastes like caramel, not charcoal.
Can I use low-fat cream cheese?
It is strongly recommended that you use full-fat cream cheese. The fat content is what provides the structural integrity and the creamy mouthfeel. Low-fat versions have more water and stabilizers, which can cause the cheesecake to become grainy or fail to set.
How do I store the leftovers?
Keep the cheesecake in an airtight container in the refrigerator for up to five days. It actually tastes better on the second and third days as the flavors continue to develop.
Should I serve it cold or at room temperature?
For a firm, fudgy texture, serve it straight from the fridge. If you prefer a softer, more custard-like experience, let your slice sit at room temperature for twenty minutes before eating.
Conclusion: Basque burnt cheesecake loaf pan
The basque burnt cheesecake loaf pan recipe is a triumph of simplicity over technique. It proves that you do not need complicated equipment or perfect aesthetics to create a world-class dessert. By embracing the high heat of the oven and the natural rustic charm of parchment paper, you can produce a cake that is visually stunning and incredibly delicious. The contrast between the smoky, caramelized exterior and the rich, velvet-like center is something every dessert lover should experience. Whether you are a beginner baker or a seasoned pro, this loaf pan version is a reliable and impressive way to bring a taste of San Sebastian into your own home. Grab your cream cheese and turn up the heat—your new favorite dessert is only thirty minutes away.
Print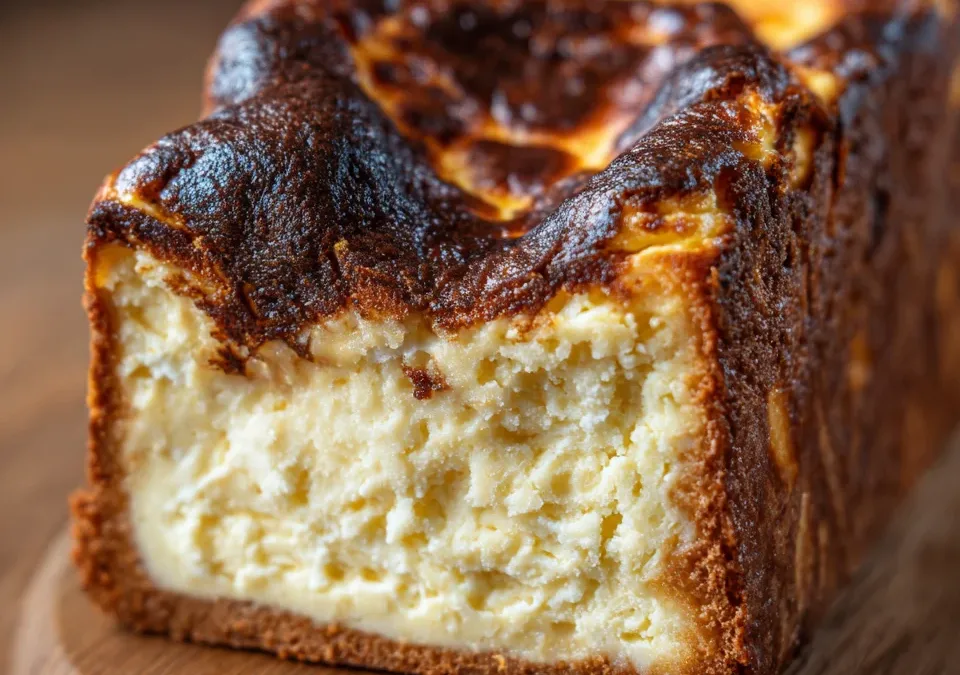
The Ultimate Basque Burnt Cheesecake Loaf Pan Recipe
- Total Time: 1 hour (plus chilling time)
- Yield: 6–8 slices 1x
- Diet: Vegetarian
Description
The basque burnt cheesecake loaf pan recipe is a simplified, smaller-scale version of the classic Tarta de Queso. Unlike the New York-style cheesecake, which requires a gentle water bath and a pale, crack-free surface, the Basque version thrives on high heat. By using a loaf pan, we create a deeper, more rectangular cake that offers a beautiful ratio of caramelized “burnt” edges to silky interior.
Ingredients
- 300g cream cheese (softened)
- ½ cup sugar
- 2 large eggs
- ¾ cup heavy cream
- 1 tsp vanilla extract
- 2 tbsp all-purpose flour (optional, for slight structure)
- Pinch of salt
Instructions
- Prepare the pan
Line a loaf pan with parchment paper, letting it overhang for easy removal. - Mix cream cheese base
Beat cream cheese and sugar until smooth and creamy (no lumps). - Add eggs
Add eggs one at a time, mixing well after each. - Add cream & flavor
Pour in heavy cream, vanilla, and salt. Mix until smooth. - Optional flour step
Add flour and mix lightly (helps slightly firm texture). - Bake
Pour batter into loaf pan. Bake at 220°C (425°F) for 30–40 minutes until top is deeply golden and burnt-looking. - Cool
Let it cool completely, then refrigerate for 4–6 hours before slicing.
Notes
This Basque burnt cheesecake is known for its rich, creamy center and deeply caramelized top, creating a perfect balance of sweetness and slight bitterness. Simple to make yet elegant in taste, it’s a dessert that tastes even better after chilling and is perfect for special occasions or indulgent cravings.
- Prep Time: 15 minutes
- Cook Time: 35–40 minutes
- Category: Dessert
- Method: Baked
- Cuisine: Spanish (Basque)
Nutrition
- Serving Size: 1 slice
- Calories: ~320 kcal
Keywords: San Sebastian loaf cheesecake, small batch burnt cheesecake, loaf tin Basque cake, crustless cheesecake loaf