When it comes to childhood favorites that never go out of style, the classic puffed rice square is at the top of the list. However, if you really want to take things to the next level of indulgence, you have to try making chocolate krispie treats. There is something incredibly satisfying about the combination of airy, toasted cereal, gooey marshmallows, and the rich, velvety depth of real chocolate. It is a no-bake wonder that works for school lunches, office parties, or late-night cravings.
In this deep dive, we are going to explore why this specific variation has captured the hearts of dessert lovers everywhere. We will talk about the science of the perfect marshmallow melt, the history of this crunchy snack, and the specific steps you need to take to ensure your batch stays soft and chewy for days. Forget the dry, brick-like versions you might find in a vending machine; we are talking about gourmet, homemade goodness that feels like a warm hug for your taste buds.
What are Chocolate Krispie Treats?
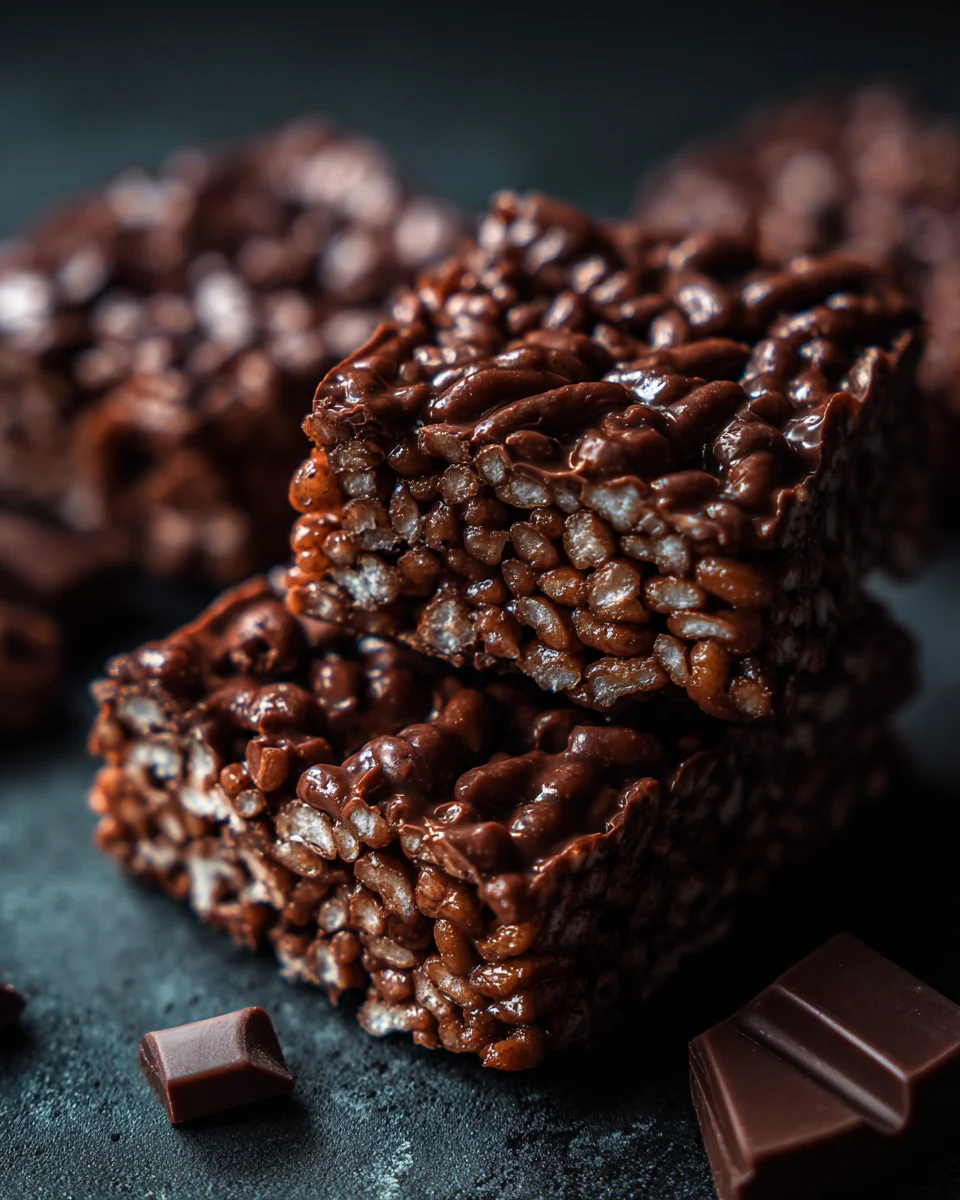
A chocolate krispie treats recipe is a modern, cocoa-infused evolution of the standard cereal bar. While the traditional version relies on the buttery sweetness of plain marshmallows, this version incorporates high-quality chocolate chips into the melting process. This results in a treat that is dark, decadent, and multi-dimensional in flavor.
The texture is the star of the show here. You get that signature “snap, crackle, and pop” from the cereal, but it is held together by a chocolate-marshmallow fudge that remains pliable even after it has set. It is a versatile dessert that bridges the gap between a simple snack and a rich confection. Because it requires no oven time, it is the perfect recipe to make with children or during the hot summer months when you want a sweet fix without heating up the entire kitchen.
The Origin of the Puffed Rice Snack
To understand the beauty of the chocolate krispie treats we love today, we have to look back at the early twentieth century. The base cereal was actually invented in the late nineteen twenties. It was a revolutionary product because of the unique way the rice was “puffed,” creating a light texture that stayed crispy even when submerged in milk.
The Birth of the Original Treat
The first iteration of the marshmallow and cereal square was created in the late nineteen thirties by a woman named Mildred Day. Working in the home economics department of a major cereal company, she was tasked with creating a new way to promote the product. She experimented with butter and melted marshmallows, creating a snack that was instantly successful at local fundraisers.
The Chocolate Evolution
As the recipe spread across households, home cooks began to add their own creative spins. The introduction of chocolate was a natural progression. By melting chocolate directly into the marshmallow base, cooks created a richer version that felt more like a dessert than a breakfast-adjacent snack. Today, the chocolate krispie treats variation is arguably just as popular as the original, appealing to the universal love of all things cocoa.
Essential Ingredients with Quantities: chocolate krispie treats
To make a batch that is perfectly balanced and not overly cloying, you need to be precise with your measurements. The following ingredients will yield a pan of treats that are thick, chewy, and deeply chocolatey.
-
Three tablespoons of butter: I recommend using unsalted butter so you can control the saltiness yourself, but salted butter works well if you like a “salted chocolate” profile.
-
One package of marshmallows: This should be between two hundred and two hundred and fifty grams. Using fresh marshmallows is the most important secret to a soft treat.
-
Five cups of puffed rice cereal: This provides the structural integrity and the iconic crunch.
-
One cup of chocolate chips: You can choose milk chocolate for a sweeter, kid-friendly version, or dark chocolate for a more sophisticated, slightly bitter edge.
-
One half teaspoon of vanilla extract: This is optional but highly recommended. Vanilla acts as a flavor enhancer that makes the chocolate taste even richer.
Step by Step Direction and Preparation Method: chocolate krispie treats
Creating the perfect chocolate krispie treats is an art form that requires patience, specifically when it comes to heat management. If you rush the process with high heat, you will end up with a hard, sugary mess. Follow these steps for a professional result.
Phase One: Melting the Base
Place a large, heavy-bottomed pot over low heat. Add your three tablespoons of butter and let it melt until it is liquid and bubbling slightly. Add the entire package of marshmallows. The key here is to stir constantly with a heat-resistant spatula. Do not be tempted to turn up the flame. Low and slow heat ensures the marshmallows melt into a smooth, cloud-like cream without scorching the sugar.
Phase Two: Incorporating the Chocolate
Once the marshmallows are completely smooth and no lumps remain, it is time for the magic ingredient. Pour in your one cup of chocolate chips. Continue to stir over low heat until the chocolate has completely melted into the marshmallow mixture. You should be left with a glossy, dark brown, and very sticky “lava.” If you are using vanilla extract, stir it in now. The aroma will be incredible at this stage.
Phase Three: Folding in the Crunch
Remove the pot from the heat immediately. This is a crucial step to prevent the mixture from getting too tough. Pour in your five cups of cereal. Using a folding motion, gently work the cereal into the chocolate mixture. You want to be thorough so that every single piece of puffed rice is coated in chocolatey goodness, but you also want to be gentle so you do not crush the delicate cereal.
Phase Four: The Pressing Technique
Transfer the mixture into a square baking pan that has been lined with parchment paper or lightly greased with butter. Now, here is the most important tip of the entire process: do not pack the mixture down tightly. If you use a heavy hand to smash the treats into the pan, they will be hard to bite into once they cool. Instead, use a piece of wax paper or a buttered spatula to gently pat the top until it is level.
Phase Five: Cooling and Setting
While it is tempting to dig in right away, your chocolate krispie treats need time to set. Let the pan sit at room temperature for about thirty to forty-five minutes. Avoid the temptation to put them in the refrigerator to speed things up, as the cold can make the butter and chocolate seize up, resulting in a less-than-ideal texture.
Phase Six: Slicing and Serving
Once the treats feel firm to the touch but still have a bit of “give,” lift the parchment paper out of the pan and place the block on a cutting board. Use a sharp, greased knife to slice them into even squares. Serve them immediately, or store them for later.
Delicious Variations to Explore: chocolate krispie treats
Once you have mastered the basic chocolate krispie treats, you can start getting creative with different textures and flavor profiles.
The Double Chocolate Drizzle
If you want your treats to look like they came from a high-end bakery, melt an extra half cup of chocolate chips with a tiny bit of coconut oil. Use a spoon to drizzle this over the top of the cooled bars. You can even use white chocolate for a beautiful color contrast.
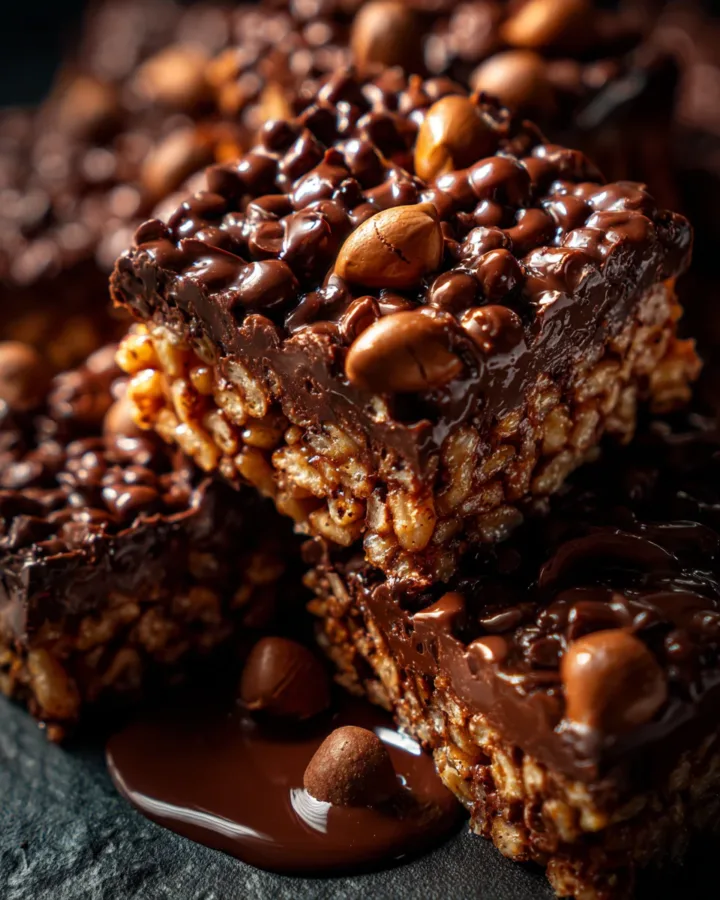
The Nutty Crunch
Add a half cup of peanut butter to the marshmallow and butter mixture before you add the chocolate. This creates a flavor profile reminiscent of a famous peanut butter cup. You can also fold in chopped walnuts or pecans along with the cereal for extra texture.
The Salted Caramel Version
Stir in a tablespoon of caramel sauce and a generous pinch of sea salt into the melted marshmallow base. The salt cuts through the sweetness and elevates the chocolate, making it a very “grown-up” version of the snack.
Frequently Asked Questions: chocolate krispie treats
Why did my treats turn out so hard?
The most common reason for hard cereal treats is using high heat during the melting process or over-mixing once the cereal is added. When sugar is heated too much, it reaches a “hard ball” stage which makes the bars brittle. Always stick to low heat and remove the pot from the stove before adding the cereal.
How should I store these for the best freshness?
Store your chocolate krispie treats in an airtight container at room temperature. They will stay fresh and soft for up to five days. If you need to stack them, place a layer of parchment paper between the squares to prevent them from sticking together.
Can I use different types of cereal?
Yes, the method remains the same whether you use the classic rice cereal, cocoa-flavored cereal, or even toasted oats. However, the ratio of five cups of cereal to one package of marshmallows is specifically designed for the volume of puffed rice, so adjust slightly if using a denser cereal.
Are chocolate krispie treats gluten-free?
While rice itself is gluten-free, some brands of puffed rice cereal use malt flavoring which contains barley. If you need this to be strictly gluten-free, be sure to check the labels on both your cereal and your marshmallows to ensure they are certified.
Tips for the Best Results
-
Use Mini Marshmallows: They have more surface area and melt much faster than the large ones, reducing the time your butter spends on the heat.
-
Grease Everything: This mixture is incredibly sticky. Lightly butter your hands, your spatula, and your knife to make the process much less frustrating.
-
Freshness Matters: If your cereal has been sitting in the pantry for months, it will lose its “snap.” Use a fresh box for the best experience.
-
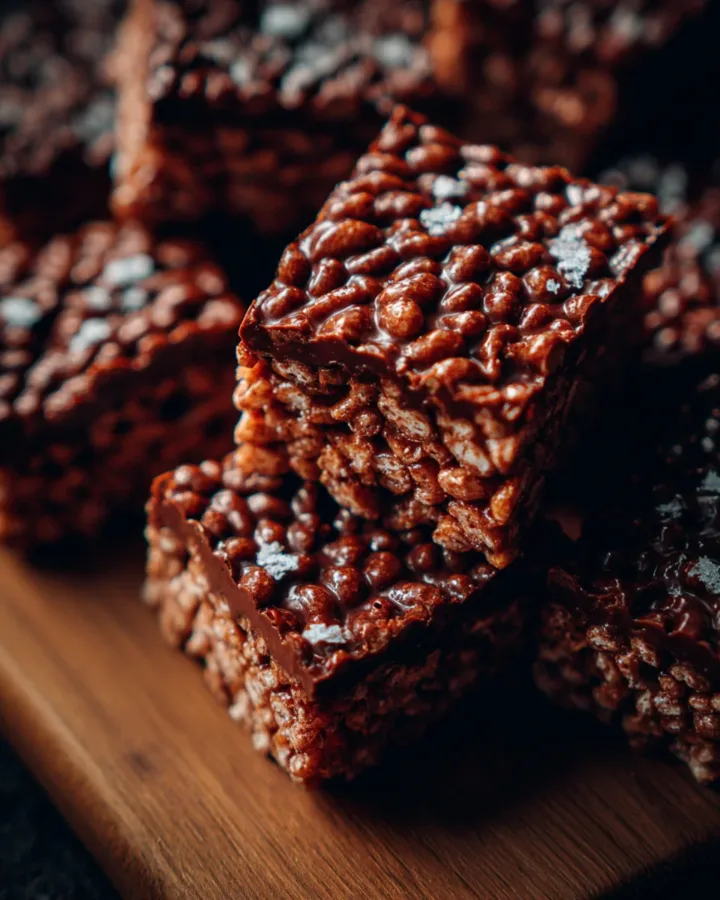
A Pinch of Salt: Even if you don’t want “salted” treats, a tiny pinch of fine salt helps to balance the sugar and makes the chocolate flavor pop.
Conclusion: chocolate krispie treats
Mastering the art of chocolate krispie treats is a journey into the heart of simple, effective home cooking. By respecting the delicate balance between the crunch of the cereal and the gooeyness of the marshmallow-chocolate base, you create a snack that is far superior to anything store-bought. It is a recipe that relies on the quality of your ingredients and the gentleness of your technique. Whether you are making these for a birthday party, a holiday gathering, or just as a weekend project with the family, the result is always the same: smiles all around. The next time you find yourself with a bag of marshmallows and a craving for something sweet, remember that a little bit of chocolate can turn a classic snack into a legendary dessert.
Print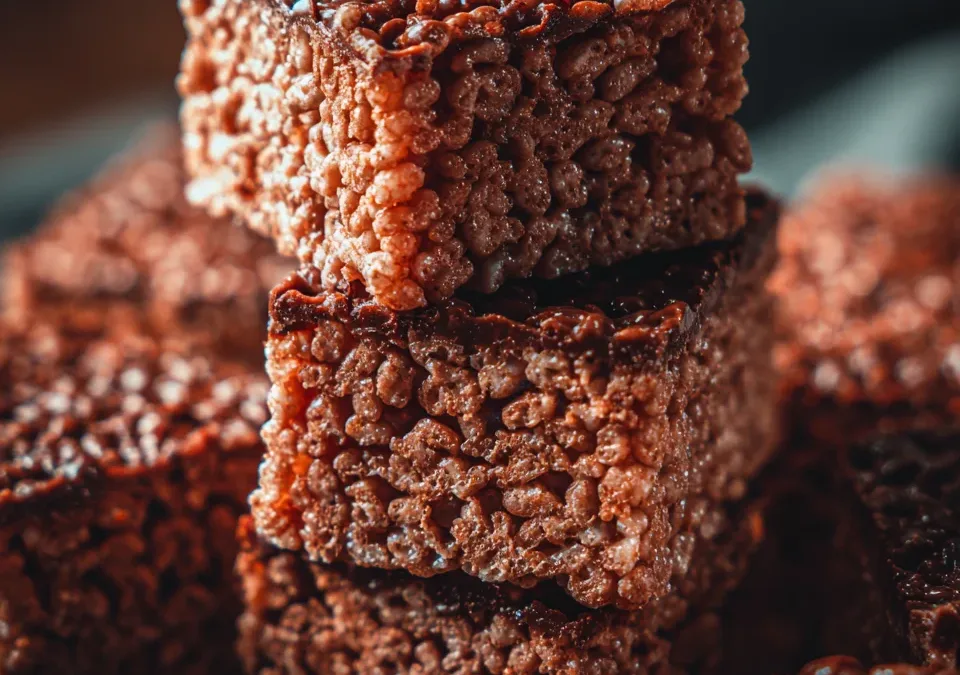
The Ultimate Guide to Making Perfect Chocolate Krispie Treats
- Total Time: 15 minutes
- Yield: 9–12 squares 1x
- Diet: Vegetarian
Description
A chocolate krispie treats recipe is a modern, cocoa-infused evolution of the standard cereal bar. While the traditional version relies on the buttery sweetness of plain marshmallows, this version incorporates high-quality chocolate chips into the melting process. This results in a treat that is dark, decadent, and multi-dimensional in flavor.
Ingredients
- 3 tbsp butter
- 1 package (about 200–250 g) marshmallows
- 5 cups Rice Krispies
- 1 cup chocolate chips (milk or dark)
- ½ tsp vanilla extract (optional)
Instructions
- Melt the base
In a large pot, melt butter over low heat. Add marshmallows and stir until completely melted and smooth. - Add chocolate
Stir in chocolate chips until melted and well combined. Add vanilla extract if using. - Mix cereal
Remove from heat and gently fold in Rice Krispies until evenly coated. - Press into pan
Transfer the mixture into a greased or lined pan. Press it down evenly (don’t press too hard to keep them soft). - Cool and set
Let it cool at room temperature for about 30–45 minutes. - Cut and serve
Slice into squares and enjoy!
Notes
These chocolate krispie treats are the perfect mix of crispy, gooey, and chocolatey—an easy dessert that everyone will love.
- Prep Time: 10 minutes
- Cook Time: 5 minutes
- Category: Dessert
- Method: No-bake
- Cuisine: American
Nutrition
- Serving Size: 1 square
- Calories: ~150–200 kcal
Keywords: chocolate rice cereal bars, cocoa krispie squares, marshmallow chocolate cereal treats