There is something deeply satisfying about the aroma of fresh herbs and toasted grain filling your home. For many, the idea of baking bread at home feels like a daunting task reserved for professional bakers or those with expensive kitchen gadgets. However, the world of home baking changed forever with the introduction of the slow-fermentation method. Today, we are exploring a recipe that is as elegant as it is effortless. The No-Knead Rosemary Artisan Bread is a testament to the idea that time and high-quality ingredients can do the heavy lifting for you.
If you have ever stared through a bakery window at those rustic, crusty loaves and wondered how they get that perfect golden exterior and airy middle, you are about to learn the secret. This bread does not require hours of intense physical labor or a stand mixer. Instead, it relies on a long resting period to develop gluten and flavor naturally. By adding the earthy, pine-like notes of fresh rosemary, you elevate a simple loaf into a gourmet experience that pairs perfectly with soups, cheeses, or just a generous pat of salted butter.
What is No-Knead Rosemary Artisan Bread?
At its core, No-Knead Rosemary Artisan Bread is a high-hydration yeast bread that uses a long fermentation process instead of mechanical kneading. Traditional bread recipes require you to push, pull, and stretch the dough to develop the gluten network that gives bread its structure. In this no-knead version, the yeast works slowly over many hours, creating bubbles that naturally stretch the dough from the inside out.
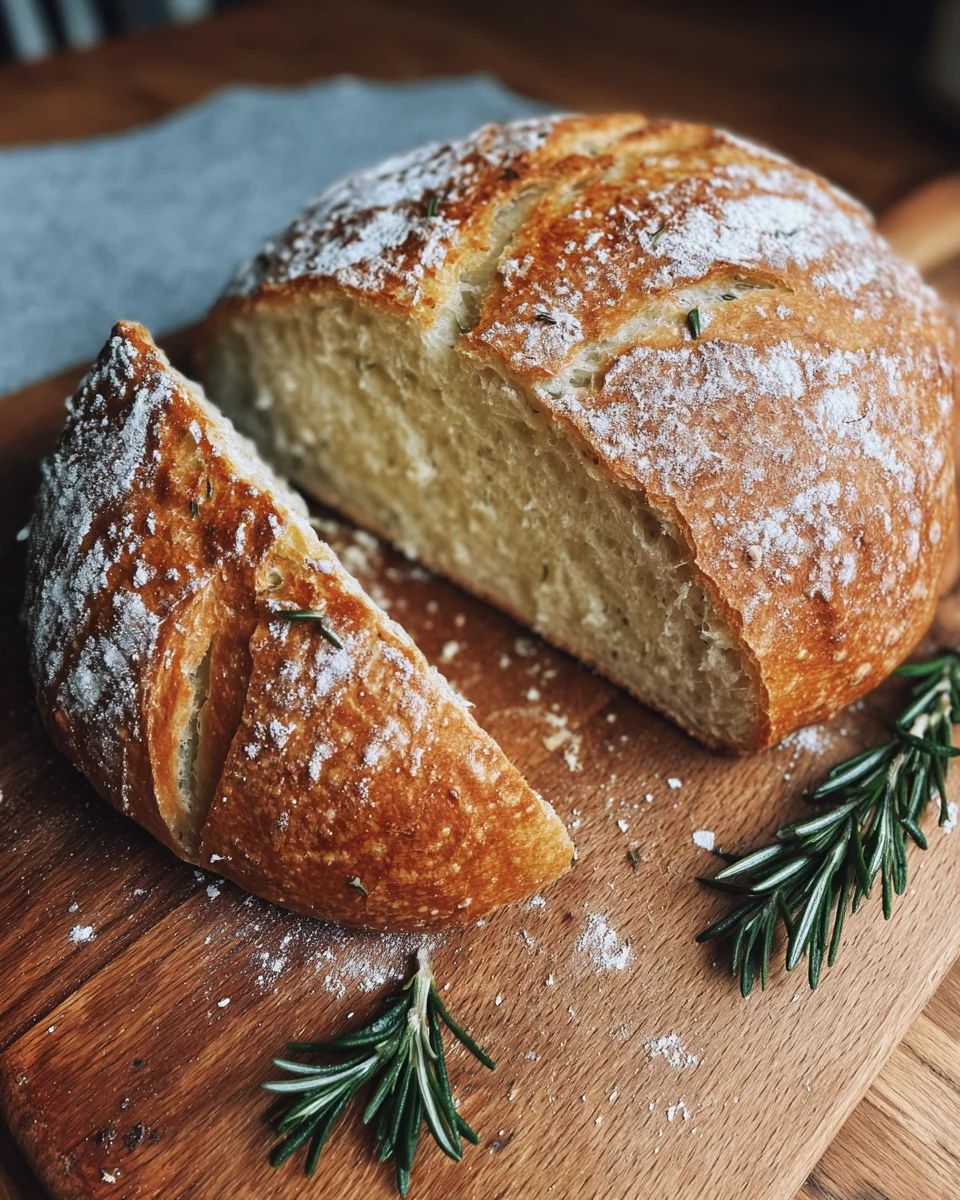
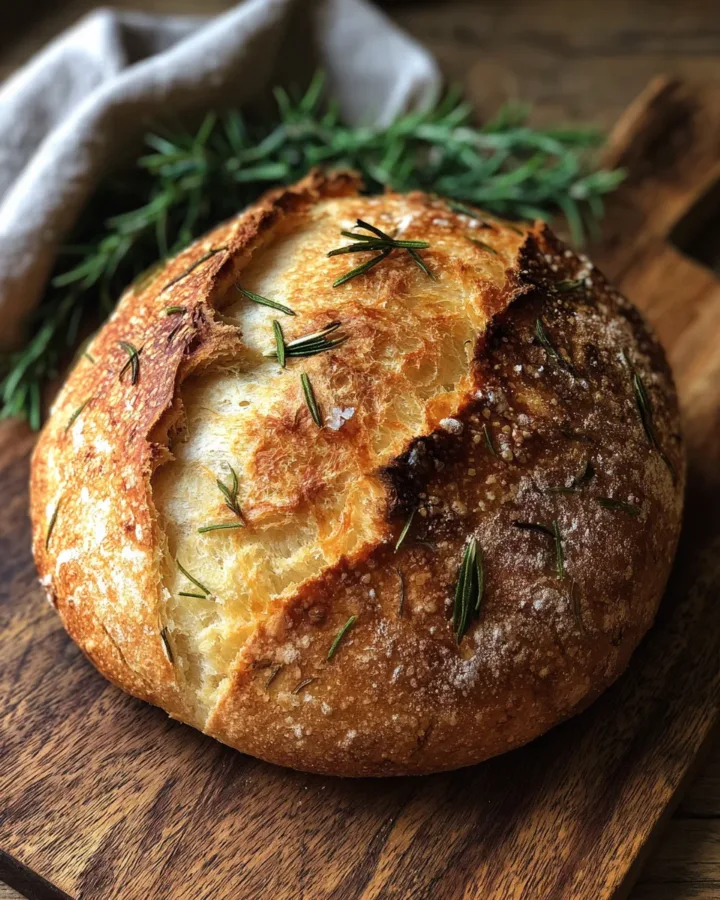
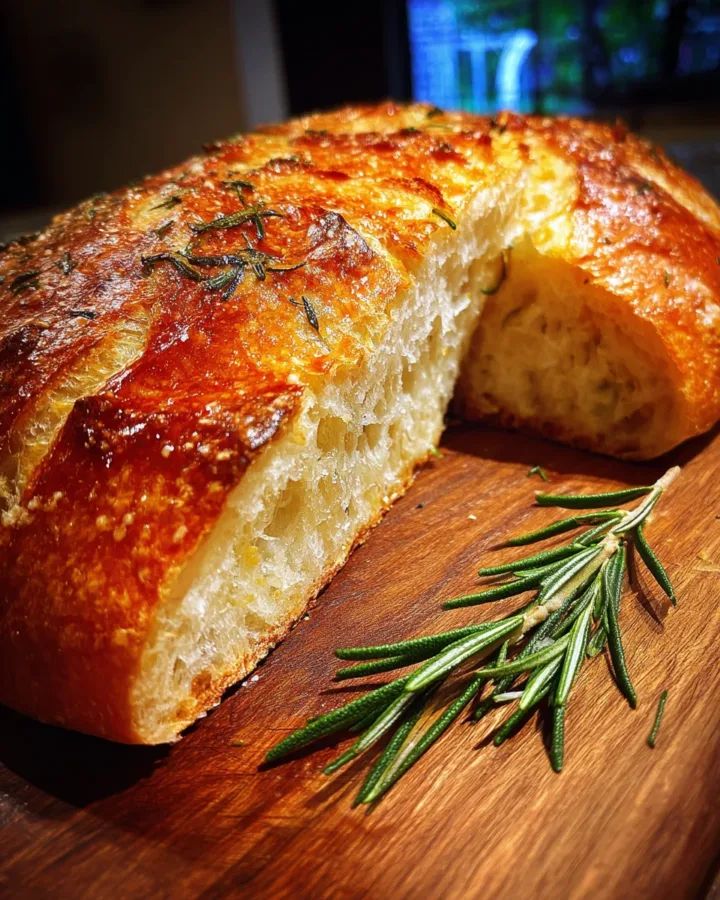
The result is a loaf with a “crannied” interior—meaning it has those beautiful, irregular air pockets—and a thin, shatteringly crisp crust. The addition of rosemary provides a sophisticated herbal layer that permeates the entire loaf. Because it is baked at a high temperature, often inside a preheated vessel like a Dutch oven, the bread steams itself, mimicking the professional steam-injection ovens used by master bakers. It is a rustic, “artisan” style loaf that looks like it came from a high-end boutique but was actually made in your own kitchen with about ten minutes of active work.
The Origin of the No-Knead Bread Revolution
While humans have been baking bread for thousands of years, the specific “no-knead” phenomenon that we know today gained massive popularity in the early two thousands. It was popularized by legendary bakers who wanted to make high-quality bread accessible to the average person. They realized that by increasing the water content and drastically slowing down the fermentation, the need for kneading was almost entirely eliminated.
This method harkens back to ancient ways of baking where sourdough starters and long wait times were the norm. The No-Knead Rosemary Artisan Bread specifically draws inspiration from Mediterranean flavors. Rosemary has been a staple in European baking for centuries, particularly in Italy and France, where herbs were often harvested from the garden and folded into daily doughs. Combining this ancient herbal tradition with modern no-knead techniques creates a bridge between old-world flavor and contemporary convenience.
Essential Ingredients and Quantities: No-Knead Rosemary Artisan Bread
To achieve the perfect loaf, you need to be precise with your measurements. Even though this is a simple recipe, the ratio of water to flour is what creates that signature artisan texture.
The Foundation
The primary ingredient is three cups of all-purpose flour. While some bakers prefer bread flour for a chewier texture, all-purpose flour works beautifully for this recipe, providing a tender crumb that is easy to slice. To this, you will add one and a half teaspoons of salt. Salt is not just for flavor; it also controls the yeast activity and strengthens the gluten.
The Leavening and Liquid
You will need one half teaspoon of instant yeast. It might seem like a small amount for three cups of flour, but because the dough sits for so long, the yeast has plenty of time to multiply and lift the bread. For the liquid, use one and a half cups of warm water. The water should be comfortably warm to the touch, not hot, as excessive heat can kill the yeast.
The Aromatics and Fats
The star of the show is one to two tablespoons of fresh rosemary, finely chopped. If you do not have fresh herbs on hand, you can substitute with one teaspoon of dried rosemary, though fresh is highly recommended for the best aroma. Finally, you may include one tablespoon of olive oil. This is optional, but a bit of high-quality oil adds a silkiness to the crumb and a subtle richness to the overall flavor profile.
Step by Step Direction and Preparation Method: No-Knead Rosemary Artisan Bread
Follow these instructions carefully. The most important “ingredient” in this recipe is patience. You cannot rush the fermentation process if you want that authentic artisan result.
Mixing the Initial Dough
In a large glass or ceramic bowl, whisk together the flour, salt, instant yeast, and your chopped rosemary. Ensure the herbs are well-distributed so you do not end up with clumps of rosemary in one spot. If you are using olive oil, stir it into your warm water.
Pour the water into the dry ingredients and stir with a heavy wooden spoon or a sturdy spatula. You are not looking for a smooth dough at this stage. Instead, you want to stir just until all the flour is moistened and a very sticky, shaggy ball forms. If there are still dry bits of flour at the bottom of the bowl, add another tablespoon of water.
The Long Rest
Cover the bowl tightly with plastic wrap or a damp kitchen towel. Place it in a draft-free corner of your kitchen at room temperature. Now, you wait. The dough needs to rest for twelve to eighteen hours. During this time, the yeast will go to work, and you will see the dough double in size and become covered in tiny bubbles. This long rest is where the flavor develops.
Shaping the Loaf
After the long rest, lightly flour a clean work surface. Gently scrape the sticky dough out of the bowl and onto the flour. Do not deflate it aggressively. Instead, use floured hands to gently fold the edges of the dough toward the center to form a rough ball.
Place the dough onto a piece of parchment paper, cover it with a light cloth, and let it rest for another thirty to forty five minutes. This second rise allows the gluten to relax and the dough to puff up slightly before hitting the heat.
Preparing the Oven
While the dough is having its final rest, place a Dutch oven (with the lid on) into your oven. Preheat the oven to four hundred and fifty degrees. It is vital that the pot becomes extremely hot; this initial blast of heat is what creates the “oven spring,” causing the bread to rise rapidly.
The Baking Process
Carefully remove the hot Dutch oven from the oven and take off the lid. Lift the dough by the edges of the parchment paper and lower it into the hot pot. Be very careful, as the pot will be incredibly hot. Place the lid back on and slide it into the oven.
Bake with the lid on for thirty minutes. The lid traps the moisture escaping from the dough, creating a steamy environment that keeps the crust soft initially, allowing the bread to expand fully. After thirty minutes, remove the lid and bake for another ten to fifteen minutes. This final stage is when the crust browns and hardens into that beautiful artisan finish.
Cooling and Slicing
Once the bread is a deep golden brown and sounds hollow when tapped on the bottom, remove it from the pot. Place it on a wire cooling rack. Resist the urge to cut into it immediately. The bread is actually still “cooking” on the inside as it cools. If you slice it while hot, the steam escapes too quickly, and the bread can become gummy. Wait at least one hour before slicing.
Flavor Variations and Creative Additions: No-Knead Rosemary Artisan Bread
Once you have mastered the basic No-Knead Rosemary Artisan Bread, you can start experimenting with different flavor profiles to suit your meals.
Garlic and Herb Fusion
To create a more savory loaf, fold in four cloves of minced roasted garlic along with the rosemary. The sweetness of the roasted garlic pairs perfectly with the piney notes of the herbs. You can also add a teaspoon of dried thyme or oregano for a full “herbes de Provence” experience.
Savory Olive and Rosemary
Chopped Kalamata olives are a classic addition to artisan bread. The saltiness of the olives complements the rosemary beautifully. If you choose this route, you may want to slightly reduce the salt in the main dough to ensure the loaf is not overly salty.
Cheese-Infused Crust
For a decadent twist, sprinkle half a cup of shredded parmesan or gruyère cheese over the top of the dough just before you put the lid on the Dutch oven. The cheese will melt into the crevices of the crust, creating crispy, savory bits that are absolutely irresistible.
Lemon and Rosemary
For a brighter, more Mediterranean flavor, grate the zest of one large lemon into the flour before adding the water. The citrus aroma combined with the rosemary makes this an excellent bread for serving alongside grilled fish or a fresh Greek salad.
Frequently Asked Questions: No-Knead Rosemary Artisan Bread
Do I really need a Dutch oven No-Knead Rosemary Artisan Bread this?
While a Dutch oven is the best tool for the job because it traps steam, you can use a heavy oven-safe pot with a tight-fitting lid. If you do not have any covered pot, you can bake the dough on a flat sheet, but you should place a shallow pan of water on the bottom rack of the oven to create the necessary steam.
Can I use whole wheat flour instead?
You can substitute up to one half of the all-purpose flour with whole wheat flour. Keep in mind that whole wheat flour absorbs more water, so you may need to add an extra tablespoon or two of liquid to keep the dough sticky. A loaf made entirely of whole wheat will be much denser and may not rise as high.
My dough didn’t rise, what went wrong?
The most common culprit is old or expired yeast. To check if your yeast is still active, mix a tiny bit with warm water and a pinch of sugar; if it doesn’t bubble within ten minutes, it is time for a new jar. Another possibility is that your kitchen was too cold; in winter months, the dough may need closer to eighteen or twenty hours to fully ferment.
How do I store my artisan bread to keep the crust crispy?
Avoid putting fresh artisan bread in a plastic bag, as this will trap moisture and make the crust soft and rubbery. Instead, store it in a paper bag or wrap it in a clean linen kitchen towel. If the bread gets a bit stale, you can revive it by placing it in a three hundred and fifty degree oven for five minutes.
Can I use active dry yeast instead of instant yeast?
Yes, you can. However, you should “bloom” the active dry yeast in the warm water for about five minutes until it is foamy before adding it to the flour and salt. This ensures the yeast is fully hydrated and ready to work during the long fermentation.
Conclusion: No-Knead Rosemary Artisan Bread
The journey of baking your own No-Knead Rosemary Artisan Bread is one of the most rewarding experiences a home cook can have. It reminds us that good things take time and that sometimes, the best results come from doing less rather than more. By allowing the natural processes of fermentation to take place, you create a loaf that is superior in flavor and texture to almost anything you can find on a supermarket shelf. The combination of the rustic, crunchy crust and the fragrant, rosemary-scented interior makes this bread a showstopper at any dinner table. Whether you are a seasoned baker or a total beginner, this recipe offers a foolproof way to bring the magic of artisan baking into your daily life. So, clear a spot on your counter, set aside some time, and prepare to enjoy the simple, timeless pleasure of a perfect homemade loaf.
Print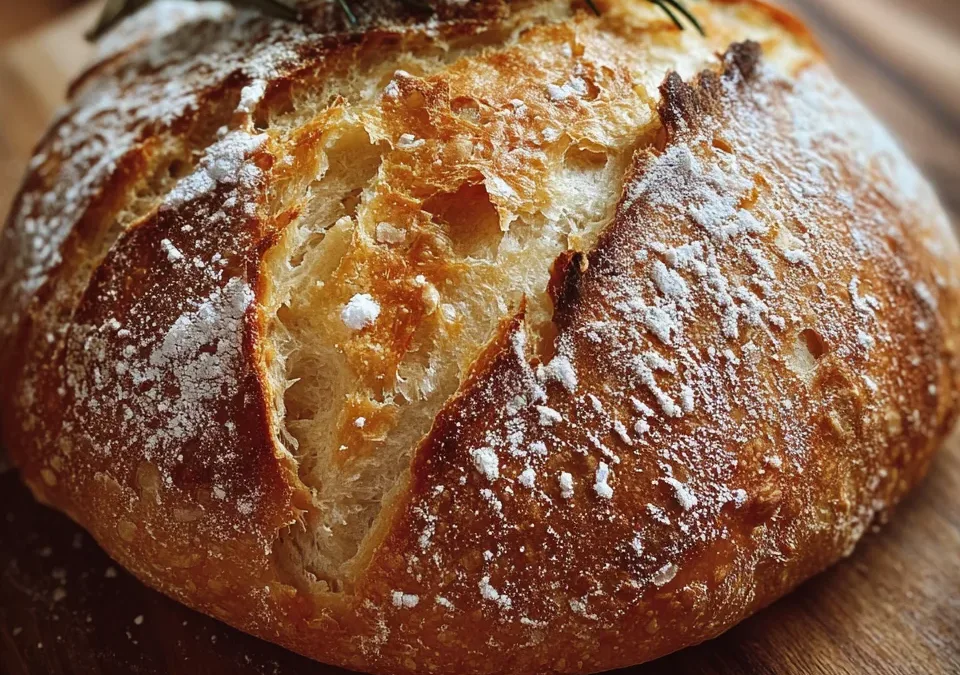
The Ultimate Guide to Crafting No-Knead Rosemary Artisan Bread
- Total Time: 13–19 hours (includes resting time)
- Yield: 1 loaf (8–10 slices) 1x
- Diet: Vegetarian
Description
While humans have been baking bread for thousands of years, the specific “no-knead” phenomenon that we know today gained massive popularity in the early two thousands. It was popularized by legendary bakers who wanted to make high-quality bread accessible to the average person. They realized that by increasing the water content and drastically slowing down the fermentation, the need for kneading was almost entirely eliminated.
Ingredients
- 3 cups all-purpose flour
- 1½ tsp salt
- ½ tsp instant yeast
- 1½ cups warm water
- 1–2 tbsp fresh rosemary (chopped) (or 1 tsp dried)
- 1 tbsp olive oil (optional, for flavor)
Instructions
- In a large bowl, mix flour, salt, yeast, and rosemary.
- Add warm water and stir until a sticky dough forms (no kneading needed).
- Cover the bowl and let it rest at room temperature for 12–18 hours.
- The dough will become bubbly and doubled in size.
- Lightly flour a surface, shape the dough into a ball.
- Let it rest for another 30–45 minutes.
- Meanwhile, preheat oven to 450°F (230°C) with a covered Dutch oven inside.
- Carefully place the dough into the hot pot, cover, and bake for 30 minutes.
- Remove lid and bake another 10–15 minutes until golden brown.
- Let cool before slicing.
Notes
This no-knead rosemary artisan bread is rustic, fragrant, and wonderfully crusty with a soft interior. With minimal effort and simple ingredients, it’s perfect for homemade bakery-style bread anytime!
- Prep Time: 10 minutes
- Cook Time: 40–45 minutes
- Category: Bread
- Method: Baking
- Cuisine: European
Nutrition
- Serving Size: 1 slice
- Calories: 140–180 kcal
Keywords: Easy Rosemary Dutch Oven Bread, Rustic No Knead Herb Loaf, Simple Artisan Rosemary Bread, Homemade Crusty Rosemary Loaf