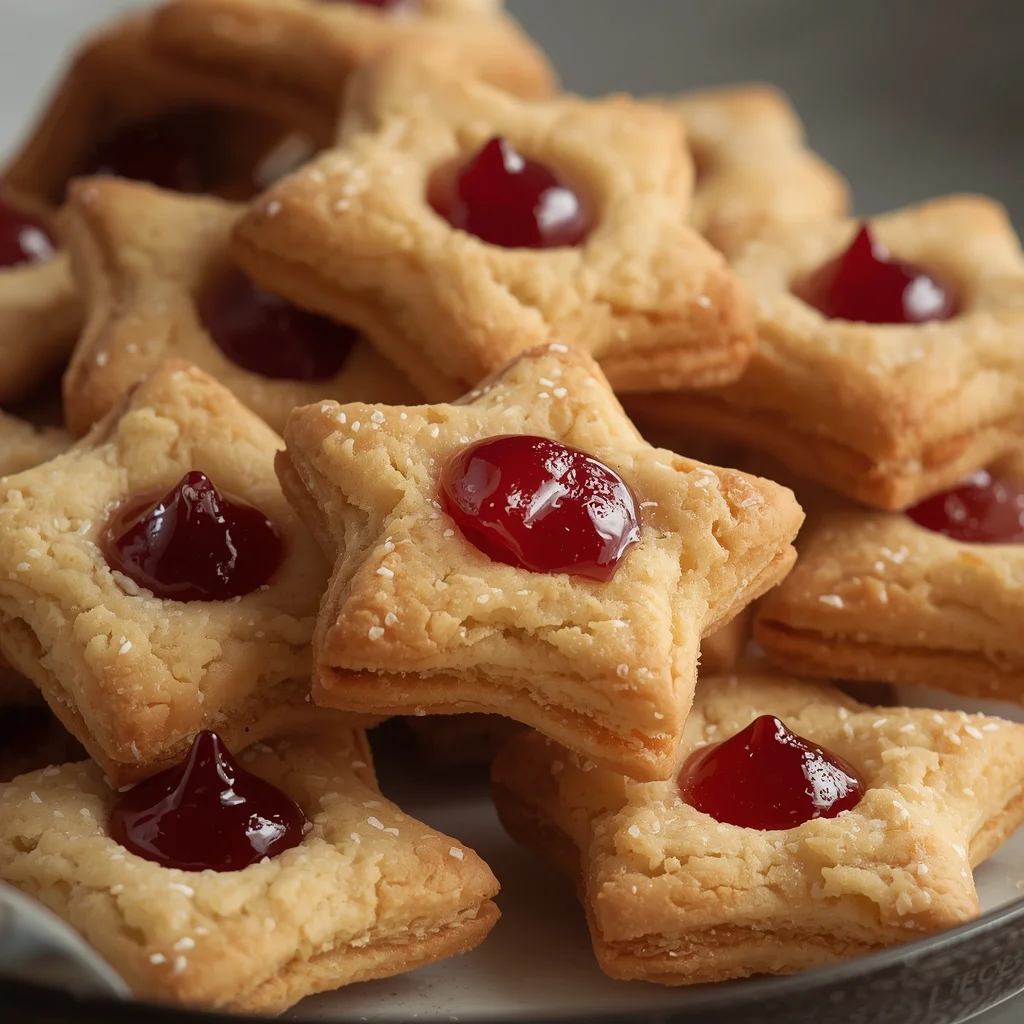
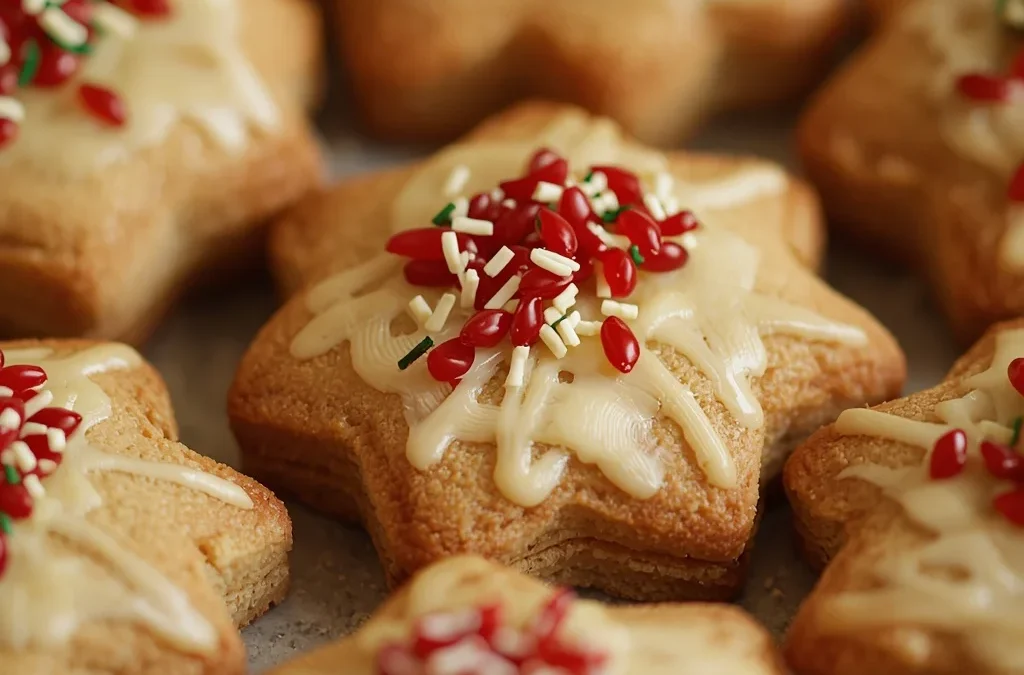
When the chilly winter season arrives, homes fill with holiday cheer. Nothing welcomes family and friends quite like the irresistible aroma of freshly
baked treats. If you are looking for a quintessential holiday bake, look no further than
danish christmas cookies. These iconic
cookies are celebrated worldwide for their rich flavor. They feature a delicate snap around the edges. Every single bite delivers a melt-in-your-mouth texture. You can choose to pipe them into classic rosettes. Alternatively, pack them into decorative tin boxes for your friends. Enjoying them alongside a warm hot drink is another wonderful option. These
danish christmas cookies deliver a traditional bakery-quality experience right from your home oven.
What Is Danish Christmas Cookies?
At its essence, this
classic treat is a rich butter-based biscuit. It is characterized by a crisp exterior and a tender interior crumb. Unlike heavier standard sugar cookies, the dough relies on fine powdered sugar. This is quite different from using coarse granulated sugar. Such a fundamental difference creates a silky batter. You can pipe it smoothly through a star nozzle. This allows you to create iconic shapes like rosettes, rings, and swirl patterns.
Pure simplicity defines these treats on every festive dessert tray. A refined flavor profile further enhances their widespread appeal. The recipe focuses on highlighting the natural richness of premium butter. Natural vanilla extract complements this fat beautifully. When baked properly, the edges turn a delicate light golden shade. Meanwhile, the interior retains a pale, crumbly quality. The crumb dissolves instantly on your tongue. These biscuits are light, crisp, and beautifully shaped. They remain a timeless holiday classic loved by all ages.
Origin of That Recipe and Its Holiday Tradition
The heritage of Danish butter cookies dates back to the nineteenth century in Denmark. Home baking flourished there following the widespread adoption of wood-burning ovens in rural farmhouses. Danish bakers quickly mastered the art of rich butter doughs. They developed recipes that relied heavily on Denmark’s world-famous dairy production. These small golden biscuits became central to traditional Danish hospitality. This was especially true during winter celebrations.
Global popularity for these treats expanded dramatically during the mid-twentieth century. Commercial Danish bakeries began packaging assortment sets inside distinctive royal blue metal tins. Such tins helped preserve the crisp freshness of the contents during long sea voyages. As a result, the biscuits traveled safely across distant continents. Over time, receiving a royal blue tin became a widespread winter tradition. People loved finding piped butter rings, vanilla wreaths, and sugar-dusted rosettes inside. Today, baking homemade danish christmas cookies honors this centuries-old European baking tradition. It brings authentic flavor and handmade warmth to modern festive celebrations.
Ingredients with Quantity: danish christmas cookies
To prepare a batch yielding thirty to thirty-six beautiful piped cookies, assemble the following ingredients. Using fresh components ensures your finished treats achieve their signature rich taste. High quality also guarantees a delicate texture.
Main Cookie Dough Ingredients
-
Unsalted butter: one full cup, thoroughly softened to room temperature
-
Powdered sugar: three-quarters cup
-
Large egg: one, kept at room temperature
-
Vanilla extract: two full teaspoons
-
All-purpose flour: two full cups
-
Salt: one-quarter teaspoon
-
Whole milk: two tablespoons, used only if needed to adjust dough consistency
Optional Festive Topping Ingredients
Step by Step Direction and Preparation Method: danish christmas cookies
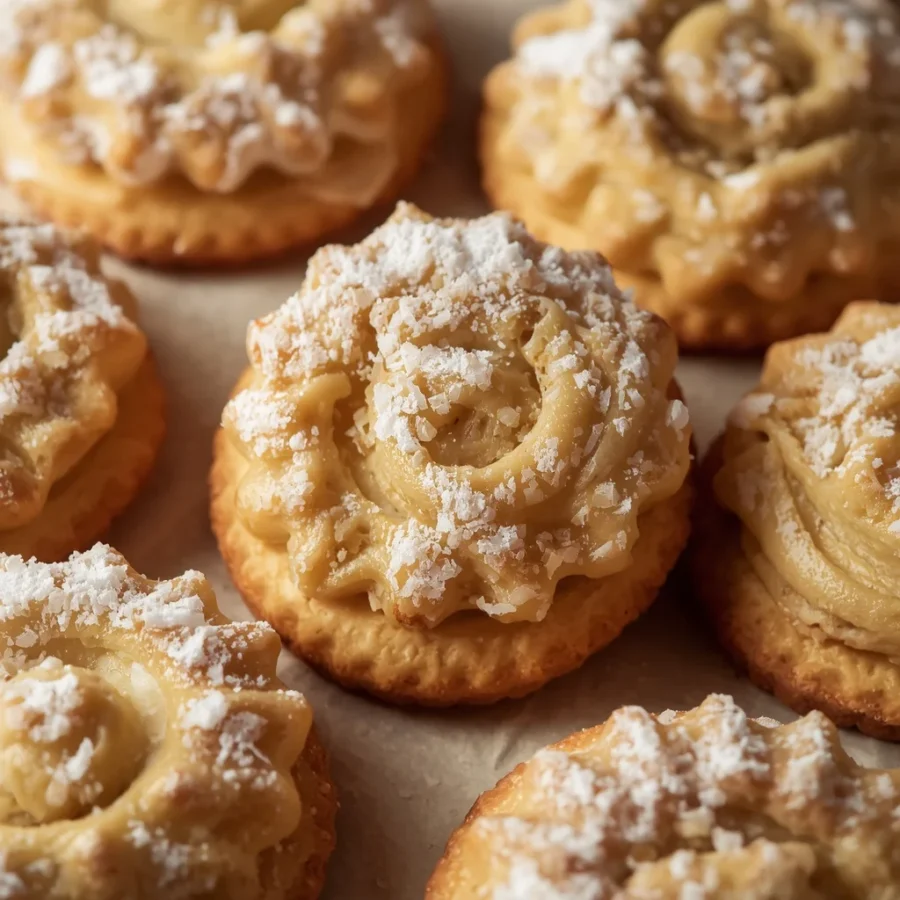
Creating these elegant piped treats is a gratifying baking process. Follow these step by step directions carefully. Doing so helps you achieve detailed shapes and a crisp crumb.
Preparing Your Kitchen and Tools
Begin by setting your oven to three hundred fifty degrees Fahrenheit. This allows it to reach the proper cooking temperature before baking starts. Next, line two large metal baking sheets with parchment paper. Using parchment paper prevents sticking effectively. It also promotes even browning across the bottoms. Cleanup effort remains minimal as a result.
Creaming the Butter and Powdered Sugar
In a large mixing bowl, combine your softened unsalted butter and three-quarters cup of powdered sugar. Use an electric hand mixer for this step. A stand mixer fitted with a paddle attachment works equally well. Beat the mixture on medium speed for two to three minutes. Continue beating until the texture becomes pale and smooth. It should look very fluffy. Thorough creaming incorporates fine air pockets into the fat. This gives these cookies their signature light crumb.
Incorporating the Egg and Vanilla
Add the single room temperature egg into the creamed butter mixture. Pour in the two full teaspoons of vanilla extract at the same time. Beat on medium-low speed until the liquid is fully incorporated. The batter ought to appear silky smooth. Scrape down the sides and bottom of your bowl with a rubber spatula. This step ensures no unmixed butter remains hidden.
Combining the Dry Ingredients
In a separate medium bowl, whisk together the two cups of all-purpose flour and one-quarter teaspoon of salt. Whisking ensures the salt is evenly distributed. Gradually add the dry flour mixture to your wet butter mixture. Stir on low speed or use a wooden spoon by hand. Continue until a soft, cohesive dough forms. Avoid overmixing once you add the flour. If the dough feels too stiff to squeeze through a piping tip, stir in whole milk. Add it one teaspoon at a time until you reach a pipeable consistency.
Chilling the Dough Briefly
Place the bowl of dough into the refrigerator. Let it chill for approximately thirty minutes. Brief chilling helps firm up the butter slightly. Consequently, the piped dough holds its intricate ridges and decorative shapes in the oven heat.
Piping and Shaping the Cookies
Transfer the chilled dough into a sturdy canvas or silicon piping bag. Ensure it is fitted with a large open or closed star piping tip. Hold the bag perpendicular to your prepared baking sheet. Pipe small rosettes, circular wreaths, or traditional S-shaped designs onto the pan. Leave about one inch of space between each cookie. Alternatively, roll the dough into small balls by hand if you lack a piping bag. Flatten those balls gently with a fork.
Decorating Before the Oven
You can sprinkle a light dusting of coarse sparkling sugar over your piped dough shapes before baking. Adding festive holiday sprinkles works wonderfully as well. This optional step adds a charming crunch and visual sparkle.
Baking to Golden Perfection
Slide the baking sheets into the center racks of your preheated oven. Bake for ten to twelve minutes. Keep a close watch during the final minutes. You want the outer bottom edges to turn a light golden color. The tops and centers should remain pale and delicate.
Cooling and Setting the Structure
Remove the pans from the oven. Set them directly on heat-safe surfaces. Allow the fresh cookies to rest undisturbed on the warm baking sheets for five minutes. This short resting period lets the delicate butter structure firm up without breaking. After five minutes, use a thin spatula to transfer them onto a wire cooling rack. Let them cool completely to room temperature. Here, they will achieve their signature crisp snap.
Secret Tips for the Best Results
-
Choose premium butter: Butter is the dominant flavor component in danish christmas cookies. Selecting high-quality unsalted butter with a high milkfat percentage yields a superior rich flavor profile.
-
Avoid overworking the dough: Stop mixing immediately once the dry flour combines into the creamed butter. Overworking develops gluten, which makes the baked treats tough rather than crumbly.
-
Maintain neat piped ridges: Place the piped baking sheet into the refrigerator for ten minutes right before baking if your kitchen feels warm. Chilling keeps the piped details sharp.
-
Festive chocolate dipping: Dip half of each fully cooled cookie into high-quality melted dark or milk chocolate for an elegant modern variation. Sprinkle finely chopped toasted pistachios or holiday sprinkles over the wet chocolate before it sets.
-
Storage and freezing guidelines: Store cooled baked goods in an airtight metal tin lined with wax paper at room temperature for up to one full week. You can also freeze the baked cookies inside sealed containers for up to two months.
Delicious Recipe Variations to Try: danish christmas cookies
Classic vanilla danish christmas cookies remain timeless. However, you can easily tweak the base dough to introduce delightful flavor twists for your holiday trays.
Citrus Zest Infusion
Grate the fresh zest of one organic orange or lemon directly into the creamed butter mixture alongside the vanilla extract. This adds a bright, refreshing aromatic note to your traditional bakes. The natural citrus oils cut through the rich butter sweetness. They offer a wonderfully festive citrus aroma.
Spiced Cinnamon Sugar Wreaths
Mix one-half teaspoon of ground cinnamon and a dash of ground cardamom into your dry flour mixture for a cozy winter variation. Dust the piped rosettes with a blend of coarse sugar and cinnamon prior to baking. These warm aromatic spices bring a seasonal twist that pairs amazingly with warm coffee.
Chocolate Dipped Almond Rings
Substitute one-half teaspoon of the vanilla extract with pure almond extract. This gives the dough a delicate, nutty fragrance. Dip the bottoms or ends in melted dark chocolate after baking and cooling. Press finely crushed sliced almonds onto the wet chocolate coating to finish them.
Frequently Asked Questions (FAQs): danish christmas cookies
Why is my dough too stiff to pipe through the star tip?
The butter may have been too cold when mixed if your dough feels firm. Packing the flour too tightly while measuring produces the same outcome. To fix this issue, let the dough sit at room temperature for five minutes. Mixing in one to two teaspoons of room temperature whole milk also softens the dough effectively. It will soon flow smoothly through the piping nozzle.
Why did my piped cookie details flatten out during baking?
Losing piped ridges usually happens when the butter in the dough was completely melted rather than softened. The dough becoming too warm before entering the oven causes this issue as well. Always use softened room temperature butter. Chill your piped pans in the refrigerator for ten to fifteen minutes before baking so the butter fat stays firm initially.
Can I prepare the dough in advance?
Yes, preparing this cookie dough ahead of time is very easy. Wrap the mixed dough tightly in plastic wrap. Keep it in the refrigerator for up to three days. When you feel ready to bake, let the dough sit on the counter for fifteen to twenty minutes. This softens it slightly so you can pipe it easily into your chosen holiday shapes.
What is the best container for storing danish christmas cookies?
Traditional metal cookie tins are the absolute best choice for storing butter-based cookies. They keep out ambient air and moisture far better than soft plastic containers. Storing your baked treats inside a sealed metal tin with parchment paper sheets separating the layers will keep them exceptionally crisp, fragrant, and fresh for over a week.
Conclusion: danish christmas cookies
Baking during the winter holidays brings warmth, tradition, and joyful memories into your home. These classic
danish christmas cookies capture everything that makes seasonal baking so rewarding. Wholesome ingredients form the core of the recipe. Beautiful geometric shapes provide visual charm. The rich butter flavor melts effortlessly on your tongue. You are guaranteed to yield a batch of golden, delicate treats that surpass store-bought tin selections by using good butter, avoiding overmixing, and chilling your piped shapes. Arrange them neatly on decorative platters. Serving them alongside warm mugs of tea or coffee is always a delight. Packing them into holiday boxes for loved ones brings immense satisfaction. Try this classic recipe today to share the comforting taste of traditional holiday baking with everyone you love!