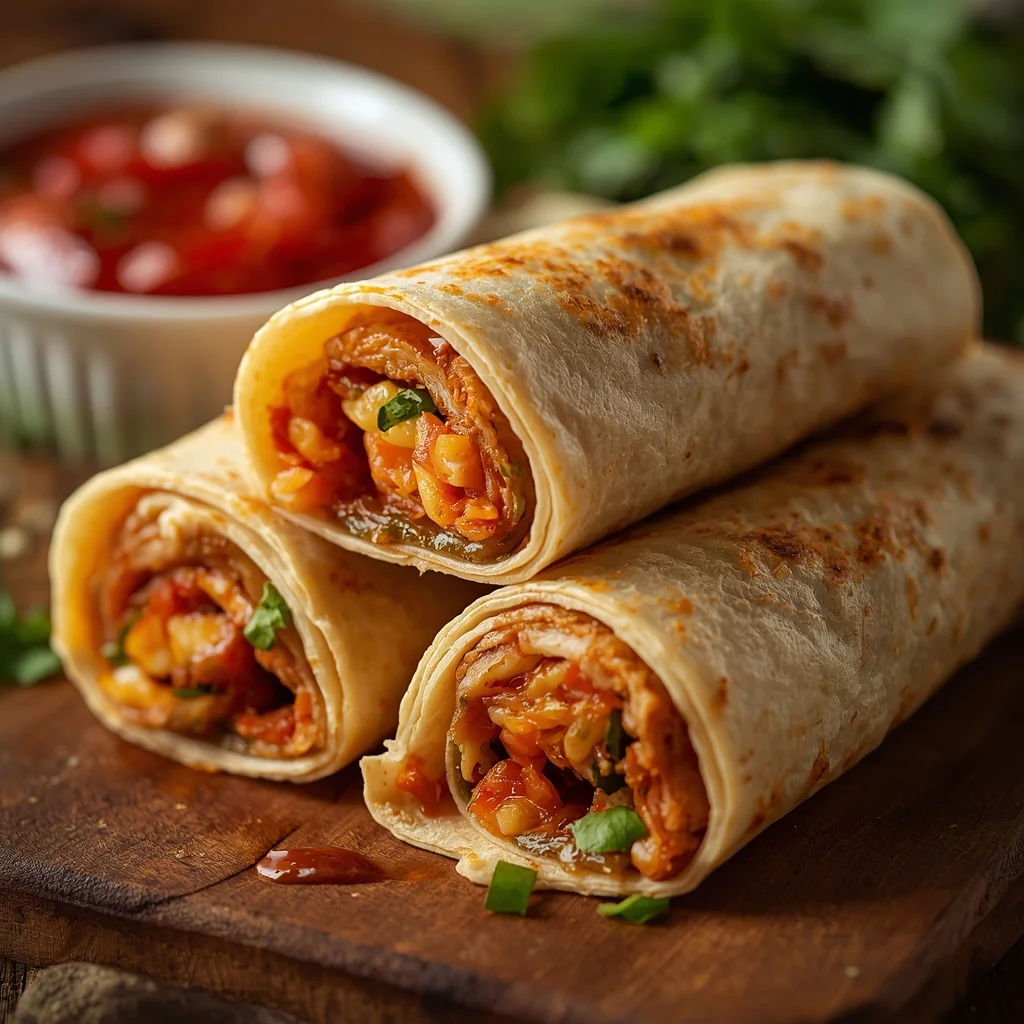
Finding a dinner that satisfies healthy eating goals while bringing serious flavor can feel challenging. These chicken fajita roll-ups solve that weeknight dilemma with minimal effort. Tender chicken cutlets wrap tightly around crisp peppers, sweet onions, and gooey cheese. The entire dish comes together quickly, making it a reliable staple for busy schedules.
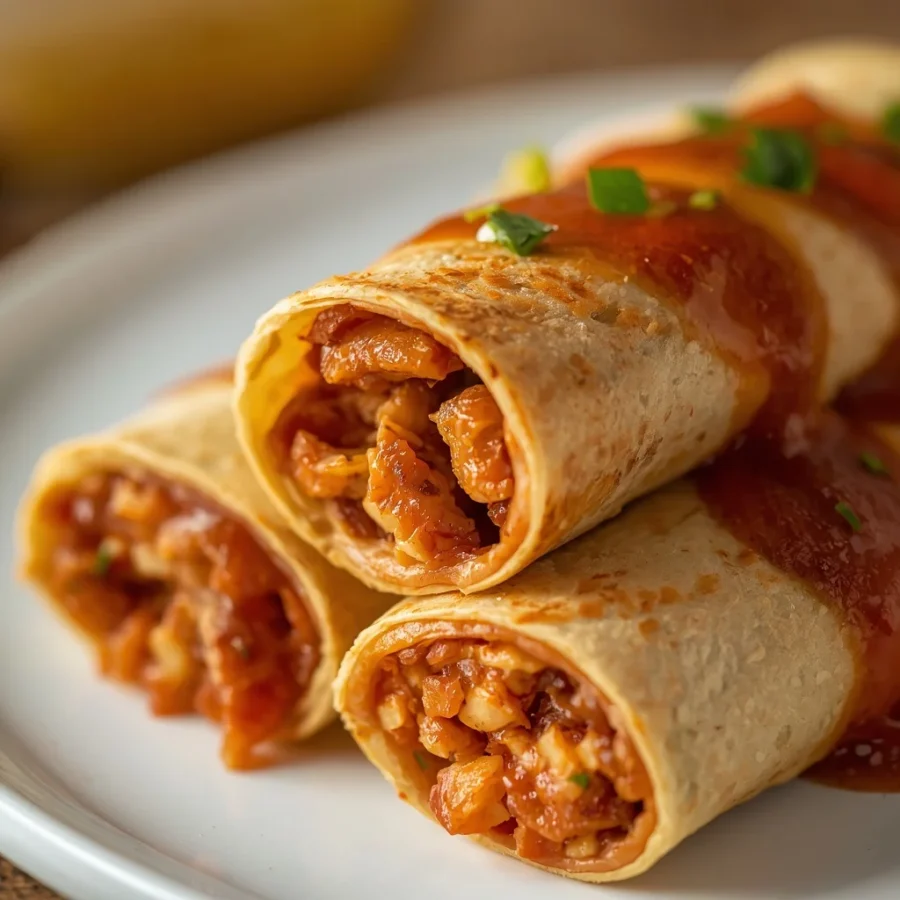
What Is chicken fajita roll-ups?
This dish transforms standard Tex-Mex flavors into a clever low-carbohydrate package. Instead of using flour or corn tortillas, seasoned chicken cutlets serve as the outer wrapper.
A Modern Take on Tex-Mex
Classic fajita recipes rely on warm tortillas to hold charred meats and vegetables. This variation skips the heavy grains entirely. Lean chicken breast acts as the vessel, locking in juices as the meat bakes.
Inside each chicken pocket, sliced bell peppers and onions soften gently. As the shredded cheese melts, it binds the interior vegetable mixture together. Every bite delivers the bold taste of traditional street tacos in a lighter form.
Why Home Cooks Love This Approach
Busy families need quick meal solutions that do not sacrifice nutrition. Preparing this recipe takes roughly thirty minutes from start to finish. Cleanup remains light because everything cooks in a single skillet and baking dish.
Portion control becomes simple when serving individually wrapped cutlets. The vibrant presentation also looks impressive enough for weekend dinner guests. Children enjoy the fun rolled shape, while adults appreciate the wholesome balance of protein and vegetables.
Origin of chicken fajita roll-ups
Understanding where this culinary idea originated helps explain its widespread popularity today.
The Evolution of the Classic Fajita
The term fajita originally referred to skirt steak cuts cooked over open campfires by Mexican vaqueros in Texas during the nineteen thirties. Over time, regional cooks expanded the technique to include chicken, shrimp, and pork.
By the late twentieth century, fajita platters became popular fixtures in American casual dining. Sizzling cast-iron skillets filled with strips of meat, peppers, and onions defined the dining experience across the country.
From Tortillas to Rolled Chicken Breasts
As low-carb and ketogenic diets gained traction in the early two thousand tens, home chefs began re-imagining traditional recipes. Swapping refined flour tortillas for flattened poultry cutlets became an instant internet sensation.
This rolled technique draws inspiration from traditional European roulades, such as Italian spiedini or German rinderrouladen. Combining old-world stuffed meat techniques with vibrant Southwest seasonings created a modern fusion classic.
Ingredients with Quantity: chicken fajita roll-ups
Gathering fresh, high-quality ingredients ensures your dish turns out juicy and bursting with flavor.
Primary Protein Base
-
Four boneless, skinless chicken breasts. Select uniform pieces to ensure even cooking throughout.
Fresh Vegetable Filling
-
One red bell pepper, thinly sliced into uniform strips.
-
One green bell pepper, thinly sliced into uniform strips.
-
One half small yellow or white onion, thinly sliced.
Cheesy Binding and Seasonings
-
One cup shredded Mexican blend or Monterey Jack cheese.
-
Two tablespoons extra virgin olive oil, divided for seasoning and searing.
-
One and one half tablespoons fajita seasoning.
-
One half teaspoon garlic powder.
-
One half teaspoon paprika.
-
One half teaspoon fine salt.
-
One quarter teaspoon freshly ground black pepper.
Bright Finishes and Garnishes
-
One tablespoon fresh lime juice.
-
Two tablespoons chopped fresh cilantro for garnish.
Step by Step Direction and Preparation Method: chicken fajita roll-ups
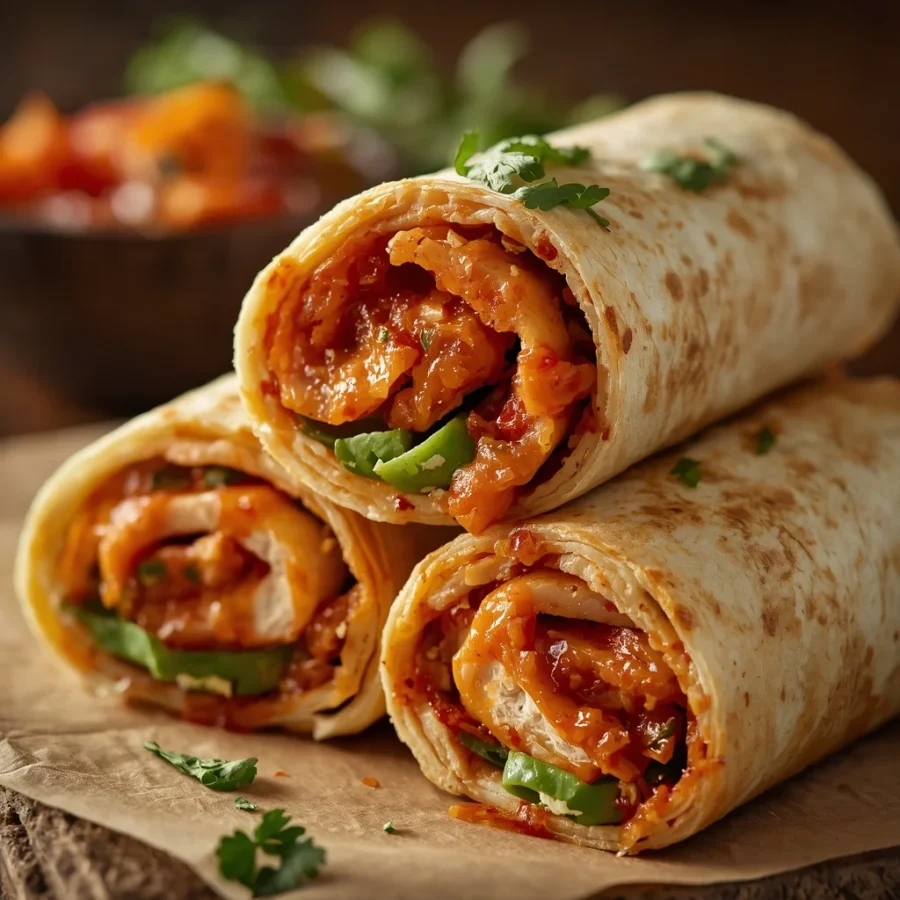
Following a systematic approach yields perfectly cooked chicken that stays moist while locking in the savory filling.
Step One: Oven Setup and Chicken Prep
Start by setting your oven temperature to four hundred degrees Fahrenheit. Lightly coat a medium baking dish with nonstick spray or olive oil.
Place one chicken breast between two sheets of clear plastic wrap on a sturdy cutting board. Using a meat mallet or heavy rolling pin, gently pound the meat starting from the center outward. Continue until the chicken reaches a uniform thickness of roughly one quarter inch. Repeat this process for all four chicken breasts.
Step Two: Seasoning the Meat
Combine the fajita seasoning, garlic powder, paprika, salt, and black pepper in a small bowl. Stir the spice mixture until well blended.
Brush both sides of the flattened chicken breasts with one tablespoon of olive oil. Rub the spice mix generously over the surface of the meat, reserving a small pinch for the vegetable filling if desired.
Step Three: Filling and Rolling
Lay the seasoned chicken cutlets flat on your workspace. Arrange a small portion of sliced red peppers, green peppers, and onions near the lower edge of each cutlet.
Top the vegetable slice stack with a generous sprinkle of shredded cheese. Carefully roll the chicken breast tightly around the filling, working from the bottom edge upward. Secure the seam with two wooden toothpicks to keep the contents intact during cooking.
Step Four: Searing for Golden Color
Heat the remaining one tablespoon of olive oil in a heavy skillet over medium-high heat. Allow the oil to shimmer before adding the chicken.
Place the roll-ups seam-side down in the hot skillet. Sear the meat for two to three minutes per side until a rich golden-brown crust forms. This step seals in natural juices and adds deep roasted flavor to the exterior.
Step Five: Baking and Serving
Transfer the seared roll-ups carefully into your prepared baking dish. Place the dish in the oven and bake at four hundred degrees Fahrenheit for fifteen to twenty minutes.
Check the internal temperature with a digital meat thermometer inserted into the thickest part of the chicken. The reading must reach one hundred sixty-five degrees Fahrenheit for safe consumption. Remove the dish from the oven and allow the chicken to rest for five minutes. Pull out the wooden toothpicks, sprinkle with fresh lime juice, garnish with cilantro, and serve warm.
Creative Recipe Variations: chicken fajita roll-ups
You can easily adapt this versatile recipe based on pantry availability or specific dietary preferences.
Cream Cheese and Jalapeño Filling
For a richer, slightly spicy interior, mix four ounces of softened cream cheese with diced jalapeños and shredded cheddar. Spread this creamy blend onto the chicken cutlets before adding the sliced peppers. The cream cheese melts into a velvety sauce that tempers the pepper heat beautifully.
Bacon-Wrapped Fajita Roll-Ups
Wrap two slices of smoky hardwood bacon around the exterior of each chicken roll before searing. As the chicken bakes, the bacon crisps up, infusing the underlying meat with rich savory notes. This modification works particularly well for individuals following strict keto guidelines.
Sheet Pan Fajita Mashup
If you run short on prep time, skip the rolling step entirely. Slice the chicken breasts into thin strips and toss them with the peppers, onions, oil, and seasonings on a large baking sheet. Roast at four hundred degrees Fahrenheit for twenty minutes, then top with cheese during the final three minutes of cooking.
Frequently Asked Questions: chicken fajita roll-ups
How do I keep the filling from falling out while cooking?
Pounding the chicken breasts thin and even makes rolling much easier. Do not overstuff the cutlets with too many vegetable slices. Inserting wooden toothpicks diagonally through the seams secures the roll-ups while searing and baking.
Can I prepare chicken fajita roll-ups in advance?
Yes, you can assemble the roll-ups up to twenty-four hours ahead of time. Store the uncooked, seasoned rolls in a covered container inside the refrigerator. When you are ready to cook, proceed directly to the searing and baking steps, adding two extra minutes to the total bake time if the meat is cold.
What side dishes pair well with these chicken rolls?
These savory chicken rolls pair wonderfully with classic Mexican rice, seasoned black beans, or a fresh avocado salad. For a low-carb menu, serve them alongside cauliflower rice or a crisp green salad tossed with lime vinaigrette.
How should I store and reheat leftovers?
Place leftover cooked roll-ups in an airtight container and store them in the refrigerator for up to three days. Reheat the chicken in an oven set to three hundred fifty degrees Fahrenheit for ten to twelve minutes until warm throughout. Using an oven prevents the meat from becoming rubbery.
Conclusion: chicken fajita roll-ups
Making these flavor-packed chicken fajita roll-ups offers a simple way to elevate your weekly meal rotation. By pairing tender seasoned poultry with colorful bell peppers, sweet onions, and melted cheese, you achieve maximum taste with minimal effort. This dish delivers all the satisfaction of classic Tex-Mex cuisine while fitting seamlessly into balanced, health-conscious routines. Try assembling a batch tonight, serve them alongside your favorite fresh toppings, and enjoy a restaurant-quality dinner right at your own family table.
Print
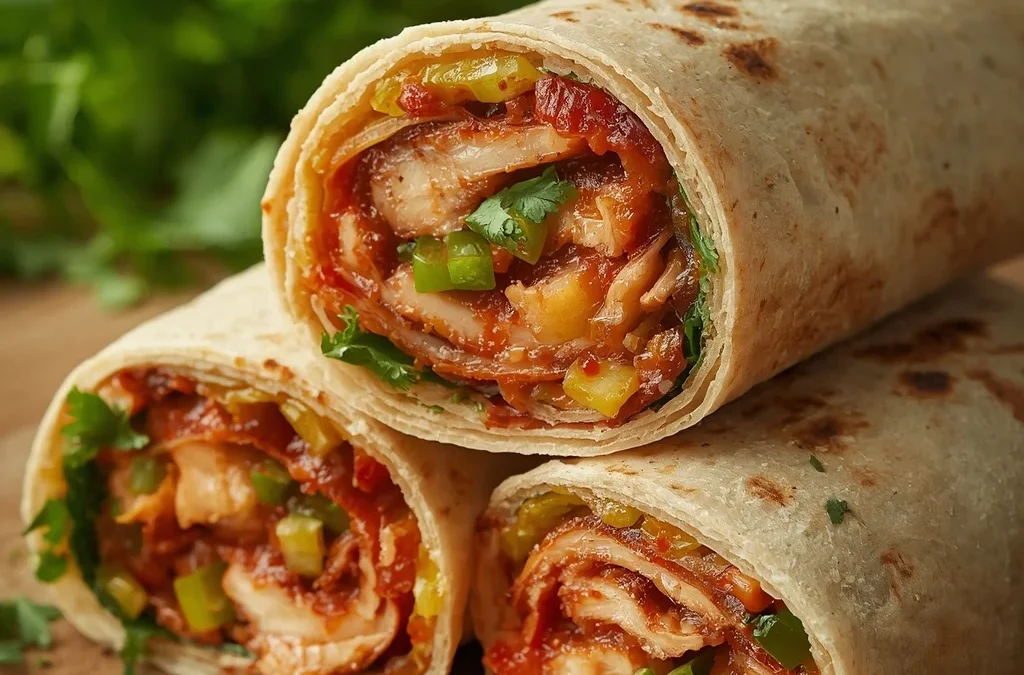
Easy Baked Chicken Fajita Roll-Ups Recipe
- Total Time: 35 minutes
- Yield: 4 servings 1x
- Diet: Gluten Free
Description
Understanding the magic behind this dinner favorite starts with looking at how simple ingredients work together. Every component plays a distinct role in turning a mild fish into a memorable meal.
Ingredients
Scale
- 4 boneless, skinless chicken breasts
- 1 red bell pepper, thinly sliced
- 1 green bell pepper, thinly sliced
- ½ small onion, thinly sliced
- 1 cup shredded Mexican blend or Monterey Jack cheese
- 2 tbsp olive oil
- 1½ tbsp fajita seasoning
- ½ tsp garlic powder
- ½ tsp paprika
- ½ tsp salt
- ¼ tsp black pepper
- 1 tbsp fresh lime juice
- 2 tbsp chopped fresh cilantro, optional
Instructions
- Preheat the oven to 400°F (200°C). Lightly grease a baking dish.
- Prepare the chicken: Place each chicken breast between two sheets of plastic wrap and pound to about ¼-inch thickness.
- Season: Brush the chicken with 1 tbsp olive oil and sprinkle both sides with fajita seasoning, garlic powder, paprika, salt, and pepper.
- Add the filling: Place a small amount of sliced bell peppers, onion, and shredded cheese near one end of each chicken breast.
- Roll up: Carefully roll each chicken breast tightly around the filling. Secure with toothpicks if needed.
- Sear: Heat the remaining olive oil in a skillet over medium-high heat. Sear the roll-ups for 2–3 minutes per side, until lightly browned.
- Bake: Transfer to the prepared baking dish and bake for 15–20 minutes, or until the chicken reaches an internal temperature of 165°F (74°C).
- Finish and serve: Let the roll-ups rest for 5 minutes. Remove toothpicks, drizzle with lime juice, and garnish with cilantro.
Notes
For the best results, pound the chicken evenly so it cooks at the same rate. Don’t overfill the roll-ups, and serve them warm with salsa, guacamole, sour cream, or a squeeze of fresh lime for extra flavor.
- Prep Time: 15 minutes
- Cook Time: 20 minutes
- Category: Main Course
- Method: Baking
- Cuisine: Mexican
Nutrition
- Serving Size: 1 roll-up
- Calories: ~390 kcal
Keywords: stuffed chicken fajita rolls, baked fajita chicken roll-ups, cheesy chicken roll-ups
