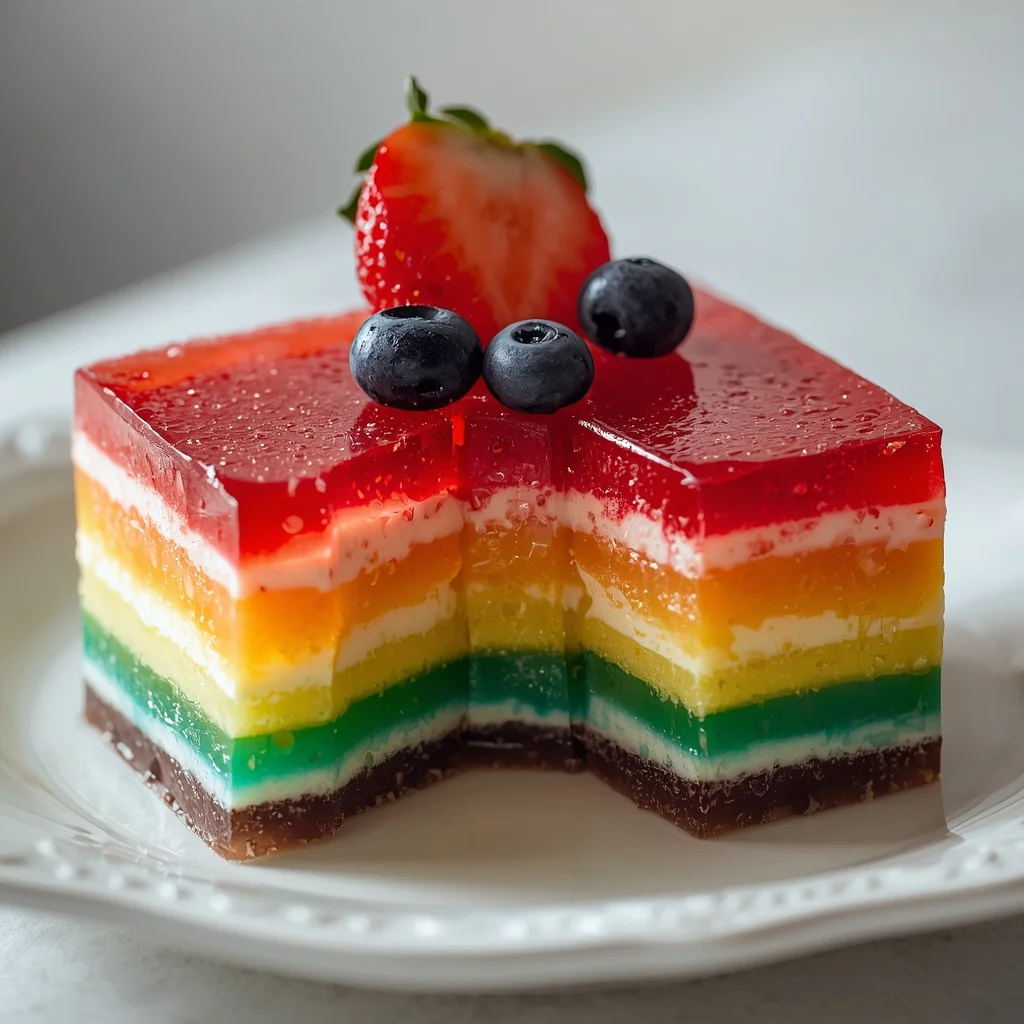
If you are looking to bring a vibrant touch of pure nostalgic joy to your next family gathering, holiday party, or summer picnic, the classic retro rainbow jello salad is the ultimate show-stopping dessert. This eye-catching centerpiece features distinct, colorful bands of fruit-flavored gelatin separated by a rich, velvety creamy layer that balances the sweetness perfectly. Beyond its whimsical appearance, this dish offers a crisp, refreshing fruit taste and a smooth texture that appeals to guests of all ages. Making a traditional retro rainbow jello salad is remarkably simple, relying on straightforward ingredients and basic techniques that yield a stunning visual reward. In this comprehensive guide, we will walk you through everything you need to know to create this iconic vintage treat from scratch, ensuring perfect, defined stripes every single time without any muddy color blending.
What is a Retro Rainbow Jello Salad?
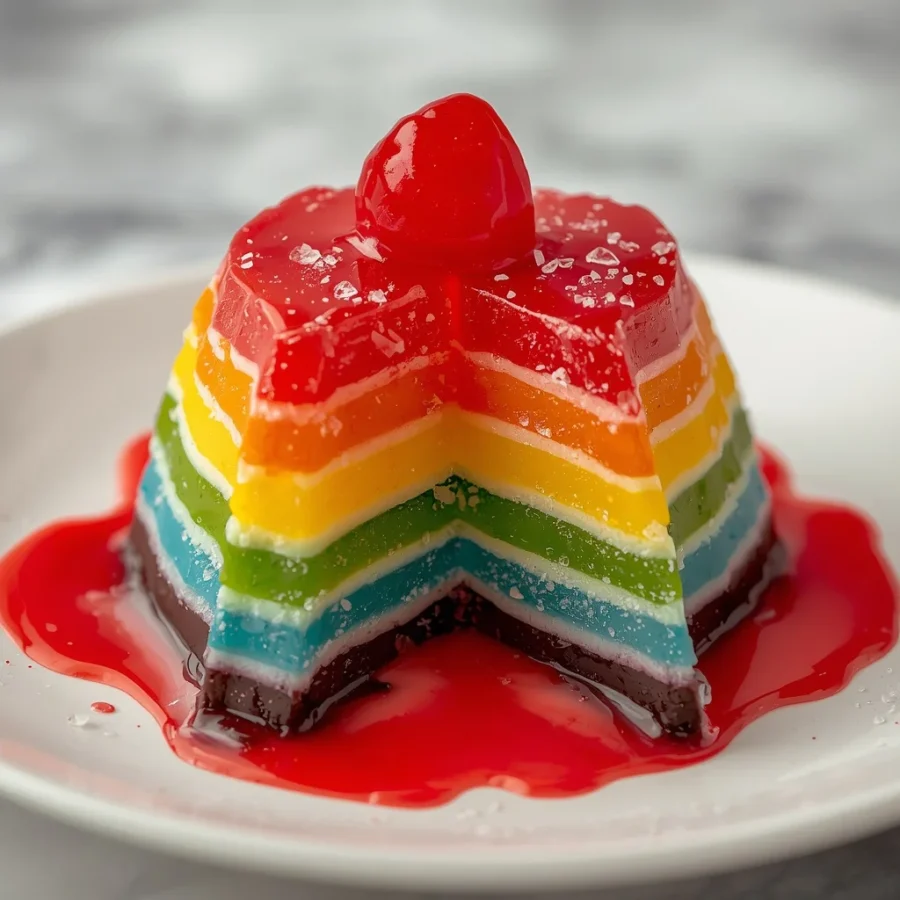
A retro rainbow jello salad is a multi-layered molded dessert constructed from several individual shades of flavored gelatin. Each layer is chilled until firm before the next liquid layer is gently added on top, resulting in a clean, horizontal stripe pattern that resembles a natural rainbow.
Unlike modern quick desserts, this recipe holds a cherished place in home entertaining history. It captures the charm of classic mid-century American dining, where gelatin dishes served as the centerpieces of potlucks and celebration tables. The combination of bright fruit flavors with a soft, creamy sour cream and whipped topping layer elevates standard gelatin into an extraordinary festive dish.
The Origin of Layered Gelatin Salad Recipes
The rich history of molded gelatin dishes began long before the colorful mid-century boom, but it truly exploded into popular culture during the middle of the twentieth century.
Early Gelatin Innovations
In the late nineteenth century, powdered gelatin became commercially available, making elaborate cold desserts accessible to average households. Prior to this innovation, creating gelatin required hours of labor-intensive boiling and straining.
The Mid-Century Potluck Revolution
By the middle of the twentieth century, convenience foods gained immense popularity across North America. Instant flavored gelatins allowed home cooks to experiment with creative shapes, vibrant colors, and unique layered presentations. The multi-layered retro rainbow jello salad quickly emerged as a favorite among hostesses who wanted an impressive, budget-friendly dessert that could be prepared entirely in advance. It became a staple at church suppers, community potlucks, and holiday dinners throughout the country.
Ingredients and Exact Quantities: retro rainbow jello salad
To construct a beautifully structured retro rainbow jello salad, you will need a selection of colorful gelatin powders along with a simple, creamy mixture to create distinct contrast between the bright layers.
Fruit Gelatin Layers
-
Cherry gelatin (red color): One small package of three ounces
-
Orange gelatin (orange color): One small package of three ounces
-
Lemon gelatin (yellow color): One small package of three ounces
-
Lime gelatin (green color): One small package of three ounces
-
Berry blue or grape gelatin (blue or purple color): One small package of three ounces
-
Boiling water: Five full cups, divided equally into one cup per gelatin box
-
Cold water: Two and one half full cups, divided equally into one half cup per gelatin box
Optional Classic Cream Layer
-
Sour cream: One full cup
-
Whipped topping (thawed): One full cup
-
Granulated white sugar: Two tablespoons, optional for extra sweetness
Step-by-Step Directions and Preparation Method
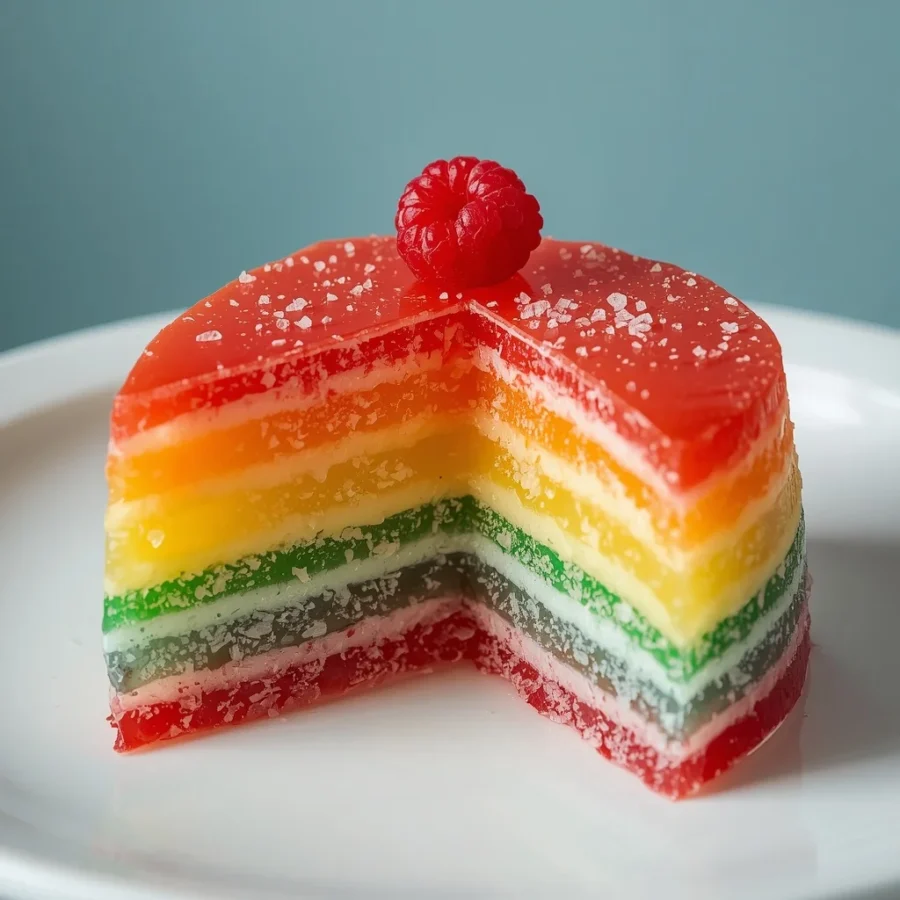
Creating a seamless retro rainbow jello salad requires a bit of patience during the cooling phases, but the process itself is straightforward and highly rewarding.
          [ Layering Order ]
  +--------------------------------+
  |  Layer 5: Berry Blue / Grape   |
  +--------------------------------+
  |  Layer 4: Lime (Green)         |
  +--------------------------------+
  |  Layer 3: Lemon (Yellow)       |
  +--------------------------------+
  |  Layer 2: Orange               |
  +--------------------------------+
  |  Layer 1: Cherry (Red)         |
  +--------------------------------+
  | 9 x 13-Inch Glass Dish (Greased)|
  +--------------------------------+
Dish Preparation and Cream Layer Assembly
-
Lightly grease the interior of a standard nine by thirteen inch glass baking dish with neutral pan spray or a small paper towel lightly dipped in vegetable oil. This step helps the finished gelatin slices release smoothly when served.
-
If you choose to include the classic cream layer, take a mixing bowl and gently whisk together one full cup of sour cream, one full cup of thawed whipped topping, and two tablespoons of white granulated sugar until smooth and completely combined. Place this bowl in the refrigerator to stay chilled.
Mixing and Pouring the Base Red Layer
-
Measure out one cup of boiling water and pour it into a mixing bowl containing the three ounce package of red cherry gelatin.
-
Stir continuously for roughly two full minutes until every single crystal of gelatin has completely dissolved.
-
Pour one half cup of cold water into the hot mixture and stir well to combine.
-
Carefully pour the liquid red gelatin into the bottom of your prepared glass dish.
-
Place the dish flat into your refrigerator for approximately thirty to forty-five minutes, or until the gelatin has set enough that it is firm to a gentle touch.
Adding the Creamy Accent and Additional Layers
-
Once the red layer is set, gently spread a thin layer of your prepared sour cream mixture over the top if you desire a creamy separator, or proceed directly to the next gelatin color for a clear translucent rainbow effect.
-
Prepare the orange gelatin box using the exact same ratio of one cup of boiling water and one half cup of cold water.
-
Allow the liquid gelatin to sit on the kitchen counter until it cools down to room temperature. This cooling step is vital because hot liquid will melt the set layer underneath.
-
Slowly pour the cooled orange liquid over the back of a large spoon onto the red layer. Using the back of a spoon breaks the force of the liquid stream and prevents the layers from mixing.
-
Return the dish to the refrigerator for another thirty to forty-five minutes until firm.
Repeating for Remaining Colors and Final Chill
-
Repeat the exact same dissolving, cooling, and pouring procedure for the remaining colors in order: yellow lemon gelatin, green lime gelatin, and blue or purple berry gelatin.
-
After adding your final top layer, cover the glass dish loosely with plastic wrap and chill the complete retro rainbow jello salad in the refrigerator for at least four full hours, or ideally overnight, to allow all the layers to set into a solid structure.
Serving Suggestions and Expert Presentation Tips: retro rainbow jello salad
Serving your layered gelatin dessert with clean lines elevates its nostalgic presentation into a restaurant-quality centerpiece.
                  [ Slice & Garnish ]

                      ( Cherry )
                      (  ~~  )  <-- Whipped Cream
                  +--------------+
                  |  Blue        |
                  |  Green       |
                  |  Yellow      |
                  |  Orange      |
                  |  Red         |
                  +--------------+
How to Slice Cleanly
To slice your salad into crisp, distinct squares without tearing the gelatin:
-
Fill a tall glass with hot water.
-
Dip a sharp chef’s knife into the hot water for a few seconds.
-
Wipe the blade dry with a clean cloth before making each long cut.
-
Repeat the hot water dipping process between every individual slice.
Decorative Garnishes
Garnish individual serving plates with a dollop of extra whipped topping, bright maraschino cherries, colorful rainbow sprinkles, or fresh whole berries like raspberries and blueberries to match the fruit flavors.
Delicious Recipe Variations to Try: retro rainbow jello salad
While the traditional five-color setup is a timeless classic, you can easily alter this base recipe to suit different holidays, diets, or personal taste preferences.
Patriotic Holiday Variation
For national holidays like Independence Day or Memorial Day, construct a three-layer dish using red cherry gelatin at the bottom, the white sour cream mixture in the center, and berry blue gelatin across the top.
Citrus Sunshine Layered Mold
Focus on tropical citrus flavors by using strawberry, orange, lemon, and lime gelatins, layering them with coconut-flavored whipped topping for a sunny summer taste profile.
Sugar-Free Rainbow Salad
To accommodate low-sugar or keto-friendly diets, swap out standard flavored gelatins for sugar-free varieties. Replace the sweetened whipped topping with plain heavy cream whipped with a zero-calorie sweetener alongside full-fat sour cream.
Bundt Pan Gelatin Ring
Instead of using a flat glass baking dish, construct your dish inside a classic bundt or ring mold pan. When fully set, dip the bottom of the mold in warm water for ten seconds and invert the layered ring onto a large platter for a dramatic presentation.
Frequently Asked Questions: retro rainbow jello salad
How long does a rainbow gelatin salad last in the fridge?
When kept tightly covered with plastic wrap or stored in an airtight container, this dish will remain fresh and hold its structure in the refrigerator for up to five full days.
Why did my gelatin layers separate or fail to stick together?
If the lower layer becomes completely hard and slippery before the next layer is added, the layers may not bond correctly. Aim to pour the next color when the lower layer is set firm enough to hold its weight but still slightly tacky to the touch. Additionally, ensure the incoming liquid is cooled down to room temperature before pouring.
Can I freeze retro rainbow jello salad to speed up the setting process?
Freezing gelatin is not recommended. While placing the dish in the freezer for ten minutes can speed up chilling between layers, letting gelatin freeze completely breaks down its molecular structure, causing it to turn watery upon thawing.
Can I add real fresh fruit into the layers?
Yes, you can add small pieces of canned or fresh fruit into individual layers. However, avoid using fresh pineapple, kiwi, mango, or papaya, as these fruits contain natural enzymes that prevent gelatin from setting properly.
Conclusion: retro rainbow jello salad
The classic retro rainbow jello salad is far more than a simple throwback dish; it remains a stunning, crowd-pleasing dessert that brings genuine fun and color to any table. By following these easy temperature guidelines, using a spoon to pour your layers gently, and taking your time between cooling phases, you can effortlessly create a flawless centerpiece that tastes refreshing and looks incredible. Gather your favorite gelatin flavors today and enjoy making this timeless favorite for your family and friends.
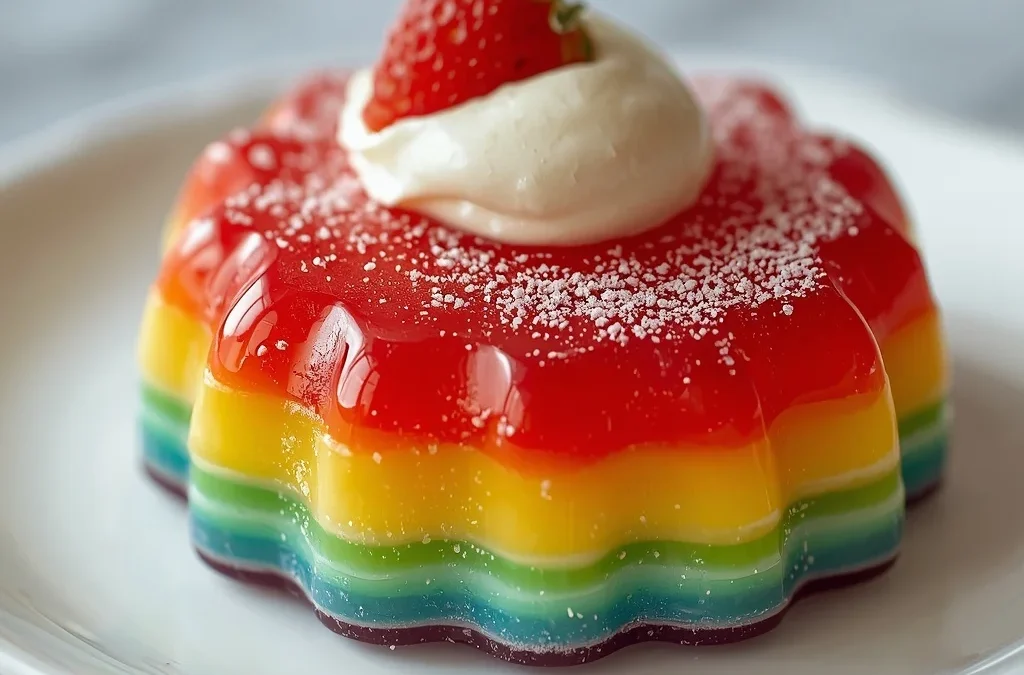
The Ultimate Retro Rainbow Jello Salad Recipe for Potlucks and Holidays
- Total Time: 5 hours (including chilling)
- Yield: 12 servings 1x
- Diet: Vegetarian
Description
A retro rainbow jello salad is a multi-layered molded dessert constructed from several individual shades of flavored gelatin. Each layer is chilled until firm before the next liquid layer is gently added on top, resulting in a clean, horizontal stripe pattern that resembles a natural rainbow.
Ingredients
Rainbow Layers
- 1 (3 oz) box cherry gelatin (red)
- 1 (3 oz) box orange gelatin
- 1 (3 oz) box lemon gelatin
- 1 (3 oz) box lime gelatin
- 1 (3 oz) box berry blue gelatin (or grape)
- 5 cups boiling water (1 cup per box)
- 2½ cups cold water (½ cup per box)
Cream Layer (Optional but Classic)
- 1 cup sour cream
- 1 cup whipped topping, thawed
- 2 tablespoons sugar (optional)
Instructions
- Lightly grease a 9×13-inch glass dish.
- Prepare the red gelatin by dissolving it in 1 cup boiling water. Stir for about 2 minutes until completely dissolved, then add ½ cup cold water.
- Pour into the dish and refrigerate for 30–45 minutes, or until just set.
- If using the cream layer, spread a thin layer of the sour cream and whipped topping mixture over the set gelatin.
- Repeat with the remaining colors in this order:
- Orange
- Yellow
- Green
- Blue (or purple)
- Chill each layer until firm before adding the next to keep the colors distinct.
- Refrigerate the finished salad for at least 4 hours, preferably overnight.
Notes
This Retro Rainbow Jello Salad is a colorful blast from the past that’s sure to brighten any dessert table. Make it a day ahead for the best layers and enjoy a fun, nostalgic treat with family and friends!
- Prep Time: 30 minutes
- Cook Time: 10 minutes
- Category: Dessert
- Method: Layering
- Cuisine: American
Nutrition
- Serving Size: 1 square
- Calories: 180 kcal
Keywords: vintage rainbow gelatin dessert, layered jello salad, colorful layered gelatin
