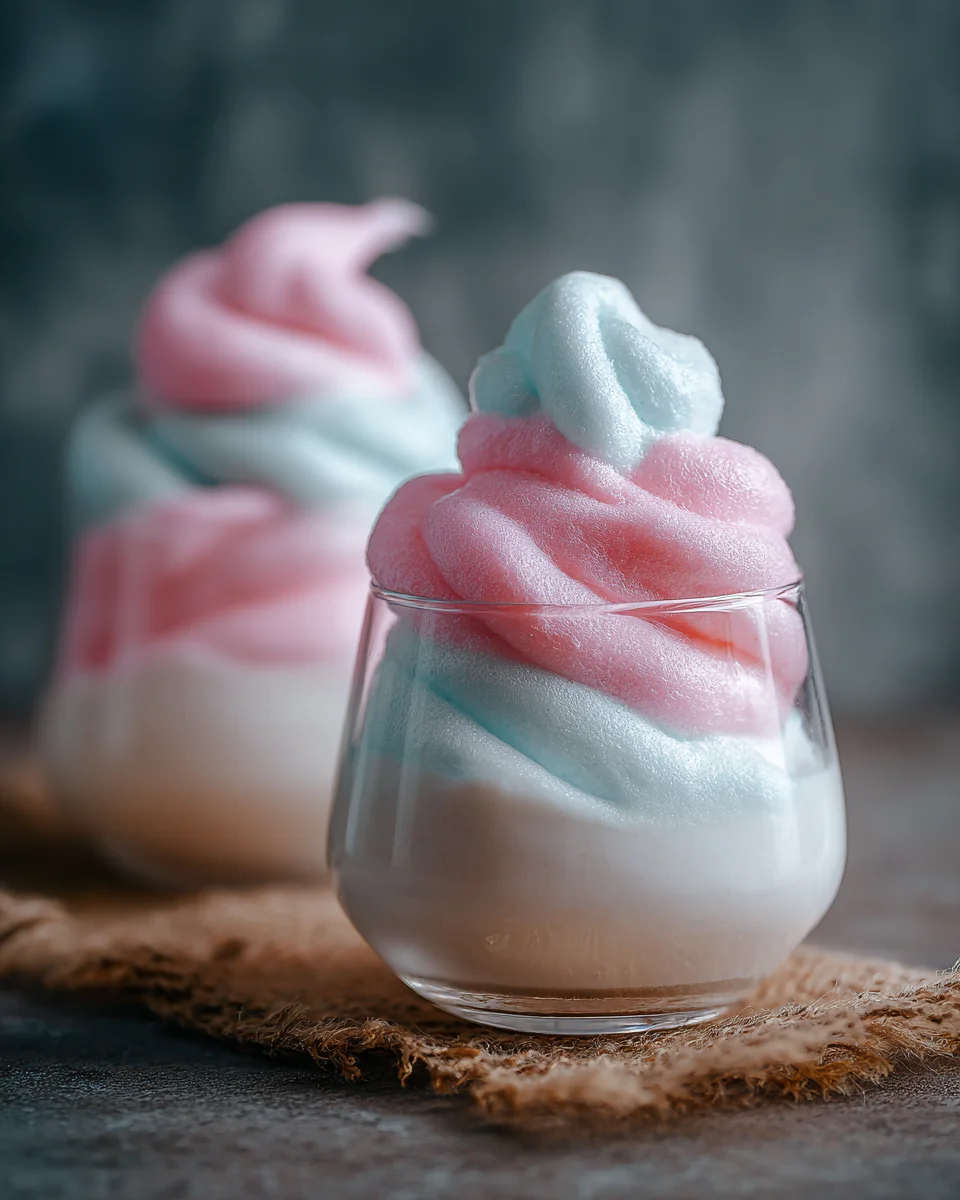
Imagine walking through a bustling summer carnival, the air filled with laughter, bright lights, and the sweet aroma of spun sugar. Now, picture capturing that exact magical feeling and transforming it into an elegant, restaurant-quality dessert. That is exactly what you get with this spectacular fluffy cotton candy mocktail panna cotta. This whimsical dessert combines the rich, velvety texture of a traditional Italian custard with the nostalgic, playful sweetness of your favorite childhood carnival treat. Perfect for birthday parties, elegant baby showers, or just a fun weekend baking project, this layered masterpiece is guaranteed to turn heads and delight your taste buds. Best of all, it is entirely non-alcoholic, making it a crowd-pleasing showstopper that guests of all ages can enjoy.
What makes this particular treat so special is the contrast between the creamy base and the vibrant, effervescent top layer. It looks like a complex creation from a high-end pastry shop, but it is surprisingly simple to make at home. By blending a classic dessert technique with a creative beverage-inspired twist, you get a beautiful hybrid food experience that is just as fun to look at as it is to eat.
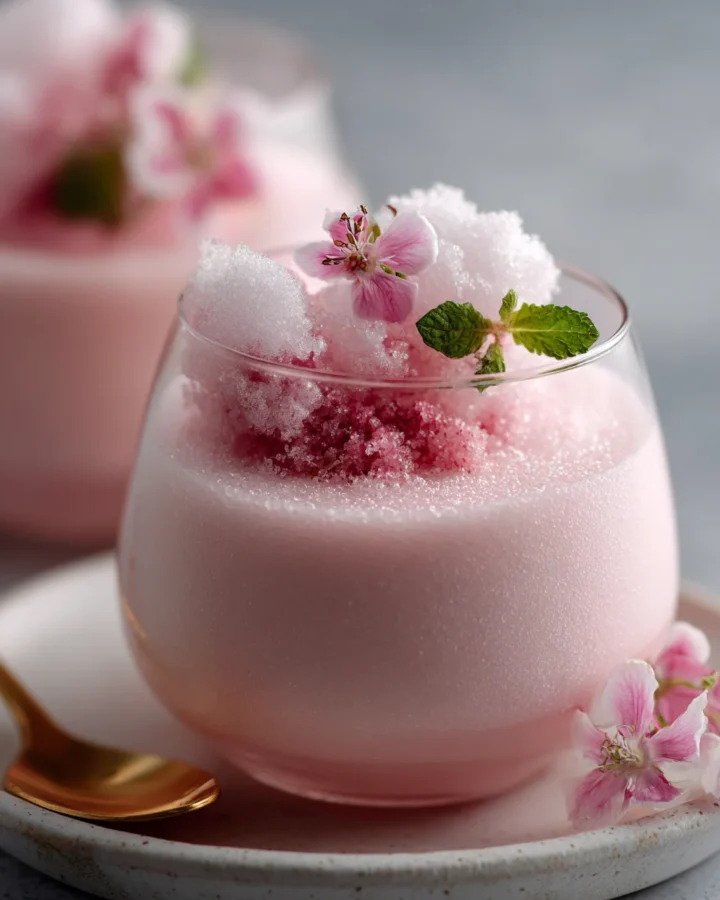
What Is cotton candy panna cotta?
At its core, this dish is a creative reimagining of two distinct culinary concepts. To truly appreciate it, we first have to understand the foundational element, which is the traditional panna cotta. Hailing from Italy, this classic dessert literally translates to cooked cream. It is a simple, elegant mixture of dairy, sugar, and gelatin that is heated and then chilled until it sets into a delicate, custard-like consistency. A perfect version should have a subtle, elegant wobble when you tap the glass, melting smoothly on your tongue without being overly firm or rubbery.
The second element is the mocktail layer, which elevates this treat from a standard custard to an interactive dessert experience. Instead of a traditional fruit coulis or berry compote, this version utilizes a bubbly, fruit-infused gel layer that mimics the refreshing nature of a fizzy party drink. When you spoon down through the layers, you experience the rich creaminess of the base alongside the bright, tangy zest of the top layer. The final touch of spun sugar on top provides a dramatic, cloud-like presentation that ties the entire theme together beautifully.
Origin of cotton candy panna cotta
The roots of this dessert stretch across different eras and geographical locations, blending classic European culinary arts with American carnival culture. The foundational component, panna cotta, originates from the Piedmont region of Northern Italy. While historical accounts vary, it is widely believed that home cooks in the early twentieth century began setting local dairy with bone broth gelatins, later refining the technique with sugar and vanilla as these ingredients became more accessible. Over the decades, it became a staple of fine dining due to its smooth texture and ability to carry diverse flavor profiles.
The flavor inspiration, however, comes from a completely different world. Cotton candy, originally known as fairy floss, was invented in the United States in the late nineteenth century by a dentist named William Morrison and a confectioner named John C. Wharton. They introduced this spun-sugar marvel at the Saint Louis World’s Fair in the early twentieth century, where it became an overnight global phenomenon.
By bringing these two distinct histories together, modern pastry chefs and food enthusiasts created a fusion dessert. The concept of incorporating nostalgic childhood flavors into sophisticated, mature culinary formats has exploded in popularity over the last decade. This specific recipe represents the pinnacle of that movement, blending the rigorous technique of Italian dessert-making with the unbridled joy of a summer fairgrounds.
Ingredients with Quantity: cotton candy panna cotta
To achieve the perfect texture and flavor balance for your fluffy cotton candy mocktail panna cotta, you will need to gather a few specific ingredients. Having everything measured out before you begin will make the assembly process incredibly smooth and enjoyable.
For the Creamy Base
-
Two cups of heavy cream, which provides the rich and luxurious mouthfeel essential for a proper custard base.
-
One cup of whole milk to balance the heavy cream, ensuring the texture remains light enough to wobble beautifully.
-
One-quarter cup of granulated white sugar to add just the right amount of sweetness without overpowering the distinct spun-sugar flavor notes.
-
One teaspoon of premium cotton candy flavoring, which gives the base its signature nostalgic taste. If you cannot find this specialty item at your local baking supply store, high-quality vanilla extract makes an excellent substitute.
-
Two and a half teaspoons of unflavored powdered gelatin to properly set the dairy base into a delicate mold.
-
Three tablespoons of ice-cold water, which is necessary to hydrate and bloom the gelatin before it is introduced to the warm liquids.
-
A few drops of liquid pink or blue food coloring to give your dessert that iconic, eye-catching pastel carnival aesthetic.
Mocktail Layer
-
One cup of lemon-lime soda, thoroughly chilled, to bring a bright, citrusy effervescence to the top portion of the dessert.
-
One-half cup of cranberry juice or a vibrant blue sports drink, depending on whether you want a pink or blue color theme for your final presentation.
-
One teaspoon of unflavored powdered gelatin to gently set the liquid beverage layer.
-
Two tablespoons of cold water to properly bloom the gelatin for this secondary layer.
For the Spectacular Garnish
-
Small tufts of fresh cotton candy, which should be added at the absolute last second before serving.
-
Colorful sprinkles or edible nonpareils to add a touch of texture and visual excitement.
-
Fresh berries such as raspberries or blueberries, which offer a natural, tart contrast to the sweet elements of the dish.
Step by Step Direction and Preparation Method: cotton candy panna cotta
Creating this stunning dessert requires a little bit of patience, particularly when it comes to the cooling times, but the actual hands-on process is incredibly straightforward. Follow these steps carefully to ensure a flawless, lump-free presentation.
Mastering the Creamy Base
Blooming the Gelatin
The first phase of the process involves building the sweet, flavored cream foundation. Start by taking your three tablespoons of cold water and placing it in a small, shallow bowl. Gently sprinkle the two and a half teaspoons of powdered gelatin evenly over the surface of the water. It is important to sprinkle it rather than dumping it in a clump, as this ensures every grain of powder absorbs moisture. Let this sit undisturbed for about five minutes. This process is known as blooming, and it activates the gelatin so that it dissolves smoothly later on.
Heating the Cream Mixture
While your gelatin is blooming, take a medium-sized saucepan and combine your two cups of heavy cream, one cup of whole milk, and one-quarter cup of sugar. Place the saucepan over medium-low heat. You want to stir the mixture continuously with a whisk or a wooden spoon to ensure the sugar dissolves completely and the dairy does not scorch on the bottom of the pan.
Bringing the Mixture to the Right Temperature
Watch the saucepan closely. You want to bring the liquid to a gentle steam. Do not let it reach a rolling boil, as excessive heat can weaken the setting power of the gelatin and alter the proteins in the dairy. As soon as you see steam rising and tiny bubbles forming around the edges of the pan, remove the saucepan completely from the heat source.
Incorporating the Gelatin
Now, take your bloomed gelatin, which should look like a thick, rubbery paste, and drop it directly into the hot cream mixture. Stir the liquid vigorously for a full minute. The residual heat of the cream will instantly melt the gelatin, but you want to ensure it is completely incorporated with no hidden lumps remaining.
Adding Flavor and Color
Once the mixture is perfectly smooth, stir in your one teaspoon of cotton candy flavoring. This is also the ideal moment to add a few drops of your pink or blue food coloring. Start with just one or two drops, stirring thoroughly until you achieve a beautiful, delicate pastel shade.
Filling the Serving Glasses
Carefully pour the colored cream into your chosen serving vessels, such as clear martini glasses, small mason jars, or elegant glass tumblers. Make sure to fill them only about two-thirds of the way up, leaving plenty of room at the top for your vibrant mocktail layer.
Chilling Until Set
Place the glasses carefully onto a baking sheet to keep them steady, and transfer them into your refrigerator. Let them chill undisturbed for at least three to four hours, or until the cream is completely set and firm to a gentle touch.
Preparing the Effervescent Mocktail Layer
Once your cream base has finished setting in the refrigerator, you can begin preparing the beautiful, translucent top layer. Just like before, the process begins with blooming your gelatin. Take your two tablespoons of cold water in a small cup and sprinkle the one teaspoon of gelatin over the top, letting it sit for five minutes until it absorbs the liquid.
In a small measuring cup, combine your one cup of chilled lemon-lime soda and your one-half cup of cranberry juice or blue sports drink. Take about one-quarter cup of this combined juice and soda mixture and place it into a small, microwave-safe bowl or a tiny saucepan. Heat it very briefly just until it is warm to the touch.
Add your small portion of bloomed gelatin to this warm liquid, stirring rapidly until the gelatin dissolves completely and the liquid is entirely clear. Once dissolved, slowly pour this warm gelatin mixture back into the remaining cup of chilled juice and soda, stirring constantly to integrate the elements. Allow this liquid mixture to sit on your kitchen counter until it cools completely down to room temperature. It is vital that the liquid is not warm when you pour it, otherwise, it will melt the cream layer underneath.
Assembling the Striking Layers
Take your set cream glasses out of the refrigerator. Gently touch the surface to ensure it is firm. Using a spoon held upside down over the glass, slowly and carefully pour the room-temperature mocktail mixture over the back of the spoon onto the cream base. Using the back of a spoon breaks the fall of the liquid, preventing it from puncturing or disturbing the smooth surface of the cream underneath.
Create a thin, elegant layer of the liquid on top of each dessert glass. Once all the glasses have been layered, carefully return the baking sheet to the refrigerator. This secondary layer needs to chill for another thirty to sixty minutes. Because it is a thinner layer, it will set much faster than the base, forming a gorgeous, translucent jelly that catches the light beautifully.
The Final Grand Presentation
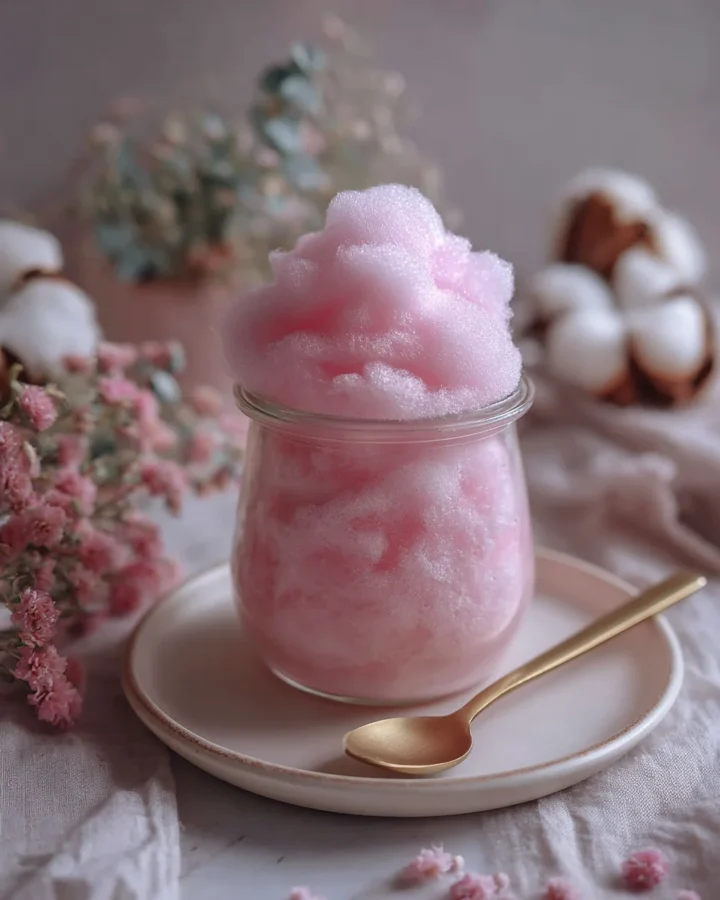
Now comes the most exciting part of the entire process: the finishing touches. It is absolutely crucial to remember that you should only garnish this dish at the absolute last second before you carry it out to your guests. Spun sugar is incredibly sensitive to moisture and humidity; if it sits on top of the wet jelly layer for too long, it will begin to melt and dissolve into a sugary syrup within minutes.
Just before serving, take small, fluffy tufts of fresh cotton candy and gently rest them on top of the set mocktail layer, creating the illusion of a sweet, colorful cloud floating over a vibrant drink. Scatter your colorful sprinkles over the top for a bit of festive flair, and nestle a few fresh berries into the side if you desire a pop of natural color. Serve the dessert immediately while it is perfectly chilled, and watch your guests marvel at the magical presentation.
Creative Variations: cotton candy panna cotta
One of the best things about mastering this basic technique is that it serves as a wonderful canvas for your own culinary creativity. You can easily adapt this fluffy cotton candy mocktail panna cotta to suit different themes, holidays, or personal flavor preferences.
The Carnival Sunset Theme
If you want a truly spectacular visual display, you can create a multi-colored sunset effect within your dessert glasses. Divide your hot cream base into two separate bowls before adding the food coloring. Tint one bowl a soft pastel pink and the other a delicate pastel blue. Pour the blue cream into the bottom of your glasses, filling them only one-third of the way up, and place them in the freezer for about fifteen minutes to set quickly.
Once firm, carefully pour the pink cream layer directly on top of the blue layer, filling the glass to the two-thirds mark, and return them to the refrigerator to set completely. When topped with a golden or purple mocktail layer, you get a stunning, multi-toned dessert that looks exactly like a gorgeous summer sunset over a fairground amusement park.
Tropical Paradise Twist
For those who want to play with different flavor profiles while keeping the whimsical aesthetic, you can easily pivot to a tropical theme. Swap out the cotton candy flavoring in the base for a high-quality coconut or mango extract. For the top mocktail layer, utilize a combination of pineapple juice and ginger ale to create a bright, zesty ginger-pineapple gel. Garnish the final creation with a tiny paper cocktail umbrella, a sprinkle of toasted shredded coconut, and a slice of fresh lime for a dessert that transports you straight to a sandy tropical beach.
The Sparkly Celebration Upgrade
If you are preparing this dessert for a major milestone celebration like a New Year’s Eve party, an elegant wedding shower, or a milestone birthday, you can amp up the glamour factor significantly. Mix a small amount of edible, food-grade glitter directly into both the cream base and the translucent mocktail layer before they set. As the layers cool, the glitter becomes suspended within the gelatin, creating a magical, shimmering effect that catches the light beautifully every time the glass is moved. Top it off with white spun sugar and an elegant, edible gold leaf for a truly luxurious presentation.
Frequently Asked Questions: cotton candy panna cotta
Can I make cotton candy panna cotta a few days in advance for a party?
Yes, you can absolutely prepare the foundational elements of this dessert ahead of time, which makes it an excellent choice for stress-free entertaining. You can prepare both the cream base and the translucent mocktail layer up to two days before your event. Just make sure to cover the tops of the glasses tightly with plastic wrap once they are fully set to prevent them from absorbing any unwanted odors from your refrigerator. However, remember that you must leave the spun sugar, sprinkles, and fresh berry garnishes off until the exact moment you are ready to serve them to your guests.
Why did my gelatin form hard lumps in the cream mixture?
Lumps usually occur if the gelatin was not bloomed correctly or if it was added to liquid that had already cooled down too much. Always ensure you are sprinkling the powder evenly over ice-cold water and letting it sit for a full five minutes until it resembles a uniform, spongy paste. Additionally, ensure your cream mixture is hot and steaming when you introduce the bloomed gelatin, and stir it immediately and vigorously for at least sixty seconds to guarantee every single particle dissolves completely.
Is there a good plant-based alternative to the powdered gelatin?
If you want to adapt this recipe for individuals who do not consume animal products, substitute the traditional gelatin with agar agar powder, a natural seaweed-derived setting agent. Keep in mind that agar agar creates a firmer set than standard gelatin and requires a different preparation method. To activate its setting properties, boil the agar agar for a few minutes before incorporating it into the recipe. Generally, you will use a significantly smaller amount of agar agar powder compared to standard gelatin to achieve a similar, delicate texture.
My cotton candy melted almost instantly on top, what did I do wrong?
Do not worry, this is a very common occurrence and is simply the result of science at work. Spun sugar consists of incredibly fine strands of sugar that have a massive surface area exposed to the air. Because sugar is highly hygroscopic, it rapidly draws moisture out of the air and out of the wet mocktail layer underneath it. To prevent this from happening, always ensure the top layer has completely cooled and set, and only place the spun sugar decoration on top when you are ready to serve the glasses directly to your dinner guests.
Conclusion: cotton candy panna cotta
Creating a memorable culinary experience does not require hours of intense labor or incredibly complex professional equipment. This spectacular fluffy cotton candy mocktail panna cotta proves that with a little bit of imagination and a solid understanding of basic kitchen techniques, you can create a truly showstopping dessert right in your own home kitchen. By balancing the rich, decadent texture of an Italian cream base with the playful, refreshing sparkle of a fruit-infused mocktail layer, you get a beautiful harmony of textures and flavors that appeals to the inner child in everyone. Whether you are hosting an elegant dinner party, celebrating a special family milestone, or simply looking to inject a little bit of magic into your weekend baking routine, this beautiful dessert is sure to bring smiles, laughter, and plenty of praise to your dining table.
Print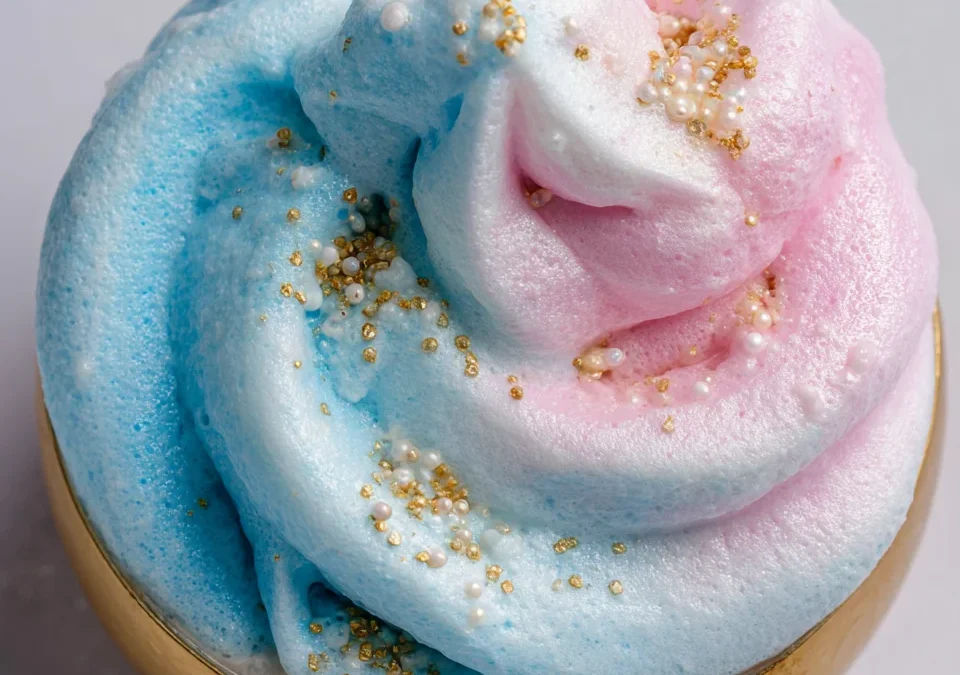
Fluffy Cotton Candy Mocktail Panna Cotta Recipe
- Total Time: 4 hours 30 minutes
- Yield: 6 servings 1x
- Diet: Vegetarian
Description
At its core, this dish is a creative reimagining of two distinct culinary concepts. To truly appreciate it, we first have to understand the foundational element, which is the traditional panna cotta. Hailing from Italy, this classic dessert literally translates to cooked cream. It is a simple, elegant mixture of dairy, sugar, and gelatin that is heated and then chilled until it sets into a delicate, custard-like consistency. A perfect version should have a subtle, elegant wobble when you tap the glass, melting smoothly on your tongue without being overly firm or rubbery.
Ingredients
For the Panna Cotta
- 2 cups (480 ml) heavy cream
- 1 cup (240 ml) whole milk
- ¼ cup sugar
- 1 tsp cotton candy flavoring (or vanilla extract if unavailable)
- 2½ tsp powdered gelatin
- 3 tbsp cold water
- A few drops pink or blue food coloring (optional)
For the Mocktail Layer
- 1 cup lemon-lime soda (chilled)
- ½ cup cranberry juice or blue sports drink
- 1 tsp gelatin
- 2 tbsp cold water
Garnish
- Small tufts of Cotton Candy
- Colorful sprinkles
- Fresh berries (optional)
Instructions
1. Make the Panna Cotta
- Sprinkle 2½ tsp gelatin over 3 tbsp cold water and let it bloom for 5 minutes.
- In a saucepan, combine cream, milk, and sugar.
- Heat gently until steaming but not boiling.
- Remove from heat and stir in the bloomed gelatin until fully dissolved.
- Add cotton candy flavoring and food coloring if desired.
- Pour into serving glasses, leaving room at the top for the mocktail layer.
- Refrigerate for 3–4 hours, or until set.
2. Prepare the Mocktail Layer
- Bloom 1 tsp gelatin in 2 tbsp cold water.
- Warm about ¼ cup of the juice mixture and dissolve the gelatin in it.
- Stir back into the remaining chilled juice and soda mixture.
- Let cool to room temperature.
3. Add the Layer
- Once the panna cotta is fully set, carefully pour a thin layer of the mocktail mixture over the top.
- Refrigerate for another 30–60 minutes until lightly set.
4. Garnish and Serve
- Add cotton candy just before serving (it dissolves quickly).
- Sprinkle with colorful decorations and berries.
- Serve chilled.
Notes
- Prep Time: 20 minutes
- Cook Time: 10 minutes
- Category: Dessert
- Method: Chilling
- Cuisine: Italian-Inspired Fusion
Nutrition
- Serving Size: 1 glass
- Calories: 340 kcal
Keywords: cotton candy dessert recipe, carnival mocktail panna cotta, sweet spun sugar custard
