If you are on the hunt for a truly magnificent dessert that balances a rich, velvety texture with a beautifully simple preparation method, look no further. Crafting a spectacular sweet treat from scratch does not require hours of complicated labor when you have the right blueprint. In this comprehensive guide, we are going to dive into the absolute best way to create gooey butter cake squares in your own kitchen. This dessert delivers an incredible contrast between a dense, cake-like crust and a melt-in-your-mouth cream cheese layer that will effortlessly impress your family, friends, and party guests.
Many home bakers struggle to find a dessert that is consistently successful for large gatherings, often ending up with treats that are either too dry or overly complicated to slice. Fortunately, this classic sweet solution addresses all of those common kitchen dilemmas effortlessly. By following this carefully structured approach, your gooey butter cake squares will turn out flawlessly rich and perfectly set every single time you bake. Let us pull back the curtain on what makes this decadent treat a timeless favorite, look at its interesting history, and walk through how you can achieve bakery-level results at home.
What is a Gooey Butter Cake Recipe?
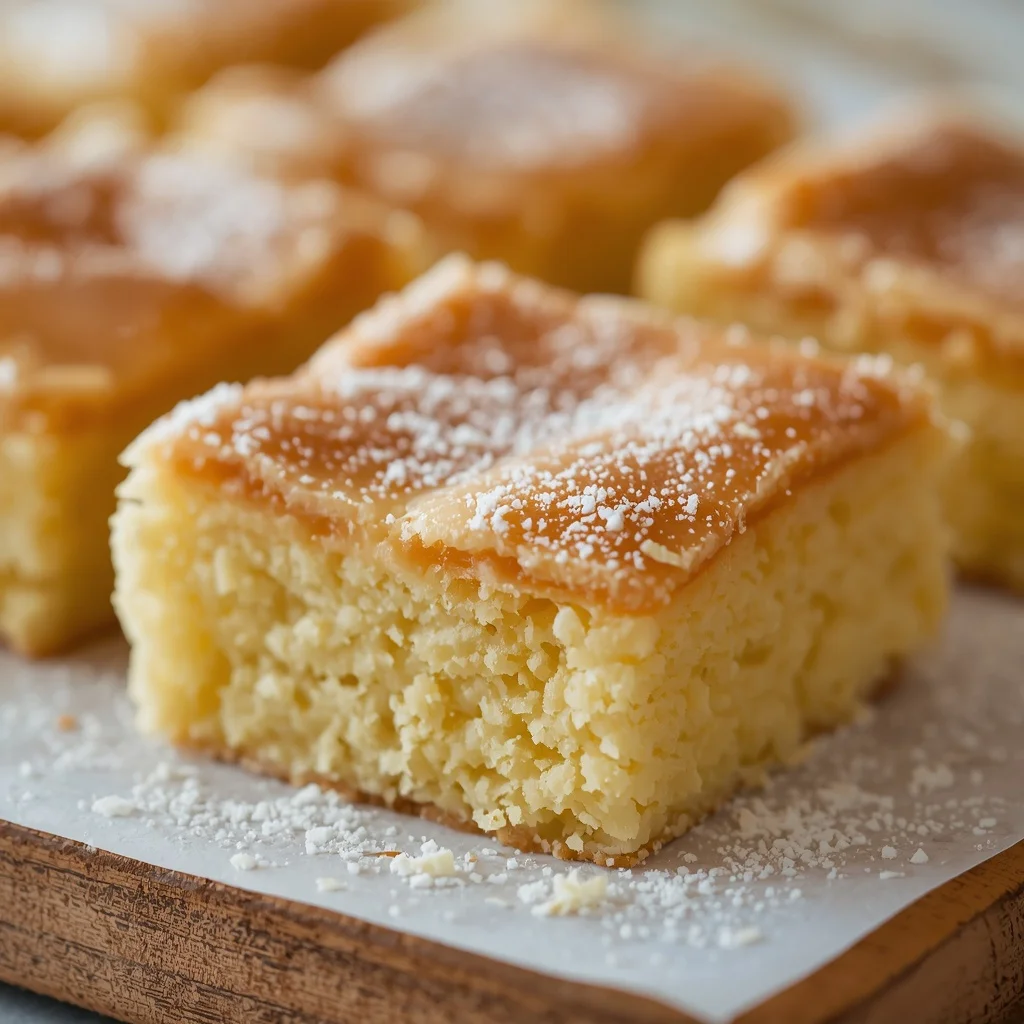
To understand the magic of this dish, it helps to break down exactly what happens in the baking pan. A traditional gooey butter cake squares setup features two distinctly beautiful layers that interact during the baking process to create a unique texture. The bottom layer is a firm, structured base made by combining a classic yellow cake mix with melted butter and a fresh egg. This mixture creates a thick, cookie-like dough that is pressed firmly into the bottom of a rectangular baking pan, providing a sturdy foundation for everything that follows.
The magic truly happens on top of that base, where a luscious, velvety filling is poured generously before the pan enters the oven. This top section is made by whipping softened cream cheese, fresh eggs, vanilla extract, a generous helping of powdered sugar, and even more rich, melted butter together until it becomes silky smooth. When baked, the bottom layer rises slightly to form a soft, cakey crust, while the top layer transforms into a custard-like topping that remains beautifully soft and delightfully jiggly in the very center.
Origin of the Classic Gooey Butter Cake
The fascinating history of this legendary dessert traces its roots back to the city of Saint Louis, Missouri, during the nineteen-thirties. According to local culinary lore, a traditional German baker accidentally reversed the standard proportions of butter, sugar, and flour while attempting to prepare a conventional coffee cake dough. Rather than throwing away the unusually thin, sticky batter during a time when ingredients were scarce, the resourcefulness of the baker prevailed, and he decided to bake the mixture anyway.
The resulting cake was a massive hit among local customers, who instantly fell in love with the intensely rich flavor and the delightfully soft, pudding-like center. Over the decades, home cooks across the country simplified the industrial bakery technique by using convenient boxed yellow cake mixes as an easy shortcut for the base layer, while introducing cream cheese into the topping to enhance the structural stability and add a subtle tanginess. Today, making authentic gooey butter cake squares is celebrated nationwide as an iconic, nostalgic piece of American baking heritage.
Ingredients You Will Need: Gooey butter cake squares
Before you begin the mixing process, it is highly beneficial to gather your supplies and measure out your components with precision. Using quality ingredients ensures that the rich buttery notes take center stage. Here is a comprehensive breakdown of everything required to create sixteen magnificent dessert bars.
Cake Base
-
One whole box of premium yellow cake mix, which is typically around fifteen and one-quarter ounces in weight
-
One-half cup of unsalted butter, completely melted and cooled slightly to prevent cooking the egg
-
One large fresh egg at room temperature
For the Gooey Filling
-
Eight full ounces of cream cheese, thoroughly softened to room temperature for a smooth blend
-
Two large fresh eggs, left out on the counter briefly to shed their refrigerator chill
-
One teaspoon of pure vanilla extract for a deep, aromatic depth
-
One-half cup of unsalted butter, completely melted and allowed to cool slightly
-
Four full cups of powdered sugar, measured carefully to achieve the perfect level of sweetness
For the Optional Garnish
-
An extra dusting of powdered sugar to scatter across the top surface before serving
Step by Step Direction and Preparation Method: Gooey butter cake squares
With your ingredients organized across your kitchen counter, it is time to assemble this delicious dessert. Follow these comprehensive instructions closely to guarantee a phenomenal outcome.
Preparing the Baking Pan and Base
Step One
Begin the process by positioning your oven rack directly in the middle of your oven, then turn on the heat to preheat to three hundred and fifty degrees Fahrenheit. While your oven warms up, prepare a standard nine-by-thirteen-inch rectangular baking pan. You can either grease the inner bottom and walls generously with vegetable shortening, or you can line the pan with a sheet of parchment paper, leaving a bit of an overhang on the long sides to act as convenient handles for lifting the bars out later.
Step Two
Take a large mixing bowl and empty the entire box of yellow cake mix into it. Pour in your one-half cup of melted unsalted butter and drop in your single large egg.
Step Three
Stir the ingredients together thoroughly using a sturdy spoon or a rubber spatula. As you mix, you will notice that the loose powder quickly transforms into a very thick, malleable, cookie-like dough.
Step Four
Transfer the thick dough directly into the center of your prepared rectangular pan. Using clean hands or the flat back of a measuring cup, press the dough firmly and evenly across the entire bottom surface of the pan, making sure it reaches into all four corners to form a uniform, flat crust.
Whipping the Rich Filling
Step One
In a separate clean mixing bowl, place your eight ounces of thoroughly softened cream cheese. Using an electric hand mixer or a stand mixer fitted with a paddle attachment, beat the cream cheese on medium speed until it becomes completely smooth, light, and free of any lumps.
Step Two
Add your two large eggs and the single teaspoon of pure vanilla extract directly into the beaten cream cheese. Continue mixing on a low setting until the eggs are fully incorporated into the mixture.
Step Three
With the mixer running on low speed, slowly stream in your remaining one-half cup of melted, cooled unsalted butter. Mix just until the butter disappears into the batter.
Step Four
Gradually add the four cups of powdered sugar, introducing about one cup at a time. Mixing slowly prevents a cloud of sugar from flying out of the bowl. Once all the sugar is in, increase the mixer speed slightly and beat until the filling becomes wonderfully thick, glossy, and completely smooth.
Assembly and Mastering the Bake
Step One
Pour the whipped cream cheese filling directly over the pressed cake base in your pan. Use an offset spatula or the back of a spoon to spread the mixture smoothly across the entire surface, ensuring it covers the base completely from edge to edge.
Step Two
Place the pan into your preheated oven and bake for forty to forty-five minutes. It is vital to monitor the cake closely during the final five minutes of baking. You are looking for the edges to turn a beautiful, light golden-brown color and puff up slightly, while the very center should still remain soft and visibly jiggly when you gently shake the pan.
Step Three
Avoid the temptation to keep baking until the entire center is firm, as overbaking will dry out the custard and destroy the signature soft texture that makes these bars so famous. The filling will naturally continue to firm up and set properly as it cools down on your counter.
Step Four
Remove the pan carefully from the hot oven and place it on a wire cooling rack. Allow the dessert to cool down completely to room temperature right inside the pan.
Step Five
Once the pan is cool to the touch, transfer it into your refrigerator and let it chill for at least one hour. Chilling the baked dessert is a crucial step because it helps the sweet filling solidify, allowing you to cut incredibly clean, sharp, professional-looking squares. Just before slicing, use a fine mesh sieve to dust a generous layer of extra powdered sugar over the top surface, then cut into sixteen uniform squares and serve.
Exciting Flavor Variations: Gooey butter cake squares
Once you have mastered the foundational method for these incredible gooey butter cake squares, you can easily experiment with fun modifications to create unique flavor profiles for different seasons and holidays.
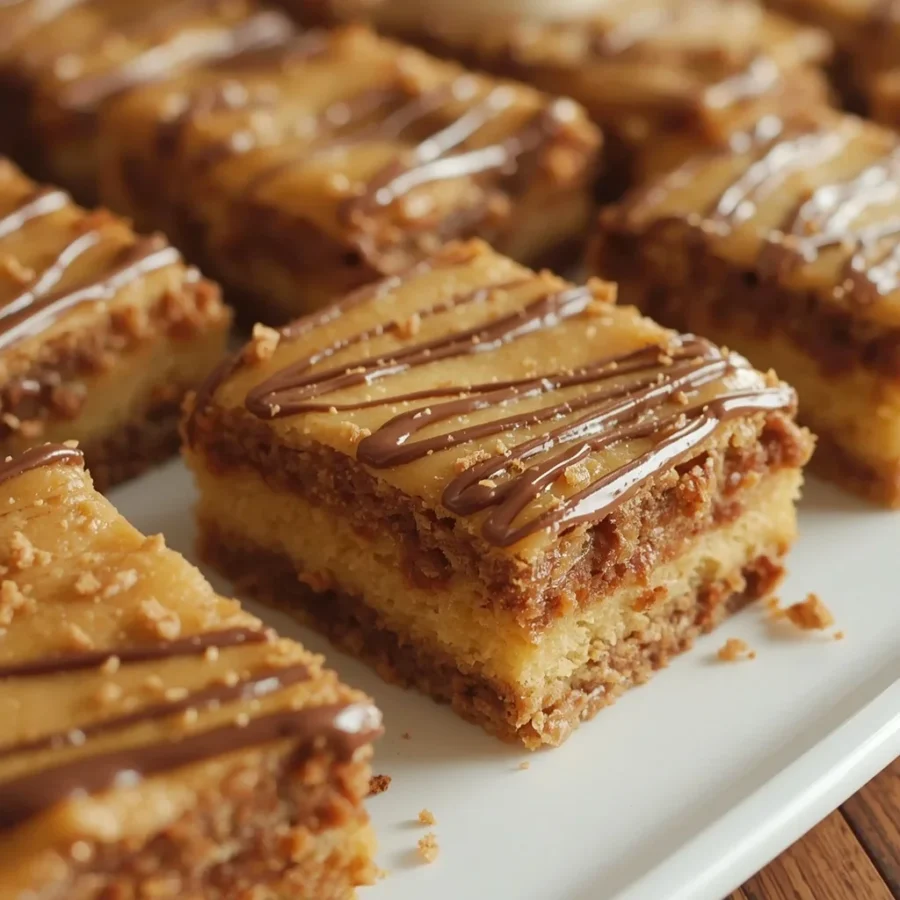
The Decadent Chocolate Twist
For an intensely rich, cocoa-infused dessert, simply swap out the standard yellow cake mix in the base for a box of premium chocolate cake mix. To take it a step further, you can fold one-half cup of mini semi-sweet chocolate chips directly into the cream cheese topping before baking. This modification yields a brownie-like base with a creamy, chocolate-cheesecake topper that chocolate lovers will absolutely adore.
The Warm Cinnamon Snickerdoodle Variation: Gooey butter cake squares
If you want to evoke the cozy flavor of a classic cinnamon cookie, stick with the traditional yellow cake mix base, but sprinkle a tablespoon of cinnamon-sugar mixture directly over the crust before adding the filling. Then, whisk a teaspoon of ground cinnamon into the cream cheese mixture. This creates a beautifully aromatic dessert that fills your entire kitchen with a comforting scent.
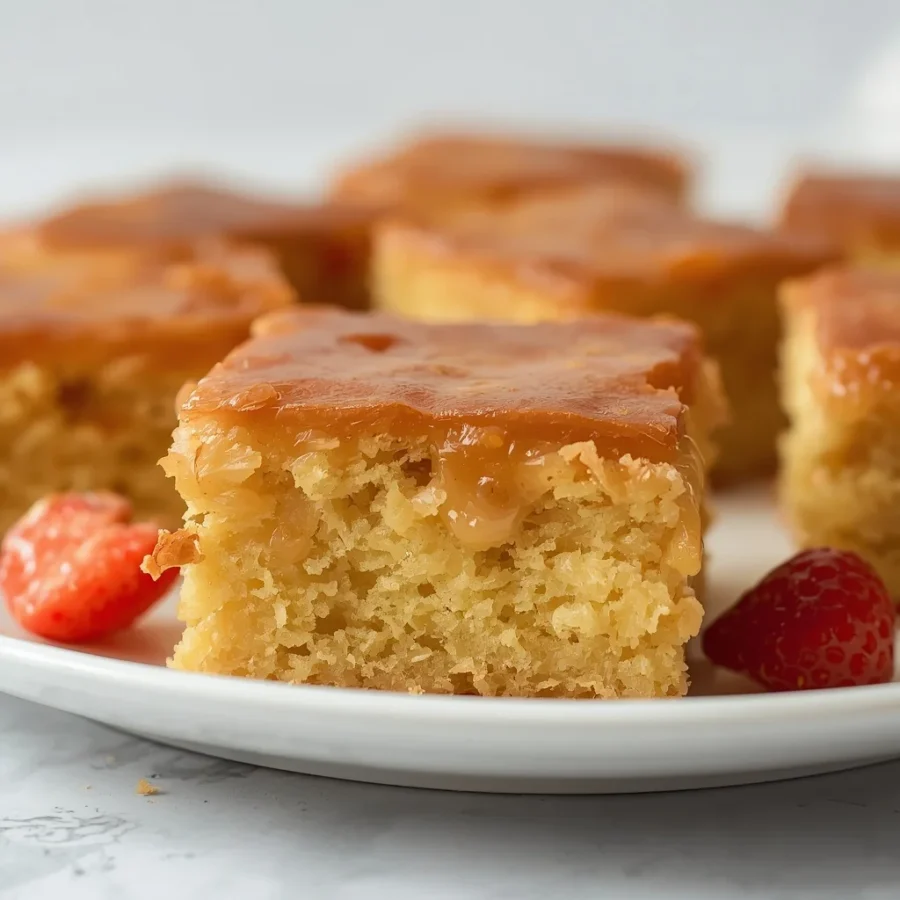
The Tangy Lemon Berry Option: Gooey butter cake squares
To create a brighter, refreshing profile that is perfect for spring and summer gatherings, replace the yellow cake mix with a vibrant lemon cake mix for the bottom layer. Then, fold a tablespoon of fresh lemon zest into the cream cheese topping. You can even scatter a handful of fresh red raspberries across the top of the filling before sliding the pan into your oven for a gorgeous pop of color and a delightful contrast of flavors.
Pro Tips for the Best Results: Gooey butter cake squares
To ensure your homemade bars effortlessly surpass the quality of standard store-bought desserts, keep these helpful kitchen strategies in mind during your baking session:
-
Emphasize room temperature cream cheese: Attempting to blend cold cream cheese will inevitably result in a lumpy filling. Leave your cream cheese block out on the kitchen counter for at least two hours before baking so it becomes completely soft and yields a silky, professional texture.
-
Master the gentle jiggle test: Remember that the center of the cake must look soft and unstable when you remove it from the heat. If you wait until the center stops moving entirely, the cake will lose its unique gooey characteristic and turn into a standard dry cheesecake bar.
-
Keep storage simple and fresh: Store any leftover squares inside an airtight storage container kept in your refrigerator, where they will remain fresh, moist, and delicious for up to five days. If you want to prepare them far in advance, you can freeze the sliced squares for up to two months by wrapping them tightly in plastic wrap and aluminum foil, then simply thaw them overnight in your refrigerator before serving.
Frequently Asked Questions: Gooey butter cake squares
Can I make Gooey butter cake squares without using an electric mixer?
Yes, you can certainly mix this entire recipe by hand if you do not own an electric mixer. The cake base is incredibly easy to stir together with a standard wooden spoon. For the filling, just ensure your cream cheese is exceptionally soft, and use a sturdy balloon whisk to energetically combine the ingredients until no lumps remain before pouring it over the crust.
Why did my cake turn out dry instead of soft in the middle?
The most common culprit behind a dry bar is overbaking. Every home oven operates slightly differently, so it is best to check the progress of your dessert around the thirty-five minute mark. If the edges are golden and puffy, pull it out, even if the center looks a bit unbaked, as it will solidify beautifully during the cooling and chilling process.
Can I use a different size baking pan for Gooey butter cake squares?
While a nine-by-thirteen-inch pan is highly recommended for the perfect balance of crust and filling, you can use a nine-by-nine-inch square pan if you prefer extra thick layers. If you choose a smaller square pan, you will need to extend the baking time by several minutes since the batter will sit much deeper, and keep a close eye on the edges to ensure they do not get too dark.
Is it necessary to store the leftovers in the refrigerator?
Because the entire top layer of this dessert relies heavily on fresh dairy products, including cream cheese and butter, it is highly recommended to store your leftovers in the refrigerator for food safety. Additionally, keeping the bars cool preserves their dense, fudgy consistency, making them even more enjoyable to eat down to the very last bite.
Conclusion: Gooey butter cake squares
Bringing the authentic, nostalgic joy of classic gooey butter cake squares into your home baking repertoire is a simple and deeply satisfying project that yields incredible rewards. By embracing the simple two-layer technique, ensuring your cream cheese is perfectly softened, and carefully honoring the jiggly center during the baking window, you create a dessert that is unmatched in richness and texture. It serves as an absolute showstopper for holiday buffets, casual neighborhood potlucks, or a quiet weekend treat paired with a hot cup of black coffee or a cold glass of milk. Skip the expensive bakery orders and delight in the rewarding process of baking this wonderfully sweet, timeless Midwestern masterpiece right in your own kitchen.
Print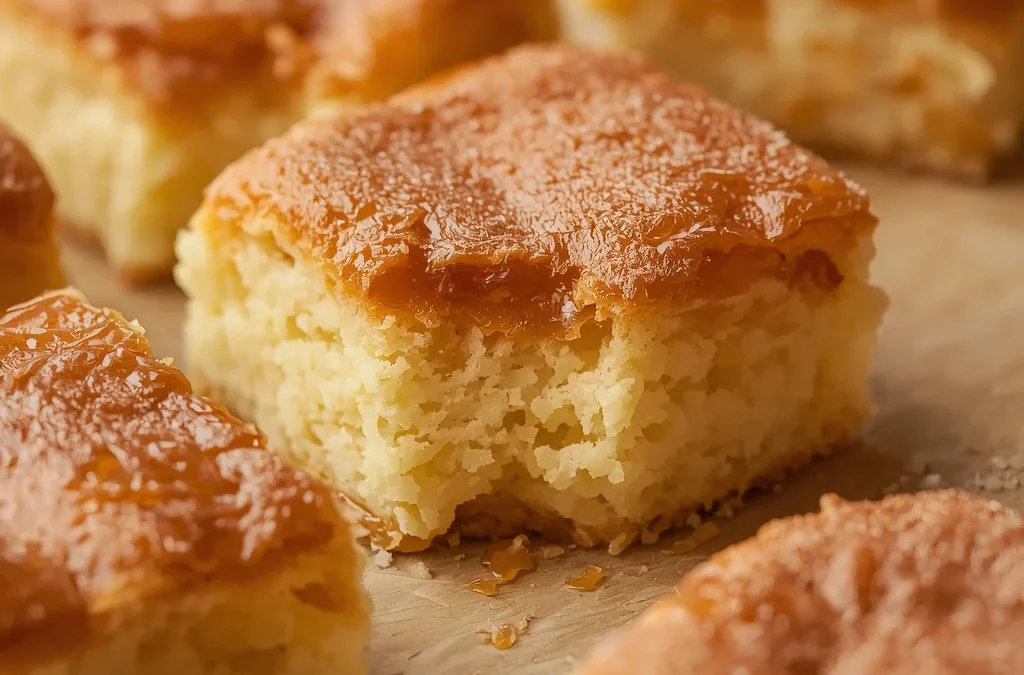
Ultimate Guide to Perfect Gooey Butter Cake Squares
- Total Time: 1 hour (plus 1 hour chilling for best results)
- Yield: 16 squares 1x
- Diet: Vegetarian
Description
To understand the magic of this dish, it helps to break down exactly what happens in the baking pan. A traditional gooey butter cake squares setup features two distinctly beautiful layers that interact during the baking process to create a unique texture. The bottom layer is a firm, structured base made by combining a classic yellow cake mix with melted butter and a fresh egg. This mixture creates a thick, cookie-like dough that is pressed firmly into the bottom of a rectangular baking pan, providing a sturdy foundation for everything that follows.
Ingredients
For the Cake Base
- 1 box (15.25 oz / 432 g) yellow cake mix
- ½ cup (113 g) unsalted butter, melted
- 1 large egg
For the Gooey Filling
- 8 oz (226 g) cream cheese, softened
- 2 large eggs
- 1 tsp vanilla extract
- ½ cup (113 g) unsalted butter, melted
- 4 cups (480 g) powdered sugar
For Garnish
- Powdered sugar, for dusting (optional)
Instructions
Step 1: Prepare the Pan
- Preheat the oven to 350°F (175°C).
- Grease or line a 9×13-inch baking pan with parchment paper.
Step 2: Make the Cake Base
- In a large bowl, combine the cake mix, melted butter, and egg.
- Mix until a thick dough forms.
- Press the dough evenly into the bottom of the prepared baking pan.
Step 3: Prepare the Filling
- Beat the softened cream cheese until smooth.
- Add the eggs and vanilla extract, mixing until fully combined.
- Gradually mix in the melted butter.
- Slowly add the powdered sugar, beating until smooth and creamy.
Step 4: Assemble
- Pour the cream cheese mixture over the cake base.
- Spread it evenly with a spatula.
Step 5: Bake
- Bake for 40–45 minutes, or until the edges are golden and the center is slightly jiggly.
- Avoid overbaking—the center should remain soft and gooey.
Step 6: Cool and Serve
- Allow the cake to cool completely in the pan.
- Refrigerate for at least 1 hour for cleaner slices.
- Dust with powdered sugar before cutting into squares and serving.
Notes
For the signature gooey texture, avoid overbaking. The center should still have a slight jiggle when you remove the cake from the oven—it will firm up as it cools.
- Prep Time: 15 minutes
- Cook Time: 45 minutes
- Category: Dessert
- Method: Baked
- Cuisine: American
Nutrition
- Serving Size: 1 square
- Calories: 340 kcal
Keywords: Gooey butter cake recipe, Saint Louis butter cake bars, cream cheese dessert squares