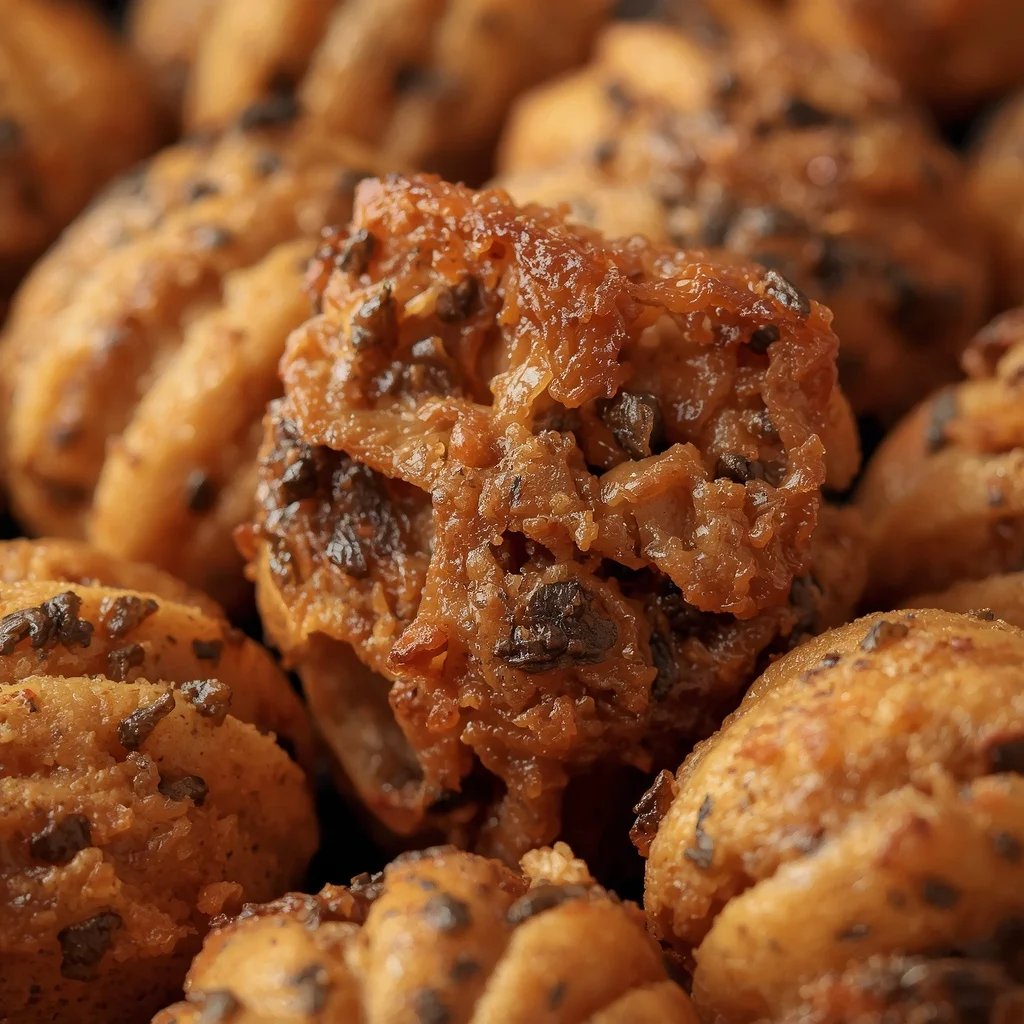
If you have ever had the pleasure of sampling authentic Middle Eastern pastries, you know that nothing compares to the warm, buttery magic of a fresh Egyptian Feteer Meshaltet. This legendary layered bread is celebrated for its paper-thin layers of dough, rich clarified butter, and unbelievable tender crunch. Whether you enjoy it slathered with sweet clover honey or paired with salty aged cheese, learning how to make a homemade Egyptian Feteer Meshaltet brings an unforgettable piece of culinary heritage right into your home kitchen. The process is surprisingly straightforward when you master the gentle stretching technique, resulting in a show-stopping pastry that shatters into delicious buttery flakes with every single bite.
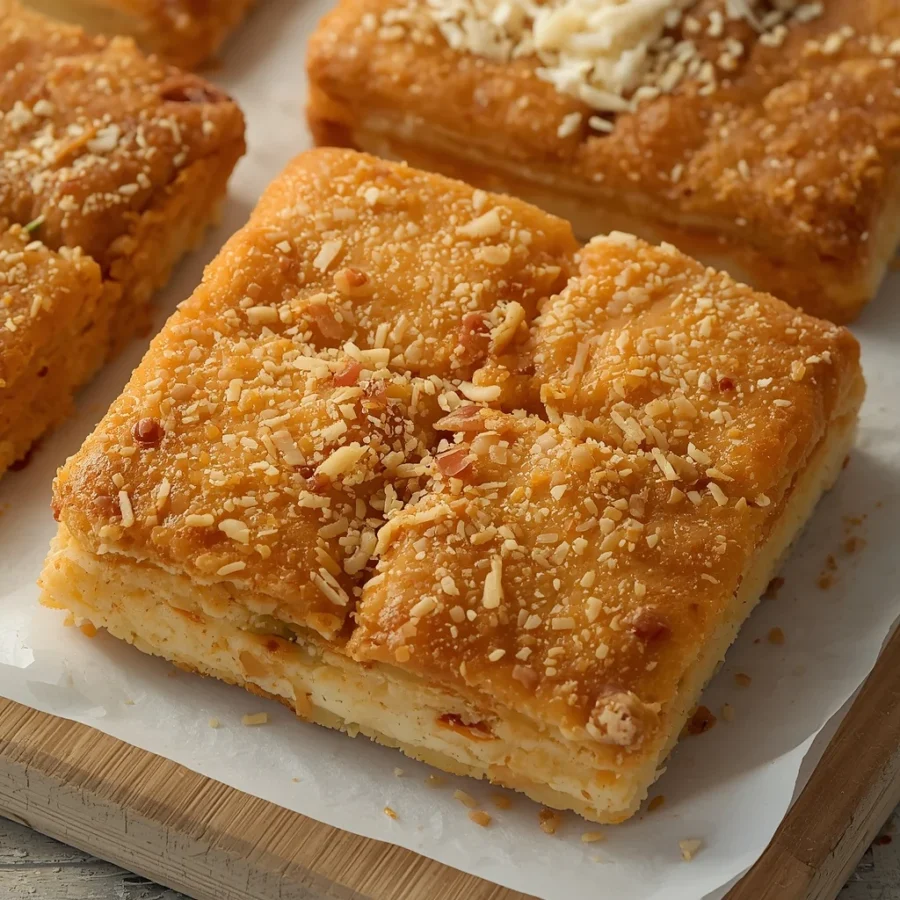
What is Egyptian Feteer Meshaltet?
The Egyptian Feteer Meshaltet is a classic unleavened pastry made from a minimalist dough of flour, water, salt, and a touch of sugar. What turns these simple ingredients into an extraordinary creation is the centuries-old method of stretching, oiling, folding, and layering. The dough is pulled until it becomes so thin that you can practically see through it, then generously coated with melted butter and ghee before being folded over itself multiple times.
When baked in a very hot oven, the moisture trapped between these buttered sheets turns into steam. This steam forces the paper-thin layers apart, causing the pastry to puff up dramatically. The final result is a golden brown crown with a delightfully crisp exterior and a tender, soft, multi-layered interior. It is remarkably versatile, acting as a flexible canvas for both sweet spreads and rich savory toppings.
The Origin and Rich History of Feteer Meshaltet
To understand why this pastry holds such a sacred place in Egyptian food culture, one must look back thousands of years. The origins of Feteer Meshaltet date back to the times of the ancient Pharaohs, who called a very similar baked good feteer amult. Ancient Egyptians left drawings on temple walls depicting bakers folding dough with fat and honey, offering these precious treats to the gods as sacred sacrifices and placing them inside royal tombs for the afterlife.
During the Mamluk period, this simple ancient bread evolved into the luxurious, highly layered pastry we recognize today. It quickly became an indispensable centerpiece for festivals, weddings, and high-profile celebrations across the Nile Delta. Countryside families in rural Egypt would prepare massive pans of feteer in traditional clay wood-fired ovens, serving it to visiting guests as a gesture of deep hospitality and generosity. Today, it remains one of the ultimate symbols of Egyptian warmth and traditional culinary mastery.
Ingredients and Exact Quantities: Egyptian Feteer Meshaltet
Achieving the perfect balance between structure and tender flakiness requires precise measurements. You do not need yeast or complex leavening agents for this dough, as all the lift comes naturally from steam and fat layers.
Ingredients for the Base Dough
-
All-purpose flour: Four cups (five hundred grams) of high-quality unbleached flour
-
Warm water: One and a half cups (three hundred sixty milliliters), added gradually as needed
-
Salt: One teaspoon of fine sea salt
-
Granulated sugar: One tablespoon of white sugar
-
Vegetable oil: Two tablespoons for kneaded elasticity, plus extra for oiling dough balls
Ingredients for the Layering Mixture
-
Unsalted butter: Half a cup (one hundred fifteen grams), completely melted
-
Ghee or clarified butter: Half a cup (one hundred grams), completely melted
-
Vegetable oil: Two to three tablespoons for coating work surfaces and hands
Optional Accompaniments for Serving
-
Sweet toppings: Pure clover honey, black treacle molasses, powdered sugar, or heavy clotted cream
-
Savory sides: Egyptian white cheese, creamy feta, mixed olives, or fresh sliced tomatoes
Step-by-Step Directions and Preparation Method: Egyptian Feteer Meshaltet
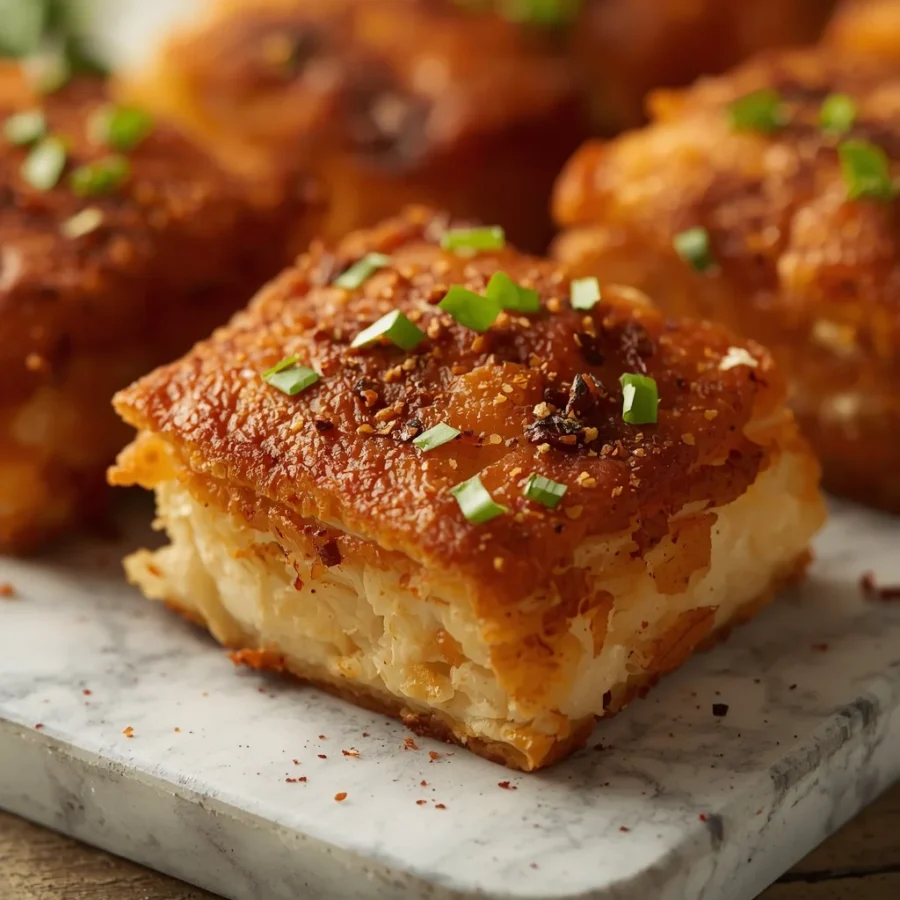
Creating an authentic Egyptian Feteer Meshaltet at home is an incredibly satisfying baking project. Follow these detailed steps to guarantee paper-thin dough and beautiful flaky separation.
Step 1: Mixing and Kneading the Dough
Sift the four cups of all-purpose flour into a large mixing bowl. Add the one teaspoon of fine sea salt and one tablespoon of granulated sugar, then stir the dry ingredients together using a wooden spoon or wire whisk.
Gradually pour in the warm water while stirring continuously. Begin bringing the mixture together with your hands as a soft, workable dough starts to form. If the dough feels too dry, add a tiny splash of warm water. If it feels excessively sticky, dust in a tiny tablespoon of flour.
Transfer the dough onto a clean, lightly floured work surface. Knead vigorously for eight to ten full minutes. You want to stretch and fold the dough continuously until it develops strong gluten lines, becoming exceptionally smooth, soft, and elastic. Pour the two tablespoons of vegetable oil over the dough and knead for one final minute until the oil is fully absorbed into the outer layer.
Step 2: Portioning and Resting the Dough
Divide the prepared dough into six to eight equal portions using a bench scraper or sharp knife. Roll each portion gently between your palms to form smooth, round dough balls.
Generously pour vegetable oil over a large tray or baking sheet. Roll each dough ball around in the oil until every surface is completely coated. This generous coating prevents a dry skin from forming on the dough, keeping it supple for stretching. Cover the tray loosely with plastic wrap or a clean kitchen towel. Allow the dough balls to rest at room temperature for thirty to forty-five minutes. Do not rush this resting time, as relaxing the gluten is the absolute secret to stretching the dough thin without tearing it.
Step 3: Preparing the Fat Mixture and Work Station
While your dough is resting, combine the melted unsalted butter and melted ghee in a heatproof bowl. Warm fat glides smoothly across dough without pulling or tearing it.
Clear a large flat table or countertop space. Rub a tablespoon of vegetable oil across your hands and generously grease your entire work surface with vegetable oil. Avoid using flour on your work surface during this phase, as raw flour will dry out the dough and make the finished pastry tough rather than flaky.
Step 4: Stretching the Dough Paper-Thin
Take one rested dough ball and place it in the center of your greased work surface. Press down firmly with the palm of your hand to flatten it into a thick disc.
Working from the center outward, gently press and slide your hands over the dough to expand it. Slip your fingers underneath the edges of the dough disc, with your palms facing down, and gently pull outward toward the edges of your table. Work your way around the entire circle, stretching continuously until the dough becomes extremely thin, translucent, and almost completely transparent. If a tiny hole forms near the edges, do not worry; it will be covered up during the folding process.
Step 5: Buttering and Folding the First Layer
Using your hands or a soft silicone pastry brush, coat the entire surface of the stretched translucent sheet generously with the melted butter and ghee mixture. Be thorough, as this fat layer is what prevents the dough layers from sticking together in the oven.
Gently pick up one outer edge of the stretched dough sheet and fold it inward toward the center. Brush the newly folded top section with more of the butter and ghee mixture. Pick up the opposite edge and fold it over the center to form a long rectangular strip, brushing with more butter. Fold the top and bottom ends inward to create a neat, layered square or rectangle packet. Set this buttered dough packet aside on your oil-coated tray.
Step 6: Enclosing Subsequent Layers
Take a second dough ball and place it on your greased surface. Repeat the stretching process, pulling and sliding until it is as thin and transparent as the first sheet. Brush the stretched sheet generously with your melted butter and ghee mixture.
Place your previously folded dough packet right in the middle of this newly stretched sheet. Fold the outer edges of the new sheet over the central packet, brushing every fresh fold with the warm butter mixture as you go.
Repeat this process for all remaining dough balls, stretching each sheet paper-thin, buttering it thoroughly, and wrapping it around the expanding central packet. By the time you wrap the final dough ball around the core, you will have created dozens upon dozens of micro-thin buttered layers sealed inside one cohesive round pastry mass.
Step 7: Final Shaping and Baking
Grease a nine-inch round baking pan or cast-iron skillet thoroughly with butter or ghee. Carefully transfer your folded dough packet into the center of the pan. Cover it lightly and let it rest for another ten minutes so the gluten can relax once more.
Using the flat palms of your hands, gently press down on the dough, flattening and stretching it outward until it fills the pan evenly. Brush the top surface generously with any remaining melted butter and ghee.
Preheat your oven to four hundred twenty-five degrees Fahrenheit (two hundred twenty degrees Celsius). It is crucial that the oven is completely preheated before the pastry goes in, as intense initial heat is needed to create immediate steam explosion between the layers.
Place the pan on the middle rack of your preheated oven. Bake for twenty-five to thirty-five minutes. Watch as the feteer puffs up like a golden pillow and develops a deep, beautiful golden brown color on top.
If you desire an extra-crispy top crust, increase the oven temperature to four hundred fifty degrees Fahrenheit (two hundred thirty degrees Celsius) for the final three to five minutes of baking, monitoring it closely to prevent burning.
Step 8: Resting and Serving
Remove the piping-hot Egyptian Feteer Meshaltet from the oven. Brush the top surface lightly with a tiny bit of fresh warm butter or ghee to keep the upper skin tender. Cover the pan loosely with a clean towel or another inverted pan for about ten minutes. This trapped warmth softens the extreme outer crispiness slightly while allowing the internal layers to settle into a buttery melt-in-your-mouth texture.
Cut the warm pastry into wedges or squares using a sharp chef’s knife or pizza cutter and serve immediately.
Pro Tips for the Best Authentic Results: Egyptian Feteer Meshaltet
-
Resting is non-negotiable: If you find your dough springing back or tearing as you try to pull it, stop immediately. Cover the dough and let it rest for another ten to fifteen minutes. Well-rested gluten stretches effortlessly into translucent sheets.
-
Never use cold fat: Cold butter will solidify on contact with the room-temperature dough, causing the thin sheets to rip. Keep your melted butter and ghee mixture warm throughout the entire stretching process.
-
Maintain high oven heat: A cool or warm oven will simply melt the butter out of the dough without generating the necessary steam. High heat bakes the outer layers rapidly while trapping internal steam to guarantee maximal puffing.
-
Keep your hands well oiled: Constantly rubbing vegetable oil onto your hands reduces friction while pulling the delicate dough outward across your workstation.
Creative Recipe Variations: Egyptian Feteer Meshaltet
While a classic Egyptian Feteer Meshaltet is made using pure dough and fat layers, modern Egyptian bakeries often adapt this foundational recipe to create exciting stuffed versions, known locally as feteer mahshi.
Stuffed Sweet Custard Feteer
Before folding your final outer sheets of dough, spread a layer of thick, chilled vanilla milk custard across the center of the inner dough packet. Sprinkle with chopped pistachios, golden raisins, and shredded coconut before folding the outer sheet over top. Once baked, dust the surface heavily with powdered sugar and a light drizzle of warm milk.
Savory Meat and Cheese Feteer
Transform this pastry into a hearty main course by filling the middle layers with seasoned cooked minced beef, sliced onions, black olives, bell peppers, and plenty of shredded mozzarella or Egyptian white cheese. The melted cheese holds the savory filling together as the surrounding dough layers bake up crisp and flaky.
Honey and Clotted Cream Supreme
For an elevated dessert experience, bake the classic plain feteer as directed. As soon as it comes out of the oven, split it open horizontally along one of its natural steam seams. Spread a thick layer of fresh clotted cream or thick whipped cream cheese inside, close the top layer back over, and drizzle generously with dark mountain honey before serving warm.
Frequently Asked Questions (FAQs): Egyptian Feteer Meshaltet
Can I prepare the dough for Feteer Meshaltet in advance?
Yes, you can prepare the initial dough balls a day in advance. Place the oiled dough balls on a tray, cover them tightly with plastic wrap, and store them in the refrigerator overnight. Before stretching, bring the dough back to full room temperature for at least one to two hours so the gluten can relax completely.
Why did my feteer turn out tough and hard instead of flaky?
Tough feteer is usually caused by two common issues: either the dough was not stretched thin enough, or the oven temperature was too low. If the dough sheets are too thick, steam cannot separate them properly, resulting in a dense bread. If the oven heat is low, the pastry bakes too slowly, drying out all internal moisture before it can puff.
Can I use store-bought puff pastry or phyllo dough instead?
While store-bought puff pastry or phyllo sheets can be used as a quick shortcut, they will not reproduce the exact elastic, chewy, multi-layered texture of authentic Egyptian Feteer Meshaltet. Traditional feteer relies on hand-stretched dough layered continuously with fresh clarified butter, which creates a very specific balance of chewy internal sheets and crisp outer flakes.
How do I store and reheat leftover feteer?
Allow leftover feteer to cool completely, then wrap it tightly in aluminum foil or place it in an airtight container. Keep it at room temperature for up to two days, or refrigerate for up to five days. To reheat, place the feteer in a preheated oven or toaster oven for five to seven minutes until warm and re-crisped. Avoid using a microwave, as it makes the buttery layers chewy and soggy.
What is the difference between butter and ghee in this recipe?
Melted butter contains milk solids and small amounts of water, which generate steam to help the pastry puff. Ghee, being pure butterfat, provides intense richness and a higher smoke point that prevents the pastry from scorching at high temperatures. Combining both melted butter and ghee gives you the best of both worlds: superior steam lift and rich authentic flavor.
Conclusion: Egyptian Feteer Meshaltet
Mastering the iconic Egyptian Feteer Meshaltet is a magnificent achievement for any home baker looking to expand their culinary horizons. By combining basic pantry staples with time-honored stretching and folding techniques, you can transform humble dough into dozens of paper-thin, golden, micro-layered sheets of pure buttery deliciousness. Whether you decide to keep it simple with a traditional side of raw honey and sharp white cheese, or experiment with savory stuffed fillings for a family dinner, this timeless Egyptian treasure is guaranteed to impress. Gather your ingredients, allow your dough plenty of time to rest, and enjoy the magical, flaky results of baking your very own handmade feteer.
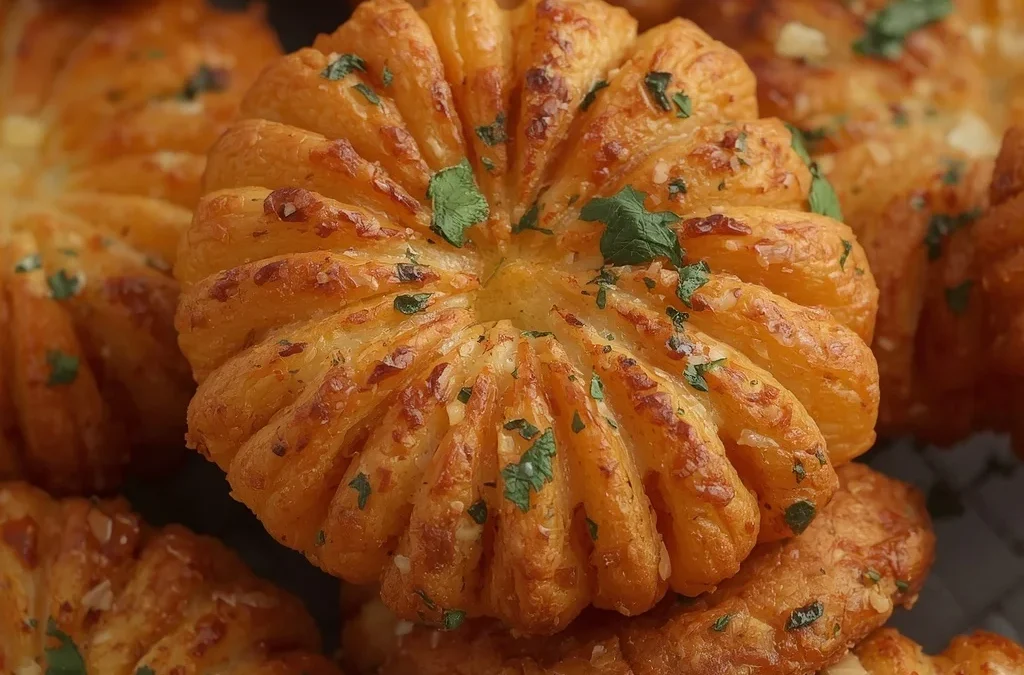
Flaky Egyptian Feteer Meshaltet Recipe
- Total Time: 1 hour 15 minutes
- Yield: 8 servings 1x
- Diet: Vegetarian
Description
The Egyptian Feteer Meshaltet is a classic unleavened pastry made from a minimalist dough of flour, water, salt, and a touch of sugar. What turns these simple ingredients into an extraordinary creation is the centuries-old method of stretching, oiling, folding, and layering. The dough is pulled until it becomes so thin that you can practically see through it, then generously coated with melted butter and ghee before being folded over itself multiple times.
Ingredients
For the dough
- 4 cups (500 g) all-purpose flour
- 1½ cups (360 ml) warm water, approximately
- 1 tsp salt
- 1 tbsp sugar
- 2 tbsp vegetable oil
For layering
- ½ cup (115 g) unsalted butter, melted
- ½ cup (100 g) ghee, melted
- 2–3 tbsp vegetable oil
For serving
- Honey or molasses
- Powdered sugar
- Egyptian-style white cheese or feta
- Cream or clotted cream
Instructions
- Make the dough: Combine the flour, salt, and sugar in a large bowl. Gradually add the warm water and mix until a soft dough forms.
- Knead for 8–10 minutes, until the dough becomes smooth and elastic. Add the vegetable oil and knead for another minute.
- Divide the dough into 6–8 equal balls. Coat each ball generously with oil. Cover and let them rest for 30–45 minutes.
- Stretch the dough: Grease your work surface with oil. Take one dough ball and gently stretch it with your hands until it becomes extremely thin and almost transparent. Be careful not to tear it.
- Brush the stretched dough generously with the melted butter and ghee mixture.
- Fold the dough inward from the sides to create a square or rectangle. Brush each folded layer with more butter/ghee.
- Take another dough ball, stretch it very thin, butter it, and place the first folded piece in the center. Fold the second sheet around it. Continue with the remaining dough, building up several buttery layers.
- Place the finished layered dough in a greased 9-inch (23 cm) round baking pan. Gently flatten and stretch it toward the edges.
- Brush the top generously with the remaining butter/ghee mixture.
- Bake: Preheat the oven to 220°C (425°F). Bake for approximately 25–35 minutes, until the feteer is puffed and deeply golden.
- For extra crispiness, increase the oven temperature to 230°C (450°F) for the final 3–5 minutes, watching carefully.
- Remove from the oven and brush lightly with butter or ghee. Let it rest for 10 minutes before cutting.
Notes
For the flakiest and most authentic Feteer Meshaltet, stretch the dough as thin as possible and generously brush each layer with butter and ghee. Allow the dough to rest well before stretching, and serve the feteer warm for the best crispy, buttery texture.
- Prep Time: 45 minutes
- Cook Time: 30 minutes
- Category: Breakfast
- Method: Baking
- Cuisine: Egyptian
Nutrition
- Serving Size: 1 slice
- Calories: ~430 kcal
Keywords: Feteer Meshaltet Recipe, Egyptian Layered Pastry, Homemade Feteer Meshaltet, Authentic Egyptian Feteer
