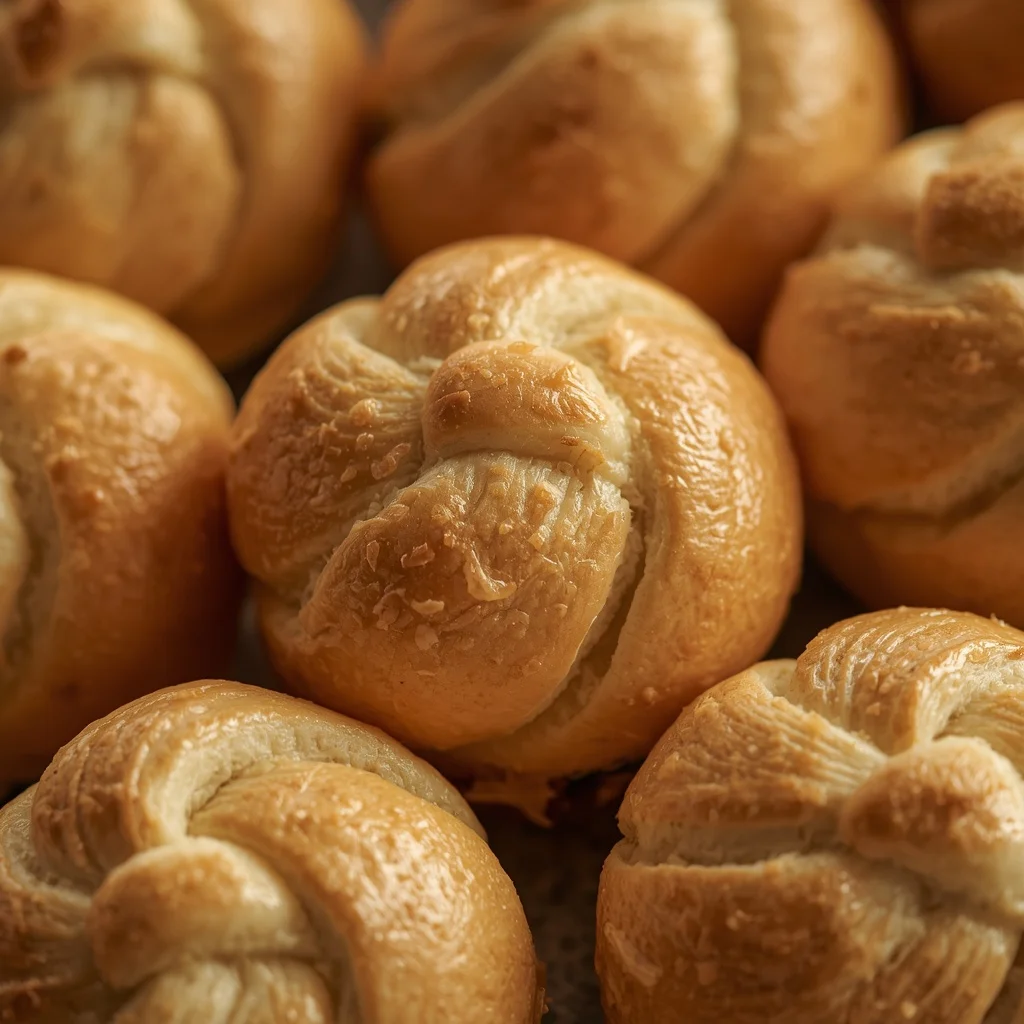
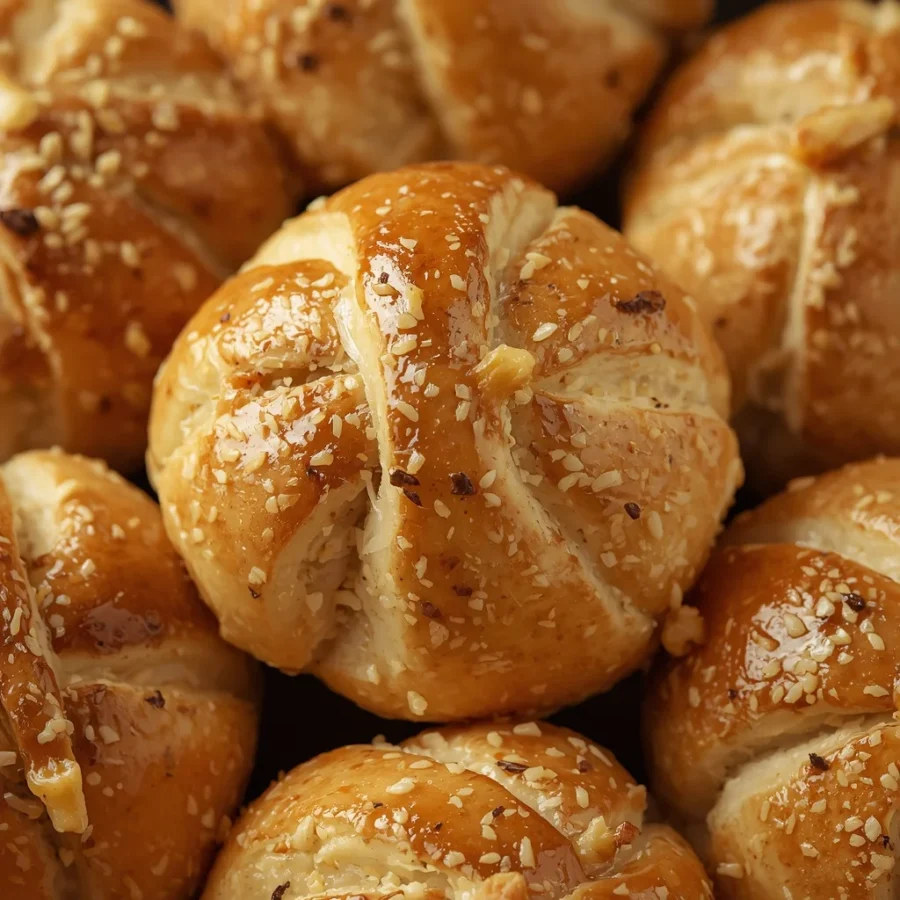
What Is garlic knotted yeast rolls?
At its heart, this recipe is a harmonious blend of classic bread baking and rich Italian-American comfort food. A garlic knotted yeast roll is a soft dinner roll shaped into a charming knot, baked until light and golden, and brushed with a generous coating of warm savory garlic butter. Unlike plain dinner rolls, the unique knotted structure creates more surface area. This extra surface area captures maximum melted butter, fresh minced garlic, chopped parsley, and sharp Parmesan cheese in every fold.
The base dough relies on active dry yeast, milk, water, and flour, enriched with an egg and olive oil to ensure maximum softness. The result is a roll that stays incredibly tender, fluffy, and moist. Every single bite delivers a satisfying balance between rich garlic flavor, buttery goodness, and cloud-like bread texture.
Origin of garlic knotted yeast rolls
The story of garlic knots traces back to Italian-American pizzerias, particularly in New York City during the early nineteen-seventies. Pizzeria owners and bakers were always looking for creative ways to minimize food waste. When shaping pizza crusts, small strips and scraps of raw dough were inevitably left over at the end of the prep table.
Rather than discarding these remaining dough scraps, resourceful bakers tied them into small knots, baked them in hot deck ovens, and tossed them in large bowls filled with melted garlic butter, parsley, and grated cheese. These inexpensive, irresistible treats quickly became a staple side order across pizzerias nationwide. Over time, home bakers transformed the simple pizza dough scrap into an enriched, fluffy yeast roll dough, creating the luxurious homemade version we celebrate today.
Ingredients with Quantity
To make twelve perfectly fluffy rolls, gather the exact measurements listed below.
For the Yeast Dough
-
All-Purpose Flour: Three cups (three hundred seventy-five grams)
-
Active Dry Yeast: Two and one-fourth teaspoons (one standard packet)
-
Granulated Sugar: One tablespoon
-
Salt: One teaspoon
-
Warm Milk: Three-fourths cup (one hundred eighty milliliters)
-
Warm Water: One-fourth cup (sixty milliliters)
-
Olive Oil: Two tablespoons
-
Large Egg: One egg at room temperature
For the Savory Garlic Butter Glaze
-
Unsalted Butter: Four tablespoons, melted
-
Garlic: Three to four cloves, finely minced
-
Fresh Parsley: One tablespoon, finely chopped
-
Salt: One-fourth teaspoon
-
Italian Seasoning: One-fourth teaspoon
-
Grated Parmesan Cheese: Two tablespoons (optional for topping)
Step by Step Direction and Preparation Method: garlic knotted yeast rolls
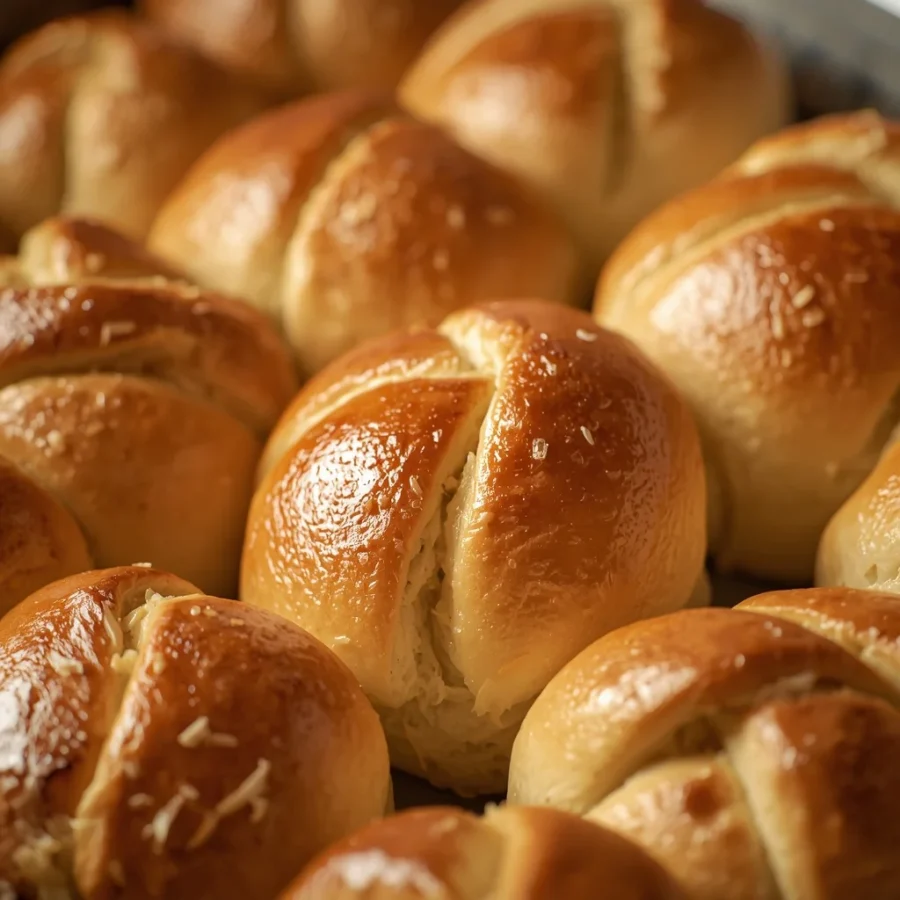
Creating artisanal bread at home is a rewarding journey. Follow these step-by-step instructions carefully for the best results.
Step 1: Activating the Yeast
Start by combining your warm milk and warm water in a small glass bowl or liquid measuring cup. Ensure the liquid temperature feels comfortably warm to the touch, similar to bath water. Stir in one tablespoon of granulated sugar, followed by two and one-fourth teaspoons of active dry yeast. Allow the mixture to sit undisturbed for five to ten minutes. You will know the yeast is alive and active when a frothy, foamy head forms on top of the liquid.
Step 2: Mixing and Kneading the Dough
In a large mixing bowl, combine your all-purpose flour and salt. Create a well in the center of the dry ingredients, then pour in your foamy yeast mixture, olive oil, and egg. Stir with a sturdy wooden spoon or rubber spatula until a shaggy, cohesive dough begins to form.
Transfer the dough onto a clean, lightly floured work surface. Knead the dough rhythmically for seven to ten minutes. Push the dough down and away with the heel of your hand, fold it back over itself, and turn it ninety degrees. Continue this motion until the dough transforms into a smooth, elastic, and slightly tacky ball. If using a stand mixer fitted with a dough hook, knead on medium-low speed for six to eight minutes.
Step 3: The First Proofing Rise
Lightly oil the inside of a large glass or ceramic bowl. Place your kneaded dough ball into the bowl, turning it once to coat the top surface lightly with oil. Cover the bowl tightly with plastic wrap or a clean kitchen towel. Set the bowl in a warm, draft-free spot in your kitchen to rise for about one hour, or until the dough has doubled in physical size.
Step 4: Shaping the Garlic Knots
Once the dough has doubled, gently press your fist into the center of the dough to release excess gas bubbles. Turn the dough onto a lightly floured surface and divide it evenly into twelve equal portions.
Take one piece of dough and roll it under your palms into a uniform rope about eight inches long. Take the rope and loosely tie it into a simple single knot, just like tying a shoe. Tuck the lower tail end underneath the knot, and fold the top tail end over into the center to create a neat, rounded roll shape. Repeat this process with the remaining eleven dough pieces.
Step 5: The Second Proofing Rise
Line a large baking sheet with parchment paper. Arrange your twelve shaped knots evenly on the baking sheet, leaving about two inches of space between each roll to allow room for expansion. Cover the tray loosely with a light kitchen towel and let the rolls rise a second time for twenty to twenty-five minutes until they look visibly puffy and light.
Step 6: Baking to Golden Perfection
While the rolls finish their second rise, preheat your oven to three hundred seventy-five degrees Fahrenheit. Once fully preheated, place the baking tray on the middle oven rack. Bake for fifteen to eighteen minutes. The rolls are ready when the tops display an attractive golden-brown color and sound hollow when gently tapped on top.
Step 7: Preparing and Applying Garlic Butter
While the rolls are in the oven, melt four tablespoons of unsalted butter in a small saucepan over low heat. Add your finely minced garlic, chopped fresh parsley, salt, and Italian seasoning. Cook for one minute just until the garlic becomes fragrant, taking care not to brown or burn the garlic.
Remove the hot rolls from the oven and immediately brush them generously with the warm garlic butter mixture using a pastry brush. Ensure the butter seeps deep into every fold of the knots. Sprinkle with grated Parmesan cheese if desired. For exceptionally soft rolls, cover the freshly buttered rolls loosely with a clean kitchen towel for five minutes before serving to trap the rising steam.
Mouthwatering Recipe Variations: garlic knotted yeast rolls
One of the greatest attributes of homemade garlic knotted yeast rolls is how easily you can customize the recipe to suit your favorite meals.
Cheesy Mozzarella Stuffed Garlic Knots
If you love melted, gooey cheese, this variation is a must-try. When shaping your eight-inch dough ropes, flatten them slightly and place a thin strip of low-moisture mozzarella cheese along the center. Pinch the dough tightly around the cheese to seal it completely inside before tying the rope into a knot. As the rolls bake, the cheese melts into a stretchy, gooey center inside every tender bite.
Spicy Calabrian Chili Garlic Knots
For those who prefer a bold kick of heat, add one teaspoon of crushed red pepper flakes or finely minced Calabrian chili paste into the warm garlic butter glaze. The warm spice balances the rich butter and adds a vibrant red hue to your finished rolls, making them an ideal pairing for rich pasta dishes.
Everything Bagel Herb Knots
Upgrade your topping by sprinkling two tablespoons of everything bagel seasoning over the rolls immediately after brushing them with garlic butter. The toasted sesame seeds, poppy seeds, dried onion, and garlic flakes add an extraordinary crunch to the soft yeast roll.
Vegan Garlic Knots
To make this recipe completely plant-based, simply substitute the whole milk with plain unsweetened oat milk or almond milk. Replace the unsalted butter with your favorite high-quality plant-based butter stick, and replace the egg in the dough with an extra tablespoon of olive oil combined with two tablespoons of warm water.
Frequently Asked Questions (FAQs): garlic knotted yeast rolls
Why are my yeast rolls dense instead of soft and fluffy?
Dense rolls usually happen for a few common reasons. First, if your yeast mixture does not foam during step one, the yeast may be dead or the milk was too hot, which kills yeast. Second, adding too much flour during the mixing or kneading process makes the dough heavy. Aim for a soft, slightly tacky dough. Finally, rushing the rising times prevents proper air pockets from forming inside the dough structure.
Can I make the dough ahead of time?
Yes, you can easily prepare this dough in advance. After shaping your knots and placing them on the parchment-lined baking sheet, cover the tray tightly with plastic wrap and place it directly into the refrigerator overnight. The cold temperature slows down yeast fermentation. The next day, remove the tray from the refrigerator, let the rolls sit at room temperature for about forty-five minutes to finish rising, and bake as directed.
How do I properly store and reheat leftover rolls?
Store cooled leftover rolls in an airtight container or zip-top storage bag at room temperature for up to three days. To reheat them and restore their original fresh-baked softness, wrap the rolls in aluminum foil and warm them in an oven set to three hundred fifty degrees Fahrenheit for seven to ten minutes. Avoid microwaving them, as this can make yeast bread tough and rubbery.
Can I freeze these garlic knotted yeast rolls?
Yes, these rolls freeze exceptionally well. Bake the rolls as directed but omit the final garlic butter brush. Let them cool completely, then store them in a freezer-safe bag for up to two months. When ready to enjoy, thaw them at room temperature, warm them in the oven for five to eight minutes, and brush generously with freshly prepared warm garlic butter before serving.
Conclusion: garlic knotted yeast rolls
Baking your own garlic knotted yeast rolls from scratch is one of the most satisfying kitchen projects you can undertake. By combining a simple enriched yeast dough with a rich, fragrant garlic butter glaze, you create a side dish that elevates any meal from ordinary to memorable. The contrast between the soft, pillowy interior and the rich, savory garlic topping makes these rolls an instant favorite for kids and adults alike. Whether you follow the traditional recipe or experiment with cheesy and spicy variations, these homemade garlic knots will quickly earn a permanent spot in your baking repertoire. Gather your ingredients, enjoy the therapeutic process of kneading and knotting, and serve these irresistible rolls hot from the oven at your next gathering.
Print
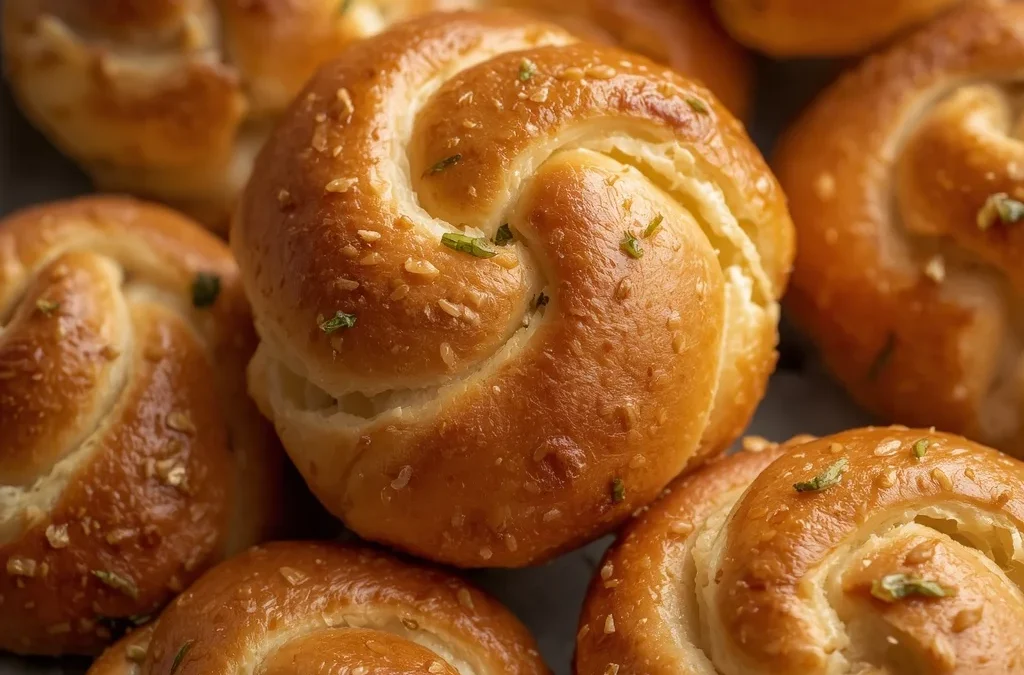
The Ultimate Guide to Garlic Knotted Yeast Rolls
- Total Time: 1 hour 43 minutes
- Yield: 12 rolls 1x
- Diet: Vegetarian
Description
At its heart, this recipe is a harmonious blend of classic bread baking and rich Italian-American comfort food. A garlic knotted yeast roll is a soft dinner roll shaped into a charming knot, baked until light and golden, and brushed with a generous coating of warm savory garlic butter. Unlike plain dinner rolls, the unique knotted structure creates more surface area. This extra surface area captures maximum melted butter, fresh minced garlic, chopped parsley, and sharp Parmesan cheese in every fold.
Ingredients
Scale
For the dough
- 3 cups (375 g) all-purpose flour
- 2¼ tsp (1 packet) active dry yeast
- 1 tbsp granulated sugar
- 1 tsp salt
- ¾ cup (180 ml) warm milk
- ¼ cup (60 ml) warm water
- 2 tbsp olive oil
- 1 large egg
For the garlic butter
- 4 tbsp unsalted butter, melted
- 3–4 cloves garlic, finely minced
- 1 tbsp fresh parsley, chopped
- ¼ tsp salt
- ¼ tsp Italian seasoning
- 2 tbsp grated Parmesan, optional
Instructions
- Activate the yeast: Combine warm milk, warm water, sugar, and yeast. Let stand for 5–10 minutes, until foamy.
- Make the dough: Add flour, salt, egg, and olive oil. Mix until a soft dough forms. Knead for 7–10 minutes, until smooth and elastic.
- First rise: Place the dough in a lightly oiled bowl, cover, and let rise in a warm place for about 1 hour, or until doubled in size.
- Shape: Punch down the dough and divide it into 12 equal pieces. Roll each piece into a rope about 8 inches long. Tie each rope into a loose knot and tuck the ends underneath.
- Second rise: Arrange on a parchment-lined baking sheet. Cover and let rise for 20–25 minutes.
- Bake: Preheat oven to 375°F (190°C). Bake for 15–18 minutes, until golden brown.
- Make garlic butter: Mix melted butter, garlic, parsley, salt, and Italian seasoning.
- Finish: Brush the hot rolls generously with garlic butter. Sprinkle with Parmesan if desired.
Notes
- Prep Time: 25 minutes
- Cook Time: 18 minutes
- Category: Bread
- Method: Baking
- Cuisine: American
Nutrition
- Serving Size: 1 roll
- Calories: ~190 kcal
Keywords: garlic knot rolls, garlic yeast knots, homemade garlic knot rolls
