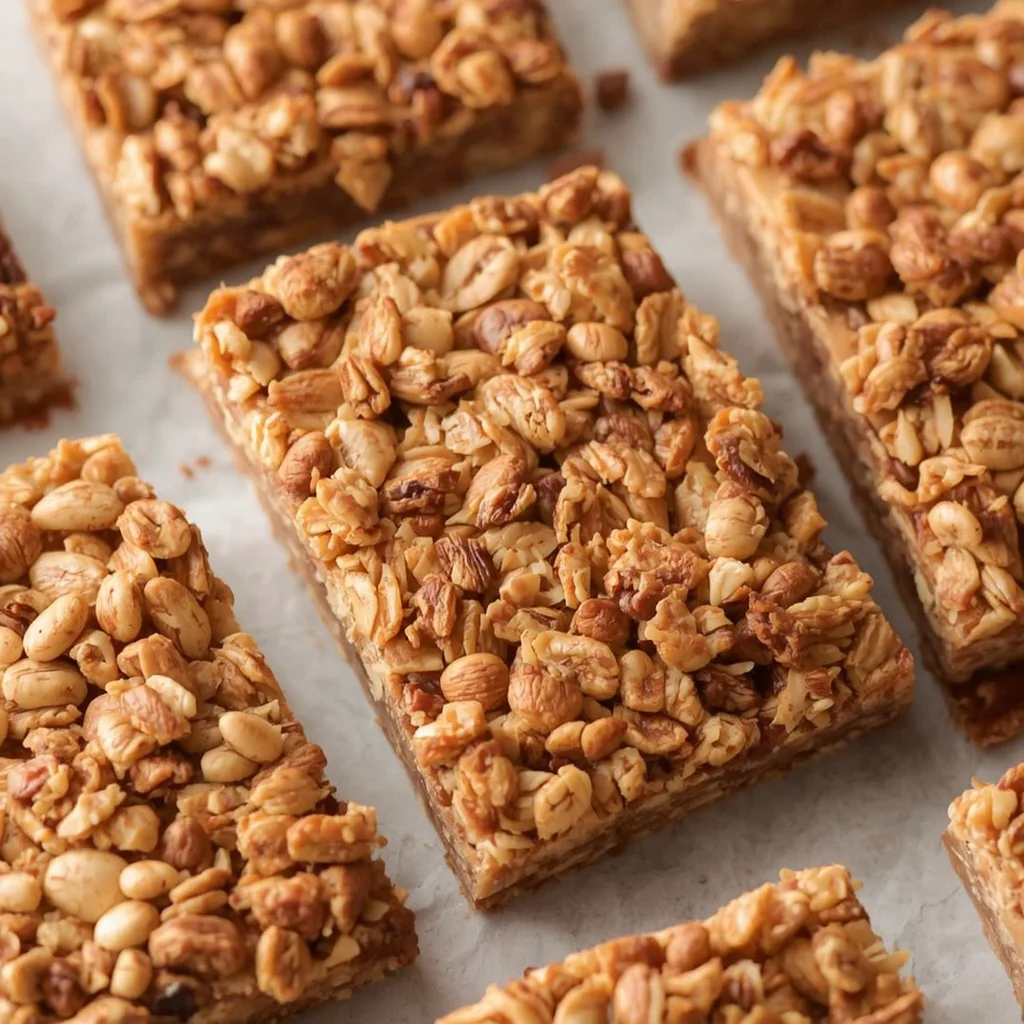
If you are looking for a wholesome, delicious, and energy-boosting snack that you can easily prepare in your own kitchen, this maple cinnamon granola bars recipe is guaranteed to become a staple in your weekly meal prep routine. Finding a store-bought snack that balances clean ingredients, fantastic texture, and natural sweetness without relying on artificial preservatives or excessive refined sugars can feel like an impossible task. Fortunately, making your own maple cinnamon granola bars allows you to take complete control over every single component that goes into your body. Rich with warm spices, wholesome rolled oats, crunchy nuts, and pure maple syrup, these bars deliver a satisfying crunch paired with a soft, chewy interior that appeals to kids and adults alike.
Whether you need a quick morning bite on your way out the door, a reliable mid-afternoon pick-me-up during a busy workday, or a healthy addition to a school lunchbox, learning how to make this maple cinnamon granola bars recipe will save you money while elevating your snacking habits. In this comprehensive guide, we will explore everything you need to know about crafting these incredible bars, from understanding their origins to mastering the technique that keeps them from falling apart.
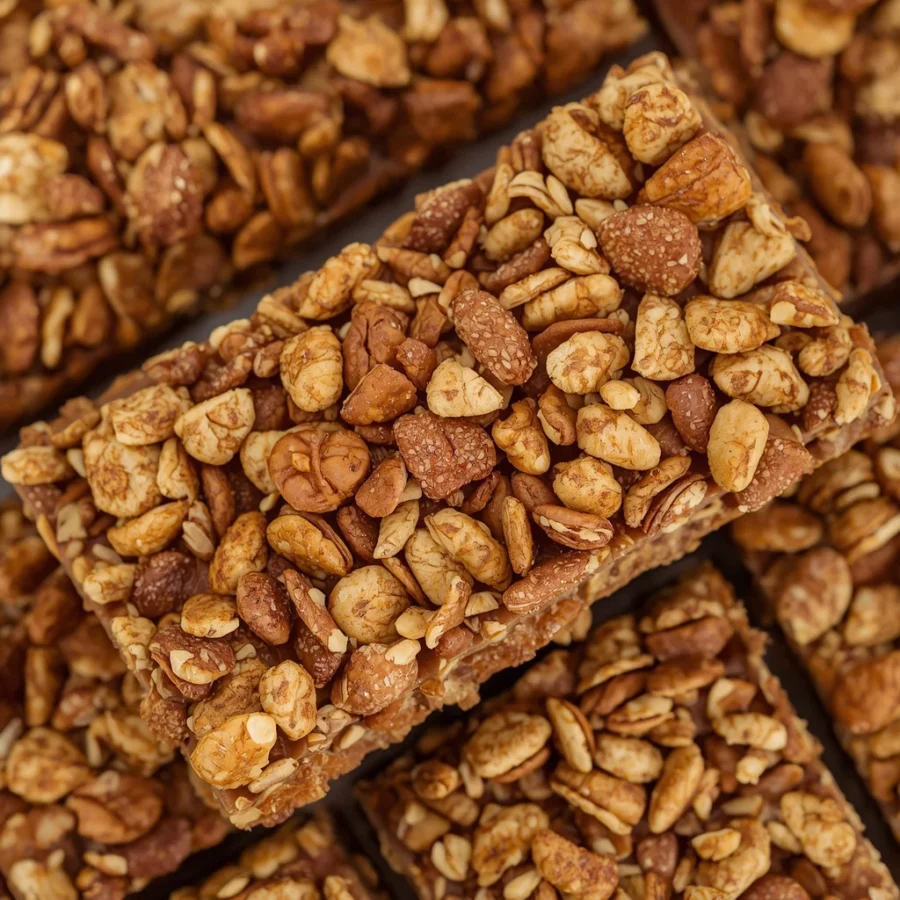
What Is a Maple Cinnamon Granola Bar?
A maple cinnamon granola bar is a baked snack bar made primarily from whole grain rolled oats, nuts, seeds, and dried fruits, all bound together by a naturally sweetened liquid mixture featuring pure maple syrup and nut butter. The defining characteristics of this particular treat are its warm aroma and cozy flavor profile, driven by a generous infusion of ground cinnamon and natural vanilla. Unlike commercial granola bars that often rely on high fructose corn syrup or hydrogenated oils to achieve structure, this homemade variation relies on simple, real-food ingredients that provide sustained energy throughout the day.
The texture strikes a balance between crispy edges and a dense, chewy center. When baked correctly, the sugars in the maple syrup slightly caramelize, wrapping the toasted oats and nuts in a delicate, fragrant coating. Because the base recipe is naturally vegetarian and easily adaptable to gluten-free or vegan diets, it stands out as one of the most versatile healthy snacks you can prepare at home.
The Origin and Evolution of Maple Cinnamon Granola Bars
To truly appreciate this maple cinnamon granola bars recipe, it helps to look at how granola itself transformed from a health-resort breakfast food into a global snack phenomenon. The concept of granola originated in the United States during the late nineteenth century. Dr. James Caleb Jackson invented a crushed whole-wheat grain cereal known as granula in eighteen sixty-three. Shortly thereafter, John Harvey Kellogg introduced a similar cereal product made from baked grains, which he eventually renamed granola to avoid legal disputes.
For several decades, granola remained a niche health product primarily associated with sanitariums and wellness retreats. However, during the counterculture movement of the nineteen sixties and nineteen seventies, granola experienced a massive resurgence. Health-conscious home cooks began combining rolled oats with dried fruits, seeds, and honey, baking the mixture on sheets until crispy.
The transition from loose granola cereal to portable granola bars occurred in the mid-nineteen seventies. Inventors and food manufacturers realized that by increasing the proportion of liquid sweeteners and pressing the oat mixture tightly into pans before baking, they could create convenient, sliceable bars designed for on-the-go lifestyles. Over time, traditional honey and sugar coatings were swapped out for pure maple syrup, and warming spices like cinnamon were introduced to create rich, nostalgic flavor profiles. Today, crafting homemade granola bars represents a return to those clean, unadulterated roots, offering a far superior taste compared to mass-produced alternatives.
Ingredients and Exact Quantities: Maple Cinnamon Granola Bars
Creating the perfect bar requires a balance between dry structural ingredients and wet binding agents. Each element plays a crucial role in delivering the ideal taste, density, and nutrition. Here is the complete list of ingredients you will need for this recipe:
Dry Ingredients Base
-
Rolled Oats: Two cups of traditional whole rolled oats. Avoid using instant or quick-cooking oats, as they absorb moisture differently and can make the bars mushy rather than delightfully chewy.
-
Chopped Nuts: One cup of finely chopped nuts. You can choose raw or lightly toasted almonds, walnuts, or pecans based on your personal preference.
-
Seeds: One-half cup of raw pumpkin seeds or sunflower seeds to add a distinct crunch and extra healthy fats.
-
Ground Cinnamon: One-half teaspoon of ground cinnamon. Feel free to increase this amount slightly if you prefer an extra spicy aroma.
-
Salt: One-fourth teaspoon of fine sea salt or table salt to balance the sweetness and bring out the deep nutty flavors.
Wet Binding Ingredients
-
Pure Maple Syrup: One-half cup of pure Grade A maple syrup. Be sure to use real maple syrup rather than pancake syrup, as genuine maple syrup caramelizes properly during baking.
-
Nut Butter: One-fourth cup of smooth, creamy peanut butter or almond butter. The natural oils and thickness of the nut butter act as a primary binding agent.
-
Butter or Coconut Oil: Two tablespoons of melted dairy butter or melted extra virgin coconut oil.
-
Vanilla Extract: One teaspoon of pure vanilla extract for warmth and aromatic depth.
Optional Mix-Ins
-
Dried Fruit: One-half cup of sweetened dried cranberries or raisins to add a pleasant tart sweetness.
-
Chocolate: One-fourth cup of mini dark or semi-sweet chocolate chips for a rich, indulgent twist.
Step-by-Step Directions and Preparation Method: Maple Cinnamon Granola Bars
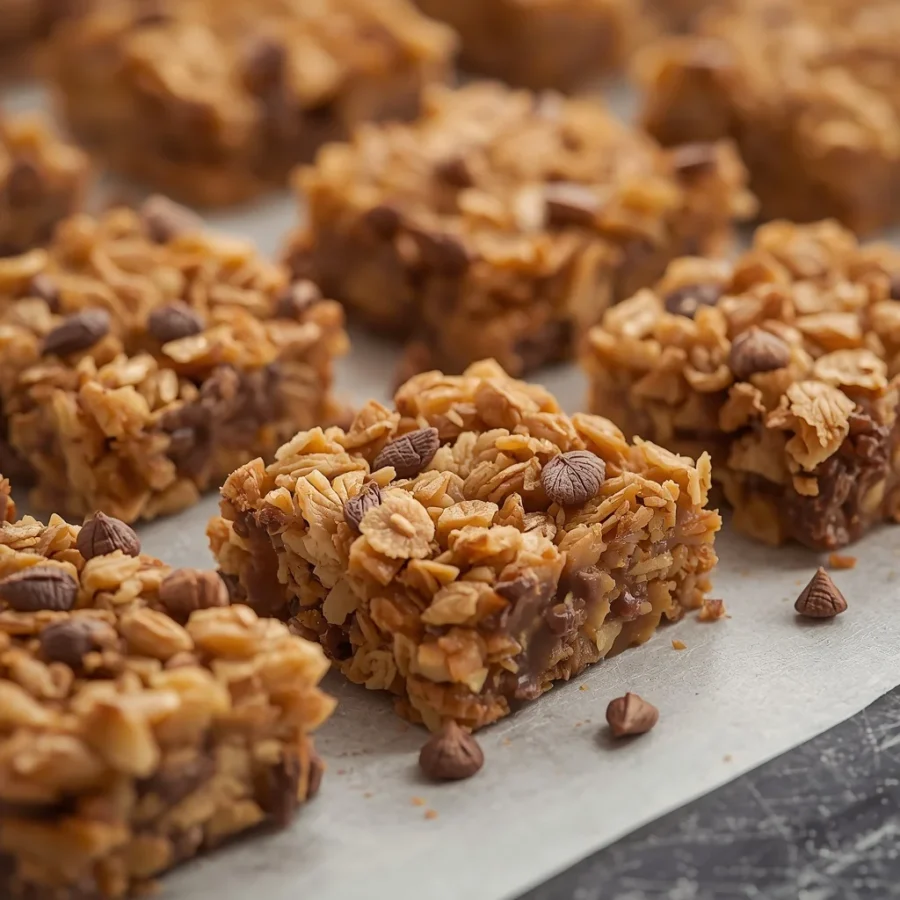
Following a precise preparation method is the secret to ensuring your granola bars hold their shape beautifully and do not crumble when sliced. Follow these step-by-step directions carefully to achieve bakery-quality results.
Step One: Equipment Preparation and Preheating
Begin by setting your oven temperature to three hundred and fifty degrees Fahrenheit, which translates to one hundred and seventy-five degrees Celsius. While the oven heats up, prepare an eight-inch square baking pan. Line the bottom and sides of the pan with parchment paper, allowing a couple of inches of paper to overhang on opposite sides. This parchment paper sling will allow you to lift the baked block out of the pan effortlessly once it cools down.
Step Two: Mixing the Dry Ingredients
In a large mixing bowl, combine the two cups of rolled oats, one cup of chopped nuts, one-half cup of seeds, one-half teaspoon of ground cinnamon, and one-fourth teaspoon of salt. Use a whisk or a large wooden spoon to stir everything together until the spices and salt are evenly distributed throughout the dry grains and nuts.
Step Three: Preparing the Warm Liquid Binder
Place a small saucepan over low heat on your stove. Add the one-half cup of pure maple syrup, one-fourth cup of creamy nut butter, and two tablespoons of melted butter or coconut oil. Warm the mixture gently, stirring continuously for two to three minutes until the nut butter fully dissolves and fuses with the maple syrup into a completely smooth, liquid consistency. Remove the saucepan from the heat source immediately, then stir in one teaspoon of pure vanilla extract.
Step Four: Combining the Components
Pour the warm liquid binder directly over the dry oat mixture in your large bowl. Using a sturdy silicone spatula, stir the mixture thoroughly. Make sure to scrape the bottom and sides of the bowl so that every single grain of oat and piece of nut is lightly coated with the sweet liquid binder. If you choose to add dried fruit like cranberries or raisins, fold them in now. If you are using mini chocolate chips, allow the oat mixture to cool down for three to four minutes first so the chocolate does not melt completely upon contact.
Step Five: The Critical Pressing Technique
Transfer the entire warm granola mixture into your prepared, parchment-lined baking pan. Spread it out into an even layer using your spatula. Now comes the most important step in the whole process: press the mixture down extremely firmly. Use the back of a metal spoon, a flat spatula, or the flat bottom of a glass wrapped in parchment paper to compact the oats into a dense, solid block. Pay special attention to the corners and edges of the pan. The firmer you press the mixture now, the better your bars will hold together after baking.
Step Six: Baking to Perfection
Place the pan into your preheated oven on the center rack. Bake for eighteen to twenty-two minutes. Keep a close eye on the pan during the final minutes of baking; the bars are done when the edges turn a delicate, light golden-brown color while the center remains slightly soft to the touch. Avoid overbaking, as excessive heat will evaporate too much moisture and cause the bars to become brittle.
Step Seven: Cooling and Slicing
Remove the pan from the oven and place it on a wire cooling rack. Allow the bars to cool inside the pan at room temperature for at least one full hour. Do not attempt to slice or remove them while they are warm, as they need time to set. For even cleaner cuts, you can place the pan inside the refrigerator for thirty minutes after it reaches room temperature. Once chilled, use the parchment paper handles to lift the block out of the pan, place it on a cutting board, and slice it with a sharp chef’s knife into ten to twelve individual bars.
Popular Recipe Variations: Maple Cinnamon Granola Bars
One of the best aspects of this maple cinnamon granola bars recipe is how simple it is to customize based on your dietary needs or personal taste preferences. Here are a few creative variations you can try at home:
High-Protein Fitness Bars
If you are using these bars as a post-workout recovery snack, you can easily boost their protein content. Replace one-fourth cup of the rolled oats with one-fourth cup of your favorite unflavored or vanilla plant-based protein powder. Additionally, substitute hemp seeds for sunflower seeds, and use a high-protein nut butter such as natural peanut butter.
Tropical Coconut and Mango Bars
For a sunny, tropical flavor profile, swap the chopped almonds or pecans for unsweetened shredded coconut flakes and chopped macadamia nuts. Substitute the dried cranberries with finely diced dried mango or pineapple pieces. The coconut complements the maple syrup and cinnamon surprisingly well.
Nut-Free School-Safe Option
To make these bars suitable for school lunchboxes or environments with severe nut allergies, replace the chopped nuts with an equivalent amount of extra pumpkin seeds, sunflower seeds, and rolled oats. Substitute the peanut or almond butter with creamy sunflower seed butter or tahini.
Double Chocolate Spice Bars
For dedicated chocolate lovers, add two tablespoons of unsweetened cocoa powder into the warm liquid maple mixture before combining it with the oats. Fold in one-fourth cup of mini dark chocolate chips along with a pinch of cayenne pepper or extra cinnamon to create a complex Mexican hot chocolate flavor theme.
Expert Storage Tips for Maximum Freshness
Storing your homemade granola bars correctly is essential for maintaining their delightful chewy texture and preventing them from becoming soggy or overly stale.
-
Room Temperature Storage: Place the sliced bars in a single layer inside an airtight glass or plastic container. If you need to stack them, place a piece of parchment paper between the layers to prevent them from sticking together. They will stay fresh at room temperature for up to one week.
-
Refrigeration: For an even firmer texture and extended shelf life, store the container in your refrigerator. Chilled granola bars will maintain their quality and crispness for up to two weeks.
-
Freezing: These bars freeze exceptionally well. Wrap individual bars in wax paper or parchment paper, then place them inside a heavy-duty freezer bag. Freeze them for up to three months. When you are ready to eat one, simply pull it out of the freezer and let it thaw on your counter for fifteen to twenty minutes, or enjoy it chilled directly from the freezer for a firm, chewy bite.
Frequently Asked Questions: Maple Cinnamon Granola Bars
Why are my homemade granola bars falling apart?
Granola bars usually crumble for three main reasons: not pressing the mixture firmly enough into the pan before baking, slicing the bars while they are still warm, or using insufficient liquid binder. Make sure you use a flat-bottomed glass to pack the oats as tightly as possible before baking, and always allow the pan to cool completely for at least one hour before attempting to cut them into bars.
Can I use quick oats instead of rolled oats?
It is best to stick with traditional rolled oats for this recipe. Quick-cooking oats are processed much finer and absorb moisture far faster than whole rolled oats, which often leads to a soft, cake-like texture rather than a dense, chewy bar structure.
Can I replace the maple syrup with honey or agave?
Yes, you can substitute honey or agave nectar for maple syrup in equal measure. However, keep in mind that honey has a stronger, distinct flavor profile that will alter the taste slightly, and it tends to brown faster in the oven, so keep a close eye on your baking time.
How can I make Maple Cinnamon Granola Bars granola bars gluten-free?
Oats are naturally gluten-free, but they are frequently processed on shared equipment with wheat products. To ensure your bars are completely safe for anyone with celiac disease or gluten sensitivity, simply purchase certified gluten-free rolled oats.
Can I skip the baking step altogether?
While this recipe is optimized for baking to achieve light caramelization and structure, you can convert it into a no-bake recipe. To do so, increase the nut butter to one-half cup, heat the wet ingredients until thoroughly melted, combine with the dry ingredients, press firmly into the pan, and chill in the refrigerator for at least two to three hours until completely set.
Conclusion: Maple Cinnamon Granola Bars
Mastering this maple cinnamon granola bars recipe is one of the easiest and most rewarding ways to take charge of your daily snacking routine with real, wholesome ingredients. By combining basic pantry staples like rolled oats, pure maple syrup, warm cinnamon, and healthy nuts, you can create a batch of fresh, delicious bars in less than forty minutes total time. Not only do these treats deliver superior taste and rich texture compared to store-bought options, but they also offer endless opportunities for personal customization, catering effortlessly to vegan, gluten-free, or allergy-conscious diets. Keep a batch stored in your refrigerator or freezer, and you will always have a convenient, nutrient-dense snack ready to fuel your busiest days.
Print
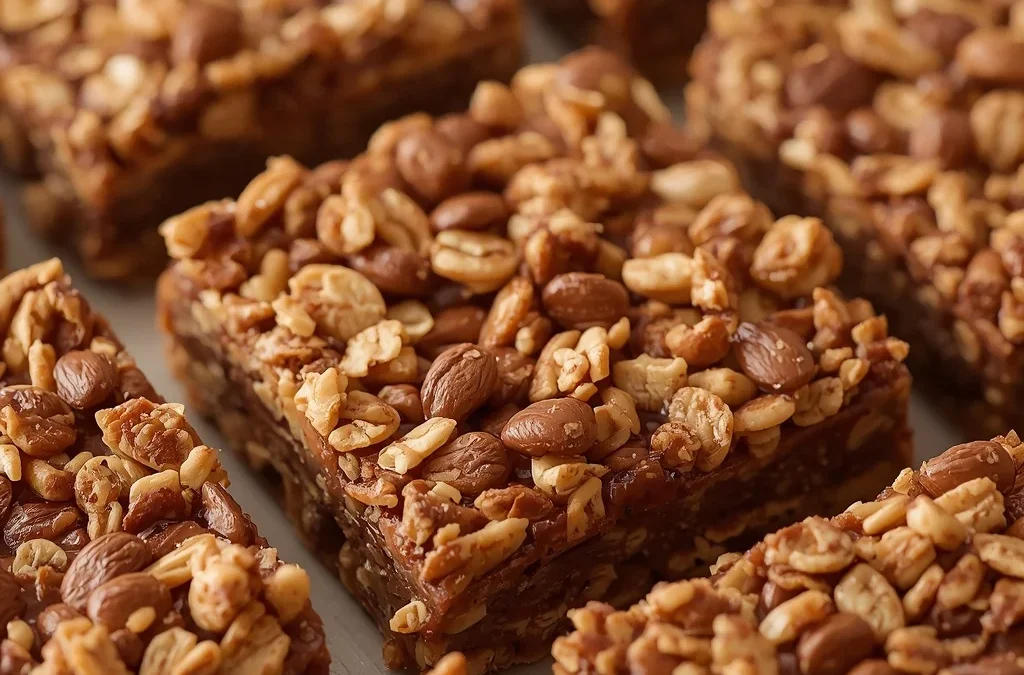
Maple Cinnamon Granola Bars Recipe
- Total Time: 30 minutes
- Yield: 10–12 bars 1x
- Diet: Vegetarian
Description
A maple cinnamon granola bar is a baked snack bar made primarily from whole grain rolled oats, nuts, seeds, and dried fruits, all bound together by a naturally sweetened liquid mixture featuring pure maple syrup and nut butter. The defining characteristics of this particular treat are its warm aroma and cozy flavor profile, driven by a generous infusion of ground cinnamon and natural vanilla. Unlike commercial granola bars that often rely on high fructose corn syrup or hydrogenated oils to achieve structure, this homemade variation relies on simple, real-food ingredients that provide sustained energy throughout the day.
Ingredients
Scale
- 2 cups rolled oats
- 1 cup chopped nuts (almonds, walnuts, or pecans)
- ½ cup pumpkin or sunflower seeds
- ½ teaspoon ground cinnamon
- ¼ teaspoon salt
- ½ cup pure maple syrup
- ¼ cup creamy peanut or almond butter
- 2 tablespoons melted butter or coconut oil
- 1 teaspoon vanilla extract
- ½ cup dried cranberries or raisins, optional
- ¼ cup mini chocolate chips, optional
Instructions
- Prepare the oven: Preheat to 175°C (350°F). Line an 8-inch (20-cm) square baking pan with parchment paper, leaving some overhang.
- Mix the dry ingredients: Combine oats, nuts, seeds, cinnamon, and salt in a large bowl.
- Make the maple mixture: In a small saucepan over low heat, warm the maple syrup, nut butter, and melted butter until smooth. Remove from heat and stir in vanilla.
- Combine: Pour the warm mixture over the oats and stir thoroughly until everything is evenly coated. Fold in dried fruit or chocolate chips if using.
- Press firmly: Transfer to the prepared pan and press down very firmly with the back of a spoon or the bottom of a glass. This helps prevent crumbly bars.
- Bake: Bake for 18–22 minutes, until the edges are lightly golden.
- Cool completely: Let the bars cool in the pan for at least 1 hour before lifting them out and slicing into 10–12 bars.
Notes
- Prep Time: 10 minutes
- Cook Time: 20 minutes
- Category: Snack
- Method: Baking
- Cuisine: American
Nutrition
- Serving Size: 1 bar
- Calories: ~220 kcal
Keywords: homemade maple cinnamon granola bars, maple cinnamon oat bar recipe, easy cinnamon maple granola bars
