If you have recently added a Ninja Creami to your kitchen arsenal, you already know it is not just another blender. It is a game-changer for anyone who loves frozen treats but wants to control exactly what goes into them. While ice cream is the usual star of the show, there is a special place in my heart—and my freezer—for a perfectly executed Ninja Creami frozen yogurt recipe. It is tangy, refreshing, and possesses a velvety texture that rivals the high-end shops at the mall, all while being significantly better for you.
In this deep dive, we are going to explore why this specific appliance has revolutionized home-made desserts and how you can master the art of the frozen yogurt pint. We are moving beyond the basic instructions to look at the science of texture, the history of this chilled delight, and how you can customize your base to fit every craving.
What is a Ninja Creami Frozen Yogurt Recipe?
At its core, a Ninja Creami frozen yogurt recipe is a preparation of yogurt and sweeteners specifically designed to be processed by the Ninja Creami’s unique pressurized blade system. Unlike traditional ice cream makers that churn while freezing, the Creami requires you to freeze a solid block of ingredients for at least twenty-four hours.
Once frozen solid, the machine uses its “Creamify” technology to shave and micro-churn the ice crystals into a smooth, decadent consistency. Because Greek yogurt is naturally thick and contains a high protein content, it responds incredibly well to this process. The result is a dessert that feels like premium soft-serve but carries the nutritional profile of a healthy snack. It is the bridge between indulgence and wellness, providing that satisfying mouthfeel without the heavy cream typically found in traditional gelato or hard-packed ice cream.
The Origin of Ninja Creami frozen yogurt
Before we get into the mixing and spinning, it is fascinating to look at how frozen yogurt became a global phenomenon. Yogurt itself has been a staple in human diets for millennia, originating in the Middle East and Central Asia where it was prized for its longevity and health benefits. However, the idea of freezing it into a dessert is a relatively modern innovation.
Frozen yogurt first made its commercial appearance in the United States during the nineteen seventies. It was initially marketed as a “healthier” alternative to ice cream, though the early versions were often quite tart and had a texture closer to ice milk. It wasn’t until the nineteen eighties and the rise of brands like TCBY that the product became more mainstream, evolving into the sweeter, creamier version we recognize today.
With the arrival of the Ninja Creami, the history of this dish has taken another turn. We are no longer reliant on commercial machines that pump air and stabilizers into the mix. We are returning to a more “home-style” approach where the quality of the yogurt dictates the quality of the final product.
Essential Ingredients for Success
To create a Ninja Creami frozen yogurt recipe that truly stands out, you need to be intentional with your ingredient selection. Because this machine is so effective at pulverizing ice, you do not need as many fats as a standard ice cream maker, but you still need a balanced base.
The Yogurt Base
-
Two cups of Greek Yogurt: This is the foundation of your pint. I highly recommend using full-fat Greek yogurt if you want the creamiest results. The fat molecules help prevent the formation of large ice crystals, resulting in a smoother finish. If you choose non-fat yogurt, the result will still be delicious but may require an extra re-spin to reach that perfect consistency.
-
One third to one half cup of Sweetener: You have total freedom here. Granulated sugar works perfectly, but liquid sweeteners like honey or maple syrup add a lovely depth of flavor. If you are watching your sugar intake, a high-quality sugar substitute like allulose or erythritol functions well because they do not freeze into a rock-hard state quite like monk fruit blends sometimes do.
The Enhancers
-
One teaspoon of Vanilla Extract: This is optional but highly recommended. Vanilla acts as a flavor bridge, tying the tanginess of the yogurt to the sweetness of your sugar choice.
-
A Pinch of Salt: Never skip the salt in cold desserts. A tiny amount helps to sharpen the flavors and ensures the yogurt does not taste flat once it is frozen.
Step by Step Direction and Preparation Method: Ninja Creami frozen yogurt

Creating the perfect pint is a test of patience, but the actual hands-on work is incredibly simple. Follow these steps to ensure your Ninja Creami frozen yogurt recipe comes out perfectly every single time.
Phase One: Mixing the Base
Start by grabbing a medium-sized mixing bowl. Combine your Greek yogurt, your choice of sweetener, vanilla extract, and that crucial pinch of salt. Use a whisk or a silicone spatula to stir the mixture thoroughly. You want to ensure that the sweetener is fully dissolved or integrated so that you don’t end up with gritty patches in your finished dessert. If you are using a granulated sweetener, let the mixture sit for about five minutes after stirring to let the crystals break down.
Phase Two: The Initial Freeze
Pour your smooth mixture into the official Ninja Creami pint container. It is vital that you do not exceed the max fill line. As liquids freeze, they expand, and if the surface is not flat or is too high, it can damage the machine’s blade mechanism. Secure the lid and place the pint on a level surface in your freezer. You must leave it there for a full twenty-four hours. While it might look frozen after twelve hours, the core needs to be a solid block of ice for the Creami to work its magic.
Phase Three: The First Spin
Once your twenty-four hours are up, remove the pint from the freezer. Remove the lid and place the pint into the outer processing bowl. Lock it into the machine and select the Lite Ice Cream or Frozen Yogurt function. You will hear the machine go through its cycle, which usually takes about two minutes.
Phase Four: The Re-Spin Technique
When the machine stops, do not be alarmed if the yogurt looks a bit powdery or like “snow.” This is completely normal for yogurt-based recipes. To fix this, add one or two tablespoons of milk or water to the center of the pint. Place it back into the machine and hit the Re-spin button. This second pass incorporates that bit of extra moisture and creates that signature glossy, creamy texture.
Exciting Variations to Try: Ninja Creami frozen yogurt
Once you have mastered the classic version, the Ninja Creami frozen yogurt recipe becomes a canvas for your culinary creativity. Here are a few ways to switch things up.
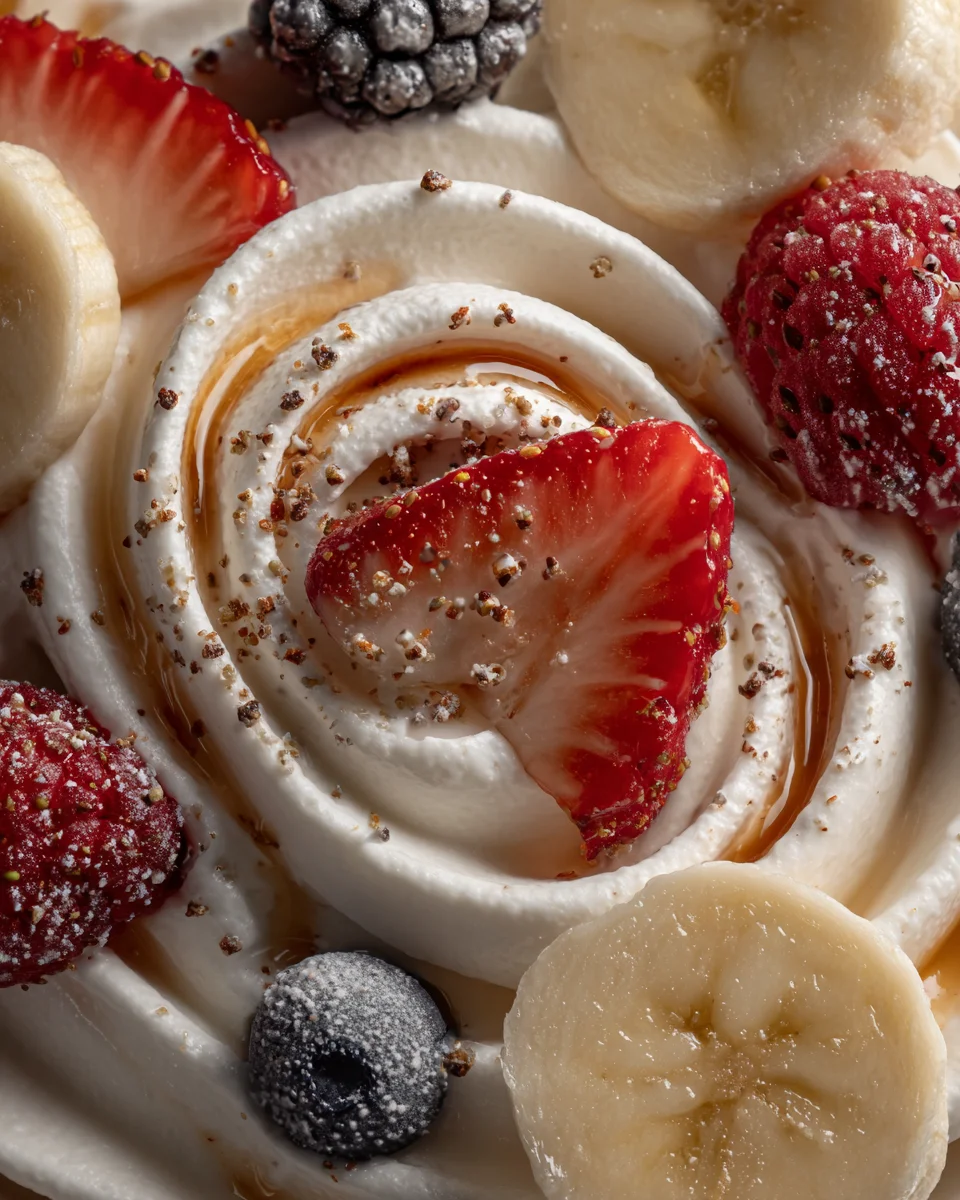
Strawberry Fields
If you love a fruity twist, add half a cup of mashed or blended strawberries to your base before freezing. Keep in mind that fruit contains water, which can make the yogurt a bit icier. To counter this, you might want to add an extra tablespoon of honey to keep the texture soft.
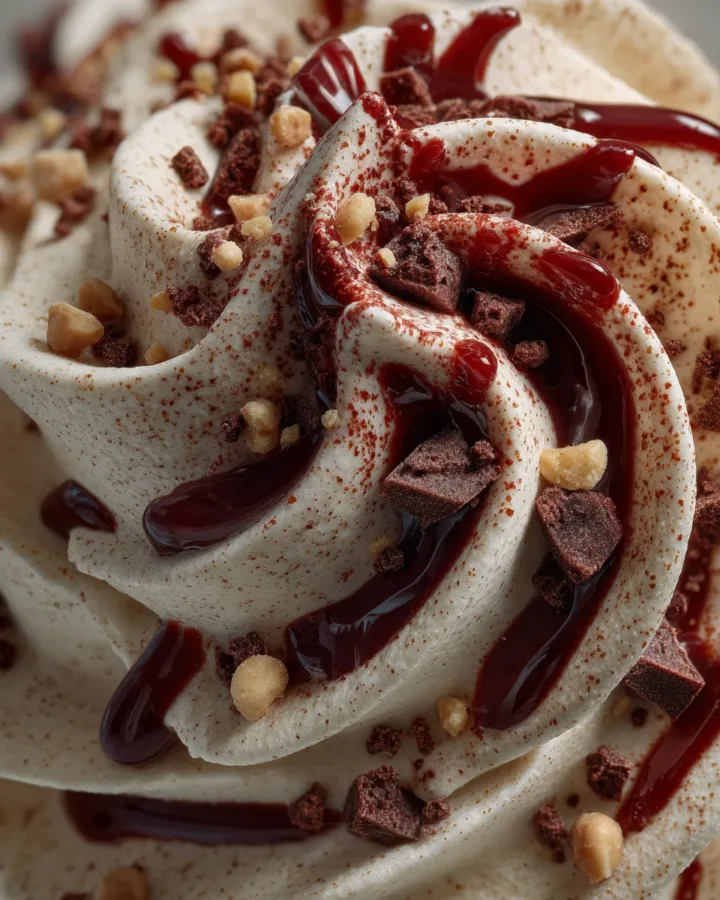
The Chocolate Lover
For a decadent treat, whisk in two tablespoons of high-quality cocoa powder and a touch more sweetener. This creates a frozen yogurt that tastes remarkably like a chocolate frosty but with the probiotic benefits of yogurt.
High-Protein Power Pint
For the fitness enthusiasts, you can swap the full-fat yogurt for non-fat Greek yogurt and stir in one scoop of your favorite vanilla or chocolate protein powder. Because protein powder can soak up moisture, you will definitely want to add a splash of almond milk or skim milk before you hit the re-spin button to ensure it stays creamy rather than chalky.
Expert Tips for the Best Texture
Achieving professional results at home requires a few “insider” tricks. First, if your freezer is set to a very low temperature, your pint might be exceptionally hard. Let the pint sit on the counter for about five to ten minutes before you start the first spin. This slightly softens the outer edges and makes it easier for the blade to glide through.
Secondly, always make sure the top of your frozen mixture is flat. If the yogurt froze with a “hump” in the middle, use a spoon to scrape it level before processing. A level surface ensures even pressure on the machine and prevents the blade from wobbling, which extends the life of your appliance.
Lastly, do not be afraid of the re-spin button. Some days, depending on the humidity or the specific brand of yogurt used, you might even need a third spin. As long as you add a tiny bit of liquid each time, the texture will continue to improve until it is perfect.
Frequently Asked Questions: Ninja Creami frozen yogurt
Can I use regular yogurt instead of Greek yogurt?
You certainly can, but regular yogurt has a much higher water content. This means the final result may be more like a “froyo” pop or slightly icier than the thick, custard-like consistency you get from Greek yogurt.
What if I don’t want to use sugar?
The Ninja Creami is excellent for sugar-free diets. However, sugar helps keep the mixture soft. If you use a zero-calorie sweetener, your pint will likely come out very powdery on the first spin. Just use the re-spin method with a little extra liquid, and it will smooth out beautifully.
How long does the processed yogurt last in the freezer?
While it is best eaten immediately, you can smooth the top and put it back in the freezer. Just be aware that it will freeze solid again. To eat it later, you will simply need to put it back through the machine on the same settings as before.
Is it okay to add mix-ins like chocolate chips?
Absolutely! Once you have finished your final re-spin and the texture is perfect, create a small well in the center of the yogurt, drop in your chocolate chips or cookie bits, and use the Mix-in button. This will gently fold them in without pulverizing them.
Conclusion: Ninja Creami frozen yogurt
Mastering the Ninja Creami frozen yogurt recipe is truly a journey of discovery for anyone who loves a cold dessert. By understanding the importance of your base ingredients—like using high-quality Greek yogurt and the right amount of sweetener—you can create treats that are not only delicious but also fit into a balanced lifestyle. The beauty of the Ninja Creami lies in its ability to transform simple, wholesome ingredients into something that feels like a total indulgence.
Whether you are sticking to the classic vanilla bean flavor or experimenting with protein-packed chocolate versions, the key is patience and technique. Remember to freeze your pints for the full twenty-four hours, level off your surfaces, and never underestimate the power of a good re-spin. With these tools and tips in your pocket, you are well on your way to becoming a home-made frozen yogurt expert. So, grab your pint containers, start mixing, and enjoy the creamiest, tastiest results you have ever had from your own kitchen.
Print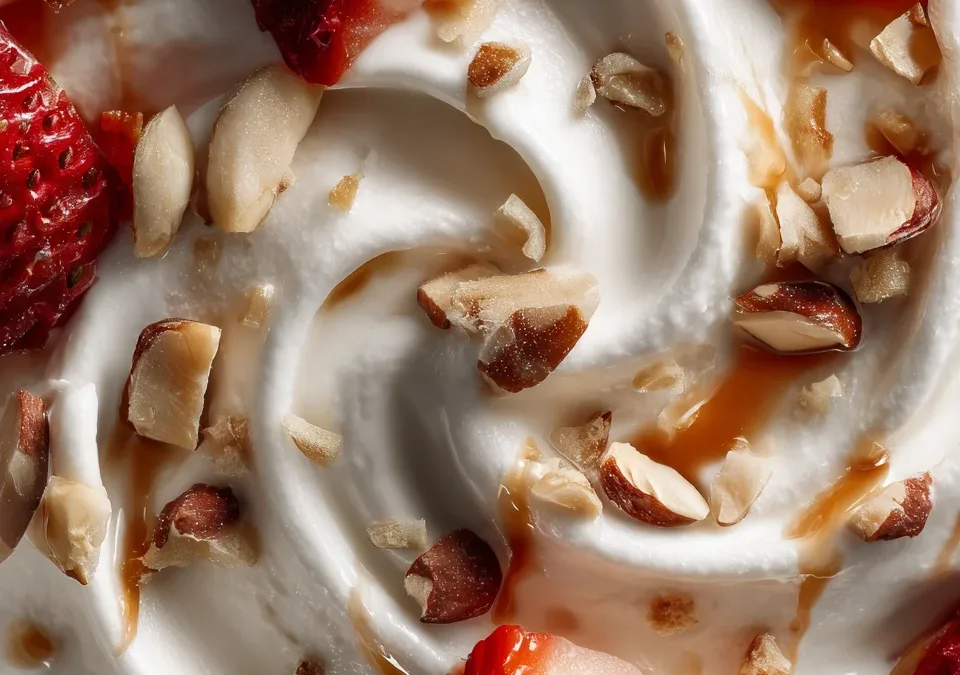
The Ultimate Guide to Crafting the Perfect Ninja Creami Frozen Yogurt
- Total Time: 12–24 hours (includes freezing)
- Yield: 1 pint (2 servings) 1x
- Diet: Vegetarian
Description
At its core, a Ninja Creami frozen yogurt recipe is a preparation of yogurt and sweeteners specifically designed to be processed by the Ninja Creami’s unique pressurized blade system. Unlike traditional ice cream makers that churn while freezing, the Creami requires you to freeze a solid block of ingredients for at least twenty-four hours.
Ingredients
- 2 cups (about 450–500g) Greek yogurt (full-fat = creamiest)
- 1/3 to 1/2 cup sweetener (sugar, honey, maple syrup, or sugar substitute)
- 1 tsp vanilla extract (optional)
- Pinch of salt (optional, enhances flavor)
Instructions
- Mix
- Stir everything together until completely smooth.
- Freeze
- Pour into your Ninja Creami pint container.
- Freeze flat for 12–24 hours (must be solid).
- Spin
- Insert into the Ninja Creami.
- Use “Lite Ice Cream” or “Frozen Yogurt” mode.
- Re-spin
- If crumbly, add 1–2 tbsp milk and hit Re-spin once or twice.
- Serve
- Enjoy immediately or smooth the top and refreeze briefly.
Notes
- Prep Time: 5 minutes
- Cook Time: 0 minutes
- Category: Dessert
- Method: Freezing
- Cuisine: American
Nutrition
- Serving Size: 1/2 pint
- Calories: ~150–220 kcal
Keywords: Ninja Creami froyo guide, homemade creamy yogurt dessert, Ninja machine frozen yogurt, Greek yogurt Creamify method, healthy Ninja Creami base