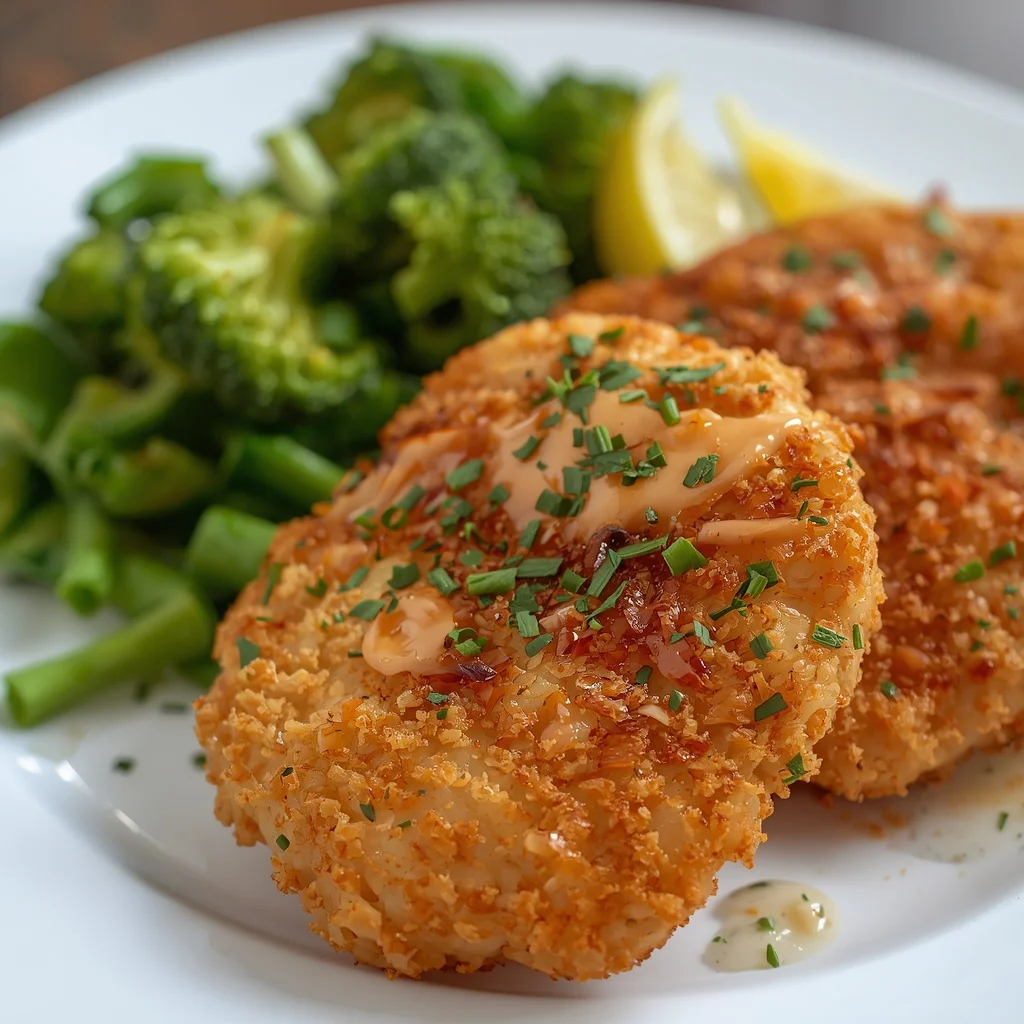
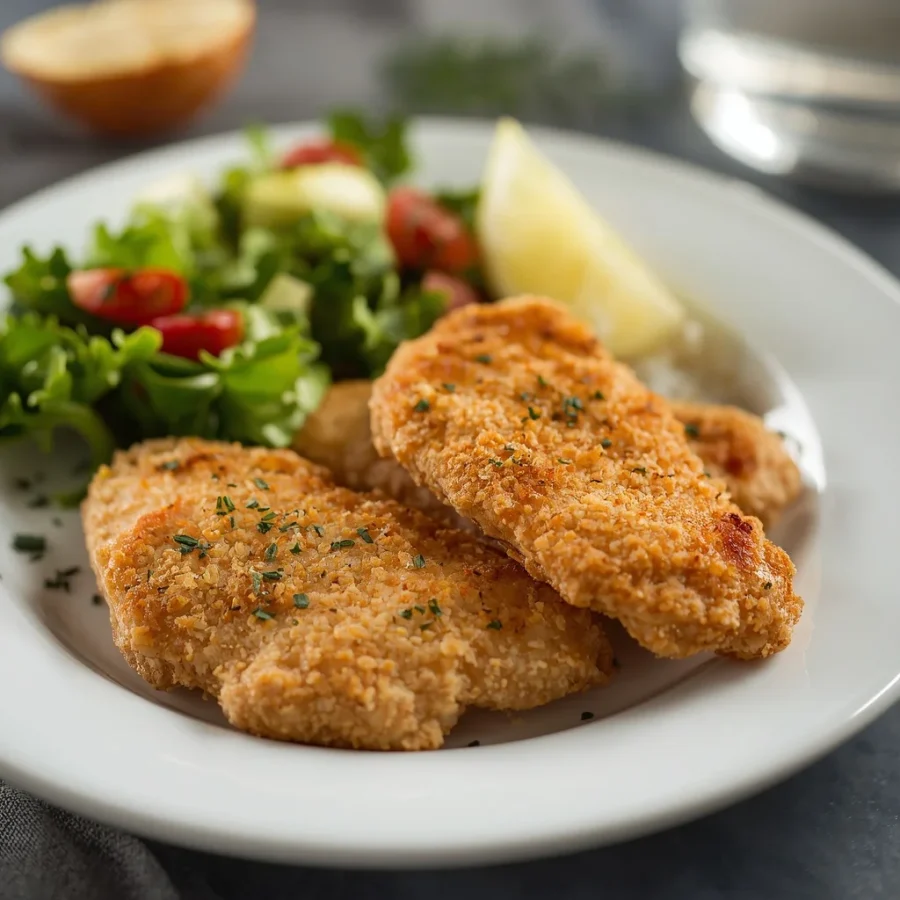
What Is panko chicken cutlets?
To master this dish, it helps to understand what makes a cutlet special and why panko breadcrumbs create such a superior crunch compared to traditional options.
Understanding the Chicken Cutlet
A chicken cutlet is a lean breast cut horizontally into thin slices and gently pounded to a uniform thickness. This preparation method solves one of the biggest challenges in home cooking: uneven thickness. Whole poultry breasts are thick on one end and tapered on the other, which often leads to dry, overcooked edges before the center cooks through.
By pounding the meat to one quarter inch thickness, the poultry cooks rapidly and evenly. The quick cooking time preserves internal moisture while allowing the outer coating to brown without burning.
The Science of Panko Breadcrumbs
The secret to an extra-crunchy coating lies in the structure of Japanese panko crumbs. Traditional American breadcrumbs are made from ground whole loaves, resulting in tiny, dense granules that absorb a lot of oil during cooking.
Panko crumbs are made from crustless white bread processed with an electric current. This unique baking method creates light, airy, flaky slivers rather than dense grains. Because these flakes have less surface area in direct contact with oil, they absorb far less fat during frying. The result is a lighter, crispier texture that stays crunchy longer after leaving the pan.
Origin of panko chicken cutlets
Breaded and fried meat cutlets have a fascinating global history, blending European tradition with Asian culinary innovation to create modern comfort food favorites.
The European Roots of Breaded Cutlets: panko chicken cutlets
The concept of coating thin cuts of meat in flour, egg, and breadcrumbs dates back centuries in European cooking. Austria pioneered the famous Wiener Schnitzel using veal, while Italy perfected Cotoletta alla Milanese.
When Italian immigrants settled in the United States, they adapted their traditional recipes to use affordable, widely available poultry breasts, giving birth to the classic Italian-American chicken cutlet. This versatile staple became the backbone of popular dishes like chicken parmesan, piccata, and simple lemon-garnished cutlet platters.
The Asian Influence and Modern Panko
Meanwhile, in late nineteenth-century Japan, cooks introduced Tonkatsu, a breaded pork cutlet cooked using Western techniques. To achieve a lighter, crunchier shell, Japanese bakers developed panko breadcrumbs.
Over the last few decades, global fusion home cooking brought panko into Western kitchens. Today, combining Italian seasonings and Parmesan cheese with Japanese panko crumbs creates the ultimate hybrid cutlet, delivering a deep, complex flavor with an unbeatable crunch.
Ingredients with Quantity: panko chicken cutlets
Making legendary panko chicken cutlets requires simple, high-quality ingredients measured with care. Here is everything you need to prepare four generous servings.
Primary Meat Base
-
Two large boneless, skinless chicken breasts: Slice each breast horizontally to yield four thin cutlets.
The Dredging Station Ingredients
-
One cup panko breadcrumbs: Plain, unseasoned panko flakes work best so you can control the salt and seasoning levels.
-
One half cup all-purpose flour: Helps absorb surface moisture and gives the egg a smooth base to cling to.
-
Two large eggs: Whisked thoroughly to bind the breadcrumbs to the flour layer.
Flavor Enhancers and Seasonings
-
One half cup grated Parmesan cheese: Adds a salty, savory, nutty depth to the breadcrumb mix.
-
One teaspoon garlic powder: Provides a warm, aromatic savory foundation.
-
One teaspoon paprika: Adds subtle warmth and a rich golden color during frying.
-
One half teaspoon Italian seasoning: A balanced blend of oregano, basil, thyme, and rosemary.
-
One half teaspoon salt: Essential for seasoning the coating properly.
-
One quarter teaspoon black pepper: Freshly ground pepper adds a gentle bite.
Frying Fat and Fresh Garnishes
-
Three tablespoons olive oil: You can also use avocado oil, canola oil, or vegetable oil for pan frying.
-
Fresh lemon wedges: Squeezing fresh citrus over the hot crust brightens the savory flavors right before eating.
-
Fresh parsley: Finely chopped parsley adds vibrant color and herbal freshness.
Step by Step Direction and Preparation Method: panko chicken cutlets
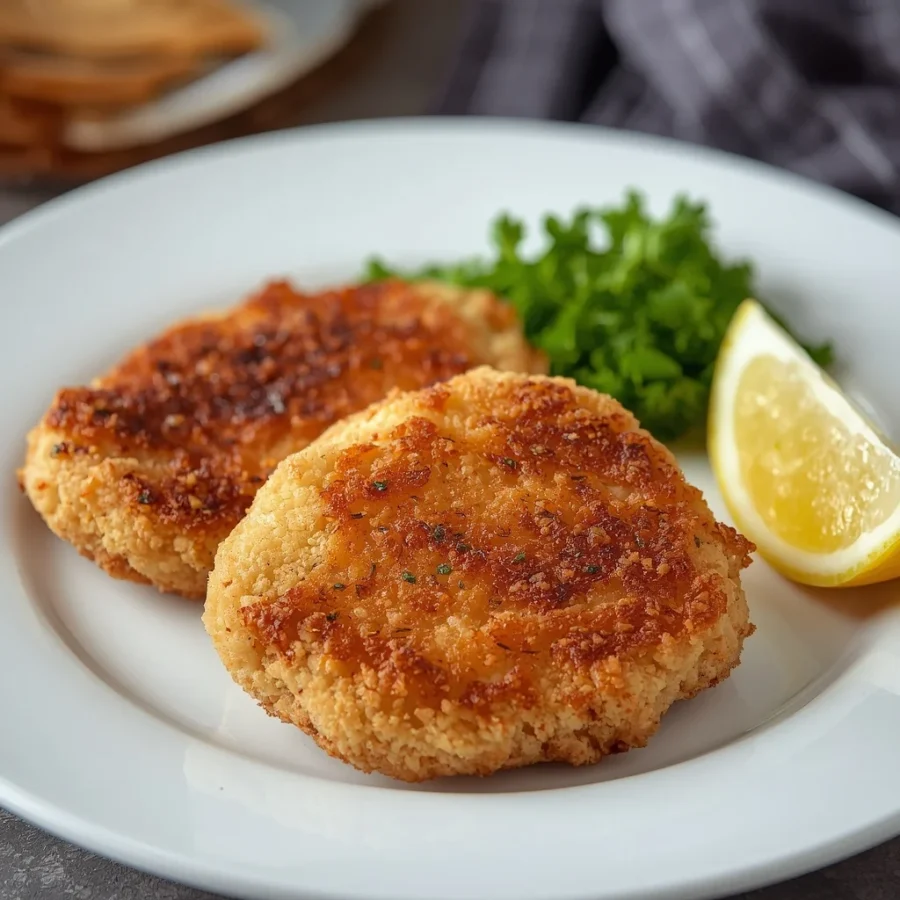
Following a disciplined, organized approach ensures every single cutlet turns out perfectly golden, evenly cooked, and deeply flavorful.
Step One: Slicing and Pounding the Poultry
Proper meat preparation is the most critical foundation of this entire recipe.
-
Place one chicken breast flat on a clean cutting board. Place your hand flat on top of the breast.
-
Using a sharp chef knife, slice horizontally through the middle of the breast to create two thin, equal cutlets. Repeat with the second breast.
-
Place the four cutlets between two sheets of clear plastic wrap or inside a heavy zip-top freezer bag.
-
Using the flat side of a meat mallet or a heavy rolling pin, gently pound the cutlets from the center working outward. Aim for an even thickness of approximately one quarter inch across each piece.
Step Two: Setting Up the Three-Bowl Dredging Station
To ensure the breadcrumbs stay locked onto the meat during frying, arrange a three-step coating line in shallow bowls or rimmed baking dishes.
-
Bowl One: Add one half cup of all-purpose flour.
-
Bowl Two: Crack two large eggs and beat them thoroughly with a fork or whisk until smooth and uniform.
-
Bowl Three: Combine one cup of panko breadcrumbs, one half cup of grated Parmesan cheese, garlic powder, paprika, Italian seasoning, salt, and black pepper. Stir well until the seasonings and cheese are evenly distributed throughout the panko flakes.
Step Three: Coating the Meat
Work with one piece of meat at a time using a disciplined hand technique to keep your fingers clean.
-
Take a pounded cutlet and dredge it in the flour bowl, coating both sides completely. Shake off any excess flour gently over the bowl.
-
Dip the floured cutlet into the beaten egg mixture, ensuring no dry spots remain. Let any excess egg drip back into the bowl for a brief moment.
-
Place the cutlet into the panko mixture. Press firmly on both sides so the flaky crumbs and Parmesan cheese adhere in a thick, even layer.
-
Transfer the coated cutlet to a clean plate or baking sheet. Repeat the process with the remaining cutlets.
-
Pro Tip: Let the coated cutlets rest at room temperature for five minutes before frying. This allows the protein in the egg and flour to set, forming a tight bond that prevents the crust from falling off in the pan.
Step Four: Heating the Pan and Cooking
Pan frying requires proper temperature management to cook the poultry through while browning the crumbs evenly.
-
Heat three tablespoons of olive oil in a large skillet over medium heat for two to three minutes. The oil is ready when it shimmers gently, or when a stray panko crumb dropped into the oil sizzles immediately without burning.
-
Place the coated cutlets into the hot oil in a single layer. Do not overcrowd the skillet; cook in batches if your pan is not large enough to hold all four pieces comfortably.
-
Cook for three to four minutes on the first side without moving the meat, allowing a golden-brown crust to form.
-
Flip the cutlets carefully using tongs. Cook for an additional three to four minutes on the second side. The cutlets are fully cooked when the crust is deep golden brown and an instant-read thermometer inserted into the thickest part reads one hundred sixty-five degrees Fahrenheit.
Step Five: Draining, Garnishing, and Serving
Proper post-fry handling keeps the crust remarkably crisp.
-
Transfer the cooked cutlets immediately from the skillet onto a wire cooling rack set over a baking sheet, or a plate lined with clean paper towels. A wire rack is ideal because it allows air to circulate underneath, preventing trapped steam from making the bottom crust soggy.
-
Sprinkle a light pinch of extra sea salt over the hot cutlets if desired.
-
Garnish with finely chopped fresh parsley and serve immediately alongside fresh lemon wedges.
Delicious Recipe Variations: panko chicken cutlets
While this savory Parmesan garlic version is a timeless classic, you can easily adapt the flavor profile to match different culinary themes.
Gluten-Free Crispy Cutlets
To make this recipe entirely gluten-free, substitute the all-purpose flour with a one-to-one gluten-free baking flour blend or white rice flour. Replace standard panko with certified gluten-free panko breadcrumbs, which are widely available in most grocery stores. The resulting crunch is just as satisfying as the original version.
Air Fryer Option for Light Cooking
If you want to reduce added cooking oil, you can cook these cutlets in an air fryer. Preheat your air fryer to four hundred degrees Fahrenheit. Lightly spray both sides of the coated cutlets with olive oil spray. Arrange them in a single layer in the air fryer basket and cook for eight to ten minutes, flipping halfway through, until golden and cooked through.
Baked Sheet Pan Method
When cooking for a large group, baking cutlets on a sheet pan saves time and hands-on effort. Preheat your oven to four hundred twenty-five degrees Fahrenheit. Line a baking sheet with parchment paper and spray it lightly with oil. Place the breaded cutlets on the pan, spray the tops with olive oil, and bake for fifteen to eighteen minutes until the internal temperature reaches one hundred sixty-five degrees Fahrenheit.
Spicy Buffalo Style Cutlets
For a fiery twist, add one half teaspoon of cayenne pepper and a dash of chili powder into the panko bowl. Once the cutlets finish frying, drizzle them lightly with melted butter blended with your favorite hot pepper sauce, or serve them alongside blue cheese dressing and celery sticks.
Frequently Asked Questions: panko chicken cutlets
Why does the breadcrumb coating fall off my chicken?
The coating usually separates from the meat for three reasons: skipping the flour step, not shaking off excess flour, or flipping the cutlets too early in the pan. The flour gives the egg something to grip, while the egg binds the panko. Letting the breaded cutlets rest for five minutes before frying helps the coating set firmly.
Can I prepare breaded cutlets in advance?
Yes, you can bread the cutlets up to several hours in advance. Place the breaded, uncooked cutlets in a single layer on a parchment-lined baking sheet, cover them loosely with plastic wrap, and refrigerate. Fry them directly from the refrigerator, adding roughly one extra minute of cooking time per side.
How do I store and reheat leftovers without losing the crunch?
Store leftover cooked cutlets in an airtight container in the refrigerator for up to three days. To restore their original crispy texture, reheat them on a baking sheet in an oven or toaster oven preheated to three hundred seventy-five degrees Fahrenheit for seven to ten minutes. Avoid using a microwave, as it causes the coating to become soft and soggy.
What are the best dishes to serve with panko chicken cutlets?
These versatile cutlets pair beautifully with a wide variety of sides. Serve them over a bed of buttery garlic pasta, alongside a crisp arugula salad tossed with lemon vinaigrette, nestled inside a warm artisan sandwich roll, or topped with marinara sauce and melted mozzarella cheese for a quick chicken parmesan.
Conclusion: panko chicken cutlets
Mastering the art of preparing panko chicken cutlets gives you a reliable, delicious meal option that never fails to impress. By slicing poultry breasts into thin pieces, pounding them evenly, and using the three-step dredging method with flaky panko and aged Parmesan, you achieve restaurant-quality crunch and juiciness right in your home kitchen. Whether you serve them simply with fresh lemon wedges on a busy weeknight or build them into elaborate pasta dishes and sandwiches, this versatile recipe is sure to become a cherished favorite in your weekly meal rotation. Grab your skillet, prep your ingredients, and enjoy the ultimate homemade crunch tonight!
Print
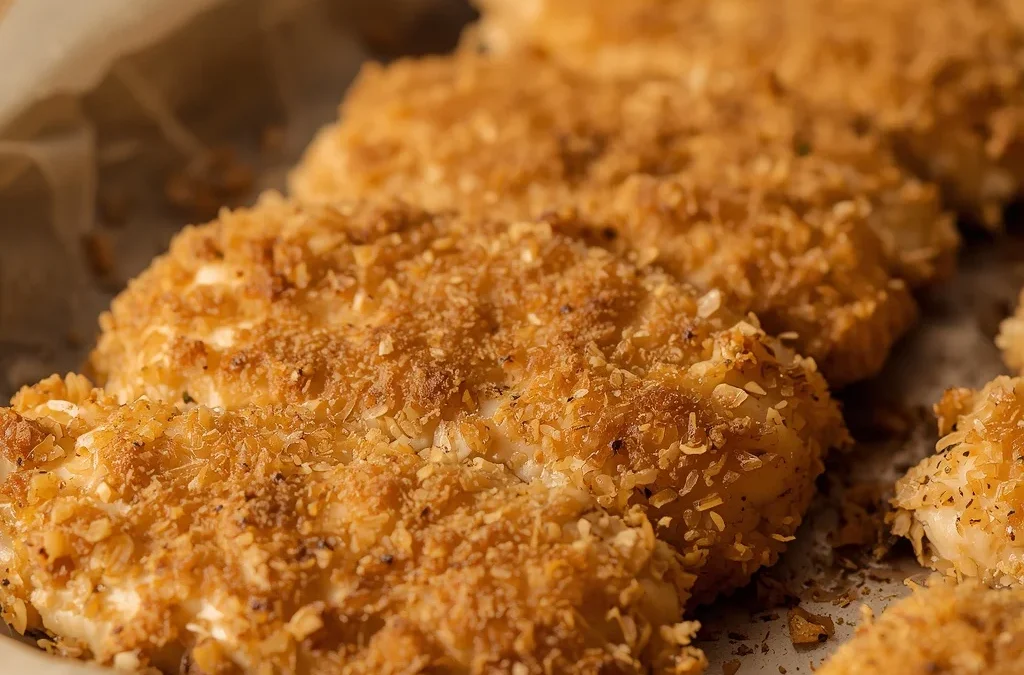
Crispy Panko Chicken Cutlets Recipe
- Total Time: 23 minutes
- Yield: 4 servings 1x
Description
Breaded and fried meat cutlets have a fascinating global history, blending European tradition with Asian culinary innovation to create modern comfort food favorites.
Ingredients
Scale
- 2 large boneless, skinless chicken breasts
- 1 cup panko breadcrumbs
- ½ cup all-purpose flour
- 2 large eggs
- ½ cup grated Parmesan cheese
- 1 tsp garlic powder
- 1 tsp paprika
- ½ tsp Italian seasoning
- ½ tsp salt
- ¼ tsp black pepper
- 3 tbsp olive oil
- Lemon wedges, for serving
- Fresh parsley, optional
Instructions
- Prepare the chicken: Slice each chicken breast horizontally into thin cutlets. Place them between sheets of plastic wrap and gently pound to an even thickness of about ¼ inch.
- Set up the coating: Place flour in one shallow bowl. Beat the eggs in a second bowl. In a third bowl, combine panko, Parmesan, garlic powder, paprika, Italian seasoning, salt, and pepper.
- Coat the chicken: Dip each cutlet into the flour, shaking off excess. Dip into the beaten egg, then press firmly into the panko mixture until evenly coated.
- Heat the oil: Heat olive oil in a large skillet over medium heat.
- Cook: Place the cutlets in the skillet without overcrowding. Cook for 3–4 minutes per side, or until golden brown and the chicken reaches 165°F (74°C) internally.
- Drain: Transfer the cooked cutlets to a paper towel-lined plate or wire rack.
- Serve: Garnish with fresh parsley and serve with lemon wedges.
Notes
- Prep Time: 15 minutes
- Cook Time: 8 minutes
- Category: Main Course
- Method: Frying
- Cuisine: American
Nutrition
- Serving Size: 1 cutlet
- Calories: ~420 kcal
Keywords: crispy panko breaded chicken, golden panko chicken cutlets, pan fried panko cutlets
