
Have you ever walked past the freezer section in the grocery store and wondered how professional bakeries manage to get those impossibly thin, buttery, and flaky layers in their turnovers and tartlets? The secret is often a labor of love called laminated dough. However, for those of us who do not have three days to spend folding butter into flour, there is a brilliant shortcut that delivers five-star results every single time. Today, we are diving deep into a versatile and incredibly simple Pepperidge Farm Puff Pastry recipe idea that will transform your kitchen into a high-end patisserie without the stress.
Using ready-made sheets is not just a time-saver; it is a way to ensure consistency in your baking. Whether you are hosting an impromptu brunch, looking for a quick after-school snack, or needing an elegant appetizer for a dinner party, this foundation is your best friend. The beauty of this specific method lies in its adaptability. Once you master the basic technique of handling the dough, the sky is the limit for what you can create.

What is this Pepperidge Farm Puff Pastry Recipe Idea?
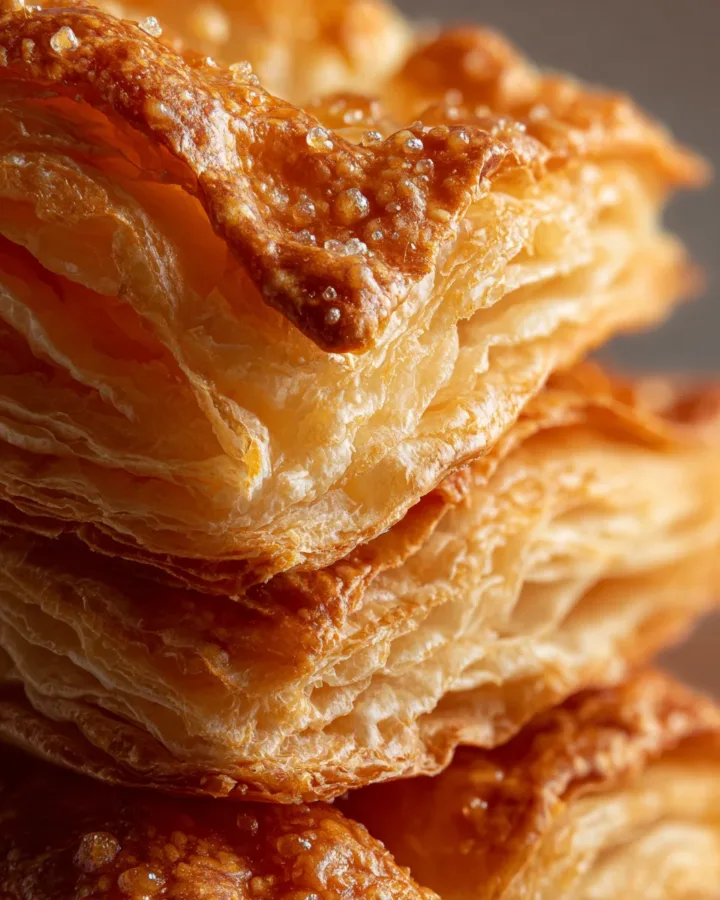
When we talk about this Pepperidge Farm Puff Pastry recipe idea, we are essentially discussing the art of the filled pastry pocket. At its core, this recipe uses a frozen, pre-laminated dough that contains hundreds of microscopic layers of shortening or butter. When placed in a high-temperature oven, the moisture in those layers turns to steam, pushing the dough up and creating that signature “puff” that is both light and crisp.
This particular idea focuses on creating individual hand pies or turnovers. By cutting the sheets into manageable shapes and filling them with your favorite sweet or savory ingredients, you create a self-contained treat that is easy to serve and even easier to eat. It is a fundamental technique that every home cook should have in their back pocket because it relies on minimal ingredients but yields maximum visual and textural impact.
The Origin of the Puff Pastry Tradition
To appreciate why this Pepperidge Farm Puff Pastry recipe idea works so well, it helps to understand where this style of baking began. Puff pastry, known in French as pate feuilletee, has roots that stretch back to ancient Mediterranean traditions, though the modern version we recognize today was refined in the seventeenth century. Legendary French chefs like Marie-Antoine Careme took the technique of layering dough and fat to a level of scientific precision.
Pepperidge Farm brought this gourmet experience to the American household in the mid-twentieth century. By offering a high-quality, frozen version of this complex dough, they democratized French baking. Suddenly, home cooks in the suburbs could produce appetizers and desserts that previously required hours of professional labor. This legacy of accessibility is exactly why we continue to use these ready-made sheets today; they provide a professional-grade canvas for our own creative culinary expressions.
Simple Ingredients for Success: Pepperidge Farm Puff Pastry
The beauty of this recipe is that the grocery list is incredibly short. Most of these items are likely already in your pantry or refrigerator. Here is what you will need to get started:
The Essential Base
-
One package of Pepperidge Farm Puff Pastry Sheets: These usually come with two sheets per box. Ensure they are thawed according to the package directions before you begin.
-
One large egg: This is the secret to that professional, deep golden-brown shine.
-
One tablespoon of whole milk: This is optional but helps to thin out the egg wash for a more even application.
The Flavorful Fillings
You only need to choose one of these for a single batch, or mix and match if you are feeling creative:
-
Fruit Jam: Strawberry, raspberry, or apricot preserves provide a classic sweet filling.
-
Chocolate: Hazelnut spread or a handful of semi-sweet chocolate chips for a decadent treat.
-
Sweetened Cream Cheese: Blend four ounces of cream cheese with two tablespoons of sugar for a cheesecake-style filling.
-
Cinnamon Apple: Thinly sliced apples tossed in a bit of cinnamon and granulated sugar.
-
Savory Cheese: Shredded cheddar, gruyere, or a slice of brie for a sophisticated snack.
Step by Step Direction and Preparation Method: Pepperidge Farm Puff Pastry recipe
Success with any Pepperidge Farm Puff Pastry recipe idea depends heavily on temperature control. Because the dough relies on cold layers of fat to puff, you must work quickly and keep things chilled. Follow these steps for the perfect flake.
Step One: Thawing the Pastry Correctly
This is the most critical step. Do not try to unfold the pastry while it is still frozen, or it will snap. The best method is to move the box from the freezer to the refrigerator about two to three hours before you plan to bake. If you are in a rush, you can thaw it on the counter for about forty minutes, but you must monitor it closely. It should be soft enough to unfold but still cold to the touch.
Step Two: Preparing the Workspace
Preheat your oven to two hundred degrees Celsius, which is approximately four hundred degrees Fahrenheit. High heat is non-negotiable for puff pastry; if the oven is too cool, the fat will melt out instead of creating steam, leaving you with a greasy, flat mess. While the oven heats, line a large baking tray with parchment paper to prevent sticking.
Step Three: Shaping and Filling the Dough
Lightly dust your counter with a tiny bit of flour. Unfold one sheet of pastry and roll it out slightly with a rolling pin just to smooth out the creases. Using a sharp knife or a pizza cutter, divide the sheet into six or nine squares, depending on how large you want your pastries to be.
Place a small dollop of your chosen filling—about one tablespoon—in the center of each square. Be careful not to overfill, as the steam created during baking will try to force the filling out of the sides.
Step Four: Sealing the Edges
Fold the pastry over the filling. You can fold it into a triangle or a rectangle. To ensure the filling stays inside, take a fork and press the tines firmly along the open edges. This “crimping” not only seals the pastry but also adds a lovely decorative border that looks like it came from a professional bakery.
Step Five: The Golden Egg Wash
In a small bowl, whisk your egg and milk until completely combined. Using a pastry brush, lightly coat the top of each turnover with the egg wash. Avoid letting the egg drip down the cut edges of the pastry, as the cooked egg can actually act like glue and prevent the layers from rising properly.
Step Six: The Baking Process
Slide your tray into the center of the preheated oven. Bake for fifteen to twenty minutes. You are looking for a dramatic rise and a deep, golden brown color. If the pastries look pale, give them another two or three minutes. The internal layers need to be fully cooked to maintain their structure.
Step Seven: Cooling and Finishing
Transfer the pastries to a wire rack to cool for at least ten minutes. If you used a fruit or chocolate filling, the inside will be incredibly hot! For a final touch, you can dust sweet versions with powdered sugar or glaze them with a simple mixture of milk and confectioners’ sugar.
Mastering the Best High Quality Content with Variations
Once you have the basic folding technique down, you can experiment with different versions of this Pepperidge Farm Puff Pastry recipe idea. The versatility of the dough allows you to transition from breakfast to dinner with ease.
The Morning Breakfast Braid
Instead of small squares, keep the sheet whole. Lay a row of cooked sausage and scrambled eggs down the center third. Cut strips into the outer thirds and fold them over the center in a braided pattern. Brush with egg wash and bake until golden for a stunning brunch centerpiece.
The Savory Pesto and Tomato Tart
Skip the folding entirely. Score a border one inch from the edge of the pastry sheet but do not cut all the way through. Spread a thin layer of basil pesto inside the border and top with sliced cherry tomatoes and parmesan cheese. The edges will puff up around the filling, creating a beautiful tart.
The Elegant Almond Croissant Style
Fill your pastry squares with a simple almond paste made from ground almonds, sugar, and a bit of egg white. After baking, top with sliced almonds and a heavy dusting of powdered sugar. It is a sophisticated alternative to the standard fruit turnover.
Frequently Asked Questions: Pepperidge Farm Puff Pastry recipe idea
Can I prepare Pepperidge Farm Puff Pastry ahead of time?
Yes! You can assemble the pastries, seal them, and place them on a tray in the freezer. Once they are frozen solid, transfer them to a freezer bag. When you are ready for a snack, you can bake them straight from the freezer. Just add about five minutes to the total baking time.
Why didn’t my pastry puff up?
The most common reason for a lack of puff is that the dough became too warm before it hit the oven. If you find that the dough is getting soft and sticky while you are filling it, put the whole tray in the fridge for fifteen minutes before baking. Another reason could be an oven that wasn’t fully preheated to two hundred degrees Celsius.
How do I store leftovers?
Puff pastry is best enjoyed the day it is made. However, you can store leftovers in an airtight container at room temperature for one day. To regain the crisp texture, reheat them in a toaster oven or a standard oven for a few minutes. Avoid the microwave, as it will make the pastry chewy and soggy.
Can I use a savory filling like meat?
Absolutely. Just make sure any meat filling, like ground beef or chicken, is fully cooked and cooled before you put it inside the dough. If the filling is hot or wet, it will make the bottom of the pastry soggy.
Should I prick the bottom of the dough?
For the turnovers described in this Pepperidge Farm Puff Pastry recipe idea, you do not need to prick the dough. However, if you are making a flat tart and you don’t want the center to rise too much, you would use a fork to “dock” the center area.
Conclusion: Pepperidge Farm Puff Pastry recipe idea
Navigating the world of pastry does not have to be an intimidating ordeal filled with complex measurements and failed attempts. By utilizing this Pepperidge Farm Puff Pastry recipe idea, you are taking a proven shortcut that leads to spectacular results. The combination of a reliable, high-quality base and your own personal choice of fillings allows for a level of creativity that is rare in quick recipes. Whether you are leaning into the sweetness of a fruit-filled turnover or the savory satisfaction of a cheese-filled pocket, the result is always a golden, flaky masterpiece that impresses anyone who takes a bite. Remember to keep your dough cold, your oven hot, and your imagination open. With these simple principles, you can turn a simple box of frozen dough into a culinary highlight of your week. Cooking is about the joy of the process and the satisfaction of the result, and few things provide that as quickly and consistently as a perfectly puffed pastry.
Print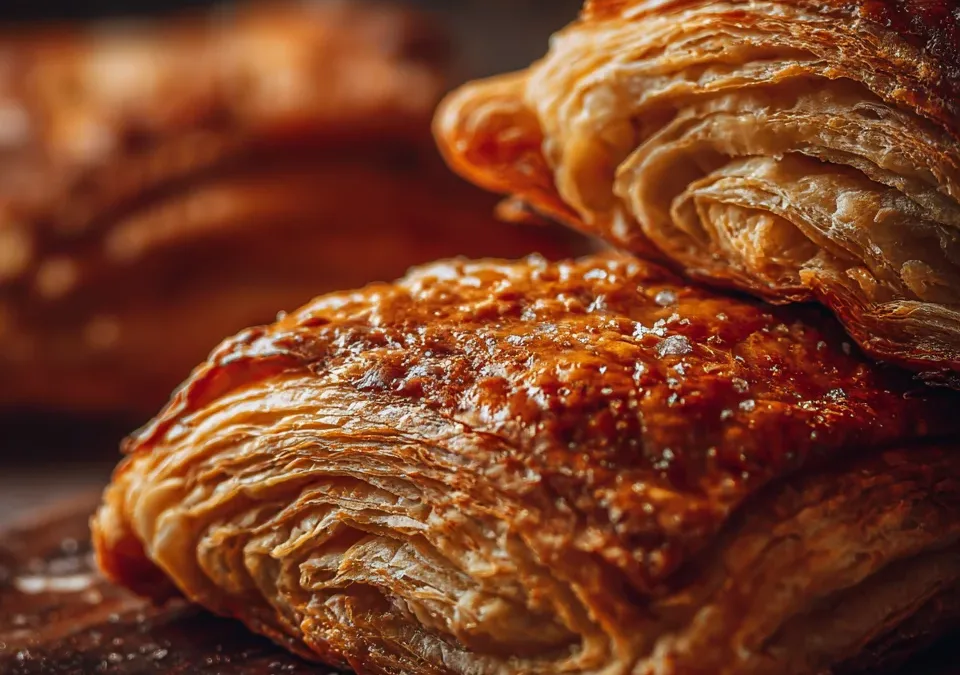
The Ultimate Homemade Guide to the Pepperidge Farm Puff Pastry Recipe Idea
- Total Time: 30 minutes
- Yield: 8–10 servings 1x
- Diet: Vegetarian
Description
When we talk about this Pepperidge Farm Puff Pastry recipe idea, we are essentially discussing the art of the filled pastry pocket. At its core, this recipe uses a frozen, pre-laminated dough that contains hundreds of microscopic layers of shortening or butter. When placed in a high-temperature oven, the moisture in those layers turns to steam, pushing the dough up and creating that signature “puff” that is both light and crisp.
Ingredients
- 1 pack Pepperidge Farm Puff Pastry Sheets (thawed)
- 1 egg (for egg wash)
- 1 tablespoon milk (optional, for egg wash)
Optional fillings (choose one):
- Jam (strawberry, raspberry, etc.)
- Chocolate chips or Nutella
- Cream cheese + sugar
- Apple slices + cinnamon sugar
- Cheese (for savory version)
Instructions
- Thaw pastry
Let the puff pastry thaw in the fridge until soft but still cold. - Preheat oven
Set oven to 200°C (400°F). Line a baking tray with parchment paper. - Cut & fill
Roll out the pastry slightly and cut into squares or rectangles. Add your chosen filling in the center. - Seal
Fold over (triangles or rectangles) and press edges with a fork to seal. - Egg wash
Mix egg + milk and brush over the top for a golden finish. - Bake
Bake for 15–20 minutes or until puffed and golden brown. - Cool & serve
Let cool slightly before serving.
Notes
Light, flaky, and versatile—perfect for both sweet and savory creations straight from your oven.
- Prep Time: 10 minutes
- Cook Time: 20 minutes
- Category: Pastry
- Method: Baking
- Cuisine: French-inspired
Nutrition
- Serving Size: 1 piece
- Calories: ~180 kcal
Keywords: Ready-made Puff Pastry Sheets Recipe, Frozen Puff Pastry Ideas, Easy Puff Pastry Turnovers, Pepperidge Farm Dough Recipes