When the holiday season rolls around, few baked goods match the magic of
peppermint meringue kisses. These cloud-like confections deliver a light, airy bite that dissolves on your tongue. A wave of sweet minty coolness remains behind. Have you searched for a show-stopping addition to your holiday cookie tray? Do you need an edible gift that looks like it belongs in a French patisserie window? Perhaps you simply want a light
sweet treat alongside a warm mug of cocoa. In any case,
peppermint meringue kisses are the ultimate choice. Within this in-depth guide, we will explore everything you need to know about crafting these enchanting cookies. You will discover their classic history and essential ingredient chemistry.
Step-by-step preparation, creative flavor variations, and expert tips for baking without cracks will help you master making
peppermint meringue kisses in your home kitchen.
What Is a Peppermint Meringue Kiss?
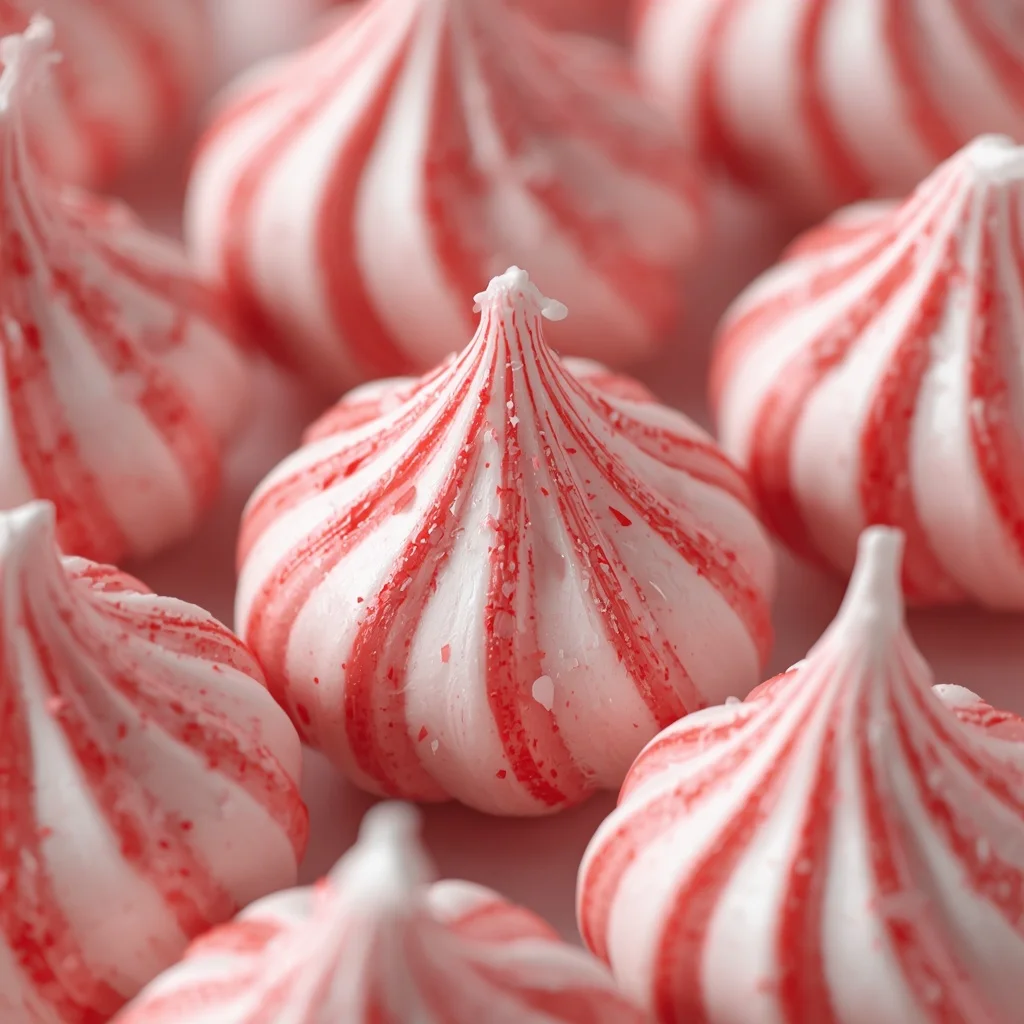
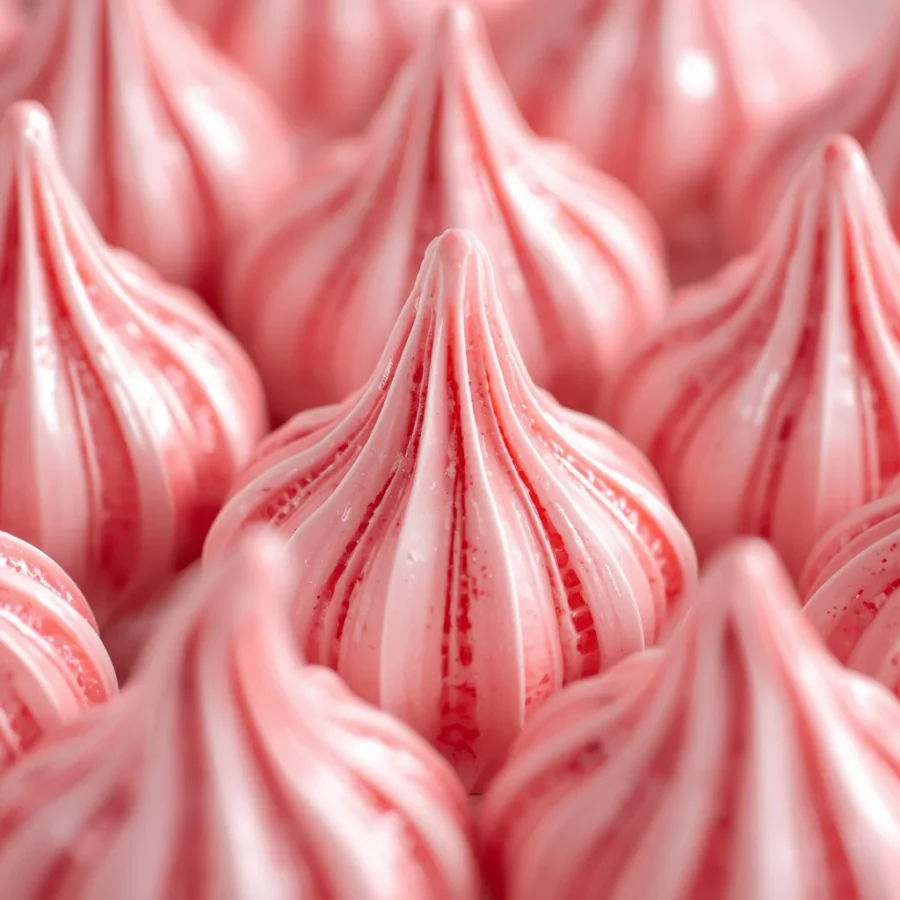
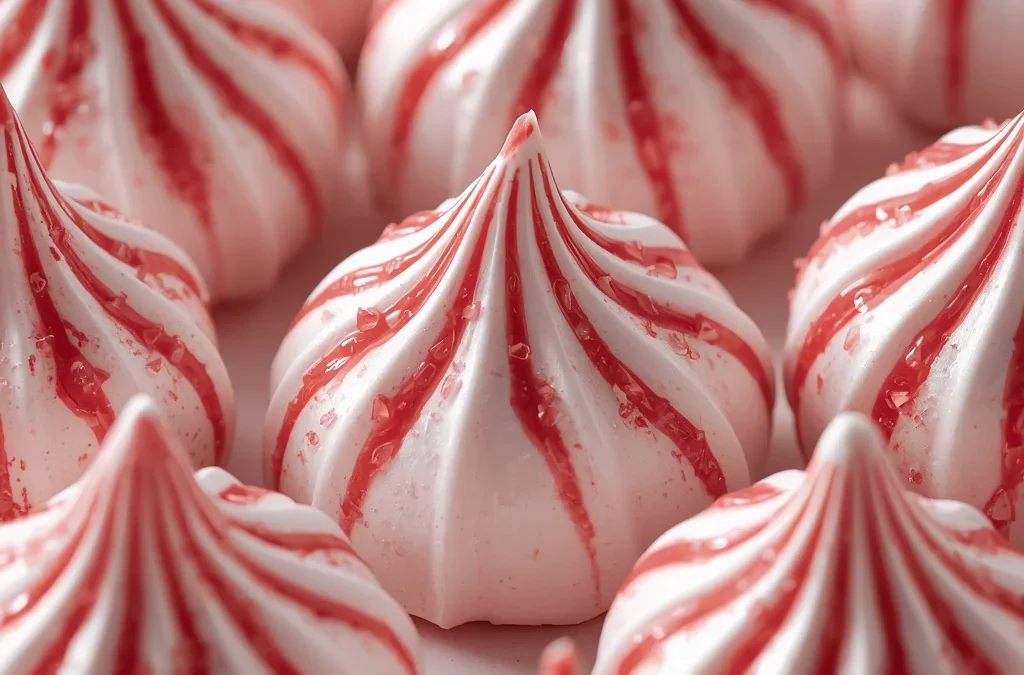
At its core, a peppermint meringue kiss is a delicate, baked sweet treat. Skilled bakers craft them from egg whites whipped into a stable, glossy foam with granulated sugar. Infused with pure peppermint extract and decorated with striking red stripes, these bite-sized drops look stunning. Piping them through a starred nozzle creates a signature swirled peak resembling a tiny mountain top.
Traditional buttery flour cookies rely on fat and heavy dough for structure. Conversely, peppermint meringue kisses derive their weightless form entirely from trapped air bubbles inside whipped egg proteins. Baking them slowly at a gentle, low temperature causes internal moisture to evaporate gradually. This process transforms soft, whipped egg white foam into a dry, crisp shell with a fragile interior. Every piece snaps delightfully when bitten and melts instantly in your mouth.
The Origin and History of Meringue Confections
To fully appreciate making peppermint meringue kisses, understanding classic meringue techniques helps immensely. The history of whipping egg whites into sweet desserts spans centuries across European culinary tradition.
Early European Origins
The exact origin of meringue remains a topic of friendly debate among culinary historians. One popular account claims a Swiss pastry chef named Gasparini created the first meringue in Meiringen during the early eighteenth century. Another widely accepted historical record attributes the creation to Italian chef Francois Massialot. His recipes appeared in a famous French cookbook published in sixteen ninety-one. Whichever chef reached the finish line first, the technique quickly captivated European nobility. Queen Marie Antoinette of France was famously fond of meringues. Reports suggest she hand-crafted them herself at the Trianon palace.
Evolution into Holiday Mint Kisses
Early meringues were shaped using simple spoons before pastry bags and decorative star tips became widely available. Over the years, bakers began experimenting by introducing floral waters, citrus oils, and botanical extracts to egg white foam. Peppermint farming expanded across Europe and North America in the nineteenth century. Combining crisp sugar foam with refreshing mint oil became a natural favorite. Today, adding bright red stripes to mint-flavored meringues is a beloved tradition that brings festive joy to winter celebrations worldwide.
Ingredients and Exact Quantities
Creating flawless peppermint meringue kisses requires absolute precision with your ingredients. Meringues rely heavily on scientific reactions between egg proteins and sugar crystals. Using exact ratios is essential for achieving a stable structure that holds its piped shape in the oven.
Essential Grocery List
-
Large Egg Whites: Three large egg whites, strictly at room temperature. Ensure not a single speck of egg yolk enters your mixing bowl, as fat destroys foam structure.
-
Granulated Sugar: Three-fourths of a cup (or approximately one hundred fifty grams) of fine white granulated sugar or superfine caster sugar.
-
Cream of Tartar: One-fourth of a teaspoon of cream of tartar. This natural acid acts as a stabilizer, binding egg white proteins together so they hold air.
-
Peppermint Extract: One-fourth of a teaspoon of pure peppermint extract. Be cautious with measurements, as peppermint oil is extremely potent.
-
Salt: A tiny pinch of fine table salt to elevate flavor depth.
-
Red Gel Food Coloring (Optional): One or two drops of concentrated red gel food coloring to paint decorative stripes inside your piping bag.
-
Crushed Peppermint Candies (Optional): Two tablespoons of finely crushed candy canes or peppermint hard candies for an extra crunchy garnish.
Step by Step Direction and Preparation Method: peppermint meringue kisses
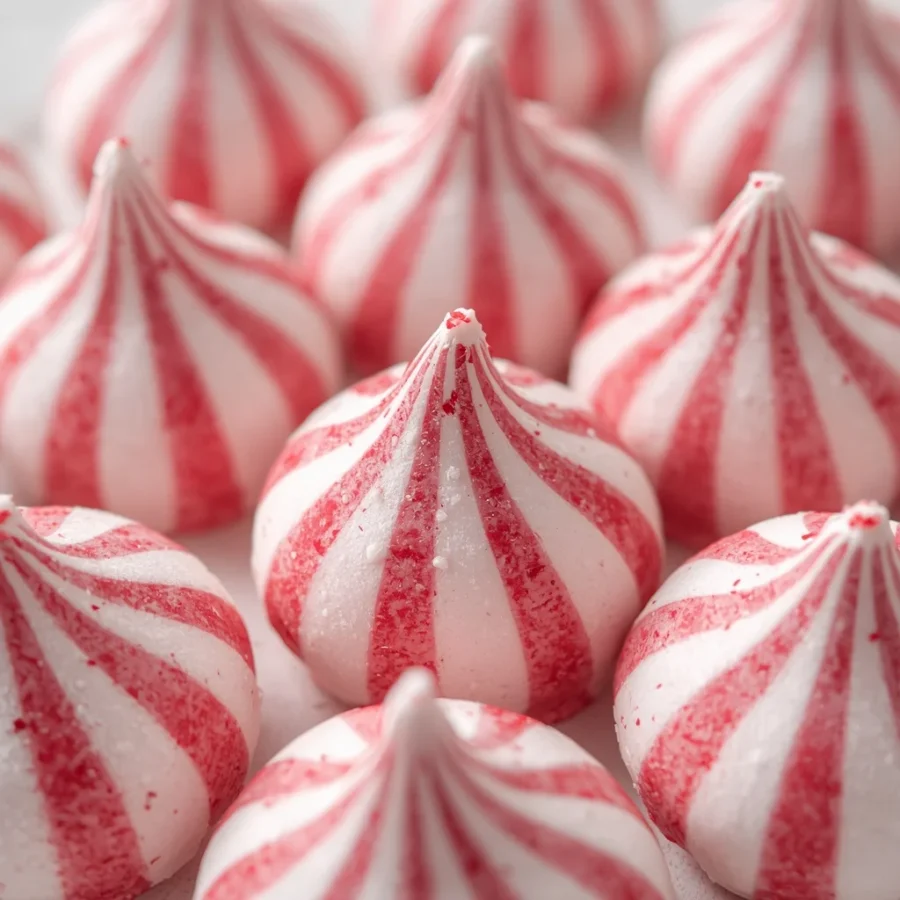
Baking perfect peppermint meringue kisses is a gentle art requiring patience rather than complex skills. Follow these detailed instructions to guarantee crisp, shiny, beautifully striped cookies every single time.
Step One: Oven and Equipment Setup
Preheat your oven to two hundred degrees Fahrenheit (which equals ninety-five degrees Celsius). Line two large baking sheets with sheets of high-quality parchment paper or silicone baking mats. Take a clean paper towel dampened with a drop of lemon juice or white vinegar. Wipe down your stainless steel or glass mixing bowl and beaters thoroughly. Removing every trace of lingering oil is crucial, as grease prevents egg whites from whipping to full volume.
Step Two: Whip the Egg Whites to a Foam
Separate your room temperature egg whites carefully. Pour the three egg whites into your freshly cleaned mixing bowl. Add the one-fourth teaspoon of cream of tartar along with the tiny pinch of salt. Turn your electric mixer on medium speed. Beat the whites until they turn frothy, foamy, and opaque.
Step Three: Build the Glossy Stiff Peaks
Increase your mixer speed to high. While beaters run continuously, begin adding your three-fourths cup of granulated sugar gradually. Add roughly one tablespoon at a time. Pausing for a few seconds between additions gives sugar crystals time to dissolve into liquid egg whites. Continue beating on high speed until the meringue becomes thick, bright white, and intensely glossy. Test the meringue by lifting beaters straight up. The peak should stand firmly upright without drooping at the tip. Rub a tiny bit of foam between your thumb and index finger. It should feel completely smooth. Does it feel gritty? Keep beating for another minute until sugar dissolves entirely.
Step Four: Infuse the Mint Flavor
Pour the one-fourth teaspoon of pure peppermint extract over the glossy foam. Turn your mixer onto low speed for five to ten seconds. Beat just long enough to distribute mint flavor evenly throughout the meringue. Avoid over-beating at this stage so trapped air does not deflate.
Step Five: Prepare the Festive Piping Bag
Fit a large piping bag with an open or closed star tip nozzle. Want to create iconic red stripes on classic peppermint meringue kisses? Take a clean food-safe paintbrush or long wooden skewer. Dip it into red gel food coloring. Paint two or three straight vertical stripes along the inside walls of the bag, starting right at the star tip and running halfway up. Carefully spoon your white peppermint meringue inside, squeezing gently to remove large air pockets.
Step Six: Pipe the Meringue Kisses
Hold the piping bag completely vertical about one-half inch above prepared parchment paper. Squeeze the bag gently while keeping the tip steady until a round shape forms about one inch wide. Stop squeezing the bag. Pull the tip straight upward with a quick motion to leave a lovely, pointed peak at the top. Repeat this piping process across your baking sheets, leaving roughly one-half inch of space between each cookie. Do you desire extra festive texture? Sprinkle a pinch of finely crushed candy canes directly over unbaked kisses.
Step Seven: Low and Slow Oven Baking
Place baking sheets into your preheated oven at two hundred degrees Fahrenheit. Bake for one hour and fifteen minutes to one hour and thirty minutes. Resist the urge to open the oven door frequently, as cool drafts can cause delicate meringues to crack. The kisses are done when outer shells feel completely dry to the touch and slide easily off parchment paper without sticking at the base.
Step Eight: The Slow Oven Cooling Process
Once baking time finishes, turn the oven off entirely. Do not remove the baking sheets. Leave the oven door closed while letting peppermint meringue kisses sit inside the warm, cooling oven for one full hour. This gradual drop in temperature allows cookies to dry out completely down to their center. The process prevents cracks and keeps them crisp.
Step Nine: Serve or Store Properly
Remove completely cooled meringues from the oven. Serve them immediately on a festive platter. Alternatively, store them in an airtight glass or plastic container placed in a cool, dry pantry area.
Pro Tips for Culinary Success: peppermint meringue kisses
-
Avoid Wet or Humid Days: Egg whites and sugar are highly hygroscopic, meaning they absorb water moisture directly out of surrounding air. Baking meringues on rainy or humid days causes them to turn soft, sticky, or chewy instead of crisp.
-
Use Gel Food Colors Exclusively: Always choose concentrated gel food coloring rather than liquid water-based food dyes. Liquid dyes introduce unwanted moisture that thins out whipped meringue and ruins structural integrity.
-
Ensure Room Temperature Eggs: Cold egg whites straight from the refrigerator do not whip up as easily or reach expansive volume compared to eggs left on the counter for thirty minutes prior to baking.
-
Add Sugar Painstakingly Slow: Adding sugar too quickly overwhelms delicate egg white foam. This mistake results in a flat mixture that sweeps liquid during baking.
Flavor Variations and Recipe Twists: peppermint meringue kisses
Classic red-striped peppermint meringue kisses remain a timeless favorite. However, customizing this core recipe creates unique flavor profiles and dazzling colors for any event.
The Chocolate Dipped Peppermint Kiss
After baked meringues cool completely, melt one-half cup of dark chocolate or bittersweet chocolate chips in a heat-safe bowl set over simmering water. Dip the flat bottom base of each peppermint kiss into warm melted chocolate. Set them back onto parchment paper until chocolate hardens completely. The contrast between deep, bitter cocoa and sweet, refreshing mint tastes extraordinary.
Green Mint Emerald Kisses
Swap red gel food coloring for emerald green gel coloring. Replacing peppermint extract with spearmint extract offers a softer, sweeter garden-mint flavor. This twist works perfectly for spring tea parties or holiday dessert spreads.
Cocoa Nib Crunch Meringues
Fold two tablespoons of raw roasted cocoa nibs directly into finished white meringue right before piping. Crunchy, nutty chocolate nibs add a delightful texture that cuts through sugary sweetness.
Crushed Peppermint Crown
Instead of piping plain pointed tops, gently press a small whole peppermint hard candy or mini chocolate chip into the peak of each piped kiss right before baking for an eye-catching decorative crown.
Frequently Asked Questions: peppermint meringue kisses
Why did my meringue kisses turn soft and sticky after baking?
Meringues become soft and sticky when they absorb ambient humidity from the room. Not drying them out long enough in the oven causes similar issues. Always store cooled peppermint meringue kisses inside a tightly sealed airtight container away from steam or sink areas.
Can I make meringue kisses without cream of tartar?
Yes, substituting one-fourth teaspoon of cream of tartar with one-fourth teaspoon of fresh lemon juice or white distilled vinegar works well. Acid helps stabilize egg white proteins so they whip into firm, glossy peaks.
Why did my meringues turn yellow or brown in the oven?
Browning happens when oven temperature runs too hot, causing granulated sugar inside the meringue to caramelize. Lower the temperature slightly to ensure your peppermint meringue kisses stay snow-white.
Can I freeze baked meringue cookies?
Freezing baked meringues is generally not recommended because ice crystals inside freezers introduce moisture that ruins light, crisp texture once thawed. Stored in an airtight container at room temperature, they naturally stay fresh for up to two weeks.
Conclusion: peppermint meringue kisses
Mastering the art of baking delicate
peppermint meringue kisses brings a touch of elegance and festive cheer into your kitchen. Taking time to clean equipment, whipping room temperature egg whites with stabilized sugar, and
baking low and slow creates weightless treats that look spectacular and taste divine. Their light, airy texture and cool minty sweetness make them a standout favorite that effortlessly outshines heavy store-bought holiday cookies. Gather your ingredients today, whip up a bowl of glossy meringue foam, paint charming red stripes, and savor every crisp, melt-in-your-mouth bite of your homemade
peppermint meringue kisses.