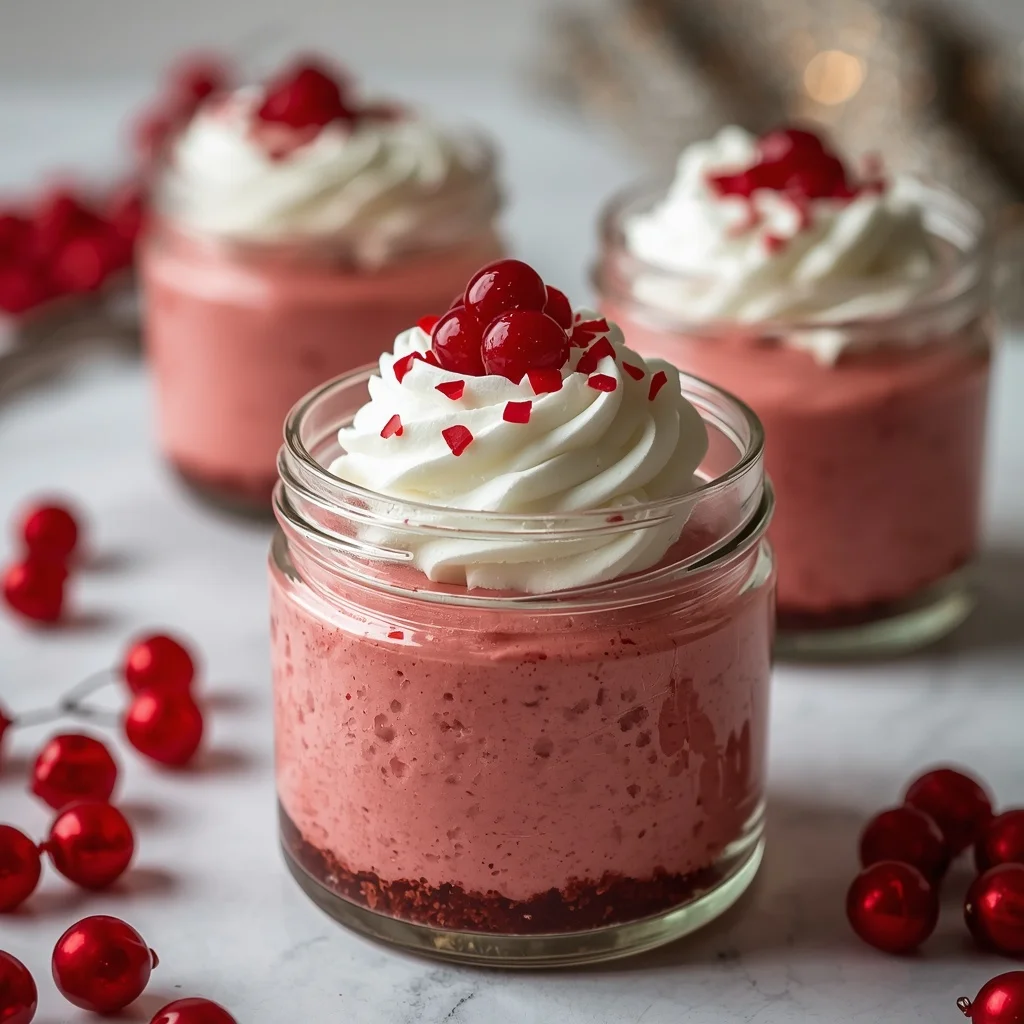
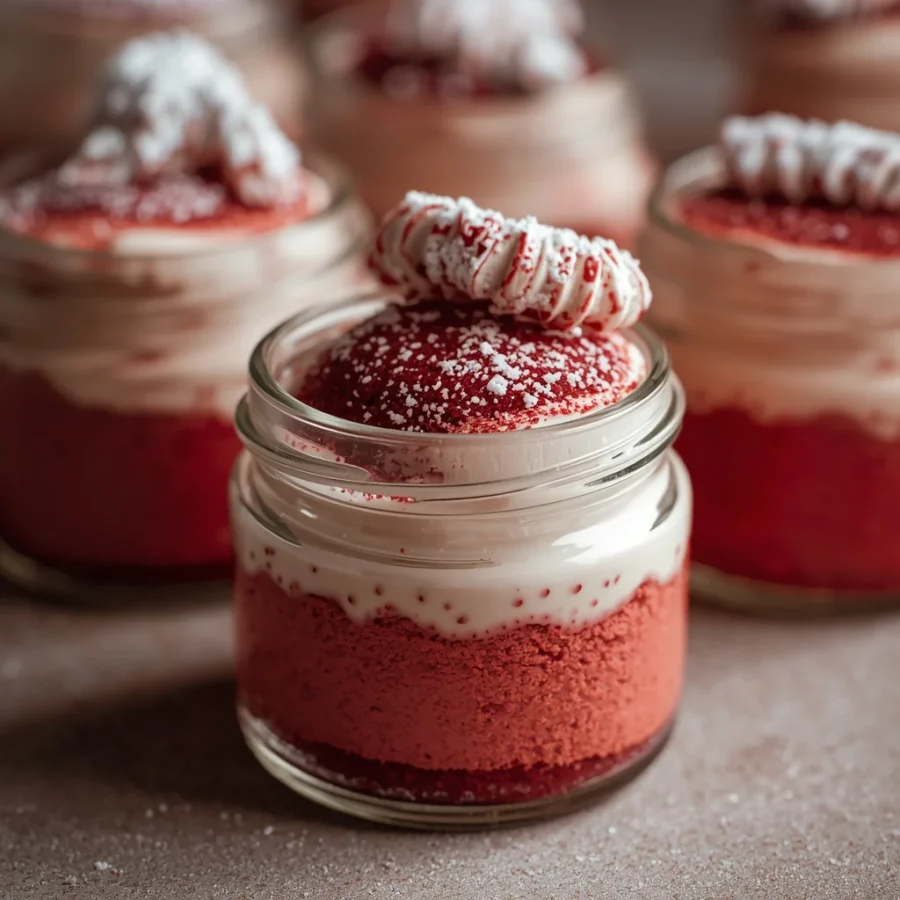
What is Red Velvet Christmas Cheesecakes in a Jar?
-
A crunchy, buttery chocolate biscuit base.
-
A velvety, vibrant red cream cheese filling infused with subtle notes of vanilla and cocoa.
-
A fluffy whipped topping decorated with colorful festive accents.
Origin of Red Velvet Desserts
The Chemical Magic of Red Velvet
Modern Evolution and Jar Desserts
Essential Ingredients for Red Velvet Christmas Cheesecakes in a Jar
For the Chocolate Biscuit Crust
-
One hundred fifty grams chocolate biscuits or chocolate sandwich cookies
-
Forty-five grams unsalted butter, melted
Red Velvet Cheesecake Filling
-
Three hundred grams full-fat cream cheese, softened to room temperature
-
Two hundred milliliters cold whipping cream
-
Eighty grams icing sugar or powdered sugar
-
One tablespoon unsweetened cocoa powder
-
One teaspoon vanilla extract
-
One to two teaspoons red gel food coloring
-
One teaspoon freshly squeezed lemon juice
For the Christmas Topping
-
Three to four tablespoons red velvet cake crumbs
-
Freshly whipped cream
-
White chocolate shavings
-
Festive Christmas sprinkles
Step-by-Step Directions and Preparation Method
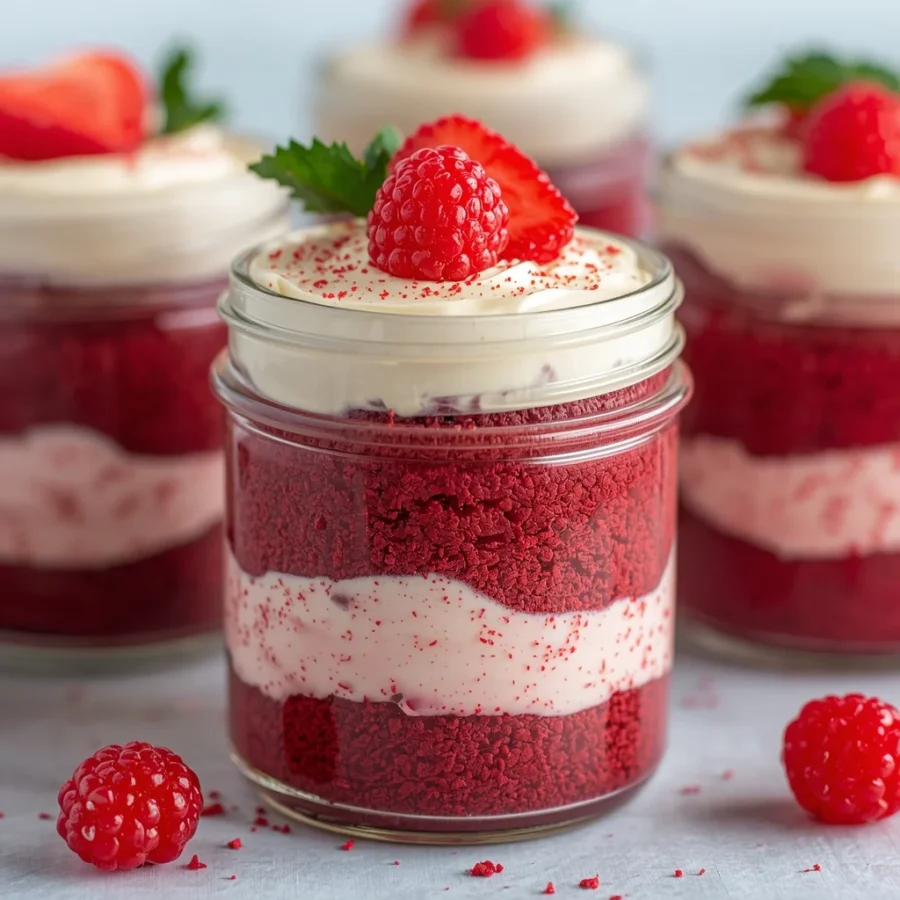
       [ Step 1: Crush Biscuits & Mix with Butter ]
                           │
                           ▼
          [ Step 2: Press Base into Jars & Chill ]
                           │
                           ▼
    [ Step 3: Beat Cream Cheese, Cocoa, Sugar & Color ]
                           │
                           ▼
    [ Step 4: Fold in Stiff-Peaked Whipped Cream ]
                           │
                           ▼
       [ Step 5: Layer Filling & Chill 4 to 6 Hours ]
                           │
                           ▼
     [ Step 6: Decorate with Toppings & Serve ]
Make the Biscuit Crust
-
Place the chocolate biscuits into a food processor and pulse until they form fine, uniform crumbs. Alternatively, place them in a sealed plastic bag and crush them gently with a rolling pin.
-
Pour the crushed crumbs into a medium bowl, add the melted unsalted butter, and stir thoroughly until the mixture resembles damp sand.
-
Divide the buttered biscuit mixture evenly among six small clear glass jars.
-
Use the back of a small spoon or the end of a pastry tamper to press the crumbs down gently into a solid, flat layer. Place the jars in the refrigerator to set while you work on the filling.
Prepare the Red Velvet Base
-
In a large mixing bowl, beat the softened cream cheese using an electric hand mixer or stand mixer on medium speed for two minutes until smooth and free of lumps.
-
Sift in the icing sugar and unsweetened cocoa powder to ensure no clumps remain.
-
Add the vanilla extract, fresh lemon juice, and red gel food coloring.
-
Mix on low speed until all ingredients are fully combined into a smooth, uniformly crimson cream cheese mixture.
Whip the Cream and Fold
-
In a separate chilled bowl, pour in the cold whipping cream. Beat on high speed until stiff peaks form.
-
Transfer one-third of the whipped cream into the red velvet cream cheese bowl and gently fold it in using a silicone spatula to lighten the mixture.
-
Add the remaining whipped cream and fold slowly with sweeping motions until light, airy, and evenly blended, taking care not to deflate the air bubbles.
Assemble the Jars
-
Remove the chilled jars from the refrigerator.
-
Transfer the red velvet cheesecake filling into a large piping bag fitted with a wide round nozzle, or use a clean spoon.
-
Pipe or spoon the red cream cheese mixture over the chocolate biscuit layer until each jar is filled close to the rim. Smooth the tops neatly.
Chill to Set
-
Cover each jar securely with its lid or a small piece of plastic wrap.
-
Place the jars in the refrigerator for four to six hours, or preferably overnight, allowing the filling to set firm and the rich flavors to fuse together.
Decorate and Serve
-
Just before serving, remove the lids and top each jar with a generous swirl of fresh whipped cream.
-
Sprinkle red velvet cake crumbs, white chocolate shavings, and Christmas sprinkles over the cream for a stunning finish.
Helpful Tips for Success
-
Choose Gel Coloring: Always opt for concentrated gel food coloring rather than liquid dye. Gel provides intense visual color without adding extra liquid that could weaken the set of your filling.
-
Room Temperature Cream Cheese: Ensure your block of cream cheese is softened completely before mixing. Cold cream cheese causes tiny lumps that are difficult to smooth out once cocoa and liquid ingredients are added.
-
Gentle Folding Technique: Use a careful folding action when combining whipped cream with the base mixture. Rough stirring destroys the incorporated air, leaving you with a dense filling rather than a fluffy mousse texture.
-
Make-Ahead Advantage: These jars taste even better after resting overnight in the fridge as the flavors settle into the crust layer.
Delicious Recipe Variations
| Variation Type | Ingredients & Adjustments | Sensory Profile |
| Peppermint Mocha Twist | Add half a teaspoon of peppermint extract to the filling and substitute chocolate curl toppings with crushed candy canes. | Refreshing mint aroma with chocolate notes and a crunchy seasonal finish. |
| Gluten-Free Option | Use certified gluten-free chocolate cookies for the base while keeping all other ingredients the same. | Identical rich taste and texture suitable for guests avoiding gluten. |
| Nutella Crunch Layer | Add a thin layer of hazelnut chocolate spread between the biscuit crust and the red velvet filling. | Deep nutty sweetness that complements the subtle cocoa taste. |
| White Chocolate Ganache | Drizzle cooled white chocolate ganache over the filling before adding whipped cream. | Rich, silky mouthfeel with an extra pop of creamy white contrast. |
Frequently Asked Questions: Red Velvet Christmas Cheesecakes in a Jar
Can I make Red Velvet Christmas Cheesecakes in a Jar ahead of time?
How long do Red Velvet Christmas Cheesecakes in a Jar jars stay fresh?
Can I freeze Red Velvet Christmas Cheesecakes in a Jar jars?
Why is lemon juice used in red velvet filling?
What size jars work best for Red Velvet Christmas Cheesecakes in a Jar?
Conclusion: Red Velvet Christmas Cheesecakes in a Jar
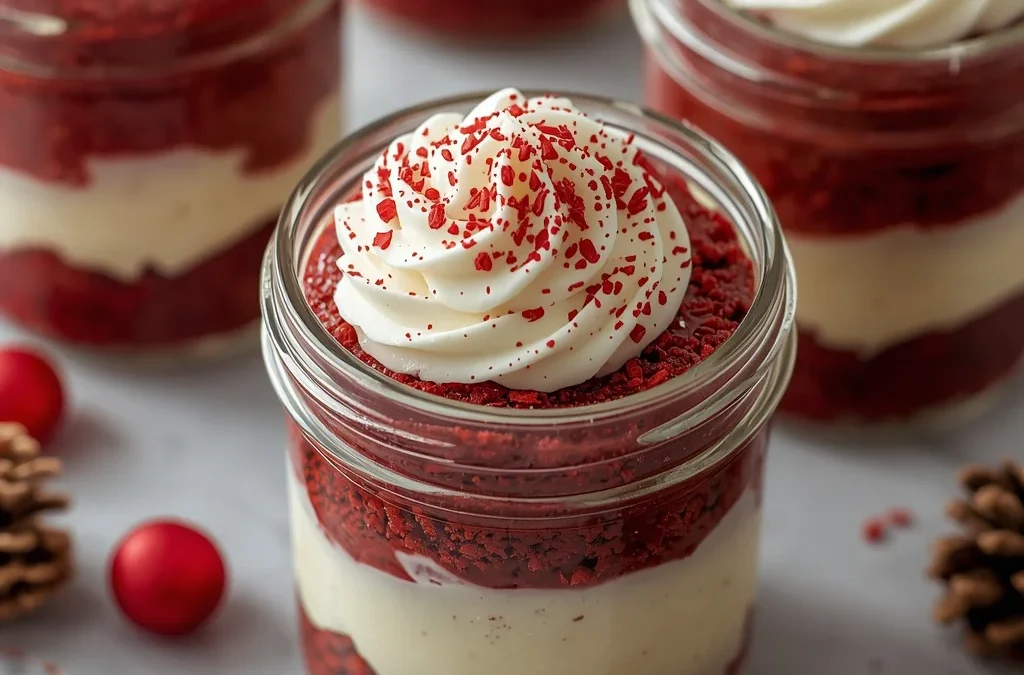
Red Velvet Christmas Cheesecakes in a Jar
- Total Time: 4 hours 25 minutes
- Yield: 6 jars 1x
- Diet: Vegetarian
Description
The Red Velvet Christmas Cheesecakes in a Jar is a delightful variation of traditional cheesecake designed specifically for convenience, portion control, and festive presentation. Unlike classic baked cheesecakes that require delicate water baths, slow cooling, and careful handling to prevent cracking, this modern creation relies on a gentle no-bake technique.
Ingredients
For the chocolate biscuit crust
-
150 g chocolate biscuits or Oreo cookies
-
45 g unsalted butter, melted
For the red velvet cheesecake filling
-
300 g cream cheese, softened
-
200 ml cold whipping cream
-
80 g icing sugar
-
1 tbsp unsweetened cocoa powder
-
1 tsp vanilla extract
-
1–2 tsp red gel food colouring
-
1 tsp lemon juice (optional)
For the Christmas topping
-
3–4 tbsp red velvet cake crumbs
-
Whipped cream
-
White chocolate shavings (optional)
-
Christmas sprinkles (optional)
Instructions
Step 1: Make the crust
Crush the chocolate biscuits into fine crumbs. Mix with the melted butter until combined. Divide evenly between 6 small jars and press down gently. Refrigerate.
Step 2: Prepare the filling
Beat the softened cream cheese until smooth. Add the icing sugar, cocoa powder, vanilla extract, lemon juice, and red gel food colouring. Mix until creamy and evenly coloured.
Step 3: Whip the cream
In a separate bowl, whip the cold whipping cream until stiff peaks form. Gently fold it into the red velvet cream cheese mixture until light and fluffy.
Step 4: Assemble the jars
Spoon or pipe the red velvet cheesecake filling over the biscuit crust. Smooth the tops or use a piping bag for a decorative finish.
Step 5: Chill
Cover the jars and refrigerate for 4–6 hours, preferably overnight, until the cheesecake is firm.
Step 6: Decorate
Before serving, add whipped cream, red velvet cake crumbs, white chocolate shavings, and Christmas sprinkles.
Notes
These Red Velvet Christmas Cheesecakes in a Jar are the perfect festive treat—rich, creamy, and beautifully layered with love. Perfect for Christmas parties, gifting, or sharing sweet moments with family and friends. Every spoonful brings a little holiday joy! ✨
- Prep Time: 25 minutes
- Cook Time: 0 minutes
- Category: Dessert
- Method: No-Bake
- Cuisine: American
Nutrition
- Serving Size: 1 jar
- Calories: 420 kcal
Keywords: No-Bake Red Velvet Cheesecake Jars, Festive Red Velvet Desserts in Mason Jars, Individual Christmas Cheesecake Jars, Holiday Red Velvet Cheesecake Pots
