When you picture a hearty,
soul-warming Sunday dinner or a grand holiday feast, certain
side dishes immediately come to mind as essential requirements for the table. Among those comforting staples,
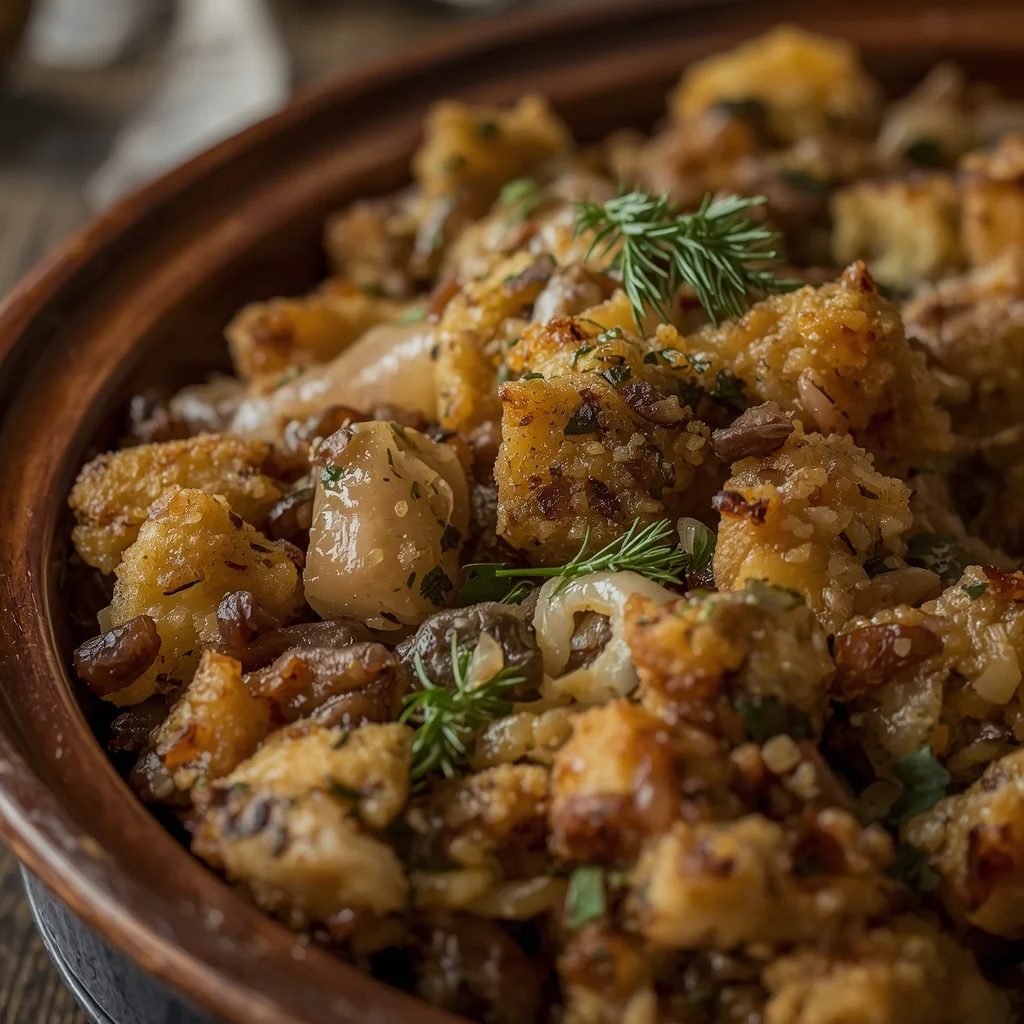
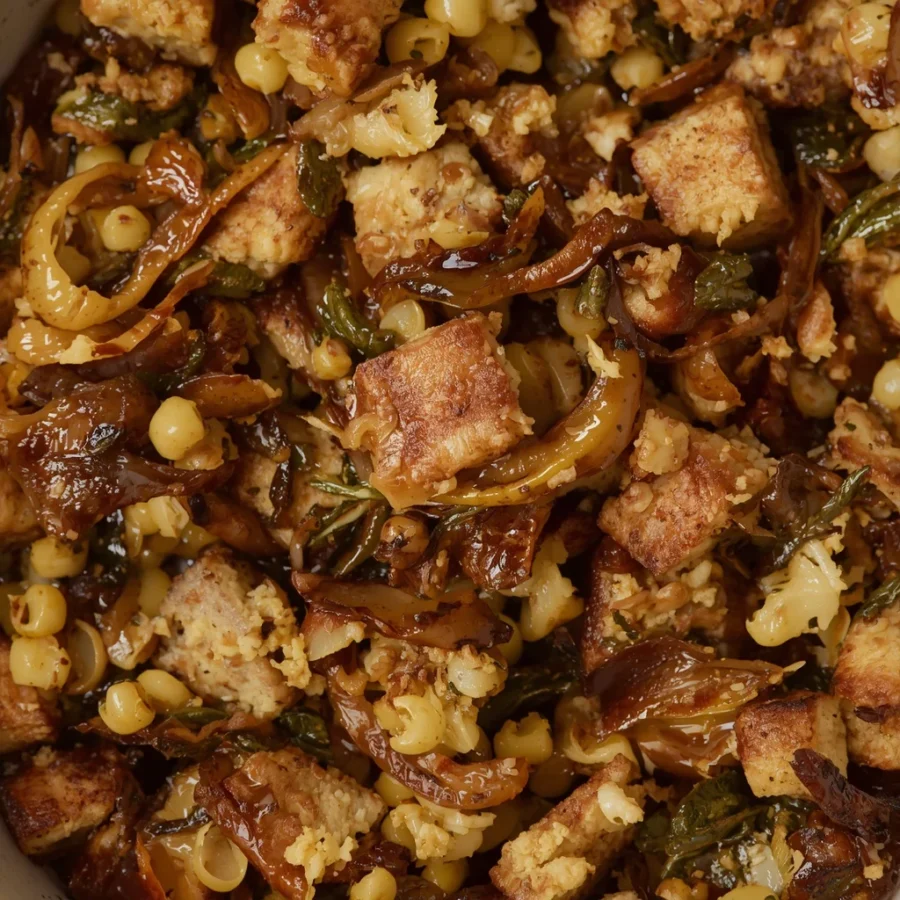
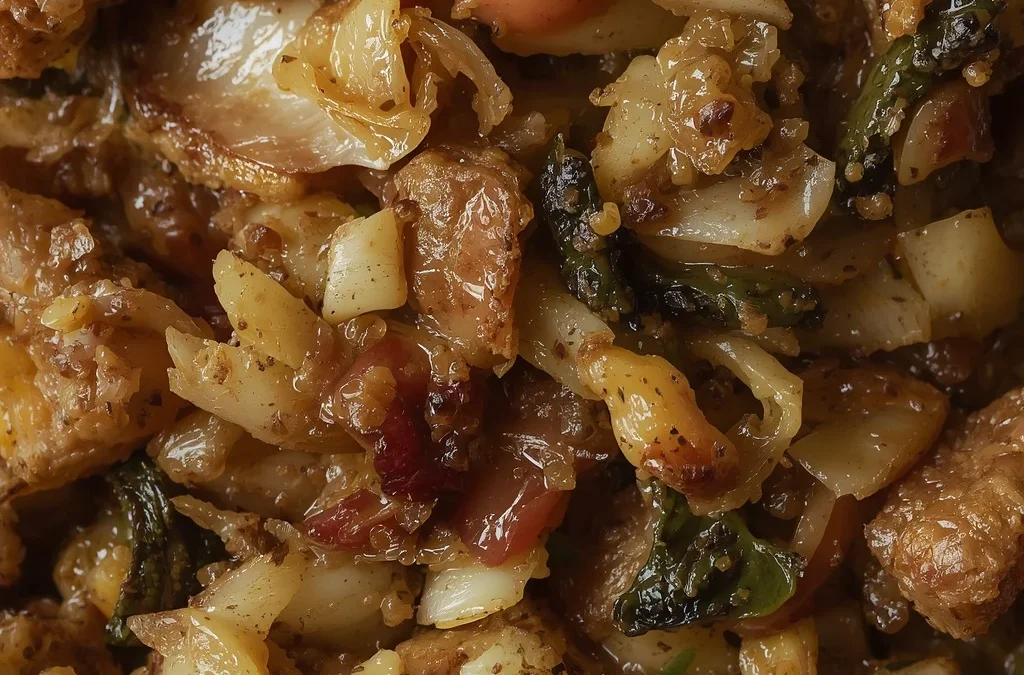
traditional sage and onion stuffing stands out as a true culinary classic. This iconic dish brings together soft bread cubes, sweet sautéed onions, aromatic herbal notes, and golden butter to create a rich texture that bridges the gap between crispy edges and tender, savory centers. Whether you are serving a golden roast turkey on Christmas, roasting a tender chicken for a cozy weekend meal, or crafting a stunning vegetarian feast, this time-tested side dish elevates every single bite on your plate.
In this comprehensive
recipe guide, we will walk through everything you need to know about crafting this fragrant homemade favorite from scratch. We will explore the interesting background of this classic blend, break down exact ingredient proportions without any confusing abbreviations, lay out step-by-step cooking directions, cover creative dietary variations, and answer frequently asked questions so you can achieve perfect results in your own kitchen every single time.
What is Traditional Sage and Onion Stuffing?
At its most fundamental level, traditional sage and onion stuffing is a warm, bread-based side dish flavored with cooked onions and fragrant sage leaves. While modern grocery store shelves are packed with instant, dehydrated boxed mixes, true homemade stuffing relies on wholesome, fresh ingredients that create superior texture and depth of flavor.
The magic of this recipe lies in its delicate balance of contrasting components. Soft bread absorbs rich stock and savory butter, while finely chopped onions provide a gentle sweetness. Fresh or dried sage introduces a distinctive earthy aroma that pairs exceptionally well with roasted poultry and rich pan gravies. When baked in a dish, the interior stays wonderfully moist and tender while the exposed top layer transforms into a golden, crunchy crust that provides a delightful texture in every forkful.
The Historical Origin of Sage and Onion Stuffing
Understanding how this humble combination became a global holiday standard requires a quick look into culinary history. The practice of filling animal cavities or pan-baking seasoned bread mixtures stretches back thousands of years to ancient Roman cookbooks. However, the specific pairing of sage and onion gained massive popularity in medieval and early modern Britain.
In historical European cooking, sage was widely prized not only for its robust culinary flavor but also for its natural preservative and health-boosting properties. Onions were affordable, easy to store throughout long winter months, and accessible to families of all socioeconomic backgrounds. When home cooks combined these inexpensive ingredients with leftover, day-old bread, they discovered a brilliant way to stretch expensive meats and make meals far more satisfying. Over centuries, this simple recipe travelled across continents, becoming deeply embedded in holiday celebrations throughout North America, Europe, Australia, and beyond. Today, it remains an indispensable symbol of comfort, heritage, and holiday tradition.
Essential Ingredients and Exact Quantities: Traditional sage and onion stuffing
Achieving optimal flavor and the right moisture balance depends on using precise ratios of quality ingredients. To prepare this recipe for your family or dinner guests, gather the following measured components:
-
Day-old bread cut into small cubes: eight cups
-
Medium yellow or white onions, finely chopped: two medium onions
-
Unsalted butter: four tablespoons
-
Fresh sage leaves finely chopped: two tablespoons (or two teaspoons of high-quality dried sage)
-
Vegetable stock or broth: one and one-half cups
-
Whole egg, lightly beaten: one large egg (this is optional, but highly recommended for binding)
-
Fine salt: one-half teaspoon (or adjusted according to your personal taste)
-
Ground black pepper: one-half teaspoon
-
Fresh parsley finely chopped: one tablespoon (optional for color and freshness)
Step-by-Step Directions and Preparation Method: Traditional sage and onion stuffing
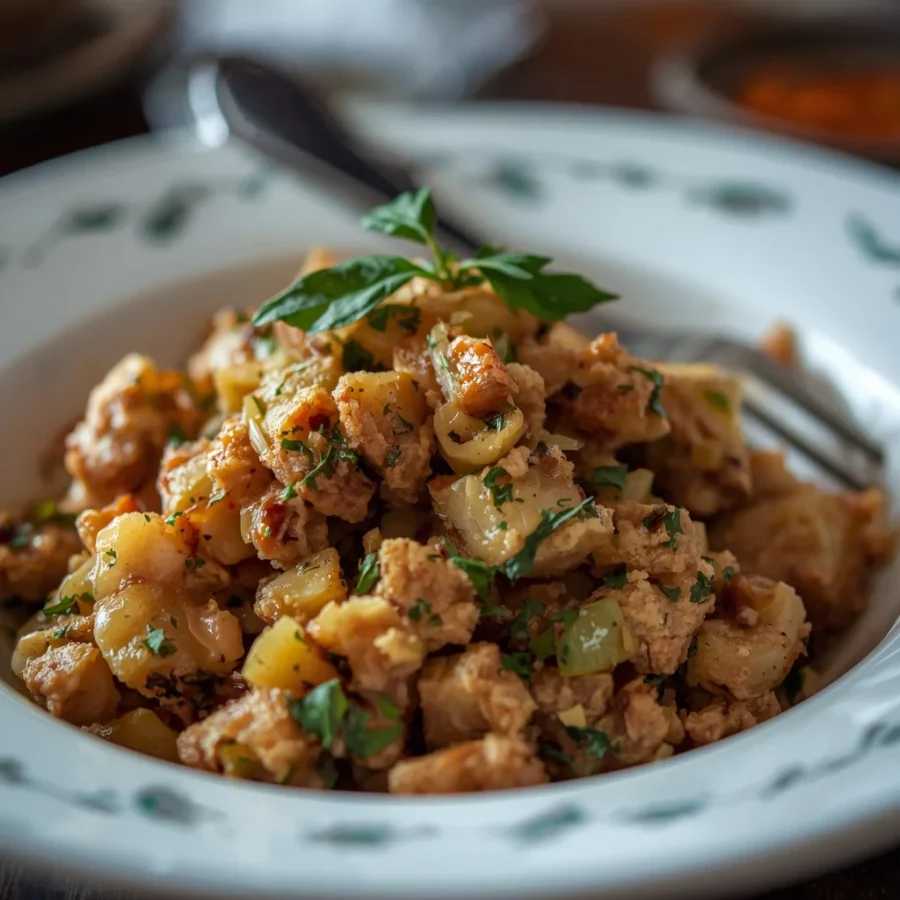
Preparing this classic favorite is remarkably straightforward and requires no complex culinary equipment. Follow these step-by-step directions to bring this aromatic traditional sage and onion stuffing recipe to life.
Step One: Prepare the Oven and Cook the Sweet Onions
Start by preheating your standard kitchen oven to three hundred and fifty degrees Fahrenheit. Place a large frying pan over medium heat and melt the four tablespoons of butter completely. Add the two finely chopped medium onions into the melted butter. Cook the onions gently for eight to ten minutes, stirring occasionally. You want the onions to become soft, fragrant, and translucent without letting them brown or crisp too much in the pan.
Step Two: Infuse the Herb Aromatics
Once your onions are soft and tender, stir in the two tablespoons of chopped fresh sage (or two teaspoons of dried sage). Allow the herbs to cook with the onions and butter for approximately one additional minute. This brief warming step releases the fragrant essential oils in the sage, distributing its warm herbal flavor evenly throughout the warm fat. Remove the pan from the heat source.
Step Three: Combine and Moisten the Bread Base
Place the eight cups of day-old bread cubes into a very large mixing bowl. Pour the warm butter, onion, and sage mixture directly over the bread. Using a large spoon or spatula, toss the ingredients to coat the bread. Next, gradually pour in the one and one-half cups of vegetable stock, stirring continuously. The goal is to make the bread pleasantly moist without making it overly soggy or dripping wet. Taste the mixture and season with one-half teaspoon of salt, one-half teaspoon of black pepper, and the optional fresh parsley. If you prefer a firmer, bound loaf structure, fold in the one lightly beaten egg until evenly distributed.
Step Four: Bake to Golden Perfection
Grease a medium baking dish or casserole dish with a small amount of butter or cooking spray. Transfer the moist bread mixture into the dish, spreading it out gently without packing it down too tightly. Cover the dish securely with aluminum foil and place it into your preheated oven. Bake covered for twenty minutes to allow the interior to steam and cook through thoroughly. After twenty minutes, carefully remove the foil cover and continue baking uncovered for another fifteen to twenty minutes. The dish is finished when the top surface turns beautifully crisp and golden brown.
Delicious Variations for Every Dietary Preference
One of the wonderful qualities of this base recipe is how easily it adapts to different dietary guidelines and personal preferences without losing its cozy charm.
Fully Vegan Adaptation
Making a completely plant-based version is simple. Replace the butter with four tablespoons of rich extra virgin olive oil or your favorite plant-based butter substitute. Skip the optional beaten egg entirely, as the moist bread and vegetable stock will naturally hold together in the baking dish.
Sausage and Herb Variation
If you want to create an even richer, meat-based side dish, add cooked pork sausage or turkey sausage to the mix. Simply crumble one-half pound of fresh sausage meat into your pan and brown it alongside the chopped onions. Combine the cooked sausage and rendered drippings into the bread cube bowl before adding your vegetable or chicken stock.
Apple and Pecan Crunch
For a hint of sweetness and an appealing crunch, fold one finely diced sweet apple (such as Honeycrisp or Gala) into the onions during the last three minutes of pan cooking. Add one-half cup of toasted, chopped pecans or walnuts into the mixing bowl along with the bread cubes. The sweet fruit balances the earthiness of the sage delightfully.
Gluten-Free Alternative
You can easily adapt this dish for gluten-sensitive guests by replacing standard wheat bread with eight cups of cubed gluten-free white or sourdough bread. Gluten-free bread tends to absorb liquids slightly differently, so add your vegetable stock slowly in small increments until you reach the desired texture.
Pro Tips for Achieving the Best Texture
-
Select the right bread: Fresh, soft bread contains too much moisture and will turn into a mushy paste when stock is added. Use stale, day-old bread, or dry fresh bread cubes on a baking sheet in a low oven for fifteen minutes before starting.
-
Control your liquid levels: Always pour in the vegetable stock gradually. Depending on the density and dryness of your bread, you may require slightly less or slightly more than the specified one and one-half cups.
-
Make ahead convenience: You can assemble this recipe completely one day in advance. Cover the unbaked dish tightly with foil and store it in your refrigerator overnight. When you are ready to serve, simply transfer the cold dish directly to your preheated oven and add five extra minutes to the initial covered baking time.
-
Proper storage and reheating: Keep leftover baked portions in an airtight container in your refrigerator for three to four days. Reheat individual portions in a warm oven or toaster oven until piping hot to restore that delightful outer crunch.
Frequently Asked Questions: Traditional sage and onion stuffing
Can I use dried sage instead of fresh sage leaves?
Yes, dried sage works extremely well in this dish. Because dried herbs are much more concentrated in strength than fresh herbs, use two teaspoons of dried sage in place of the two tablespoons of chopped fresh sage.
Why is my stuffing dry, crumbly, or soft and soggy?
Dry or crumbly textures mean your bread cubes required more liquid or a binding agent like the beaten egg. Soft or soggy textures happen when too much stock is added all at once or if the bread was not stale enough before mixing. Adding liquid slowly prevents both issues.
Can I cook this recipe inside a holiday bird?
While you can use this mixture to stuff the cavity of a turkey or chicken, baking it separately in a casserole dish ensures that the bread cooks evenly and reaches a safe internal temperature without drying out the surrounding meat.
What main dishes pair best with sage and onion flavor profiles?
This classic combination pairs exceptionally well with roast turkey, roasted whole chicken, pork chops, roast beef, cranberry sauce, rich gravy, or vegetarian entrees like mushroom Wellington and roasted nut loafs.
Conclusion: Traditional sage and onion stuffing
Bringing a memorable
holiday meal or family Sunday dinner to the table does not require complicated techniques or hard-to-find ingredients. By combining simple pantry staples with warm herbs, sweet sautéed onions, and rich butter, this
traditional sage and onion stuffing delivers an unforgettable combination of rich flavors and satisfying textures that outshines any store-bought alternative. Its remarkable versatility makes it a perfect centerpiece for plant-based diners and meat lovers alike, while its simple preparation frees up valuable time during busy kitchen gatherings. Prepare a batch for your next festive feast, and enjoy a timeless culinary classic that brings comfort and joy to every plate.