Imagine the perfect dessert. It needs to be rich, fudgy, slightly chewy, and packed with layers of contrasting textures. If you are struggling to choose between a classic chocolate chip cookie, a decadent brownie, and a crunchy creme-filled sandwich biscuit, you no longer have to compromise. Enter the Red Velvet Oreo Brookies recipe, the ultimate mashup that brings together three iconic sweet treats into one magnificent bakery-style bar. This is not just a standard weeknight baking project; it is a show-stopping centerpiece that looks as vibrant as it tastes.
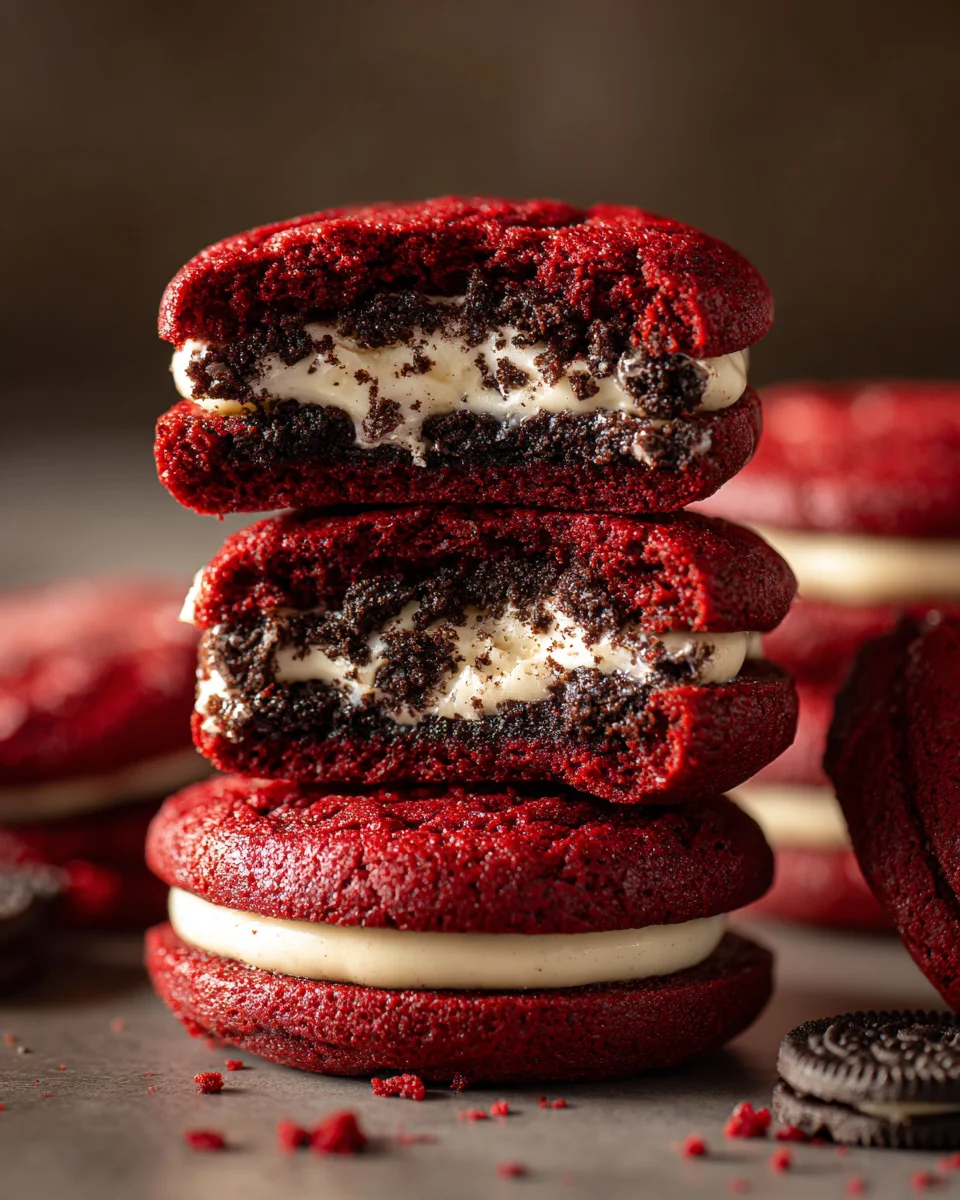
By layering a deep crimson, cocoa-infused brownie base with a classic chocolate chip cookie dough, and sandwiching a whole row of cream-filled cookies right in the middle, you create a dessert that is visually striking and incredibly indulgent. This guide will walk you through everything you need to know to master this dessert in your own kitchen, ensuring perfect, clean slices and a texture that strikes the balance between gooey and structurally sound.
What Is This Decadent Dessert Mashup
To understand why this dessert is taking over modern bakeries, it helps to break down exactly what a brookie is. The word itself is a portmanteau of brownie and cookie. In a standard version, you would find a layer of traditional chocolate fudge brownie batter topped with a layer of classic chocolate chip cookie dough.
This specific recipe elevates that concept by introducing a vivid red velvet theme and an entire hidden layer of crunchy cookies. The bottom layer is a tight, dense, and velvety cocoa batter that mimics the classic Southern cake. The middle features whole creme-filled sandwich cookies that soften slightly during the baking process but retain a distinct, satisfying bite. The top layer is a buttery, golden brown cookie dough studded with chocolate chips that bakes up with a slight crispness on the surface while remaining soft underneath.
The Fascinating Origin of Red Velvet Oreo Brookies
While the exact kitchen that first combined a brownie and a cookie remains a mystery, the culinary concept of hybrid desserts gained massive global traction in the early two thousands and tens. Bakers began experimenting with combining contrasting textures, leading to famous creations like the cronut. The brookie naturally emerged from this wave of innovation as a clever way to solve the ultimate baker’s dilemma of choosing between two favorite treats.
The integration of red velvet into this concept draws from traditional African American baking history in the United States. Originally, the red hue in velvet cakes came from a chemical reaction between natural, non-alkalized cocoa powder and acidic ingredients like buttermilk or vinegar. Over time, as processing methods changed, bakers began utilizing vivid coloring to maintain that iconic dramatic look. Bringing the luxurious flair of red velvet and the playful nostalgia of sandwich cookies into the hybrid baking space is a modern twist that turns a simple comfort food into an artisanal experience.
Complete Ingredients and Exact Measurements: Red Velvet Oreo Brookies
To achieve the perfect balance of textures, it is vital to keep your ingredients separate for each layer before assembly. Here is everything you will need to gather before you begin baking.
The Vivid Red Velvet Brownie Base
-
One half cup of unsalted butter, completely melted and cooled slightly
-
One cup of granulated white sugar
-
Two large whole eggs, brought to room temperature
-
One teaspoon of pure vanilla extract
-
One tablespoon of liquid red food coloring
-
Two tablespoons of high-quality unsweetened cocoa powder
-
Three quarters cup of all-purpose flour
-
A generous pinch of fine sea salt
The Classic Chocolate Chip Cookie Dough Top
-
One half cup of unsalted butter, softened to room temperature
-
One half cup of packed light brown sugar
-
One quarter cup of granulated white sugar
-
One large whole egg, brought to room temperature
-
One teaspoon of pure vanilla extract
-
One and one quarter cups of all-purpose flour
-
One half teaspoon of baking soda
-
A generous pinch of fine sea salt
-
Three quarters cup of semi-sweet chocolate chips
The Hidden Middle Crunch
-
Ten to twelve whole traditional Oreo sandwich cookies
Step by Step Direction and Preparation Method: Red Velvet Oreo Brookies
Getting this triple-layer dessert exactly right requires a methodical approach to ensure the layers stay distinct rather than swirling together into a muddy mess. Follow these detailed steps for the best results.
Step One: Preparing Your Baking Environment
Before you touch any ingredients, arrange your oven rack to the center position and preheat the oven to three hundred and fifty degrees Fahrenheit, which is equivalent to one hundred and seventy-five degrees Celsius. Taking the time to preheat properly ensures an even rise and prevents the cookie layer from spreading too quickly.
Line an eight-inch by eight-inch square baking pan with a sheet of parchment paper. Ensure the paper hangs over the left and right edges slightly to create a sling. This makes it incredibly easy to lift the entire baked block out of the pan later for precise slicing.
Step Two: Mixing the Crimson Velvet Base
In a medium mixing bowl, pour in your melted unsalted butter and the granulated white sugar. Whisk the two vigorously together until the sugar begins to dissolve and the mixture looks slightly pale.
Crack in your room temperature eggs one at a time, whisking thoroughly after each addition to incorporate air into the batter. Stream in the vanilla extract and the liquid red food coloring, mixing until the liquid is a uniform, vibrant red.
Sift in the unsweetened cocoa powder, all-purpose flour, and salt. Switch to a flexible spatula and gently fold the dry ingredients into the wet mixture. Stop folding the second you see no more white streaks of flour left. Over-mixing at this stage will develop the gluten and make your brownie layer tough instead of fudgy.
Step Three: Whipping Up the Cookie Layer
In a separate large bowl, combine your softened unsalted butter with the brown sugar and the remaining white sugar. Using a hand mixer or a sturdy wooden spoon, cream the butter and sugars together for several minutes until the mixture is light, fluffy, and no longer gritty.
Add the whole egg and the vanilla extract, beating until completely smooth and cohesive. In a small bowl, whisk together your flour, baking soda, and salt, then dump this dry mixture into the creamed butter.
Mix on low speed until a soft dough forms. Pour in your semi-sweet chocolate chips and use your spatula to fold them evenly throughout the cookie dough.
Step Four: Layering and Assembling the Structure
Pour the completed red velvet brownie batter into the bottom of your prepared, parchment-lined square pan. Use an offset spatula to smooth the batter into an even layer, ensuring it reaches all four corners perfectly.
Next, take your whole sandwich cookies and arrange them in rows directly on top of the red velvet batter. You want to press them down just a tiny bit so they sit securely, creating a solid grid pattern that covers the majority of the brownie base.
Finally, grab your chocolate chip cookie dough. Because this dough is thick, do not try to pour or spread it all at once, as doing so will displace the cookies underneath. Instead, take small golf-ball-sized portions of the dough, flatten them slightly with your hands, and drop these dollops evenly over the cookie layer. Once all the dough is dropped, use damp fingers or the back of a clean spoon to gently press the cookie dough together into a relatively smooth, continuous top layer.
Step Five: Baking to Golden Perfection
Slide the assembled pan into your preheated oven. Bake the dessert for thirty to thirty-eight minutes. Keep a close eye on the oven during the final few minutes of baking. You are looking for the top chocolate chip cookie layer to turn a beautiful light golden brown color, while the center should still have just a tiny bit of movement if you gently shake the pan.
If you insert a wooden toothpick into the center, it should come out with a few moist crumbs attached. If it comes out with wet batter, it needs a few more minutes.
Step Six: Cooling and Slicing with Precision
Remove the pan from the oven and place it on a wire cooling rack. Resist the temptation to cut into the bars while they are warm. Because this dessert features three distinct textures, slicing it hot will cause the layers to collapse and run together.
Let the pan cool completely to room temperature. For the absolute cleanest, sharpest edges that look exactly like an upscale artisanal bakery, place the cooled pan into the refrigerator for at least one hour before cutting. Once chilled, lift the entire block out using the parchment paper handles, place it on a cutting board, and use a large, sharp chef’s knife dipped in hot water and wiped clean between each cut to slice into uniform squares.
Creative Recipe Variations to Try: Red Velvet Oreo Brookies
Once you have mastered the foundational version of this recipe, you can experiment with various ingredient swaps to customize the flavor profile to your personal preferences.
The White Chocolate Contrast
To contrast the deep red color of the brownie base, consider swapping out half of the semi-sweet chocolate chips in the top layer for high-quality white chocolate chips. The white chocolate adds a creamy, milky sweetness that pairs beautifully with the subtle cocoa notes of the red velvet underneath.
Golden Sandwich Cookie Twist
If you want a variation that is a bit less heavy on dark chocolate flavors, replace the traditional chocolate sandwich cookies with golden vanilla sandwich cookies. This change brightens the middle layer visually and adds a distinct caramelized sugar note to the center of the bar.
Peanut Butter Integration
For those who love the classic combination of chocolate and peanut butter, you can swirl a few tablespoons of smooth, warm peanut butter directly into the chocolate chip cookie dough before dropping it over the cookies. Alternatively, you can use peanut-butter-filled sandwich cookies in the center layer for a rich, salty-sweet surprise.
Frequently Asked Questions: Red Velvet Oreo Brookies
Can I use a boxed brownie mix instead of making the red velvet layer from scratch?
Yes, you can use a high-quality store-bought red velvet cake or brownie mix if you are short on time. However, you will need to adjust the wet ingredients added to the mix to ensure it bakes up dense and fudgy rather than light and cake-like. Reducing the recommended liquid or adding an extra egg yolk can help achieve that desired fudgy texture.
How should I store the leftover bars to keep them fresh?
Any leftovers should be stored in an airtight container at room temperature for up to four days. If you prefer to keep them extra firm and fudgy, you can store them in the refrigerator for up to one week. To prevent the layers from sticking together when stacking the bars, place a square of parchment paper between each layer.
Can I freeze Red Velvet Oreo Brookies for later consumption?
Absolutely. These bars freeze exceptionally well. Wrap the individual, fully cooled squares tightly in plastic cling wrap, then place them all inside a heavy-duty freezer zip-top bag. They will keep beautifully for up to three months. When you are ready to enjoy one, simply let it thaw on the counter at room temperature for about one hour, or warm it in the microwave for fifteen seconds.
Why did my cookie layer sink entirely into my brownie layer?
This usually happens if your red velvet brownie batter is too thin or if your chocolate chip cookie dough is too heavy and warm. Ensure your melted butter has cooled slightly before mixing your brownie batter so it remains thick. Additionally, dropping the cookie dough in small, flattened spoonfuls rather than one giant mass prevents it from weighing down and sinking through the cookie barrier.
Do I need to remove the cream filling from the cookies before assembling?
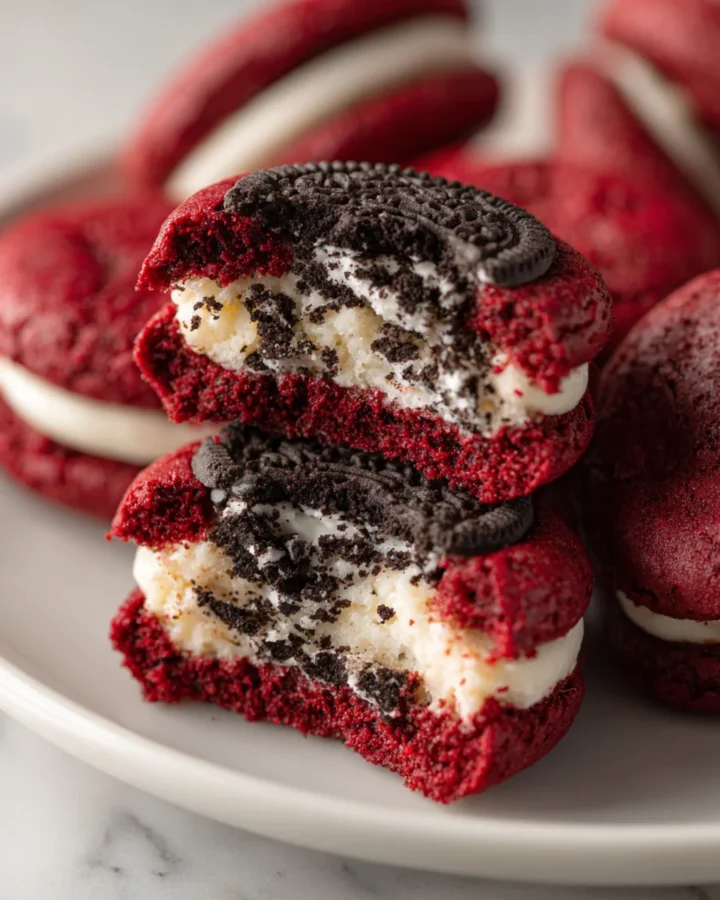
No, do not remove the cream filling from the sandwich cookies. The cream center softens beautifully during the baking process, contributing to the gooey texture of the middle layer and providing a wonderful sweet contrast to the deep cocoa flavors surrounding it.
Conclusion: Red Velvet Oreo Brookies
Mastering the Red Velvet Oreo Brookies recipe is all about embracing the delightful contrast of textures and colors. By taking your time to prepare the layers individually and assembling them with care, you create a dessert that is far greater than the sum of its parts. Whether you are baking these for a festive holiday gathering, a special birthday celebration, or simply as a weekend indulgence for your family, the striking red color combined with the golden cookie crust and hidden cookie crunch guarantees a memorable experience. Keep your ingredients at room temperature, allow the finished bars ample time to cool for those perfect clean cuts, and enjoy the ultimate sweet hybrid creation that satisfies every dessert craving at once.
Print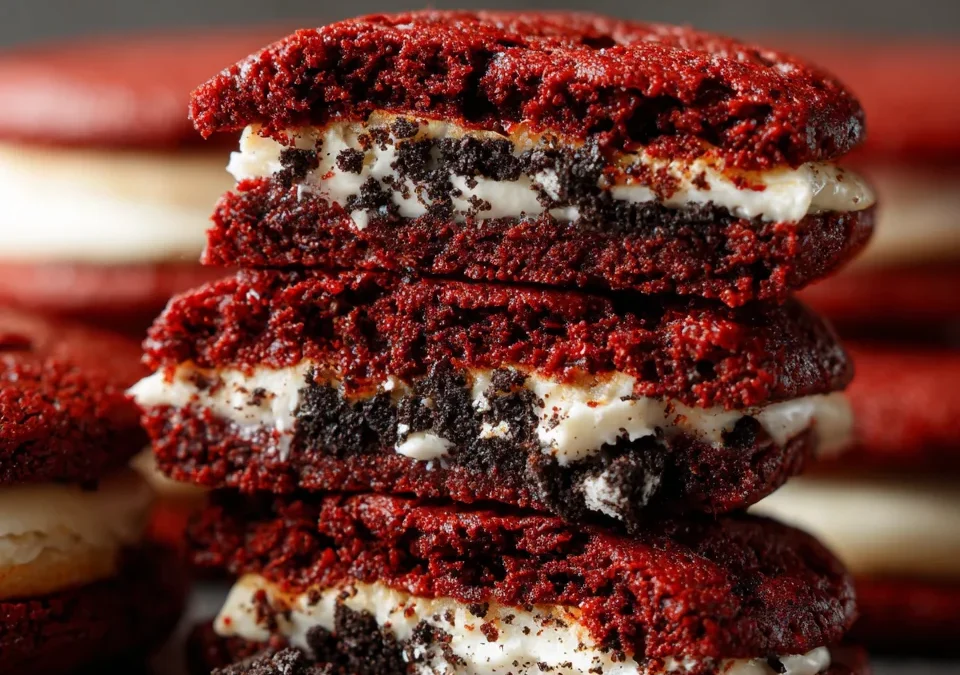
Ultimate Red Velvet Oreo Brookies Recipe
- Total Time: 55 minutes
- Yield: 12 brookies 1x
- Diet: Vegetarian
Description
To understand why this dessert is taking over modern bakeries, it helps to break down exactly what a brookie is. The word itself is a portmanteau of brownie and cookie. In a standard version, you would find a layer of traditional chocolate fudge brownie batter topped with a layer of classic chocolate chip cookie dough.
Ingredients
Red Velvet Brownie Layer
- 1/2 cup (115g) butter, melted
- 1 cup sugar
- 2 eggs
- 1 tsp vanilla extract
- 1 tbsp red food coloring
- 2 tbsp cocoa powder
- 3/4 cup all-purpose flour
- Pinch of salt
Cookie Layer
- 1/2 cup (115g) softened butter
- 1/2 cup brown sugar
- 1/4 cup white sugar
- 1 egg
- 1 tsp vanilla
- 1 1/4 cups flour
- 1/2 tsp baking soda
- Pinch of salt
- 3/4 cup chocolate chips
Instructions
1. Prep
- Preheat oven to 175°C (350°F).
- Line an 8×8-inch baking pan with parchment paper.
2. Make the Red Velvet Batter
- Whisk melted butter and sugar together.
- Add eggs, vanilla, and red food coloring.
- Mix in cocoa powder, flour, and salt until just combined.
3. Make the Cookie Dough
- Cream butter with both sugars.
- Mix in egg and vanilla.
- Stir in flour, baking soda, and salt.
- Fold in chocolate chips.
4. Assemble
- Spread the red velvet batter into the pan.
- Place Oreo cookies evenly on top.
- Drop spoonfuls of cookie dough over everything and gently spread.
5. Bake
- Bake for 30–38 minutes until the top is golden and the center is just set.
- Cool completely before slicing for clean squares.
Notes
- Prep Time: 20 minutes
- Cook Time: 35 minutes
- Category: Dessert
- Method: Baking
- Cuisine: American
Nutrition
- Serving Size: 1 brookie
- Calories: 320 kcal
Keywords: These Red Velvet Oreo Brookies are the perfect mix of fudgy brownies, soft cookies, and crunchy Oreos in every bite. Rich, colorful, and incredibly indulgent — they’re great for parties, holidays, or whenever you want a bakery-style treat at home.