There are few combinations in the world of desserts as satisfying as the pairing of a spicy, crunchy biscuit with cold, velvety ice cream. When you use the iconic caramelized flavor of Belgian speculoos, you elevate a simple snack into a gourmet experience. This Biscoff Ice Cream Sandwich recipe is a testament to how three simple ingredients can transform into a show-stopping treat that appeals to children and adults alike. It is the perfect solution for those warm afternoons when you want something decadent but do not want to spend hours hovering over a hot stove.
The beauty of this dessert lies in its textures. You get the initial snap of the biscuit, followed immediately by a smooth, creamy center that carries notes of cinnamon, nutmeg, and ginger. It is a sophisticated flavor profile that feels much more complex than the preparation suggests. In this guide, we are going to walk through every detail to ensure you create a batch of sandwiches that look as good as they taste, focusing on the techniques that prevent a messy meltdown and ensure a perfect bite every time.
What is a Biscoff Ice Cream Sandwich?
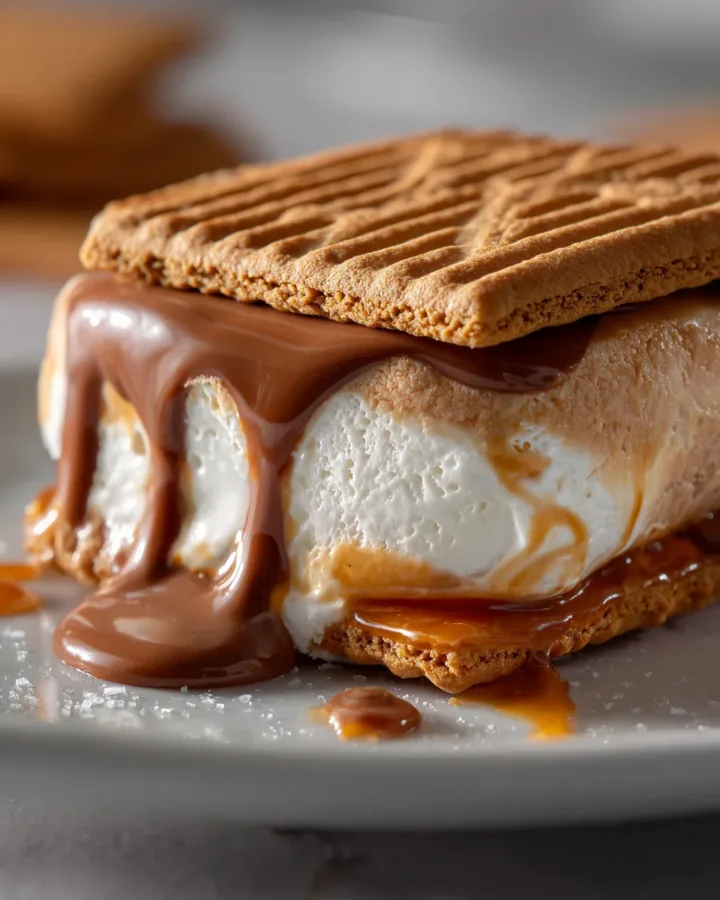
If you are unfamiliar with the term, a Biscoff Ice Cream Sandwich recipe is essentially a handheld dessert consisting of two Lotus Biscoff cookies acting as the “bread” for a thick layer of ice cream. Unlike traditional American ice cream sandwiches that use a soft, cake-like chocolate wafer, this version utilizes the distinct, firm crunch of the famous speculoos cookie.
These cookies are known for their deep caramelization and unique spice blend. When paired with high-quality vanilla or cookie butter ice cream, the moisture from the frozen dairy slightly softens the inner face of the biscuit while keeping the exterior crisp. It is a harmonious balance that has made this specific flavor profile a global sensation in cafes and ice cream parlors over the last few years.
Origin of the Biscoff Ice Cream Sandwich Recipe
The story of this recipe begins in a small town in Belgium in nineteen thirty-two. The Boone family created the original Lotus Biscoff biscuit, naming it after the combination of the words “biscuits” and “coffee,” as they were traditionally served alongside a hot cup of java. For decades, these were the ultimate airplane snack or cafe accompaniment.
The evolution into an ice cream sandwich is a more recent phenomenon, born out of the “cookie butter” craze that took over social media and dessert shops in the early twenty-tens. Pastry chefs realized that the warm spices of the biscuit were the perfect foil for cold cream. By sandwiching the ice cream directly between the biscuits, home cooks found a way to recreate the luxury of an artisanal ice cream shop in their own kitchens. This Biscoff Ice Cream Sandwich recipe brings that professional-grade indulgence to your home with minimal effort.
Essential Ingredients with Quantity
The key to a successful dessert with so few components is the quality of the ingredients. Since there is nowhere for subpar flavors to hide, choosing the best versions of these items is vital.
The Foundation: Lotus Biscoff Biscuits
You will need one pack of Lotus Biscoff biscuits. Most standard packs contain around thirty-two biscuits, which will yield sixteen sandwiches. Make sure the pack is fresh so the cookies have that signature snap. If any are broken in the package, do not throw them away; they can be crushed and used for the optional toppings later.
The Heart: Vanilla or Biscoff Ice Cream
You will need two cups of vanilla ice cream. For the best results, look for a premium brand that uses real vanilla bean, as the floral notes of the vanilla interact beautifully with the cinnamon in the cookies. If you want to go all-in on the theme, many stores now carry Biscoff-flavored ice cream, which features swirls of cookie butter and actual biscuit pieces.
The Flavor Booster: Biscoff Spread
While this is listed as optional, we highly recommend using one half cup of Biscoff spread. This spread, often referred to as cookie butter, acts as a delicious “glue” that helps the ice cream adhere to the biscuits while adding an extra punch of caramelized flavor. You can choose between the “smooth” or “crunchy” variety depending on your preference for texture.
Step by Step Direction and Preparation Method
Creating the perfect sandwich requires a bit of timing and a gentle touch. Here is how you can master the Biscoff Ice Cream Sandwich recipe in five easy steps.
Softening the Ice Cream for a Smooth Spread
Start by taking your two cups of vanilla ice cream out of the freezer. Let it sit on your counter at room temperature for about five to ten minutes. You are looking for a consistency that is soft enough to scoop and flatten but not so melted that it becomes liquid. If the ice cream is too hard, you risk breaking the delicate biscuits when you try to press them together. If it is too soft, it will simply squeeze out the sides and create a mess.
Preparing the Biscuits for Assembly
While your ice cream is tempering, clear a space in your freezer and prepare a small baking tray or a flat plate by lining it with parchment paper. Lay out half of the Lotus Biscoff biscuits flat on the tray with the patterned side facing down. This ensures that when you complete the sandwich, the iconic “Lotus” logo is visible on the top and bottom.
Adding the Filling and the Secret Layer
If you are using the one half cup of Biscoff spread, use a small offset spatula or the back of a spoon to apply a thin layer to the upturned side of each biscuit on your tray. This creates a barrier that keeps the biscuit crunchy for longer.
Next, place a generous scoop of the softened ice cream onto the center of each prepared biscuit. Place a second biscuit on top, patterned side facing up. Gently and evenly press down. You want the ice cream to reach the very edges of the biscuit without overflowing.
Shaping and Perfecting the Edges
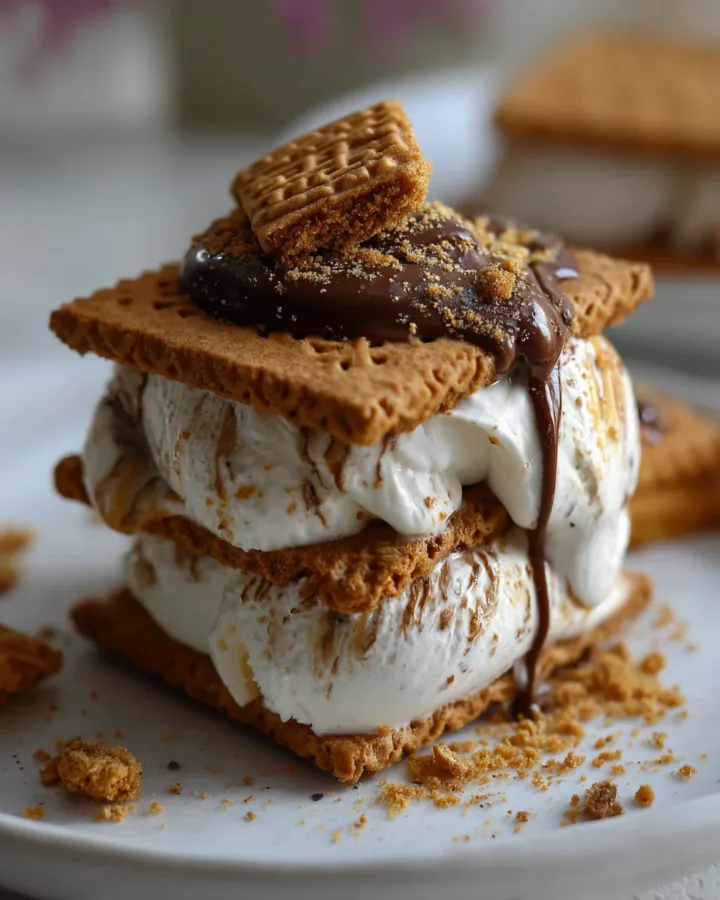
For a truly professional look that would surpass any store-bought version, use a butter knife or a small spoon to smooth the ice cream around the edges. This creates a clean, flat surface. If you have extra time and want to get fancy, this is the moment to roll those edges in extra crushed biscuit crumbs or even tiny chocolate chips.
The Final Freeze
This is the most critical stage of the Biscoff Ice Cream Sandwich recipe. Place the tray in the freezer for one to two hours. This allows the ice cream to re-harden and bond with the biscuits and the spread. If you try to eat them immediately, the sandwiches will fall apart. Once they are firm, you can wrap them individually in plastic wrap or store them in an airtight container for up to two weeks.
Delicious Variations and Toppings
Once you have mastered the basic Biscoff Ice Cream Sandwich recipe, you can start experimenting with different additions to make the dessert your own.
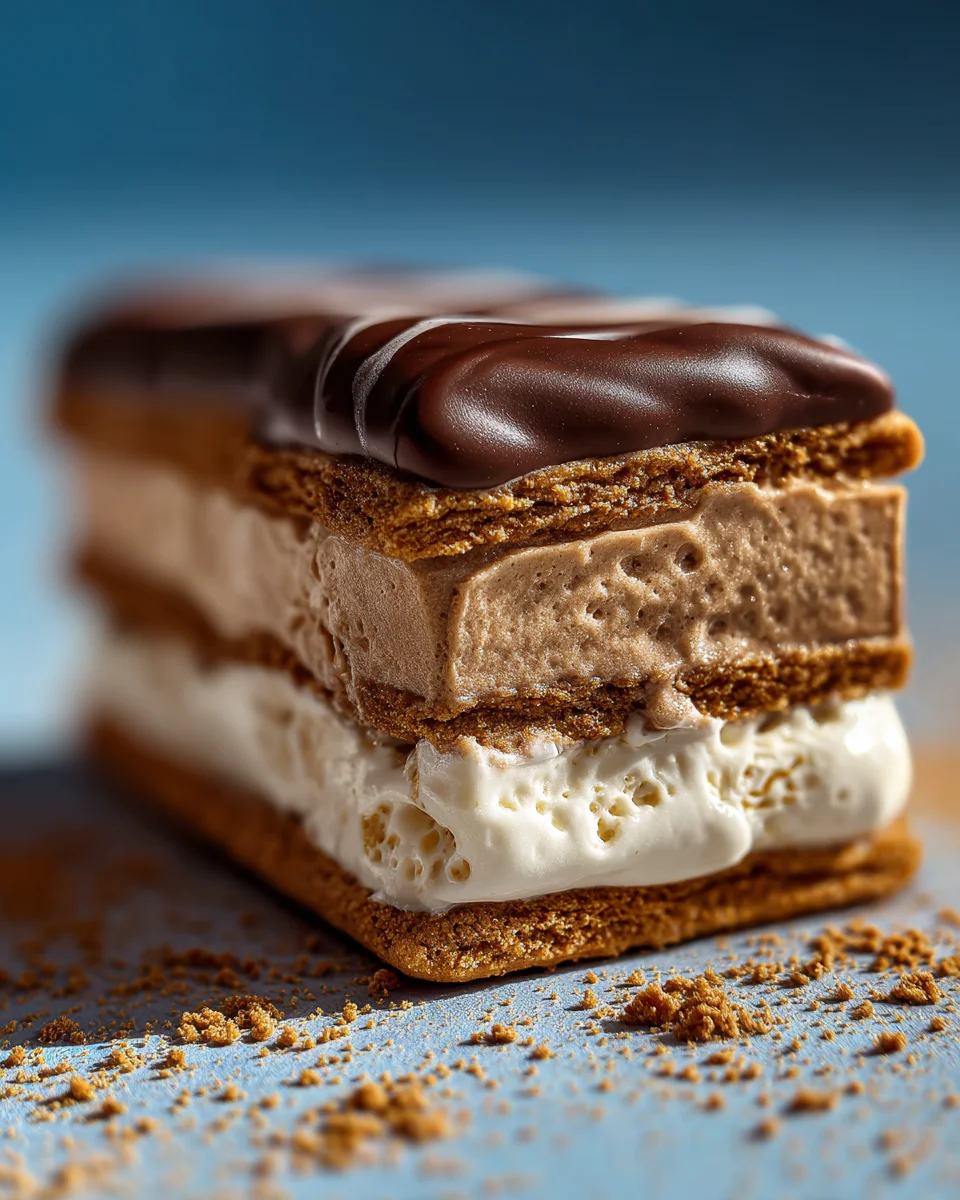
The Chocolate Dipped Delight
Melt some dark or milk chocolate in a microwave-safe bowl. Once your sandwiches are fully frozen, dip one half of each sandwich into the melted chocolate. The chocolate will harden almost instantly against the cold ice cream, creating a beautiful shell.
The Salty and Sweet Twist
For those who love a bit of contrast, add a tiny pinch of sea salt to the Biscoff spread before assembling. You can also roll the edges of the ice cream in crushed salted pretzels or chopped roasted almonds. The salt highlights the deep caramel notes of the speculoos.
The Fruit Infusion
If you want to add a bit of freshness, a thin layer of raspberry jam or a few slices of fresh strawberry inside the sandwich can provide a tart counterpoint to the rich cream and spices.
Expert Tips for Success: Biscoff Ice Cream Sandwich
To ensure your Biscoff Ice Cream Sandwich recipe turns out perfectly every time, keep these professional tips in mind:
-
Work in small batches. If you are making a large quantity, only take a few biscuits out at a time. This prevents the ice cream from melting too much while you are working on the others.
-
Cold tray is key. If you have room in your freezer, put the baking tray in there for twenty minutes before you start. A cold surface helps keep the ice cream stable.
-
Use a square scoop. If you want a perfectly uniform look, you can spread your ice cream into a flat pan, freeze it, and then use a rectangular cutter that matches the shape of the Biscoff biscuit.
-
Avoid the microwave. Never try to soften your ice cream in the microwave, as it melts unevenly and creates “hot spots” that will ruin the texture.
Frequently Asked Questions: Biscoff Ice Cream Sandwich
Can I make Biscoff Ice Cream Sandwich vegan?
Yes! One of the best things about the Biscoff Ice Cream Sandwich recipe is that Lotus Biscoff biscuits and the original spread are naturally vegan. Simply use your favorite dairy-free vanilla ice cream (coconut or soy-based works great) to make a completely plant-based treat.
Why do my biscuits get soggy after a day?
Sogginess is usually caused by the ice cream having too much water content or the sandwiches not being frozen quickly enough. Using the Biscoff spread as a base layer creates a fat barrier that helps keep the moisture of the ice cream away from the biscuit.
How long do they stay fresh in the freezer?
If you wrap them tightly in plastic wrap and then place them in a freezer-safe bag, they will stay fresh and delicious for about two to three weeks. After that, the biscuits may start to absorb freezer odors or lose their crunch.
What if I cannot find the Biscoff spread?
While the spread adds a lot of flavor, the sandwiches are still excellent with just the biscuits and ice cream. You could also substitute with a high-quality salted caramel sauce or even a bit of peanut butter for a different flavor profile.
Is it possible to use homemade ice cream?
Absolutely. If you have an ice cream maker, using a homemade custard-based vanilla ice cream will take this Biscoff Ice Cream Sandwich recipe to a whole new level of luxury. Just ensure the churned ice cream has hardened to a “soft serve” consistency before you attempt to assemble the sandwiches.
Conclusion: Biscoff Ice Cream Sandwich
Mastering a homemade Biscoff Ice Cream Sandwich recipe is a skill that will serve you well for every summer party, birthday, or late-night craving. It represents the perfect marriage of convenience and culinary delight, proving that you do not need a long list of ingredients to create something truly memorable. The combination of the warm, spiced Belgian biscuits and the cold, soothing ice cream creates a sensory experience that is hard to beat. By taking the time to soften your ice cream properly and allowing the sandwiches to firm up in the freezer, you ensure a professional result that far exceeds anything you could find in a store.
Print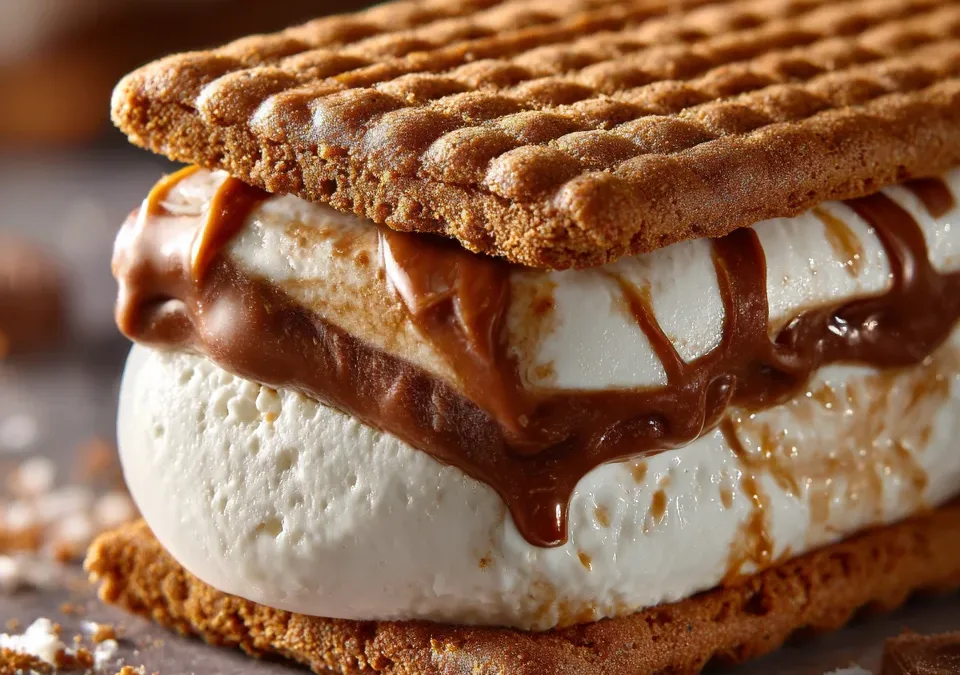
The Ultimate Homemade Biscoff Ice Cream Sandwich Recipe
- Total Time: 1 hour 15 minutes (including freezing)
- Yield: 8 sandwiches 1x
- Diet: Vegetarian
Description
If you are unfamiliar with the term, a Biscoff Ice Cream Sandwich recipe is essentially a handheld dessert consisting of two Lotus Biscoff cookies acting as the “bread” for a thick layer of ice cream. Unlike traditional American ice cream sandwiches that use a soft, cake-like chocolate wafer, this version utilizes the distinct, firm crunch of the famous speculoos cookie.
Ingredients
- 1 pack of Lotus Biscoff biscuits
- 2 cups vanilla ice cream (or Biscoff-flavored if available)
- 1/2 cup Biscoff spread (optional, for extra flavor)
Instructions
1. Soften ice cream
Let the ice cream sit at room temperature for 5–10 minutes until slightly soft.
2. Prepare biscuits
Lay out half of the Biscoff biscuits flat on a tray.
3. Add filling
- Spread a thin layer of Biscoff spread (optional)
- Add a scoop of ice cream on top
- Gently press another biscuit on top to make a sandwich
4. Shape
Use a spoon or knife to smooth the edges if needed.
5. Freeze
Place sandwiches in the freezer for 1–2 hours until firm.
Notes
A quick, no-fuss dessert that feels extra special—perfect for warm days or whenever you’re craving something sweet.
- Prep Time: 15 minutes
- Cook Time: 0 minutes
- Category: Dessert
- Method: Freezing
- Cuisine: International
Nutrition
- Serving Size: 1 sandwich
- Calories: 280 kcal
Keywords: Lotus biscuit frozen treats, homemade speculoos ice cream snacks, cookie butter sandwich instructions, easy biscuit dessert preparation