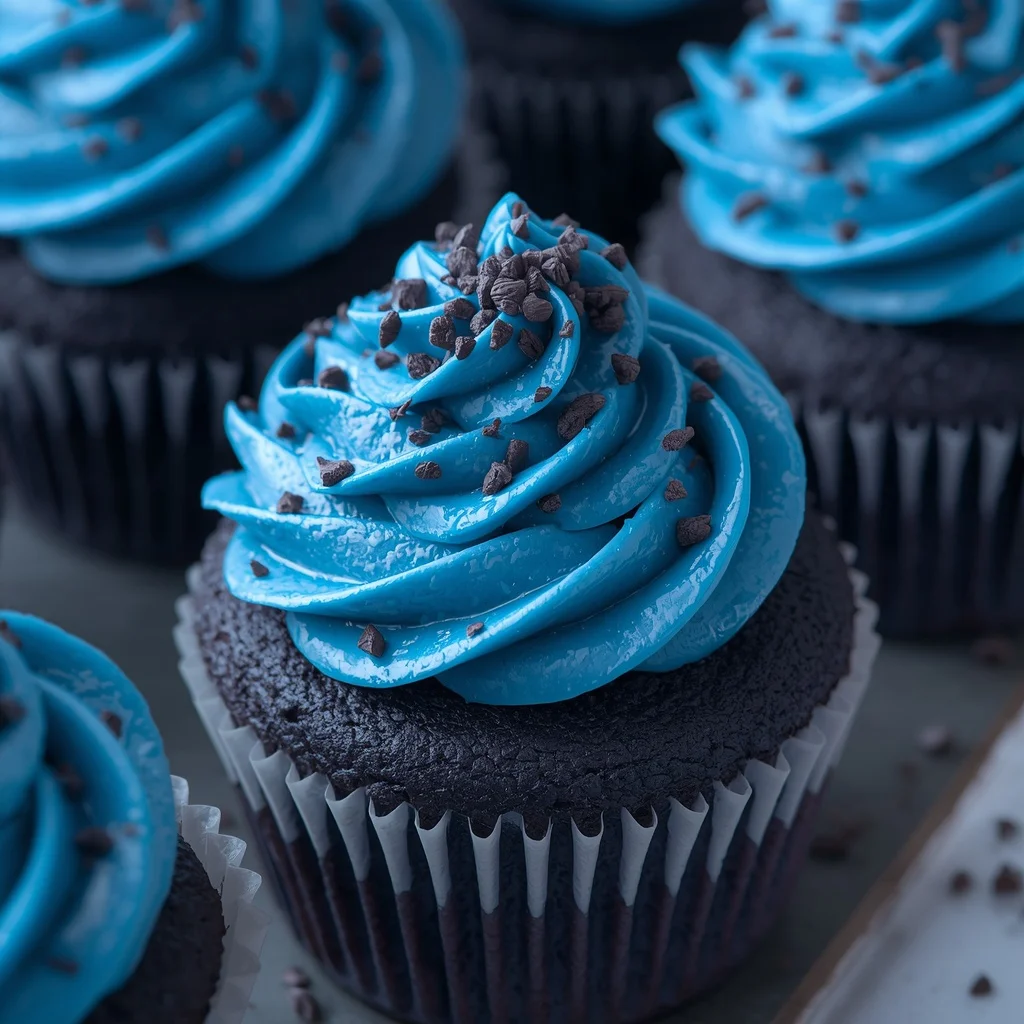
Baking something truly spectacular for a special gathering often comes down to choosing a dessert that delivers both stunning visual appeal and unforgettable taste. These eye-catching blue velvet cupcakes offer a delightful twist on a traditional red velvet favorite, bringing a striking ocean-blue color to your dessert table alongside a tender, velvety crumb. Topped with a silky vanilla cream cheese frosting, this treat provides the ideal balance of subtle cocoa warmth, tangy buttermilk richness, and sweet creaminess. Whether you are baking for a baby shower, a winter holiday party, or a vibrant birthday celebration, mastering this recipe guarantees a showstopping dessert that will impress guests of all ages.
Creating high-quality homemade baked goods is deeply rewarding when you have the right technique. Beyond their vibrant appearance, these handheld cakes feature a delicate structure and a soft, melt-in-your-mouth texture. By understanding how the ingredients interact, you can achieve consistent, bakery-worthy results right in your own home kitchen. Let us dive into the history, science, ingredients, and precise baking instructions required to prepare a batch of these extraordinary blue velvet treats.
What Are Blue Velvet Cupcakes?
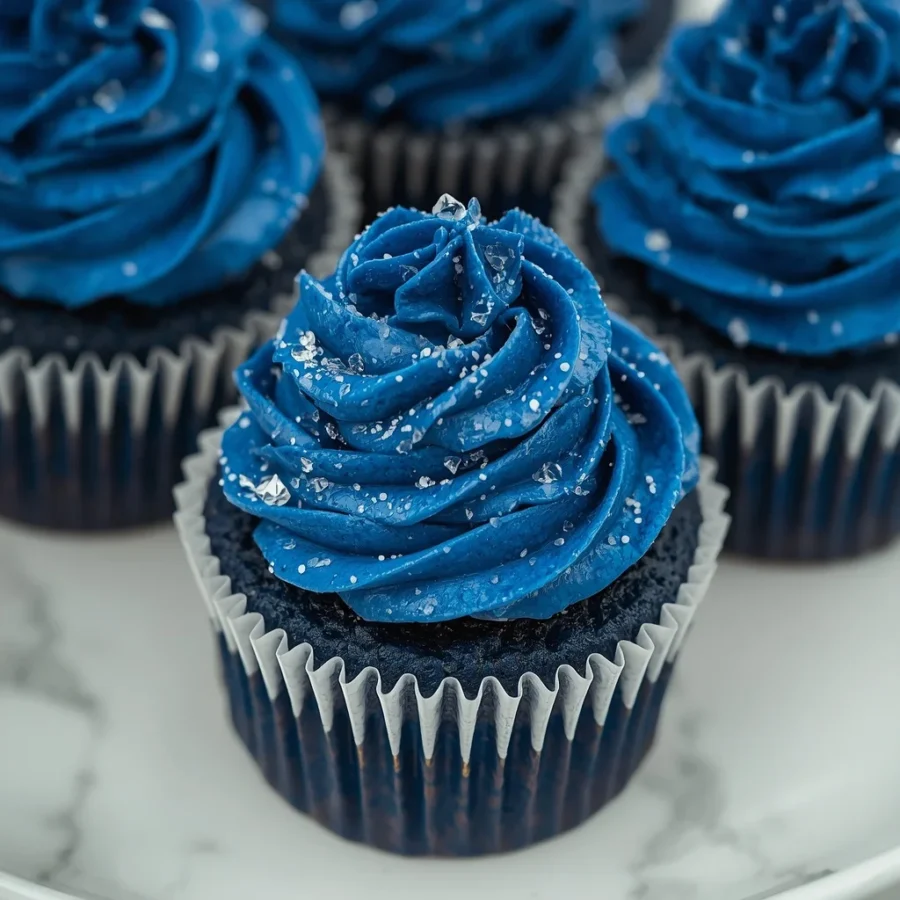
A batch of blue velvet cupcakes is a colorful variation of the classic velvet cake family, distinguished by its royal blue hue and subtle cocoa flavor. Unlike standard chocolate or vanilla cakes, velvet desserts get their signature name from their fine, exceptionally smooth crumb structure. This distinct texture comes from a specific chemical reaction that occurs when acidic buttermilk and white vinegar interact with cocoa powder and leavening agents.
The flavor profile is delightfully complex without being overly heavy. You will notice a mild undertone of chocolate balanced by a delicate tanginess from the buttermilk and cream cheese. The rich cocoa powder provides depth, while vanilla extract enhances the overall sweetness. Topped with a generous swirl of fluffy cream cheese frosting, these cupcakes offer a harmonious contrast between light cake and decadent topping.
Using blue gel food coloring instead of traditional red dyes transforms the batter into a brilliant shade of sapphire or navy. The result is a striking visual presentation that makes these little cakes a favorite centerpiece for thematic parties, gender reveal events, and celebratory gatherings.
The Origin of Velvet Cake Recipes
To understand where this colorful dessert comes from, it helps to explore the rich history of American velvet cakes. The concept of velvet cake originated during the Victorian era in the nineteenth century. During this period, bakers discovered that adding small amounts of cocoa powder, almond flour, or cornstarch to cake batter softened the harsh protein glutens present in standard flour. This technique produced a refined, ultra-smooth texture that bakers proudly described as velvet.
In the early twentieth century, red velvet cake gained immense popularity across the United States, particularly throughout Southern bakery traditions. The original reddish tint was not created with heavy food dyes, but rather from a chemical reaction between natural, unprocessed cocoa powder and acidic ingredients like buttermilk and vinegar. When liquid food dyes became widely accessible in grocery stores mid-century, bakers began exaggerating the red tone to create a bold, dramatic visual effect.
As baking arts evolved into the twenty-first century, creative pastry chefs began experimenting with alternative color palettes while retaining the classic buttermilk and cocoa formula. Replacing the red dye with vibrant blue coloring birthed the modern blue velvet cake trend. Today, preparing blue velvet cupcakes allows home bakers to honor a centuries-old culinary tradition while adding a contemporary, playful twist.
Ingredients and Exact Quantities: blue velvet cupcakes
Achieving the perfect texture and color balance requires precise measuring and fresh ingredients. Below is the complete list of everything you need for both the cake base and the velvety frosting.
Ingredients for the Cupcakes
-
One and one-half cups of all-purpose flour: Provides the structural foundation for the batter.
-
One tablespoon of unsweetened cocoa powder: Adds a subtle chocolate flavor without darkening the blue color too much.
-
One teaspoon of baking powder: Works alongside the baking soda to lift the batter.
-
One-half teaspoon of baking soda: Reacts with the acid in the buttermilk and vinegar for extra rise.
-
One-fourth teaspoon of fine salt: Enhances all the sweet and savory flavor notes.
-
One-half cup of unsalted butter: Ensure it is thoroughly softened at room temperature.
-
Three-fourths cup of granulated sugar: Provides the ideal level of sweetness and locks in moisture.
-
Two large eggs: Brought to room temperature for smooth emulsion.
-
One teaspoon of pure vanilla extract: Adds a warm, aromatic flavor note.
-
One tablespoon of blue gel food coloring: Concentrated gel produces a brilliant color without thinning the batter.
-
One-half cup of cultured buttermilk: Delivers natural acidity and a super soft crumb.
-
One-half teaspoon of white distilled vinegar: Triggers the final leavening reaction just before baking.
Ingredients for the Cream Cheese Frosting
-
Eight ounces of full-fat block cream cheese: Softened to room temperature for easy whipping.
-
One-half cup of unsalted butter: Softened at room temperature to match the consistency of the cream cheese.
-
Two cups of powdered sugar: Sifted to ensure a silky, lump-free texture.
-
One teaspoon of pure vanilla extract: Adds rich aroma to the frosting.
-
One to two tablespoons of heavy cream: Optional liquid to adjust the piping consistency if needed.
Step-by-Step Direction and Preparation Method: Blue Velvet Cupcakes Recipe
To bake these delicious blue velvet cupcakes successfully, follow these detailed preparation steps. Taking your time during each stage ensures maximum lightness, proper color distribution, and a perfect rise.
+-------------------------------------------------------+
|  STEP 1: Whisk dry flour, cocoa, baking powder,       |
|          baking soda, and salt in a bowl.             |
+-------------------------------------------------------+
                           |
                           v
+-------------------------------------------------------+
|  STEP 2: Beat softened butter and sugar together      |
|          until light and fluffy (two to three mins).  |
+-------------------------------------------------------+
                           |
                           v
+-------------------------------------------------------+
|  STEP 3: Add eggs, vanilla, and blue gel coloring.    |
+-------------------------------------------------------+
                           |
                           v
+-------------------------------------------------------+
|  STEP 4: Alternate adding dry ingredients and milk;   |
|          stir in white vinegar at the very end.       |
+-------------------------------------------------------+
                           |
                           v
+-------------------------------------------------------+
|  STEP 5: Fill lined muffin cups two-thirds full;      |
|          bake eighteen to twenty-two minutes.         |
+-------------------------------------------------------+
                           |
                           v
+-------------------------------------------------------+
|  STEP 6: Cool completely; whip cream cheese frosting  |
|          and pipe generously over the cupcakes.       |
+-------------------------------------------------------+
Step One: Prepare Your Baking Station
Begin by heating your oven to three hundred and fifty degrees Fahrenheit. Line a standard twelve-cup muffin baking pan with clean paper cupcake liners. Setting up your tray beforehand prevents the batter from sitting out too long once mixed.
Step Two: Combine the Dry Ingredients
In a medium bowl, sift together the one and one-half cups of all-purpose flour and one tablespoon of unsweetened cocoa powder. Add one teaspoon of baking powder, one-half teaspoon of baking soda, and one-fourth teaspoon of salt. Whisk the dry components together until the cocoa powder is evenly distributed, then set the bowl aside.
Step Three: Cream the Butter and Sugar
In a large mixing bowl or the bowl of a stand mixer fitted with a paddle attachment, place one-half cup of softened unsalted butter and three-fourths cup of granulated sugar. Beat on medium speed for two to three minutes until the mixture turns pale, light, and fluffy. Proper creaming incorporates air into the fat, which is vital for achieving a light cupcake texture.
Step Four: Incorporate the Wet Components
Add the two room-temperature eggs to the creamed butter one at a time, beating well after each addition. Next, mix in one teaspoon of pure vanilla extract and one tablespoon of blue gel food coloring. Scrape down the sides and bottom of your bowl using a silicone spatula to ensure the blue dye blends uniformly throughout the wet mixture.
Step Five: Alternate Mixing Dry and Liquid Ingredients
With your mixer running on low speed, add one-third of the dry ingredient mixture to the wet batter. Next, pour in one-half of the cultured buttermilk. Repeat this process, alternating dry and wet ingredients, ending with the final batch of flour. Mix just until combined; overmixing develops gluten and results in dense cupcakes. Finally, gently fold in one-half teaspoon of white distilled vinegar using a spatula.
Step Six: Fill and Bake
Divide the colorful batter evenly among the twelve paper liners, filling each cup about two-thirds full. Place the pan into your preheated oven and bake for eighteen to twenty-two minutes. You can test for doneness by inserting a wooden toothpick into the center of a cupcake; it should come out clean or with a few dry crumbs attached.
Step Seven: Cooling Phase
Remove the baking pan from the oven and let the cupcakes rest inside the warm pan for five minutes. After five minutes, carefully transfer the individual cupcakes to a wire cooling rack. Allow them to cool completely to room temperature before attempting to apply any frosting.
Step Eight: Prepare the Cream Cheese Frosting
While the baked goods cool, prepare the topping. In a clean mixing bowl, beat eight ounces of softened cream cheese and one-half cup of softened butter on medium-high speed for two minutes until smooth and completely free of lumps. Gradually add two cups of sifted powdered sugar, one cup at a time, mixing on low speed until incorporated. Stir in one teaspoon of vanilla extract. If the frosting seems too thick for piping, add one to two tablespoons of heavy cream and whip on high speed for one minute until light and airy.
Step Nine: Frost and Decorate
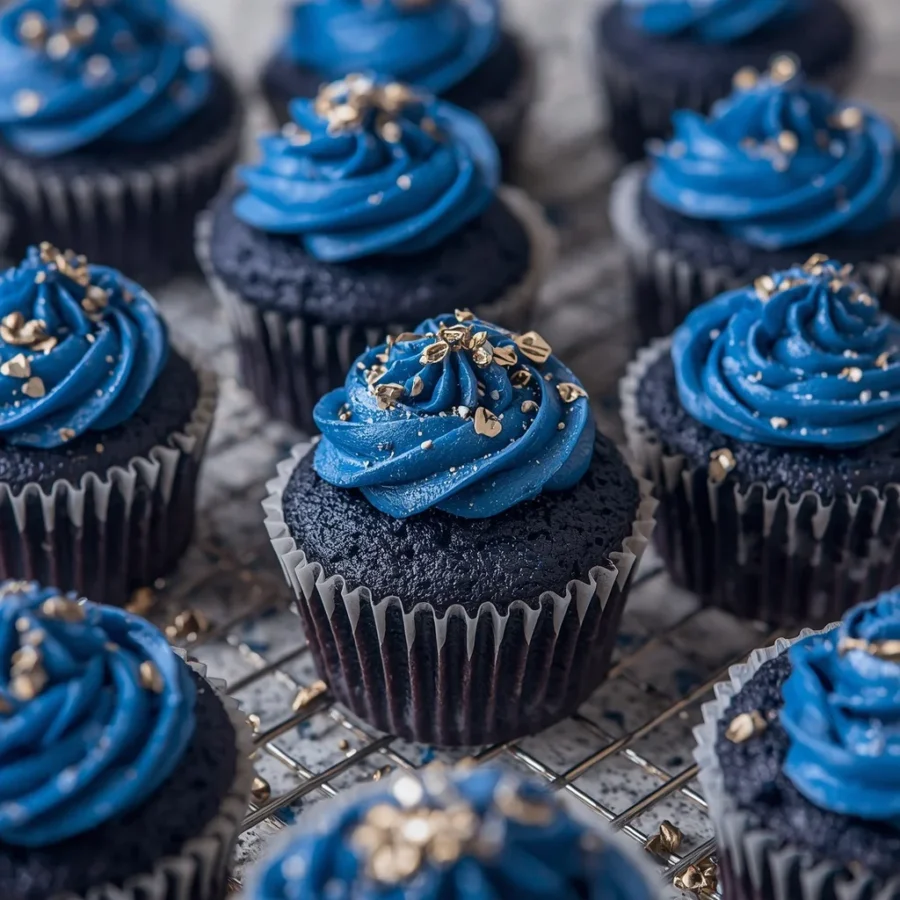
Fit a piping bag with a star tip and fill it with your prepared frosting. Pipe generous swirls over each completely cooled cupcake. You can garnish the top with edible silver pearls, blue sprinkles, or a delicate dusting of cake crumbs.
Important Tips for Baking Success
To ensure your homemade blue velvet cupcakes turn out picture-perfect every time, keep these professional baking guidelines in mind during the preparation process.
Use Gel Color Instead of Liquid Dye
Liquid food coloring contains a high percentage of water, which can alter the delicate moisture ratio of your cake batter. Furthermore, liquid dyes require large amounts of liquid to achieve a deep shade, which can leave an unpleasant artificial taste. Concentrated gel food coloring provides intense, vibrant pigmentation using only a small amount, protecting both the flavor and consistency of your batter.
Do Not Skip Room Temperature Ingredients
Using room-temperature butter, eggs, buttermilk, and cream cheese is essential for creating a smooth batter and silky frosting. Cold ingredients do not emulsify properly, leading to broken batter, flat cakes, or lumpy frosting. Take your chilled items out of the refrigerator at least forty-five minutes before you plan to begin baking.
Measure Your Flour Correctly
Adding too much flour is the most common cause of dry, heavy cupcakes. Instead of scooping flour directly out of the container with a measuring cup, fluff the flour with a fork first. Spoon the fluffed flour gently into your measuring cup, then level off the top using the flat edge of a butter knife.
Creative Variations on the Recipe: Blue Velvet Cupcakes Recipe
While the classic vanilla cream cheese combination is always a hit, you can easily adapt this versatile recipe to suit different events or personal flavor preferences.
Lemon Blue Velvet Delight
Pairing blue velvet cake with citrus flavors creates a wonderfully refreshing flavor contrast. Add one teaspoon of fresh lemon zest directly into the cake batter along with the vanilla extract. You can also replace the vanilla in the cream cheese frosting with fresh lemon juice for a bright, tangy finish that cuts through the richness of the sweet cream cheese.
Ocean Pearl Cupcakes
For mermaid-themed parties or summer beach events, transform these treats into whimsical ocean creations. Use a turquoise shade of gel food coloring instead of deep royal blue. Top the white cream cheese frosting with crushed graham cracker crumbs to simulate beach sand, and add edible sugar pearls or chocolate seashell decorations on top.
Winter Wonderland Cupcakes
Highlight the vibrant blue color for winter holiday celebrations by decorating the frosted tops with shimmering white edible glitter, silver sprinkles, or delicate royal icing snowflakes. The contrast between bright white decorations and deep blue cake creates an enchanting seasonal presentation.
Chocolate Chip Surprise
For extra texture and rich chocolate flavor, fold one-half cup of mini semi-sweet chocolate chips into the batter right after stirring in the vinegar. The small chocolate morsels melt slightly during baking, creating gooey pockets of chocolate inside the soft blue crumb.
Frequently Asked Questions: Blue Velvet Cupcakes Recipe
Why did my blue cupcakes turn out greenish after baking?
A greenish tint usually happens when the yellow tones in egg yolks and butter mix with blue food coloring. Yellow and blue combined naturally make green. To prevent this issue, use a high-quality, highly pigmented royal blue gel dye. You can also use light-colored European butter or add a tiny drop of violet gel dye to neutralize the yellow tones before adding the blue coloring.
Can I make Blue Velvet Cupcakes Recipe ahead of time?
Yes, you can easily prepare these treats in advance. Unfrosted cupcakes can be baked, cooled completely, and stored in an airtight container at room temperature for up to two days. Once frosted with cream cheese frosting, store them in a single layer inside a sealed container in the refrigerator for up to four days. Bring them to room temperature for twenty minutes before serving.
What can I use if I do not have buttermilk?
If you do not have fresh buttermilk in your refrigerator, you can quickly make a simple homemade substitute. Measure one-half cup of whole milk into a liquid measuring cup and stir in one-half teaspoon of lemon juice or white vinegar. Let the mixture sit undisturbed at room temperature for five to ten minutes until it curdles slightly, then use it as directed in the recipe.
Why is my cream cheese frosting too runny?
Runny cream cheese frosting usually results from using tub-style spreadable cream cheese rather than firm block cream cheese. Tub cream cheese contains extra water that thins out sugar mixtures quickly. Additionally, overbeating cream cheese breaks down its structure. Always use full-fat block cream cheese and mix just until smooth and combined.
Can I turn Blue Velvet Cupcakes Recipe into a multi-layer cake?
Yes, this recipe can easily be adapted for small round cake pans. Double all ingredient quantities to make enough batter for two eight-inch round cake pans. Increase the baking time to twenty-two to twenty-eight minutes, testing with a toothpick in the center to ensure the layers are fully baked through before cooling and assembly.
Conclusion: Blue Velvet Cupcakes Recipe
Baking a fresh batch of blue velvet cupcakes is a wonderful way to bring color, fun, and gourmet flavor into your kitchen. By combining simple baking science with high-quality ingredients, you create a dessert that tastes every bit as incredible as it looks. The contrast between tender cocoa-scented cake and smooth vanilla cream cheese frosting makes every single bite immensely satisfying. Whether you are hosting a large holiday gathering or simply baking a sweet surprise for your family, this reliable recipe guarantees beautiful, bakery-worthy results every time. Enjoy the process of baking, decorating, and sharing these unforgettable colorful treats with the people you love.
Print
Blue Velvet Cupcakes
- Total Time: 40 minutes
- Yield: 12 cupcakes 1x
- Diet: Vegetarian
Description
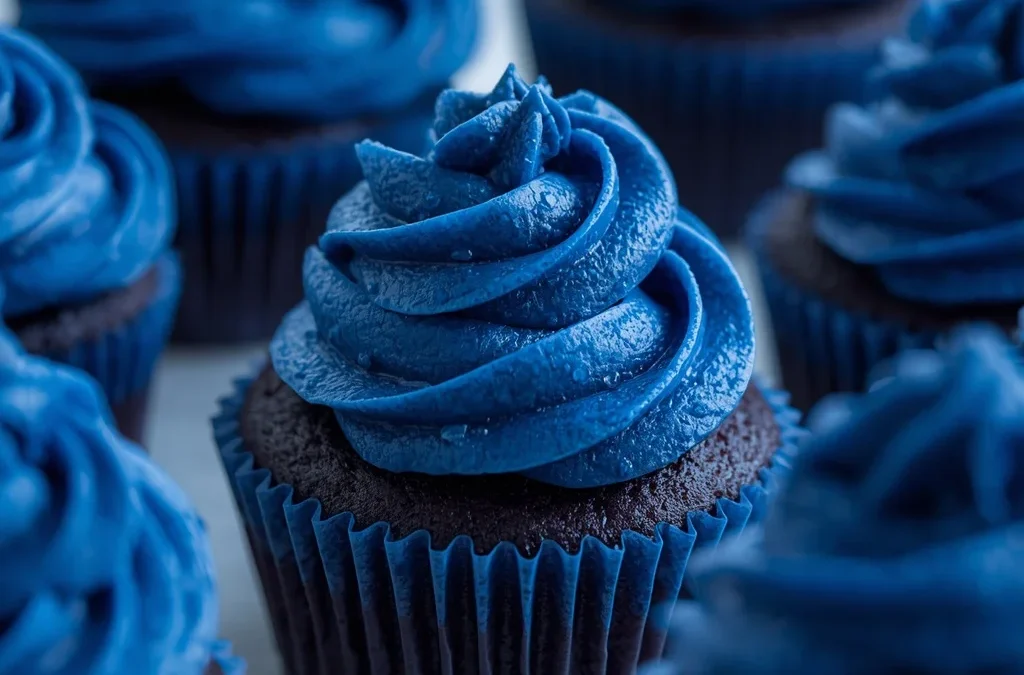
A batch of blue velvet cupcakes is a colorful variation of the classic velvet cake family, distinguished by its royal blue hue and subtle cocoa flavor. Unlike standard chocolate or vanilla cakes, velvet desserts get their signature name from their fine, exceptionally smooth crumb structure. This distinct texture comes from a specific chemical reaction that occurs when acidic buttermilk and white vinegar interact with cocoa powder and leavening agents.
Ingredients
Scale
For the Cupcakes
- 1½ cups all-purpose flour
- 1 tbsp unsweetened cocoa powder
- 1 tsp baking powder
- ½ tsp baking soda
- ¼ tsp salt
- ½ cup unsalted butter, softened
- ¾ cup granulated sugar
- 2 large eggs
- 1 tsp vanilla extract
- 1 tbsp blue gel food coloring
- ½ cup buttermilk
- ½ tsp white vinegar
For the Cream Cheese Frosting
- 8 oz (225 g) cream cheese, softened
- ½ cup unsalted butter, softened
- 2 cups powdered sugar
- 1 tsp vanilla extract
- 1–2 tbsp heavy cream, if needed
Instructions
- Preheat the oven: Preheat your oven to 350°F (175°C). Line a 12-cup muffin pan with cupcake liners.
- Mix the dry ingredients: In a bowl, whisk together flour, cocoa powder, baking powder, baking soda, and salt.
- Cream the butter and sugar: In a separate large bowl, beat the softened butter and sugar until light and fluffy, about 2–3 minutes.
- Add the wet ingredients: Beat in the eggs one at a time, followed by vanilla extract and blue food coloring.
- Combine: Add the dry ingredients in batches, alternating with the buttermilk. Mix gently until just combined. Stir in the vinegar.
- Fill the liners: Divide the batter evenly among the cupcake liners, filling each about ⅔ full.
- Bake: Bake for 18–22 minutes, or until a toothpick inserted into the center comes out clean.
- Cool: Let the cupcakes cool in the pan for about 5 minutes, then transfer them to a wire rack and cool completely.
Cream Cheese Frosting
- Beat the cream cheese and butter together until smooth and creamy.
- Gradually add the powdered sugar and beat until fluffy.
- Mix in the vanilla extract. Add a little heavy cream if the frosting is too thick.
- Pipe or spread the frosting over the completely cooled cupcakes.
Notes
For a vibrant blue color, use gel food coloring rather than liquid coloring. Avoid adding too much food coloring, as it can affect the flavor and texture of the cupcakes.
- Prep Time: 20 minutes
- Cook Time: 20 minutes
- Category: Dessert
- Method: Baking
- Cuisine: American
Nutrition
- Serving Size: 1 cupcake
- Calories: 320 kcal
Keywords: homemade blue velvet cupcakes, easy blue velvet cupcake recipe, vibrant blue velvet cakes
