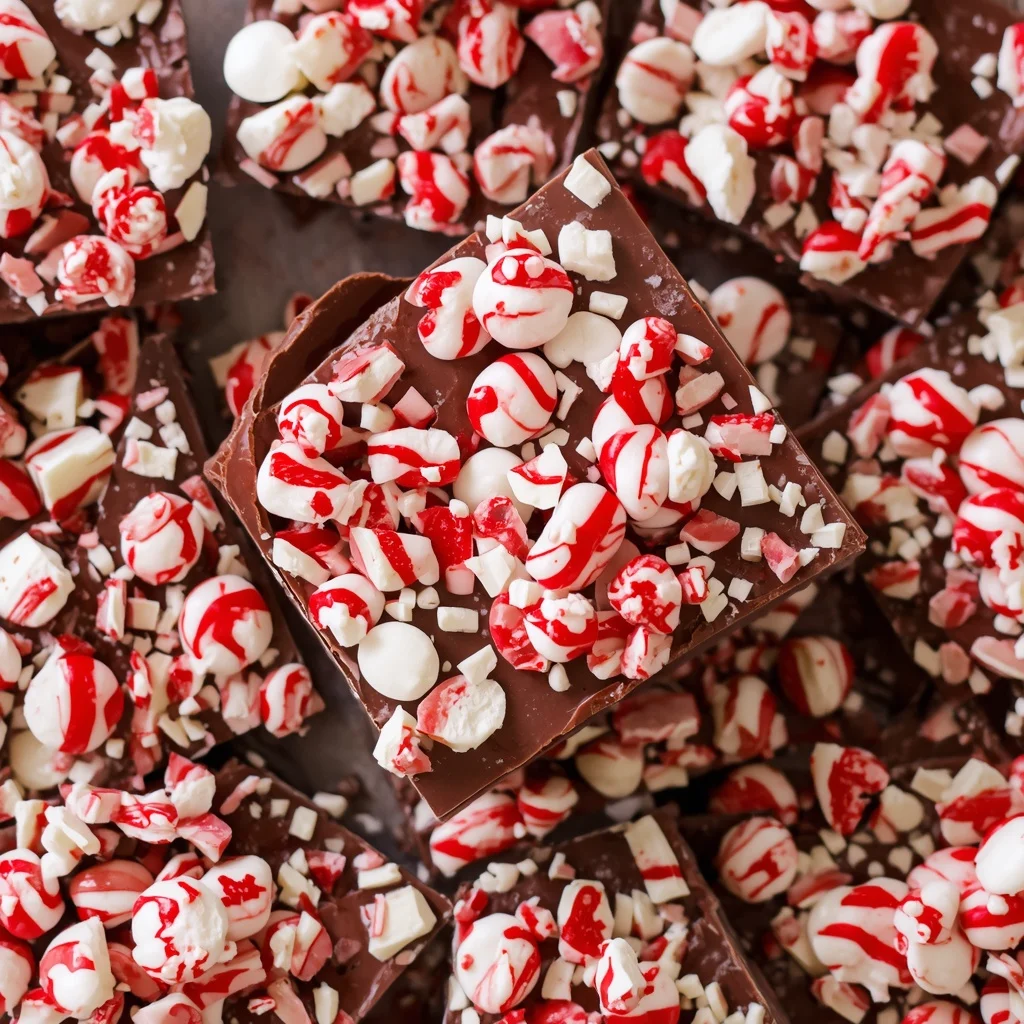
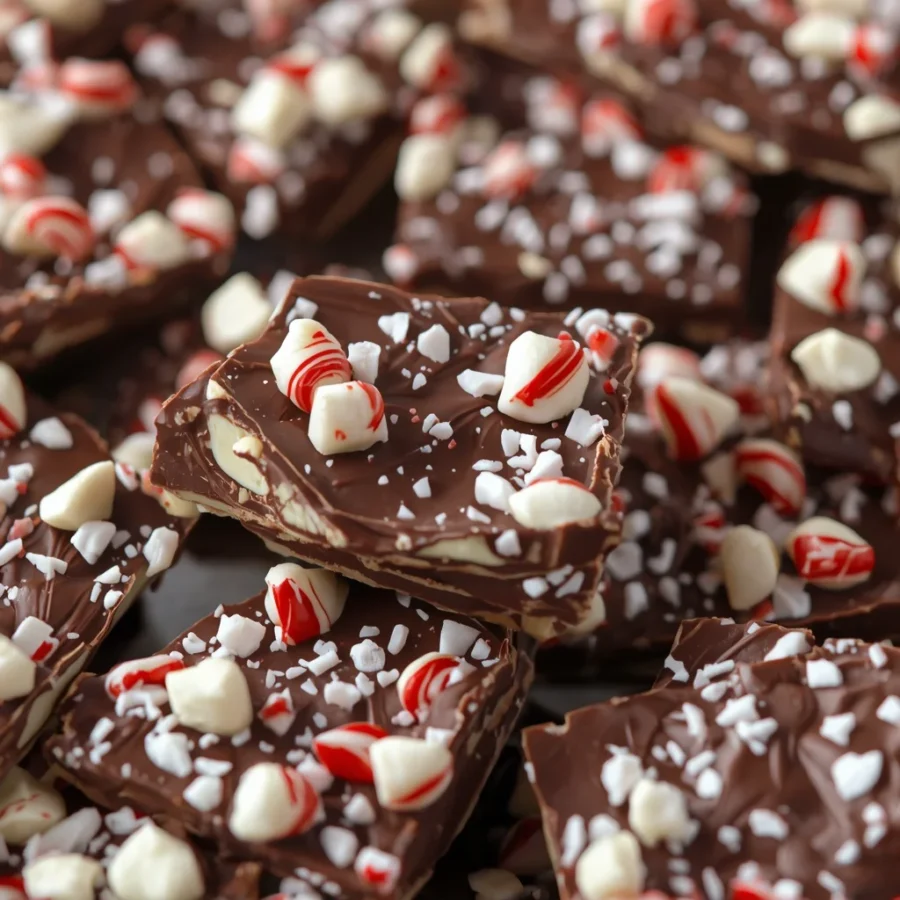
When winter arrives and the holiday rush begins, nothing brings more warmth and delight than simple, beautiful treats made right in your own kitchen. If you are searching for an effortless, impressive sweet treat that captures the magic of the season, this
candy cane chocolate bark recipe is an absolute must-try. Combining smooth, rich chocolate with creamy white swirls and the refreshing crunch of crushed peppermint, this classic winter dessert offers an unforgettable balance of textures and flavors. It requires zero baking time, takes only minutes to prepare, and serves as an eye-catching centerpiece for holiday
dessert tables, cookie swaps, or cozy family movie nights.
In this
comprehensive guide, we will walk you through every step needed to create a flawless batch of peppermint bark from scratch. From understanding the fascinating history behind layered chocolate bark to mastering simple melting techniques without scorching, exploring exciting flavor variations, and answering your most common preparation questions, this article provides all the details you need to elevate your seasonal candy-making skills.
What is a Candy Cane Chocolate Bark Recipe?
At its core, a candy cane chocolate bark recipe is a no-bake confection made by layering or swirling melted chocolate, topping it with crushed peppermint candy, and letting it set until firm. Once cooled, the hardened slab of chocolate is broken by hand into jagged, rustic shards that showcase contrast between deep cocoa hues and bright white peppermint toppings.
Unlike complex truffles or baked pastries that require precise oven temperatures and specialized tools, chocolate bark relies on the natural setting properties of quality chocolate. The pairing of velvety, rich cocoa with crisp, cool mint produces a sweet-and-refreshing sensation that appeals to all ages. It is especially popular during winter holidays because its vibrant red, white, and brown colors naturally mirror traditional festive decorations.
The Origin of Chocolate Bark and Peppermint Treats
To understand why this sweet treat holds such a cherished place in seasonal celebrations, it is helpful to explore its historical roots. Confectioners have been making chocolate slabs studded with nuts, seeds, and dried fruits for centuries across Europe. However, the modern tradition of layered peppermint bark gained widespread popularity in North America during the late twentieth century.
The classic candy cane itself dates back to seventeenth-century Europe, where hard sugar sticks were bent into sheep crooks to represent traditional shepherd motifs. Over time, peppermint flavoring became the standard choice for these winter treats. When home cooks and commercial chocolatiers in the mid-to-late nineteen hundreds began pairing crushed peppermint candies with layered dark and white chocolate, an instant holiday classic was born. Today, making this quick confection has become a cherished annual ritual that brings families together in the kitchen to break fresh slabs into festive, gift-worthy pieces.
Ingredients and Exact Quantities
Creating exceptional homemade chocolate bark requires only a handful of readily available ingredients. Using good quality chocolate ensures a smooth texture and rich flavor. Gather the following quantities before you begin:
-
Milk chocolate or dark chocolate, finely chopped: three hundred grams
-
White chocolate, finely chopped: two hundred grams
-
Regular peppermint candy canes: four to five pieces, crushed
-
Pure peppermint extract (optional): one-half teaspoon
-
Coconut oil (optional, for smooth texture): one tablespoon
Step-by-Step Direction and Preparation Method: Candy cane chocolate bark recipe
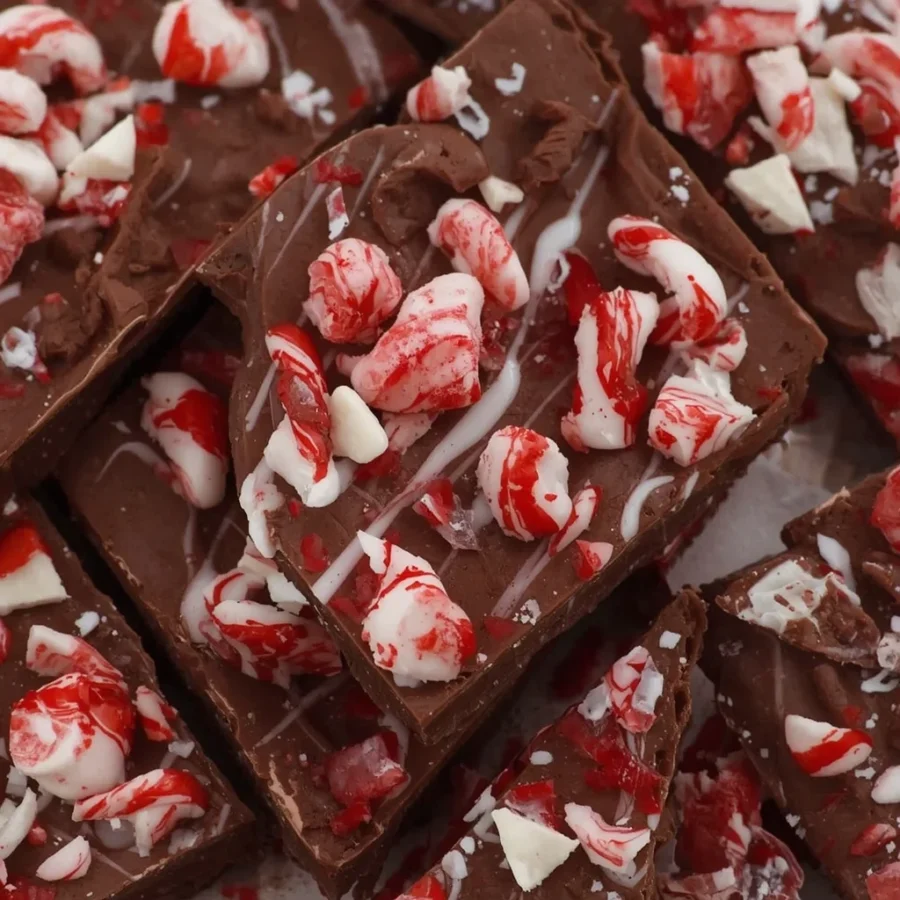
Preparing this classic confection is completely stress-free when you follow a structured approach. Follow these step-by-step instructions to achieve beautiful results every single time.
Step One: Prepare the Peppermint and Tray
Begin by lining a large rimmed baking sheet with a sheet of parchment paper or a silicone baking mat. Place your four to five regular candy canes inside a sealable plastic bag. Press out excess air and zip the bag shut. Using a wooden rolling pin or small mallet, gently tap and roll over the candy canes until they break into a mix of small crunchy fragments and fine peppermint dust. Set the bag aside.
Step Two: Melt the Base Chocolate Layer
Place the three hundred grams of chopped dark or milk chocolate into a heatproof bowl. If using the optional coconut oil, add one-half tablespoon into this bowl to help the chocolate melt smoothly. Heat the bowl in your microwave using short twenty-second to thirty-second intervals, stirring thoroughly with a rubber spatula between each interval. Alternatively, set the bowl over a saucepan filled with an inch of gently simmering water, ensuring the bottom of the bowl does not touch the water. Stir gently until completely melted and glossy. If you wish to boost the minty profile, stir one-quarter teaspoon of peppermint extract into the warm base chocolate.
Step Three: Spread and Add the White Chocolate Swirl
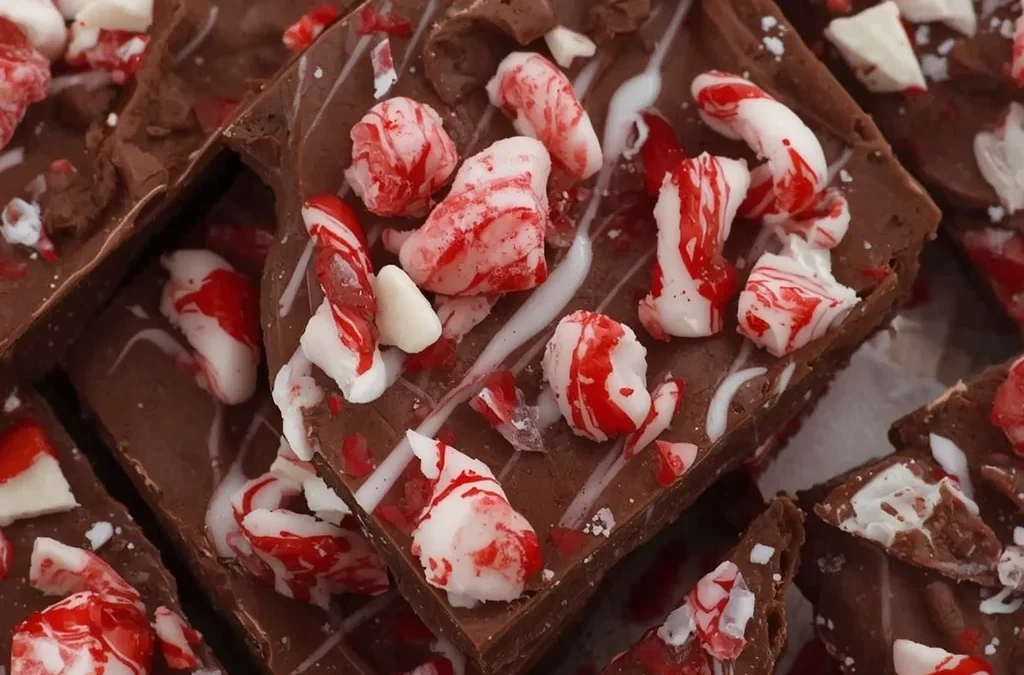
Pour the melted dark or milk chocolate onto the center of your prepared parchment-lined tray. Use an offset spatula or the back of a spoon to spread the chocolate evenly into a rectangle about one-quarter inch thick. Next, melt the two hundred grams of chopped white chocolate in a separate bowl using the same gentle heating method, adding the remaining coconut oil and peppermint extract if desired. Drizzle the warm white chocolate over the dark chocolate layer. Take a wooden toothpick or butter knife and gently drag it through the two layers in swirling motions to create an elegant marbling pattern.
Step Four: Scatter the Crushed Peppermint
While the swirled chocolate is still soft and warm, evenly scatter the crushed peppermint candy cane pieces across the entire surface. Make sure to distribute both the larger crunchy bits and the fine candy dust for a stunning visual effect. Gently press the candy pieces into the soft chocolate surface with the back of a spoon or clean fingertips so they adhere tightly as the mix hardens.
Step Five: Chill, Set, and Snap
Place the baking tray into your refrigerator for thirty to forty-five minutes, or until the chocolate is completely hard and cool to the touch. Once set, lift the parchment paper off the tray and peel it away from the solid chocolate slab. Use your hands to break the bark into irregular, bite-sized pieces. Store the finished pieces in a cool container or wrap them immediately for seasonal gifting.
Creative Variations to Experiment With: Candy cane chocolate bark recipe
While the traditional combination of chocolate and mint is always a crowd-pleaser, you can easily customize this base procedure to create exciting new flavor profiles.
Triple Chocolate Extravaganza
If you are a true cocoa enthusiast, create a three-layered treat. Melt one hundred grams of dark chocolate for the bottom layer, one hundred grams of milk chocolate for the middle layer, and one hundred grams of white chocolate for the top layer. Allow each layer to chill in the refrigerator for ten minutes before pouring the next one over top, then add your crushed peppermint before the final layer sets.
Salty Pretzel Peppermint Crunch
To add a delicious sweet-and-salty contrast, incorporate mini pretzel pieces into your topping. Break one cup of salted mini pretzels into tiny fragments and toss them together with your crushed candy canes before pressing the mixture into the warm white chocolate layer.
Festive Dried Fruit and Nut Blend
For a more sophisticated adult flavor profile, combine your peppermint candy with one-quarter cup of dried cranberries and one-quarter cup of chopped roasted pistachios. The deep red of the cranberries and bright green of the pistachios create a magnificent holiday color scheme while adding delightful chewy and nutty textures.
Cookie Crumble Layer
Transform your candy into a cookie-inspired dessert by crushing six dark chocolate sandwich cookies into coarse crumbs. Sprinkle half of the cookie crumbs directly onto the dark chocolate layer before adding the white chocolate swirl, then finish with the remaining crumbs and crushed candy canes on top.
Pro Tips for Storing and Gifting: Candy cane chocolate bark recipe
-
Temperature management: Keep your completed candy in an airtight container placed in a cool, dry pantry away from direct heat sources. When stored at cool room temperatures, it remains fresh for up to two weeks.
-
Refrigeration needs: If your kitchen tends to be warm, store the container in your refrigerator to prevent the chocolate layers from softening. Place sheets of parchment paper between stacked layers to keep pieces from sticking together.
-
Packaging for gifts: Divide individual pieces into clear cellophane treat bags, securing each bag with decorative holiday ribbon. You can also layer the shards inside festive metal tins lined with colorful wax paper for an elegant homemade gift.
Frequently Asked Questions: Candy cane chocolate bark recipe
Why did my dark and white chocolate layers separate when broken?
Separation usually occurs if the bottom dark layer is allowed to cool completely into a rock-hard slab before the warm white chocolate is poured on top. Pouring your white chocolate while the base layer is still slightly soft allows the two layers to bond smoothly together as they set.
Can I make this dessert without a microwave?
Yes, you can easily melt your ingredients using the double boiler method. Place a heatproof glass or stainless steel bowl over a small saucepan of gently simmering water. Ensure the bowl sits above the water without touching it, and stir continuously until the heat melts the chocolate smoothly.
How do I prevent candy canes from sticking to my teeth?
Crushing your candy canes into smaller fragments and fine peppermint dust rather than large chunks makes the candy much easier to chew. The smaller pieces melt pleasantly in your mouth along with the rich chocolate layers.
What is the best chocolate to use for this recipe?
High-quality baking bars or chocolate chunks contain higher cocoa butter content than standard
baking chips, allowing them to melt much more smoothly and create a glossy finish. However, standard chocolate chips work fine if melted gently with a small amount of coconut oil.
Conclusion: Candy cane chocolate bark recipe
Preparing a rich, festive dessert does not require hours of complicated baking or fancy culinary skills. By combining smooth melted chocolate, creamy white swirls, and the refreshing crunch of peppermint, this
candy cane chocolate bark recipe offers a foolproof way to share seasonal cheer with everyone you love. Its brief preparation time, vibrant presentation, and endless customization options make it an essential staple for holiday entertaining and thoughtful gift-giving. Gather your ingredients, enjoy the simple process of swirling and snapping your own batch today, and delight in every delicious, minty bite throughout the festive season.