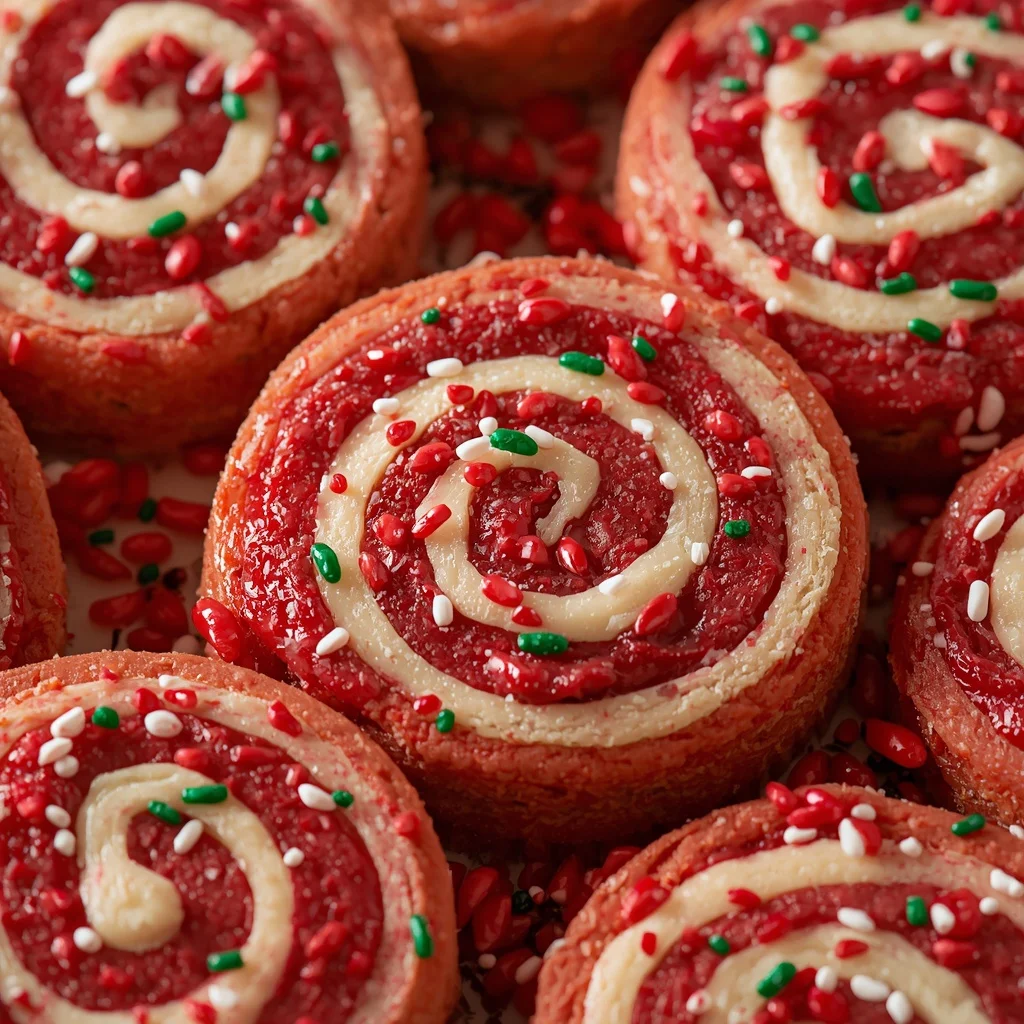
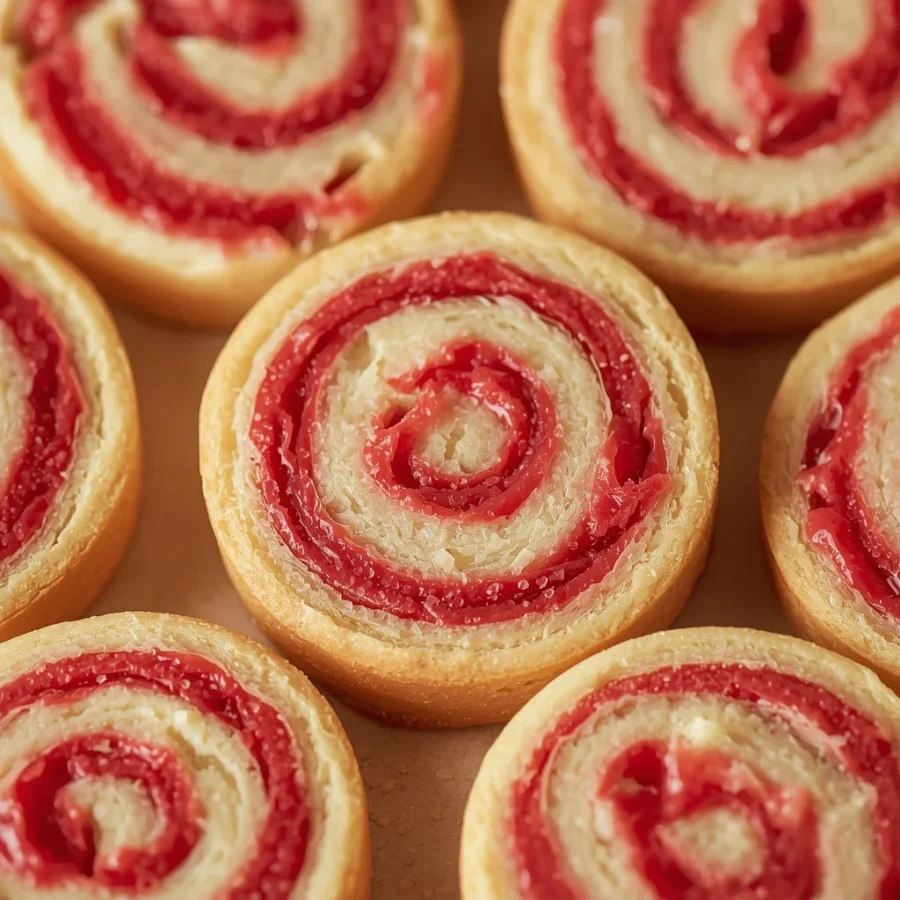
What Is Christmas pinwheel cookies?
Understanding what makes this classic holiday dessert so beloved comes down to its unique dough structure and visual charm. A Christmas pinwheel cookies recipe is essentially an enriched sugar cookie dough that gets divided, colored, layered, rolled into a cylinder, and sliced into delicate round disks before baking.
The Magic of the Spiral Design
Unlike basic sugar cookies that require cookie cutters or elaborate royal icing decorations, these treats get their beautiful pattern directly from the rolling technique. When you slice through the chilled log of layered dough, a perfect tri-color swirl appears in every single slice.
Flavor Profile and Texture
The taste is pure comfort food. The dough relies on sweet cream butter, pure vanilla extract, and simple pantry staples to produce a melt-in-your-mouth tender crumb. It balances a light outer crispness with a soft, rich center.
Origin of Christmas pinwheel cookies
Pinwheel desserts have a fascinating culinary history that traces back to early European baking techniques. European bakers long experimented with icebox or slice-and-bake doughs as a clever way to prepare treats in advance during busy celebration seasons.
Evolution of Icebox Cookies
During the early twentieth century, as home refrigeration became widespread across American households, slice-and-bake cookies exploded in popularity. Homemakers loved that they could roll the dough into logs, store them in the refrigerator, and slice off fresh portions whenever unexpected guests arrived.
The Festive Holiday Transformation
Over time, creative home cooks began tinting portions of basic vanilla dough with food dyes during December. By combining festive red and green layers with natural vanilla dough, the iconic Christmas pinwheel cookies swirl was born, quickly becoming a permanent staple of holiday cookie exchanges across the country.
Ingredients with Quantity: Christmas pinwheel cookies
To achieve the best possible texture and vivid colors for your Christmas pinwheel cookies, precise measurements and fresh, quality ingredients are essential.
Core Dough Base
-
Unsalted Butter: One cup (two hundred twenty-six grams), softened to room temperature.
-
Granulated Sugar: One cup (two hundred grams) of white sugar.
-
Egg: One large egg at room temperature.
-
Vanilla Extract: Two teaspoons of pure vanilla extract for optimal aroma.
Dry Ingredients
-
All-Purpose Flour: Two and three-quarters cups (three hundred forty-five grams), sifted.
-
Baking Powder: One teaspoon of baking powder.
-
Salt: One-half teaspoon of fine table salt.
Color and Decorative Finishes
-
Red Food Coloring: Concentrated red gel food coloring.
-
Green Food Coloring: Concentrated green gel food coloring.
-
Holiday Sprinkles: One-fourth cup of red or green nonpareils or sprinkles (optional decor).
Step by Step Direction and Preparation Method: Christmas pinwheel cookies
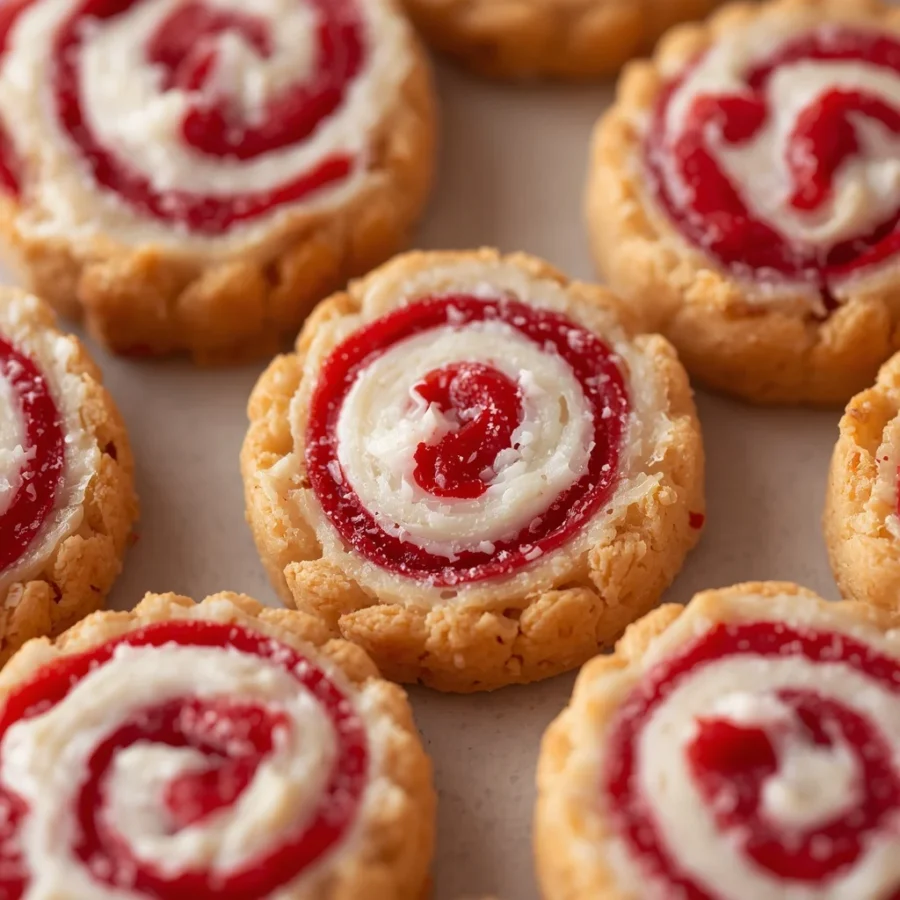
Creating these beautiful holiday swirls requires care and patience, but following a structured approach guarantees perfect results every single time.
Step 1: Creaming the Butter and Sugar Base
Start by placing your softened unsalted butter and white granulated sugar in a large mixing bowl. Beat the mixture on medium speed for two to three minutes until it becomes pale, light, and fluffy. Next, crack in your room temperature egg and pour in the pure vanilla extract. Beat the liquid ingredients for another minute until completely combined and smooth.
Step 2: Combining Dry Ingredients
In a separate medium bowl, whisk together the sifted all-purpose flour, baking powder, and salt. Slowly add the dry flour mixture into your wet butter base while running the mixer on low speed. Mix just until a soft, uniform dough forms. Avoid overmixing the dough at this stage, as overworking flour generates gluten that makes the baked cookies tough rather than tender.
Step 3: Tinting the Individual Dough Portions
Turn the soft dough out onto a clean work surface and divide it into three equal portions. Leave the first portion plain to serve as the natural cream-colored layer. Place the second portion back in a bowl, add a few drops of red gel food coloring, and knead gently until the red shade spreads evenly. Repeat this exact process with the third portion using green gel food coloring until you have three distinct, brightly colored balls of dough.
Step 4: Rolling the Dough Rectangles
Place your plain vanilla dough ball between two sheets of parchment paper. Use a rolling pin to flatten it into a neat rectangle roughly one-fourth inch in thickness. Repeat this rolling process for both the red and green dough portions, ensuring all three rectangles match in size and thickness.
Step 5: Layering and Stacking the Colors
Carefully peel away the top sheets of parchment paper. Gently lay the red dough rectangle flat on your work surface. Lightly drape the plain vanilla dough rectangle directly on top of the red layer. Finally, stack the green dough rectangle over the plain layer. Use a sharp kitchen knife to trim any uneven edges so you are left with a clean, perfectly aligned tri-color block.
Step 6: Rolling into a Tight Log and Chilling
Starting firmly from one long edge of the stacked rectangle, tightly roll the dough layers upward into a dense cylinder log. Take care not to leave air gaps inside the roll. Wrap the finished dough log securely in plastic wrap and place it in the refrigerator for at least one full hour. Chilling hardens the butter, preventing the roll from flattening when you slice it later.
Step 7: Slicing and Baking
Heat your oven to three hundred fifty degrees Fahrenheit. Line two large baking sheets with parchment paper. Retrieve the chilled dough log from the refrigerator and unwrap it. Using a sharp, non-serrated chef knife, slice the cylinder into round disks about one-fourth inch thick. If using sprinkles, roll the outer edge of each round disk in decorative sprinkles before laying them flat on your prepared baking sheets, leaving one inch of space between each round.
Step 8: Baking to Perfection
Place the baking sheets into your preheated oven and bake for ten to twelve minutes. Keep a close eye on the oven during the final minutes; you want the cookies to set firmly while keeping their bright red and green colors intact. Remove them from the oven just as the bottom edges begin turning faint golden brown.
Step 9: Cooling Properly
Allow the freshly baked treats to rest directly on the warm baking sheets for five minutes so they set firm. After five minutes, use a spatula to transfer them onto wire cooling racks to cool completely to room temperature before serving or storing.
Pro Baking Tips for Success: Christmas pinwheel cookies
Achieving picture-perfect swirls requires avoiding common kitchen pitfalls. Keeping dough cold and using proper coloring tools make a world of difference in your final platter.
Gel Colors Versus Liquid Dyes
Always choose gel food coloring over traditional liquid dye drops. Liquid dyes add unwanted moisture that makes soft dough sticky, which ruins the sharp visual contrast between colors. Gel colors deliver deep, vibrant holiday shades without altering dough consistency.
Temperature Control is Everything
If your kitchen feels warm, your dough butter may soften too quickly during rolling. If the dough feels limp or sticky, pop it back into the freezer for ten minutes before continuing. Cold dough holds its round shape during slicing and prevents the colors from bleeding into one another inside the oven.
Creative Variations: Christmas pinwheel cookies
While traditional red, green, and white swirls are the classic choice, you can easily adapt this versatile recipe to fit different holiday themes or dietary preferences.
Chocolate Peppermint Swirls
Replace one-quarter cup of flour in the plain layer with cocoa powder to create a rich chocolate strand. Add a drop of peppermint extract into the red layer to infuse your Christmas pinwheel cookies with a cool, minty flavor profile.
Gluten-Free Adaptation
Substitute the standard all-purpose flour with a high-quality one-to-one gluten-free baking flour blend containing xanthan gum. The dough rolls just as easily and keeps its structure beautifully throughout the baking process.
Citrus Zest Twist
Grate fresh orange or lemon zest directly into the butter mixture during creaming. The bright citrus notes complement the sweet butter flavor and give the festive treats a refreshing flavor boost.
FAQs: Christmas pinwheel cookies
Why did my dough log flatten while I was slicing it?
If your dough roll flattens out under your knife, the dough is likely too warm. Chill the wrapped roll in your freezer for fifteen minutes until very firm, and make sure you use a long, sharp knife without pressing down too hard.
Can I freeze the dough roll ahead of time?
Yes, this dough freezes exceptionally well! Wrap the unbaked dough log tightly in plastic wrap and aluminum foil, then store it in your freezer for up to three months. Slice and bake directly from frozen, adding one to two minutes of extra baking time.
Why did the colors bleed together in the oven?
Color bleeding happens when dough gets too warm before entering the oven or when liquid food dyes add excess water to the mixture. Using gel food colors and keeping your sliced cookies chilled right up until baking prevents this issue completely.
How should I store baked pinwheel cookies?
Store completely cooled cookies in an airtight container at room temperature. Layer them between sheets of parchment paper to prevent sticking. They remain fresh and delicious for up to seven days.
Conclusion: Christmas pinwheel cookies
Mastering a batch of homemade Christmas pinwheel cookies is one of the most rewarding holiday baking projects you can undertake this winter season. Combining buttery vanilla dough with striking festive colors creates a dessert that looks like it came from a professional pastry shop while delivering nostalgic homemade flavor. By using quality gel food coloring, chilling your dough properly, and following these simple layering steps, you can create a showstopping treat that brightens any holiday gathering. Gather your ingredients, invite your loved ones into the kitchen, and enjoy baking these charming holiday spirals that everyone will remember for years to come.
Print
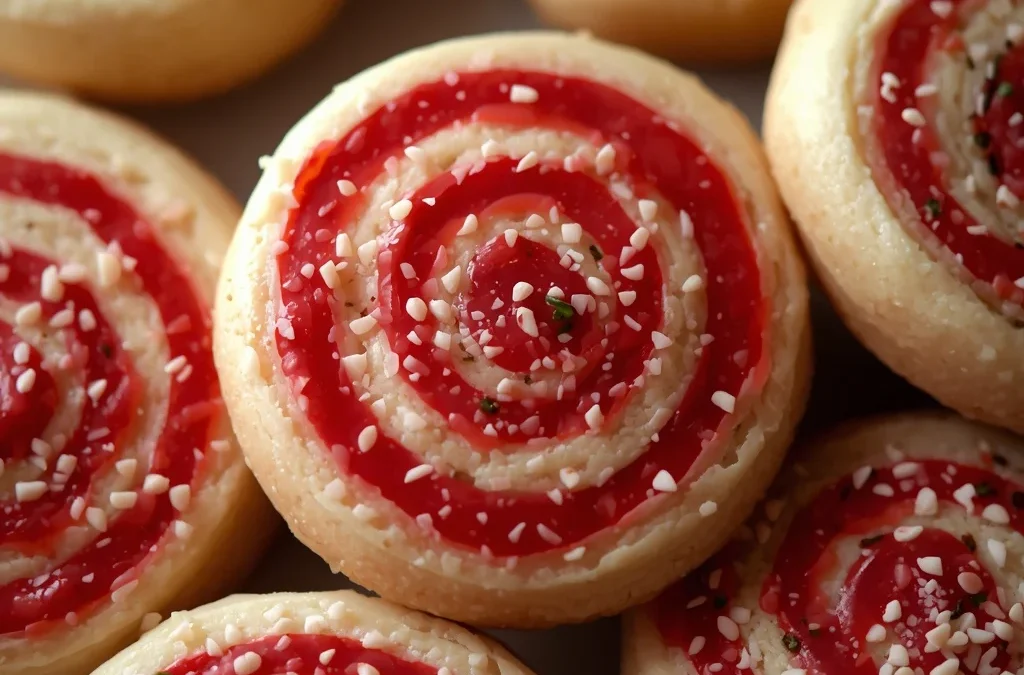
The Ultimate Guide to Baking Festive Christmas Pinwheel Cookies
- Total Time: 1 hour 42 minutes
- Yield: 24–30 cookies 1x
- Diet: Vegetarian
Description
Understanding what makes this classic holiday dessert so beloved comes down to its unique dough structure and visual charm. A Christmas pinwheel cookies recipe is essentially an enriched sugar cookie dough that gets divided, colored, layered, rolled into a cylinder, and sliced into delicate round disks before baking.
Ingredients
Scale
- 1 cup (226 g) unsalted butter, softened
- 1 cup (200 g) granulated sugar
- 1 large egg
- 2 tsp vanilla extract
- 2¾ cups (345 g) all-purpose flour
- 1 tsp baking powder
- ½ tsp salt
- Red gel food coloring
- Green gel food coloring
- ¼ cup red or green sprinkles, optional
Instructions
- Make the dough: Beat the softened butter and sugar until light and fluffy, about 2–3 minutes. Beat in the egg and vanilla.
- Add dry ingredients: Whisk together flour, baking powder, and salt. Gradually mix into the butter mixture until a soft dough forms.
- Divide: Divide the dough into 3 equal portions. Leave one portion plain. Tint one portion red and the other green using gel food coloring.
- Roll: Place each dough portion between sheets of parchment paper and roll into rectangles about ¼ inch thick, keeping all three rectangles similar in size.
- Layer: Carefully stack the colored dough layers, placing the red, plain, and green layers on top of one another. Trim the edges to make a neat rectangle.
- Roll into a log: Starting from one long edge, tightly roll the layers into a cylinder. Wrap in plastic wrap and refrigerate for at least 1 hour, or until firm.
- Slice: Heat oven to 350°F (175°C). Slice the chilled dough log into rounds about ¼ inch thick. Place on parchment-lined baking sheets. Add sprinkles if desired.
- Bake: Bake for 10–12 minutes, until the edges are just beginning to turn golden. Do not overbake.
- Cool: Let cookies cool on the baking sheet for 5 minutes, then transfer to a wire rack to cool completely.
Notes
- Prep Time: 30 minutes
- Cook Time: 12 minutes
- Category: Dessert
- Method: Baking
- Cuisine: American
Nutrition
- Serving Size: 1 cookie
- Calories: ~145 kcal
Keywords: holiday pinwheel cookies, holiday swirl cookies, Christmas spiral cookies, holiday icebox cookies
