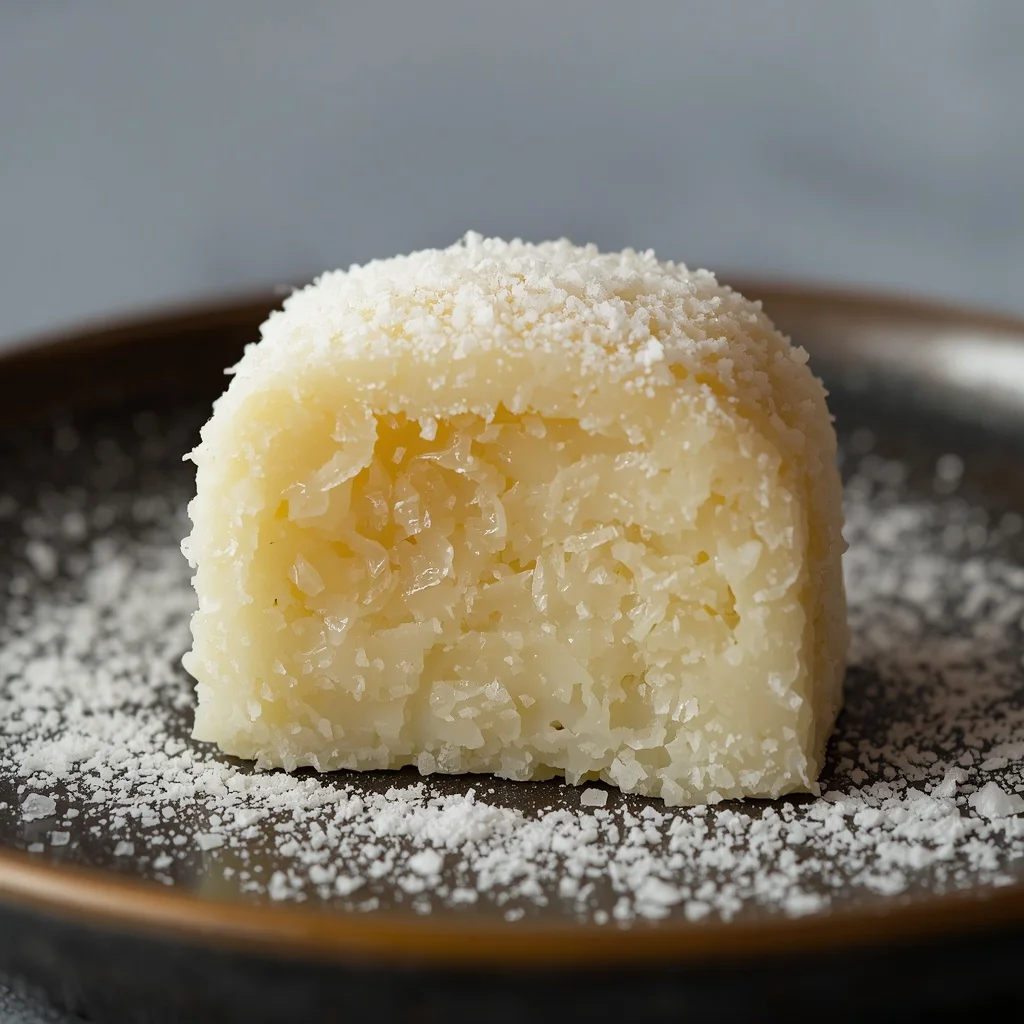
There is something deeply comforting about a home-baked treat that defies standard texture expectations. If you are tired of the same old crumbly pound cakes or dry afternoon breads, it is time to introduce your kitchen to the absolute magic of a homemade butter mochi coconut loaf. This unique baking creation brings together the rich, decadent elements of traditional dairy with the distinctively dense, springy, and satisfying bite that only specific tropical baking methods can provide. Perfect for breakfast, dessert, or an afternoon snack alongside your favorite tea, this dish bridges the gap between classic comfort food and island inspiration.
When you bake a fresh butter mochi coconut loaf, you are choosing an completely original sensory experience. The edges bake up into a crisp, deeply golden crust that carries a rich taste of caramelized sugars and fats, while the absolute center remains soft, custardy, and wonderfully elastic. Achieving this structural contrast does not require professional training, but it does rely on understanding how alternative flours interact with rich liquids. By steering clear of shortcuts and embracing the natural science of these simple elements, you will elevate your dessert game far past the standard recipes found online.
What is That Recipe?
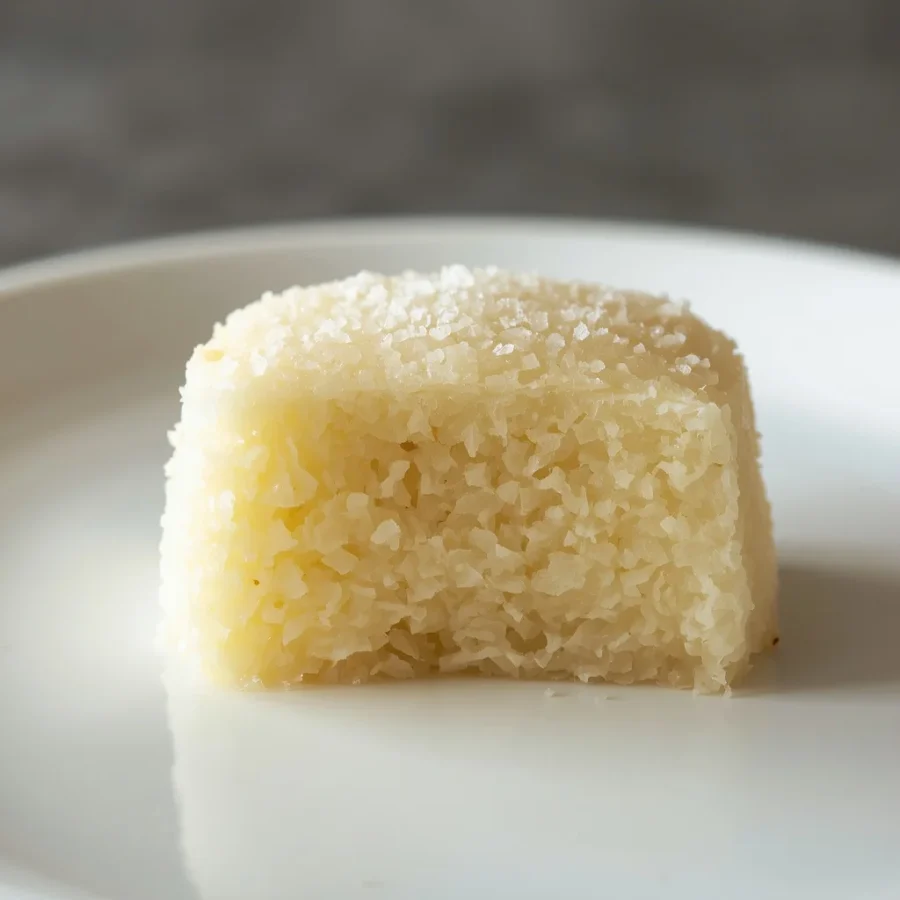
To fully appreciate this modern baking wonder, it helps to understand what sets it apart from standard baked goods. A butter mochi coconut loaf is a gluten-free sweet bread that swaps out traditional wheat flour in favor of short-grain glutinous rice flour. This core choice completely alters the crumb structure, shifting the final product away from a standard airy sponge and moving it into a dense, beautifully unified, and elastic matrix that holds moisture beautifully for days.
The batter is enriched with a combination of liquids, including whole milk, full-fat tropical milk, eggs, and a very generous portion of liquid dairy fat. As the loaf bakes, the starches in the rice flour swell and gelatinize, locking in the rich liquids to create a crumb that is remarkably soft yet structurally resilient. The addition of dried, shredded fruit through the interior provides subtle structural variation, ensuring every single bite feels balanced, rich, and deeply satisfying.
Origin of That Recipe
The Spirit of the Pacific Crossroads
The beautiful story of this sweet loaf is deeply rooted in the cultural melting pot of the Hawaiian Islands. Historically, the concept of processing rice into a sticky, elastic paste traveled across the ocean from East Asian nations, where traditional cakes were created for celebrations, seasonal festivals, and royal ceremonies. However, as these practices integrated into the diverse plantation communities of the Pacific, local bakers began adapting their techniques to incorporate Western styles of baking.
Instead of steaming the rice dough in the traditional East Asian fashion, local cooks combined the flour with local plantation ingredients and baked the entire mixture in standard Western ovens. This cross-cultural adaptation resulted in the beloved regional classic known as local sheet cake.
Modern Evolution Into a Loaf
While the traditional version of this dish is almost always prepared in a large, flat rectangular baking pan and sliced into small square bites, modern home cooks have discovered the distinct advantages of shifting the structure into a classic bread pan. Compacting the rich batter into a deep loaf shape alters the thermodynamics of the baking process.
The depth of the container allows the outer surface to develop a thick, satisfyingly crisp outer shell while protecting the interior core from drying out. This guarantees an even deeper gradient of textures, delivering a heavier, more custardy center that elevates the traditional sheet cake format into a highly sophisticated presentation suitable for any modern dining table.
The Fascinating Science Behind Glutinious Rice Flour
To truly appreciate the texture of your butter mochi coconut loaf, we must examine the physical properties of its primary element. Despite its common commercial name, glutinous rice contains absolute zero traces of gluten. The term refers entirely to the glue-like, highly adhesive quality of the starch profile hidden within the grain.
Standard wheat flour relies on a complex network of proteins to trap gas bubbles and create air pockets. In contrast, sweet rice starch is comprised almost entirely of amylopectin, a highly branched molecule that absorbs hot liquids with incredible efficiency. When subjected to the heat of the oven, these starch molecules create an incredibly stable, highly elastic network that holds its structure without ever becoming tough or rubbery. This ensures that the finished product maintains its characteristically springy, satisfying crumb even after cooling completely.
Ingredients With Quantity: Butter Mochi Coconut Loaf
Achieving a flawless result depends heavily on using the exact proportions of these specific, unrefined ingredients. Because this batter relies on a balance of starches and fats, ensure everything is meticulously measured out at room temperature before you begin mixing.
-
Two full cups of sweet rice flour: Make sure the package specifically denotes mochiko, as regular white or brown rice flour lacks the necessary amylopectin starches and will yield a gritty, fluid mess.
-
One full cup of granulated white sugar: Provides the essential sweetness and aids in creating the beautifully caramelized, crisp golden edges.
-
Two full teaspoons of baking powder: The primary leavening agent that prevents the heavy starch matrix from becoming excessively dense or flat.
-
One quarter teaspoon of fine salt: A crucial flavor enhancer that balances the deep richness of the fats and sugars.
-
Two large whole eggs: Provides structural stability, color, and emulsification for the rich liquid fats.
-
One full cup of whole milk: Adds essential hydration and dairy sweetness to the wet base.
-
One half cup of full-fat coconut milk: Ensure you use the canned variety, shaking it vigorously to combine the thick cream layer before measuring.
-
One half cup of unsalted butter: Melted gently and allowed to cool slightly so it does not cook the raw eggs upon contact.
-
One full teaspoon of pure vanilla extract: Offers a warm, fragrant background note that ties the elements together.
-
One full teaspoon of coconut extract: An optional addition for those who desire a more intense, aromatic tropical profile.
-
One half cup of shredded unsweetened coconut: Mixed directly into the batter to provide delightful structural texture throughout the crumb.
-
Two tablespoons of toasted coconut flakes: Reserved specifically for topping the loaf to provide visual appeal and an extra crunch.
Step by Step Direction and Preparation Method: Butter Mochi Coconut Loaf
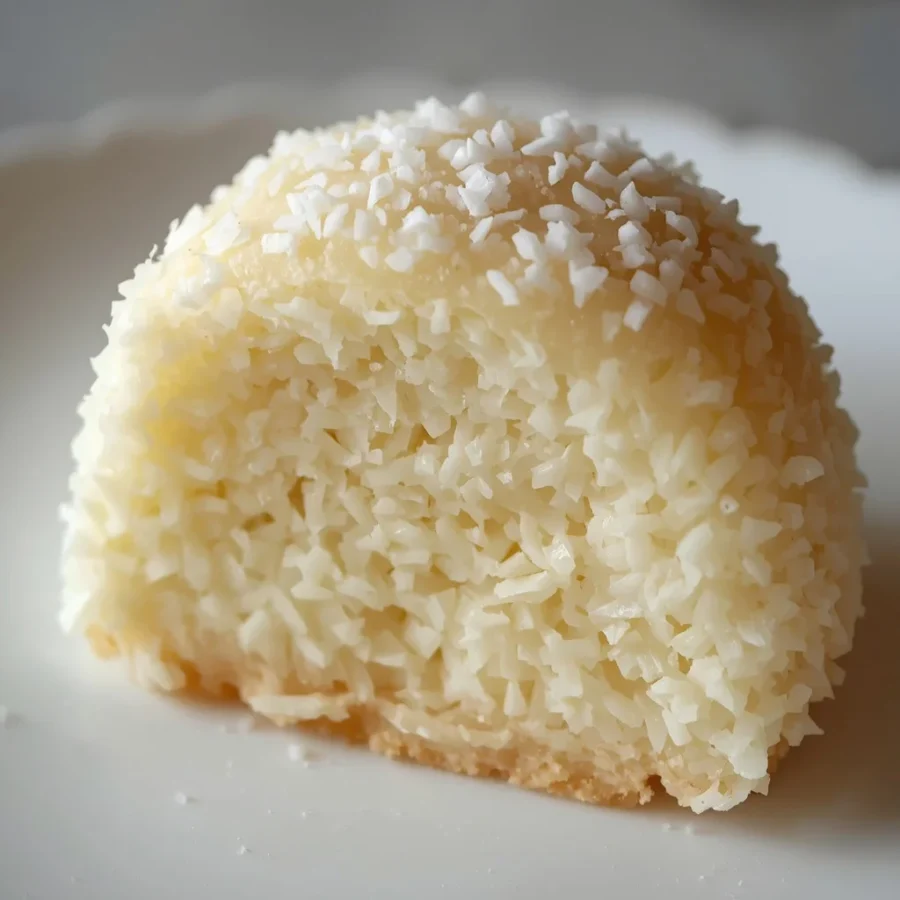
Phase One: Pan Preparation and Dry Ingredient Blending
Setting yourself up for success begins with proper pan preparation. Because the starches in this recipe are incredibly sticky by nature, proper lining is mandatory to ensure a clean release once the baking process is complete.
Phase Two: Wet Emulsification and Batter Integration
Combining the rich fats with the liquids requires a gentle touch to ensure a smooth, lump-free batter that bakes evenly from edge to edge.
Phase Three: The Baking and Cooling Ritual
The final active stage requires patience, as the dense starch matrix takes time to bake through to the absolute center without burning the outer crust.
Visualizing the Perfect Texture: Butter Mochi Coconut Loaf
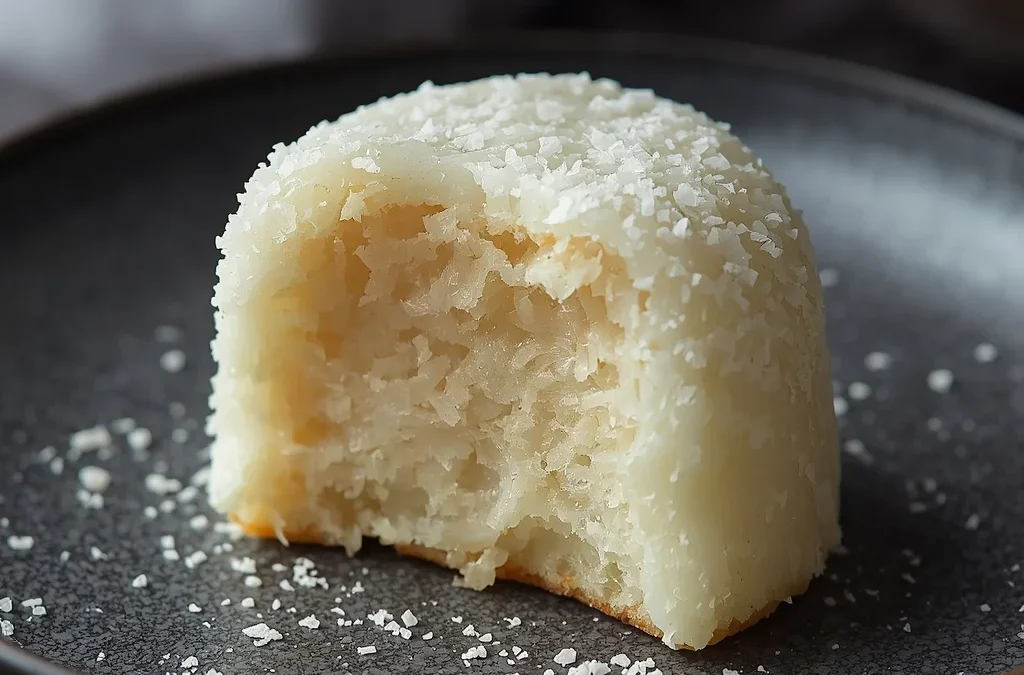
When your butter mochi coconut loaf has cooled completely, slicing into it should reveal a distinct visual gradient that showcases the success of your baking technique.
As you look closely at a cleanly cut slice, notice how the interior lacks the traditional dry, crumbly holes of a standard flour cake. Instead, it should present a uniform, semi-translucent, and glossy appearance that speaks directly to the beautifully gelatinized starches. The top and side crusts should stand out as a deeper, matte golden brown, providing a distinct frame that promises a wonderful textural contrast with every single bite.
Pro Tips for Ultimate Baking Success: Butter Mochi Coconut Loaf
-
Prioritize the Flour Type: Never substitute regular white rice flour for sweet rice flour; the two carry completely different molecular starch characteristics. Standard rice flour will yield a grainy, separate texture that feels dry and unappealing.
-
Embrace the Complete Cool Down: Resist every single urge to slice into the hot loaf right out of the oven. While a traditional cake can be enjoyed warm, this starch-based bread requires a full cool-down period to allow the internal structure to set into its signature texture. Slicing too early will result in a sticky knife and a collapsed center.
-
The Microwave Magic Trick: If you prefer your snacks to have an ultra-soft, freshly baked feel on the second or third day, simply place a single slice onto a plate and heat it in the microwave for ten to fifteen seconds. The brief application of heat instantly softens the starches, restoring the loaf to its original state.
-
Maintain the Clean Cut: When you are ready to serve, use a long, exceptionally sharp chef’s knife rather than a serrated bread knife. Wipe the blade clean with a damp paper towel between each individual cut to ensure beautiful, smooth slices that present perfectly on your serving platters.
Creative Variations to Explore: Butter Mochi Coconut Loaf
Once you have mastered the foundational version of this tropical loaf, you can begin experimenting with delightful additions to customize the flavor profile to your personal preferences.
The Tropical Fruit Swirl
If you want to enhance the refreshing, bright qualities of the bread, try introducing elements from the tropical orchard:
-
The Fresh Mango Fold: Dice half a cup of ripe, firm fresh mango into tiny pieces and toss them lightly in a spoonful of rice flour before folding them into the batter. The pockets of hot, juicy fruit cut through the buttery starch matrix beautifully.
-
The Passionfruit Glaze: Whisk together half a cup of powdered sugar with a single tablespoon of fresh passionfruit juice. Drizzle this tart, vibrant glaze over the fully cooled loaf to add a striking visual appeal and an extra punch of bright acidity.
Indulgent Sweet Additions
For those who want to pivot this versatile bread into a decadent evening dessert, consider incorporating richer elements:
-
The Dark Chocolate Flake: Fold one half cup of high-quality dark chocolate chunks into the batter alongside the shredded fruit flakes. The bitterness of the dark cacao provides a brilliant contrast to the sweet coconut base.
-
The Salted Caramel Drizzle: Warm up a clean slice of the bread and finish it with a generous drizzle of homemade salted caramel sauce and a tiny pinch of flaky sea salt right before serving to guests.
Frequently Asked Questions: Butter Mochi Coconut Loaf
Why did the center of my loaf sink completely during the cooling phase?
This common issue usually points back to one of two factors: inaccurate leavening measurements or an incomplete bake. If you accidentally add too much baking powder, the batter will expand too rapidly in the hot oven, creating weak structural walls that inevitably collapse as the ambient air cools down. Alternatively, if you remove the pan from the oven before the internal starches have fully set, the heavy liquid center will sink under its own weight. Always trust the toothpick test before turning off your oven.
How should I store my leftovers to keep them from drying out?
Because this loaf carries a remarkably high moisture content thanks to the unique properties of sweet rice flour, it stores incredibly well. Keep your leftovers wrapped tightly in plastic wrap or sealed inside an airtight storage container. You can leave the container sitting on your kitchen counter at room temperature for up to three days. For longer storage, keep it in the refrigerator for up to one full week, making sure to warm individual slices slightly before eating to restore that signature elasticity.
Can I substitute the whole milk with a dairy-free alternative?
You can easily transition this recipe into a completely dairy-free treat by swapping the whole milk for an equal volume of plain unsweetened almond milk, oat milk, or additional light canned milk. You will also need to swap out the melted unsalted butter for an equal quantity of melted refined coconut oil. The resulting loaf will carry an even more pronounced tropical aroma while maintaining that beautiful texture you love.
Why does my crust feel exceptionally tough rather than crisp?
A tough outer shell is usually the direct result of over-baking or placing the pan too close to the top heating element of your oven. If your oven runs slightly hot, the exterior sugars will caramelize and harden into a rigid wall long before the thick center has a chance to set through. If you notice the top browning too rapidly during the first thirty minutes of the process, simply tent a piece of aluminum foil loosely over the pan to protect the surface while the center finishes cooking.
Conclusion: Butter Mochi Coconut Loaf
Baking a flawless butter mochi coconut loaf is a delightful journey that showcases how shifting away from traditional wheat flour can unlock an absolute wonderland of unique culinary textures. By combining the natural elastic power of sweet rice flour with the deep, comforting richness of butter and tropical milk, you can easily create a sophisticated sweet bread that stands out on any dessert table. As long as you respect the specific requirements of the starches, give the batter ample time to cook through to the center, and allow the finished product to cool completely before slicing, you will consistently produce a magnificent treat that keeps its soft, satisfying quality for days. Gather your simple ingredients, prep your baking space with care, and enjoy introducing your family to this beautiful, timeless Pacific tradition right from your own home oven.
The Ultimate Guide to Perfect Butter Mochi Coconut Loaf
- Total Time: 1 hour 15 minutes
- Yield: 10 slices 1x
- Diet: Vegetarian
Description
To fully appreciate this modern baking wonder, it helps to understand what sets it apart from standard baked goods. A butter mochi coconut loaf is a gluten-free sweet bread that swaps out traditional wheat flour in favor of short-grain glutinous rice flour. This core choice completely alters the crumb structure, shifting the final product away from a standard airy sponge and moving it into a dense, beautifully unified, and elastic matrix that holds moisture beautifully for days.
Ingredients
- 2 cups (320 g) sweet rice flour (mochiko)
- 1 cup (200 g) granulated sugar
- 2 tsp baking powder
- ¼ tsp salt
- 2 large eggs
- 1 cup (240 ml) whole milk
- ½ cup (120 ml) full-fat coconut milk
- ½ cup (115 g) unsalted butter, melted
- 1 tsp vanilla extract
- 1 tsp coconut extract (optional)
- ½ cup (40 g) shredded unsweetened coconut
- 2 tbsp toasted coconut flakes (for topping, optional)
Instructions
- Preheat the oven to 350°F (175°C). Grease and line a 9×5-inch loaf pan with parchment paper.
- In a large bowl, whisk together the sweet rice flour, sugar, baking powder, and salt.
- In another bowl, whisk the eggs, milk, coconut milk, melted butter, vanilla, and coconut extract until smooth.
- Pour the wet ingredients into the dry ingredients and whisk until no lumps remain.
- Fold in the shredded coconut.
- Pour the batter into the prepared loaf pan and sprinkle the toasted coconut flakes over the top, if using.
- Bake for 55–65 minutes, or until the top is golden brown and a toothpick inserted near the center comes out mostly clean.
- Cool in the pan for 15 minutes, then transfer to a wire rack to cool completely.
- Slice with a sharp knife once fully cooled for the best chewy texture.
Notes
- Prep Time: 15 minutes
- Cook Time: 60 minutes
- Category: Dessert
- Method: Baking
- Cuisine: Hawaiian
Nutrition
- Serving Size: 1 slice
- Calories: 290 kcal
Keywords: Hawaiian butter mochi bread, sweet rice flour coconut cake, chewy mochi loaf cake, tropical glutinous rice flour dessert.
