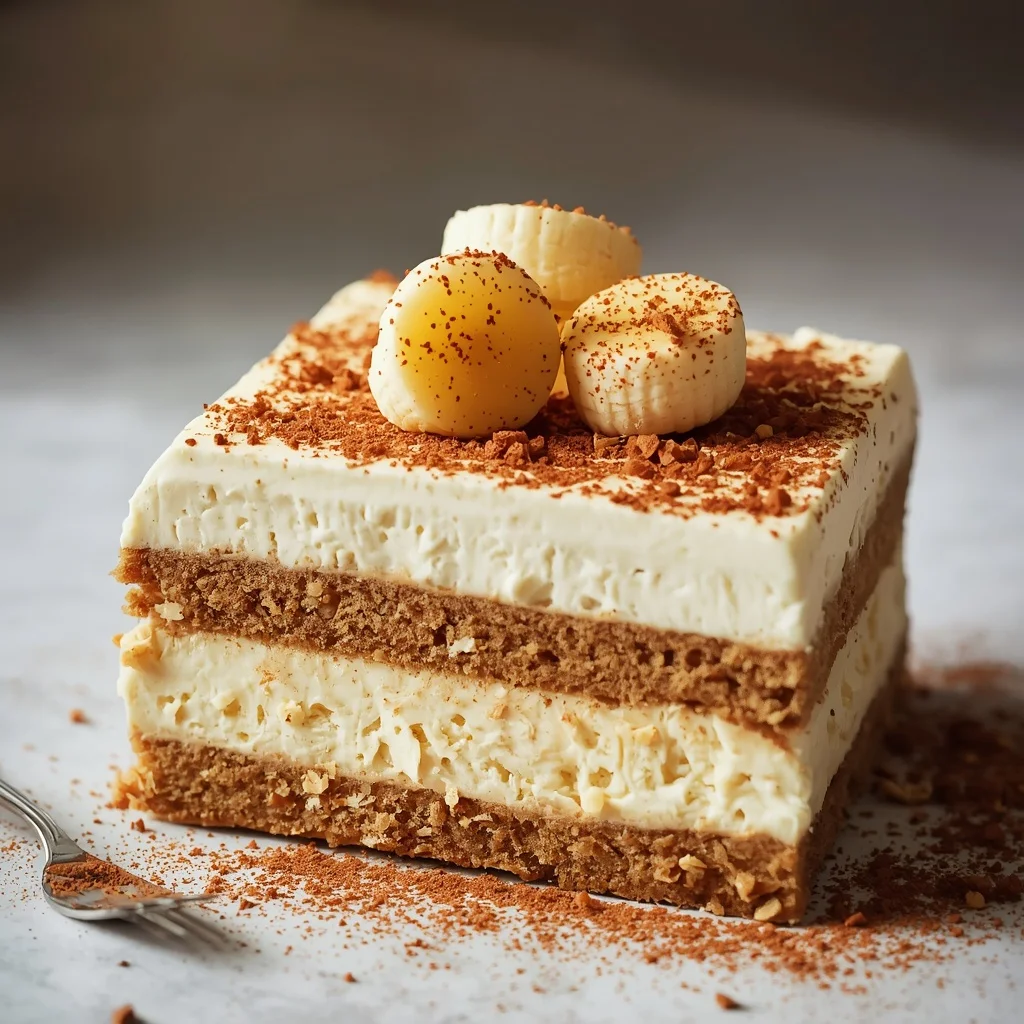
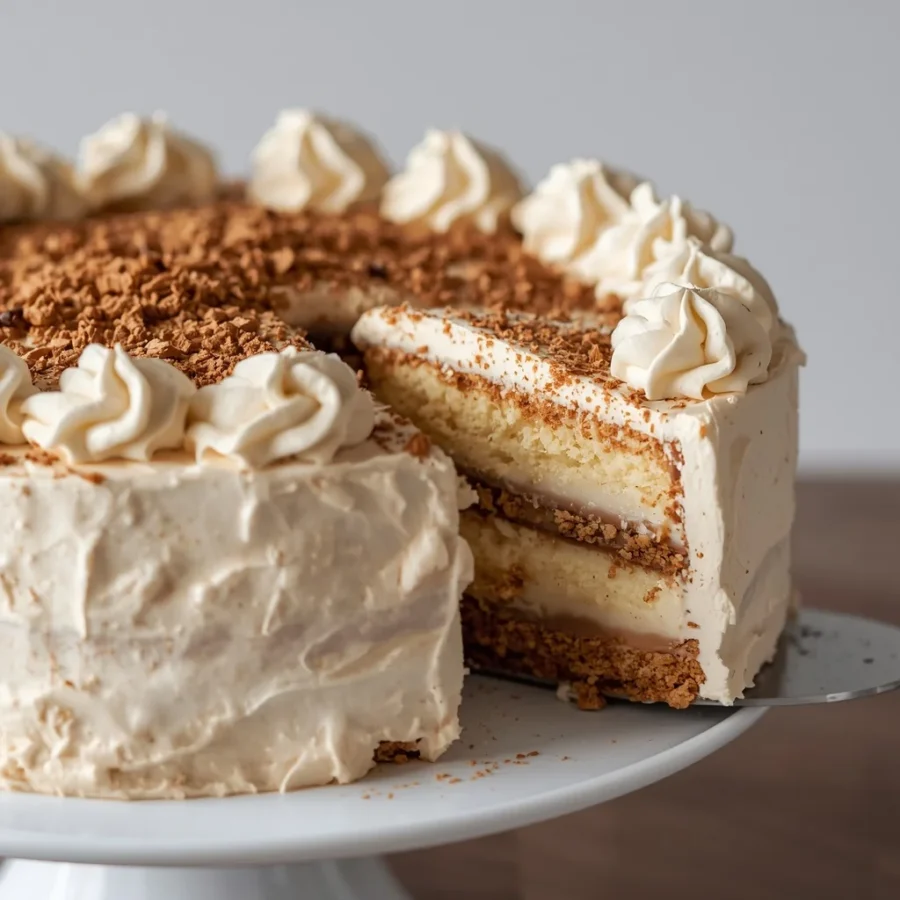
What Is That Banoffee Icebox Cake Recipe?
To understand why this dessert tastes so incredible, it helps to look at how two classic sweet concepts merge into one dish. A Banoffee icebox cake combines the classic pairing of banana and toffee with the lazy charm of an icebox dessert.
At its heart, an icebox cake is a traditional refrigerator dessert made by layering crunchy biscuits, cookies, or graham crackers with moist fillings such as whipped cream, custard, or caramel. As the assembled dessert rests quietly in the cold refrigerator for several hours, a marvelous culinary transformation takes place. The crispy biscuit layers gently absorb moisture from the surrounding whipped cream and caramel sauce. The once-crunchy biscuits transform into a soft, tender, cake-like texture that mimics cooked sponge cake layers without needing any actual baking.
When you marry that effortless chilling concept with sweet, creamy banana and thick caramel sauce, you create an astonishing Banoffee icebox cake that balances buttery, salty, sweet, and fruit flavors in every single bite.
Origin of That Famous Banoffee Recipe Concept
The iconic flavor profile behind the Banoffee icebox cake traces its lineage directly back to England in the early nineteen seventies. The original banoffee pie was invented by chef Nigel Mackenzie and owner Ian Dowding at the The Hungry Monk restaurant in Jevington, East Sussex. They experimented by combining an American recipe for coffee toffee pie with fresh fruit slices. After testing several fruits including apples and oranges, they tried fresh bananas and realized they had stumbled upon pure magic. The name was coined as a blend of banana and toffee, quickly becoming a global sensation.
Meanwhile, across the Atlantic Ocean in North America, the icebox cake was gaining massive popularity during the nineteen twenties and nineteen thirties. As electric refrigerators—then called iceboxes—became common household appliances, commercial cookie manufacturers printed simple refrigerator cake recipes on the backs of cracker and wafer boxes. Home cooks loved how effortlessly they could assemble impressive desserts using premade biscuits and chilled heavy cream.
This recipe brings those two iconic culinary histories together into one glorious modern fusion. By taking the signature British flavor combination of banana and caramel and applying the classic American icebox technique, you get a quick, modern dessert that pays homage to decades of baking tradition.
Essential Ingredients with Exact Quantities
Creating the perfect Banoffee icebox cake requires simple, high-quality ingredients that harmonize seamlessly. Here is everything you need to gather before assembling your dish:
Base and Layer Ingredients
-
Two hundred fifty grams of digestive biscuits or graham crackers: These provide the sturdy, nutty, buttery foundation for the cake.
-
One hundred grams of melted butter: Used to bind the crushed biscuit crumbs into a stable, sliceable base.
-
Four hundred to four hundred fifty grams of dulce de leche or thick caramel sauce: Rich, golden caramel provides the deep, decadent sweetness essential for authentic banoffee flavor.
-
Three to four ripe bananas: Sliced uniformly to create sweet, fruity internal layers.
-
Five hundred milliliters of cold heavy whipping cream: Chilled heavy cream whipped fresh gives the dessert its luxurious structure.
-
Three tablespoons of powdered sugar: Just enough to lightly sweeten the whipped cream without making the dessert cloying.
-
One teaspoon of vanilla extract: Elevates the flavor profile of the whipped cream with aromatic depth.
Topping and Garnishing Ingredients
-
One fresh banana: Sliced right before serving to create a picture-perfect top finish.
-
Two to three tablespoons of rich caramel sauce: Drizzled artfully over the finished top layer.
-
Thirty to forty grams of grated dark chocolate or chocolate shavings: Adds a sophisticated bitter contrast that balances the rich sweetness of the caramel.
Step-By-Step Direction and Preparation Method: Banoffee icebox cake
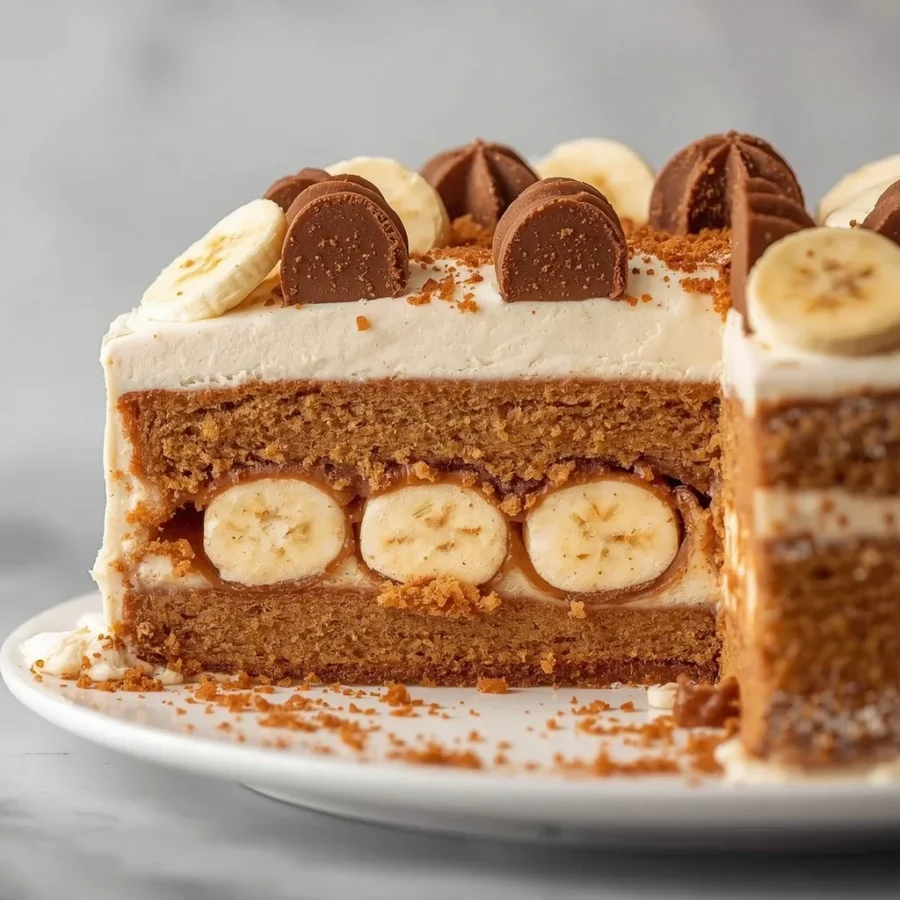
Follow these precise instructions to construct your homemade Banoffee icebox cake from start to finish.
Step One: Make the Golden Biscuit Base
Begin by taking two hundred fifty grams of digestive biscuits or graham crackers and crushing them into fine, uniform crumbs. You can accomplish this quickly using a food processor, or simply place the biscuits inside a sealed plastic bag and roll over them firmly with a rolling pin. Transfer the crushed crumbs into a medium bowl and pour in one hundred grams of melted butter. Stir thoroughly using a spatula until all the crumbs are evenly coated and resemble wet sand. Take approximately half of this buttered biscuit mixture and press it firmly and evenly into the bottom of a lined eight-inch square dish. Use the flat bottom of a measuring cup or glass to compact the base evenly.
Step Two: Prepare the Fluffy Whipped Cream
Pour five hundred milliliters of very cold heavy whipping cream into a large, chilled mixing bowl. Add three tablespoons of powdered sugar alongside one teaspoon of pure vanilla extract. Using a hand mixer or stand mixer fitted with a whisk attachment, whip the cream on medium speed until soft-to-medium peaks form. Be extremely careful not to overwhip the mixture into stiff peaks, as overwhipped cream can turn grainy or separate into butter while chilling. The goal is a smooth, velvety texture that holds its shape gently.
Step Three: Build the First Dessert Layers
Take your prepared dish with the compacted biscuit foundation. Carefully spread half of your four hundred to four hundred fifty grams of thick dulce de leche or caramel sauce across the biscuit layer using an offset spatula or the back of a spoon. Next, arrange sliced fresh bananas in an even single layer directly over the rich caramel. Top the fresh banana layer with half of your freshly whipped cream, spreading it gently so you do not disturb the banana slices underneath.
Step Four: Repeat the Layering Process
Repeat the entire sequence to build your second tier. Sprinkle the remaining buttered biscuit mixture evenly over the whipped cream layer. Carefully spoon and smooth the remaining caramel sauce over the crumbs. Add another full layer of sliced bananas across the caramel, and finally, top the dish with the rest of the whipped cream. Use your spatula to smooth the top cream layer completely flat for a clean appearance.
Step Five: Chill for Optimal Texture
Cover the square baking dish securely with plastic wrap or foil, taking care that the cover does not touch the smooth whipped cream top. Place the dish directly into your refrigerator to chill for at least six hours, though letting it rest overnight is ideal. This essential chilling period allows the biscuit crumbs to absorb moisture from the cream, softening them into a cohesive, cake-like texture while firming up the caramel.
Step Six: Decorate and Serve Fresh
Just before you are ready to cut and serve your chilled Banoffee icebox cake, peel and slice your remaining garnish banana. Arrange the fresh slices neatly over the top whipped cream layer. Warm two to three tablespoons of caramel sauce slightly so it flows easily, then drizzle it elegantly over the top. Finish by sprinkling thirty to forty grams of freshly grated dark chocolate or dark chocolate shavings over the entire cake. Slice into square portions using a sharp knife dipped in warm water and served cold.
Delicious Variations to Try: Banoffee icebox cake
While the classic recipe delivers pure perfection, you can easily tweak this versatile Banoffee icebox cake to suit different dietary preferences or flavor cravings:
-
Espresso Banoffee Twist: Dust a pinch of instant espresso powder or cocoa powder into the heavy cream while whipping. Coffee notes naturally complement both banana and caramel, offering a subtle mocha touch.
-
Toasted Nut Crust: Substitute twenty percent of the crushed digestive biscuit weight with finely chopped, toasted pecans, walnuts, or hazelnuts. This adds a wonderful nutty aroma and subtle crunch.
-
Salted Caramel Delight: Sprinkle a generous pinch of flaky sea salt directly onto the caramel layers. The salt cuts through the heavy sweetness and brightens the overall flavor profile.
-
Chocolate Chip Crumble: Fold half a cup of mini dark chocolate chips directly into the whipped cream layers for extra texture and rich chocolate pops in every bite.
-
Gluten-Free Alternative: Simply swap standard digestive biscuits or graham crackers for your favorite certified gluten-free biscuit brand without changing any other part of the process.
Top Professional Tips for Success
-
Select the Right Bananas: Use bananas that are completely yellow and firm to the touch. Avoid underripe green bananas as they lack sweetness, and stay away from overripe, bruised bananas which become excessively soft and release too much liquid during chilling.
-
Refrigeration Is Key: Never rush the chilling process. Giving the cake at least six full hours—or ideally a full overnight rest—guarantees clean, beautiful slices that hold their shape on a plate.
-
Prevent Fruit Browning: Always save the final top garnish of fresh banana slices until immediately before serving. This ensures your top presentation looks vibrant, fresh, and inviting.
-
Balance Sweetness Carefully: If you choose an exceptionally sweet, commercial dulce de leche, keep the sugar in your whipped cream minimal so the overall cake remains refreshing rather than overly sweet.
Frequently Asked Questions: Banoffee icebox cake
Can I make this dessert a day in advance?
Yes, this cake is actually better when made a day in advance. Preparing the cake twenty-four hours ahead gives the biscuit layers ample time to absorb cream moisture and soften into a true cake texture. Just hold off on adding the top banana garnishes until right before serving.
What is the best way to store leftovers?
Store any remaining slices in an airtight container in the refrigerator for up to three days. Note that after forty-eight hours, the internal banana slices may begin to soften slightly and brown due to natural oxidation, though the cake will remain completely safe and delicious to eat.
Can I freeze a Banoffee icebox cake?
While you can technically freeze this dessert, fresh banana slices do not thaw well; they tend to turn watery and mushy upon defrosting. It is strongly recommended to enjoy this cake fresh from the refrigerator rather than freezing it.
What can I use if I cannot find dulce de leche?
If thick dulce de leche is unavailable at your local supermarket, you can easily substitute heavy dark caramel sauce, or make your own by gently simmering a sealed can of sweetened condensed milk completely submerged in boiling water for three hours.
Conclusion: Banoffee icebox cake
This glorious Banoffee icebox cake stands out as one of the most rewarding, hassle-free desserts you can make at home. By layering crispy biscuit crumbs, velvety caramel sauce, fresh ripe bananas, and soft whipped cream, you create a complex, melt-in-your-mouth treat without ever lighting your oven. It offers all the rich, indulgence of a complex baker’s masterpiece with the simple convenience of a chilled refrigerator recipe. Gather your basic ingredients, follow these straightforward assembly steps, and give the cake time to set in the fridge. Once you cut into those beautiful, distinct layers, this recipe is guaranteed to become a permanent favorite for weeknight family treats and formal dinner parties alike.
Print
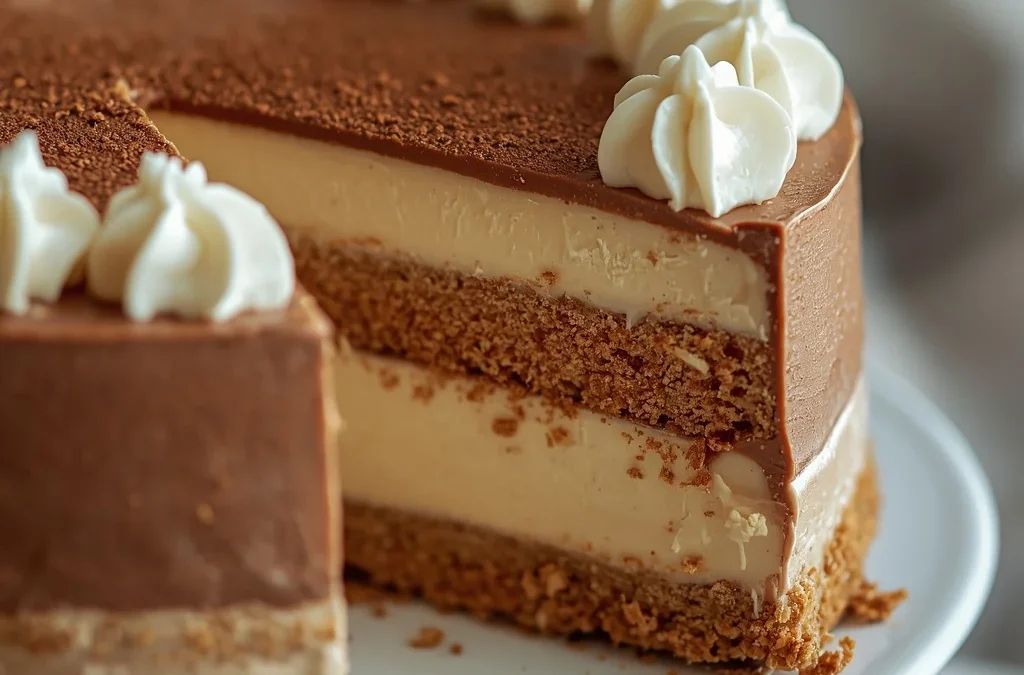
The Ultimate Banoffee Icebox Cake Recipe: A Effortless No-Bake Treat
- Total Time: 6 hours 25 minutes
- Yield: 8–10 servings 1x
- Diet: Vegetarian
Description
To understand why this dessert tastes so incredible, it helps to look at how two classic sweet concepts merge into one dish. A Banoffee icebox cake combines the classic pairing of banana and toffee with the lazy charm of an icebox dessert.
Ingredients
Scale
For the cake:
- 250 g digestive biscuits or graham crackers
- 100 g melted butter
- 400–450 g dulce de leche or thick caramel sauce
- 3–4 ripe bananas, sliced
- 500 ml cold heavy whipping cream
- 3 tbsp powdered sugar
- 1 tsp vanilla extract
For topping:
- 1 banana, sliced
- 2–3 tbsp caramel sauce
- 30–40 g grated dark chocolate or chocolate shavings
Instructions
- Make the biscuit layer
Crush the digestive biscuits into fine crumbs. Mix with melted butter until evenly combined. Press about half of the mixture firmly into the bottom of a lined 8-inch (20-cm) square dish. - Prepare the cream
Whip the cold heavy cream with powdered sugar and vanilla until soft-to-medium peaks form. Don’t overwhip. - Layer the cake
Spread half of the dulce de leche over the biscuit base. Add a layer of sliced bananas, followed by half of the whipped cream. - Repeat
Add the remaining biscuit mixture, caramel, bananas, and whipped cream in layers. Smooth the top. - Chill
Cover and refrigerate for at least 6 hours, preferably overnight. This allows the biscuits to soften and the layers to set. - Decorate and serve
Just before serving, arrange banana slices on top. Drizzle with caramel sauce and sprinkle with chocolate shavings.
Notes
- Prep Time: 25 minutes
- Cook Time: 0 minutes
- Category: Dessert
- Method: No-Bake
- Cuisine: British
Nutrition
- Serving Size: 1 slice
- Calories: ~480 kcal
Keywords: no bake banoffee cake, layered banana caramel cake, refrigerator banoffee pie
