There is a specific kind of magic that happens when you realize you are only two minutes away from a warm, chocolatey dessert. We have all been there—it is late at night, you are craving something sweet, but the thought of preheating the oven, measuring out flour, and washing a dozen bowls feels like an impossible mountain to climb. This is exactly where the Oreo mug cake comes to the rescue. It is the definition of modern convenience meeting classic comfort food. By using America’s favorite sandwich cookie as the base, you bypass the need for traditional baking ingredients while achieving a texture that is surprisingly light and decadent.
The beauty of this recipe lies in its simplicity. It is an approachable, foolproof method that allows even the most novice of cooks to create a single-serving masterpiece. Because the cookies already contain the perfect balance of cocoa, sugar, and fats, they act as a pre-mixed dry base. All you need to do is add a little moisture and a tiny bit of leavening to transform a crunchy snack into a moist, steaming cake.
What is an Oreo Mug Cake?
If you are unfamiliar with the concept, an Oreo mug cake is essentially a “hack” or a simplified baking method that uses crushed sandwich cookies and milk to create a sponge-like cake texture inside a microwave-safe ceramic mug. Unlike traditional cakes that require eggs, butter, and flour, this version relies on the starch and fats already present in the cookies.
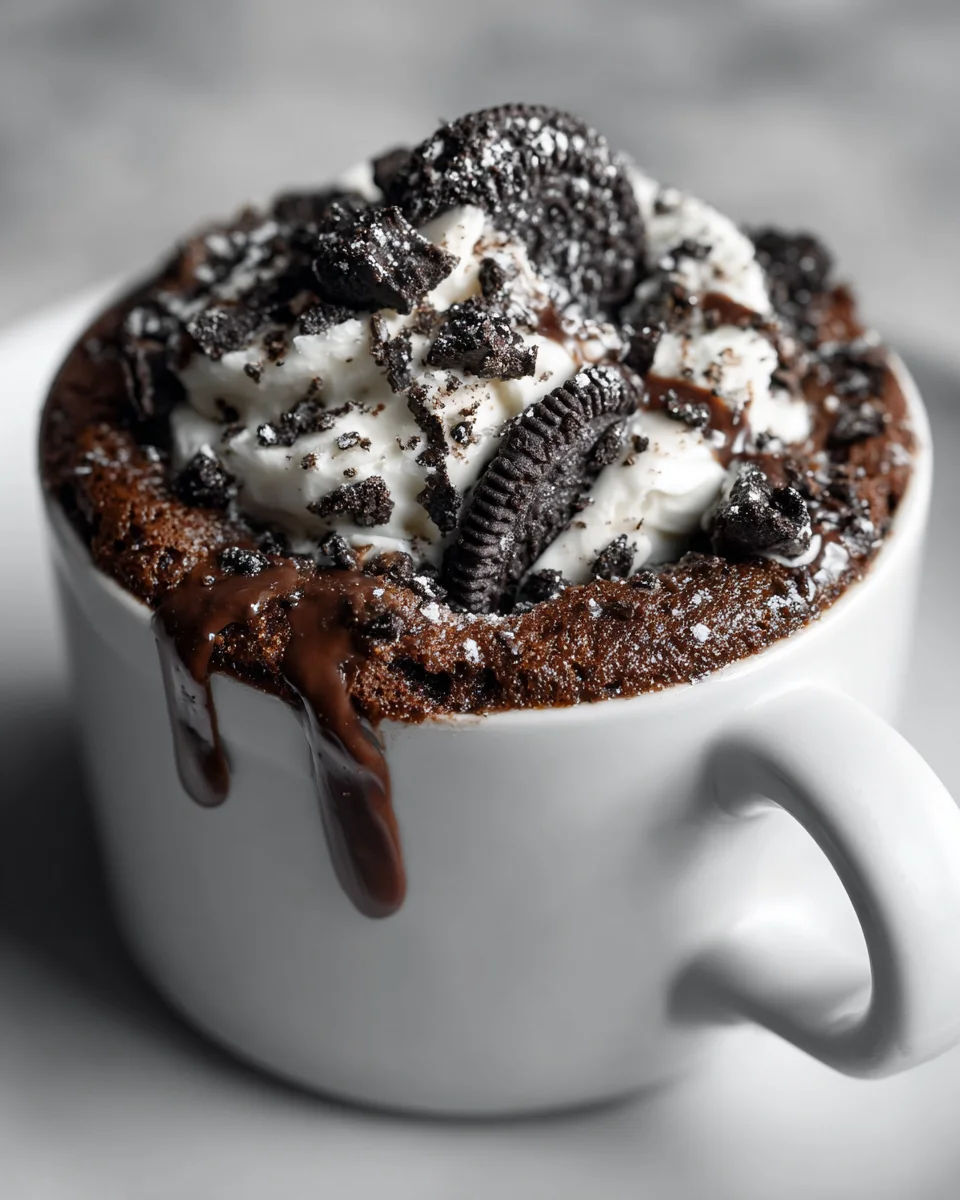
When you soak the cookies in milk and crush them down, the cream filling and the chocolate wafers meld together into a thick batter. When exposed to the high heat of a microwave, the moisture evaporates and the air bubbles expand, causing the mixture to rise. The result is a warm, soft, and intensely chocolatey dessert that tastes remarkably like a gourmet molten lava cake but requires a fraction of the effort. It has become a viral sensation on social media platforms because it is accessible, affordable, and consistently delicious.
The Origin of the Mug Cake Phenomenon
The history of the mug cake is closely tied to the evolution of the microwave oven and the rise of single-person households. While the microwave became a kitchen staple in the late twentieth century, it was originally viewed as a tool for reheating leftovers or popping popcorn. It wasn’t until the early two thousands that creative home cooks began experimenting with “instant” desserts.
The specific Oreo mug cake variation gained massive popularity during the early twenty twenties. As people spent more time at home, they looked for ways to make treats using only what was available in their pantry. The discovery that a sandwich cookie could be pulverized into a functional cake batter changed the game for late-night snackers everywhere. It took a childhood staple and turned it into a sophisticated, warm dessert that felt more special than just eating cookies out of a sleeve.
Essential Ingredients and Precise Quantities
One of the best things about this recipe is that you likely already have everything you need in your kitchen. While the base recipe only requires two items, a couple of small additions can take the texture from good to professional.
The Foundation
-
Four to five Oreo cookies: This is the standard amount for a medium-sized mug. If you have a very large oversized mug, you might want to increase this to six cookies.
-
One quarter cup of milk: You can use whole milk for the richest flavor, but two percent, skim, or even non-dairy alternatives like almond or oat milk work perfectly fine.
Optional Enhancements
-
One quarter teaspoon of baking powder: While not strictly necessary, adding this small amount ensures a much fluffier, lighter rise. Without it, the cake will be denser and more like a brownie.
-
One tablespoon of sugar: Most people find the cookies plenty sweet on their own, but if you have an intense sweet tooth, adding a little granulated sugar will give it that extra punch.
Step by Step Direction and Preparation Method

To get the best results, the order in which you combine the ingredients and how thoroughly you mix them is vital. Follow these steps to ensure your Oreo mug cake is perfectly balanced and avoids any dry patches.
Preparing the Mug
Choose a microwave-safe ceramic mug that can hold at least twelve ounces. This is important because the cake will rise significantly during the cooking process. If your mug is too small, the batter might overflow, creating a sticky mess on your microwave glass. You do not need to grease the mug, as the fats in the cookies will prevent sticking.
Crushing and Mixing
Place your four to five cookies at the bottom of the mug. Pour the one quarter cup of milk directly over them. Let them sit for about thirty seconds; this softens the wafers and makes them much easier to crush. Use a fork to press down on the cookies, breaking them into small pieces.
Continue to stir and mash until the cookies and milk have turned into a relatively smooth, dark brown batter. It is okay if there are a few tiny chunks of cookie left—these often turn into delicious “pockets” of flavor—but you want the overall consistency to be fluid. If you are using baking powder or extra sugar, stir them in now until they are fully incorporated.
The Microwave Process
Place your mug in the center of the microwave. Set the timer for sixty seconds on high power. Microwaves vary in strength, so you will need to keep an eye on it. The cake will rise quickly near the forty-five-second mark. If it looks like it is about to spill over, pause the microwave for a second to let it settle, then resume.
Most cakes are done between sixty and ninety seconds. To check for doneness, lightly touch the top of the cake. It should feel springy and firm, not liquid or sticky. If it still looks wet, give it another fifteen seconds.
The Cool Down
This is the hardest part: wait for one to two minutes before eating. When the Oreo mug cake first comes out, it is incredibly hot and the structure is still setting. Letting it rest allows the steam to distribute evenly, ensuring a moist crumb throughout.
Creative Variations to the Classic Recipe
Once you have mastered the basic two-ingredient version, you can start customizing your dessert to fit your specific cravings.
The Molten Lava Center
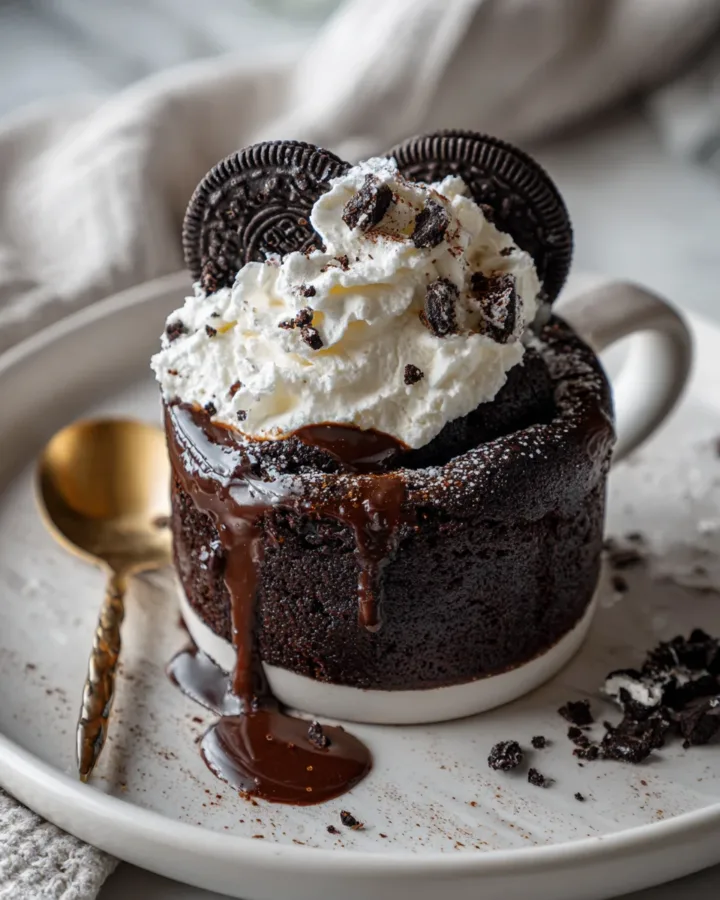
If you want a gooey, liquid center, take a teaspoon of Nutella or a small square of dark chocolate and push it into the center of the raw batter before microwaving. As the cake cooks around it, the center will melt, creating a professional-style lava cake effect.
Peanut Butter Bliss
Chocolate and peanut butter are a match made in heaven. Swirl a teaspoon of creamy peanut butter into the batter right before you put it in the microwave. The heat will soften the peanut butter, and you will get salty, nutty streaks in every bite of your chocolate cake.
Red Velvet or Golden Options
You do not have to stick to original chocolate cookies. You can use Red Velvet Oreos for a vibrant festive look, or Golden Oreos if you prefer a vanilla and cream flavor profile. The measurements for the milk and baking powder remain exactly the same regardless of which cookie flavor you choose.
Frequently Asked Questions
Why did my mug cake come out rubbery?
A rubbery texture is almost always caused by overcooking. Because the cake is so small, even an extra thirty seconds can dry out the moisture. Next time, try reducing the cooking time or lower the power level of your microwave to eighty percent.
Can I make this without milk?
If you are out of milk, you can use water or a dairy-free substitute. However, milk provides fats and proteins that contribute to a much better mouthfeel and a richer flavor. Water will produce a cake that is slightly more bland and less creamy.
Is it safe to eat the batter raw?
Since this recipe does not contain eggs or raw flour (the flour in the cookies is already baked), the batter is perfectly safe to taste before it goes into the microwave.
Can I make this in an oven or air fryer?
Yes, though it takes longer. If using an oven, use an oven-safe ramekin and bake at three hundred fifty degrees Fahrenheit for about twelve to fifteen minutes. In an air fryer, try three hundred twenty degrees for eight to ten minutes.
My cake didn’t rise, what happened?
If you didn’t use baking powder, the rise will be minimal. If you did use it and it still didn’t rise, check the expiration date on your baking powder. Also, make sure you crushed the cookies thoroughly, as large chunks can weigh down the batter.
Perfect Toppings for an Elevated Experience
While the cake is delicious on its own, adding toppings can turn a simple snack into a gourmet plated dessert.
-
Whipped Cream: A dollop of fresh whipped cream provides a cool contrast to the warm cake.
-
Ice Cream: A small scoop of vanilla bean ice cream melting into the warm chocolate is perhaps the ultimate way to enjoy this dish.
-
Extra Texture: Save one cookie from the pack, crush it into large pieces, and sprinkle it over the top after cooking for a bit of crunch.
-
Sauces: A drizzle of salted caramel or chocolate syrup can add a professional finish to the presentation.
Achieving Professional Results Every Time
To truly surpass other recipes, the secret is in the “soak.” Many people rush to crush the cookies immediately. By letting them sit in the milk for a full minute before mashing, you ensure that the moisture penetrates the very center of the chocolate wafer. This results in a much more uniform batter and a cake that doesn’t have dry, gritty spots.
Another pro tip is to use a fork rather than a spoon for the mixing process. The tines of the fork act as a whisk, aerating the batter slightly and breaking down the cream filling more effectively than a flat spoon would. This leads to a smoother, more consistent Oreo mug cake that rivals anything you could buy at a bakery.
In conclusion, the beauty of this dessert is that it removes all the barriers between you and a warm treat. It is an ingenious use of common ingredients that proves you do not need a fancy kitchen or hours of free time to enjoy high-quality baking. Whether you are a student in a dorm room, a busy professional, or a parent looking for a quick activity with the kids, this recipe is a reliable win. It is fast, customizable, and hits that chocolate craving perfectly every single time. Next time you find yourself wanting a sweet reward at the end of a long day, remember that a delicious cake is only a mug and a few cookies away.
Print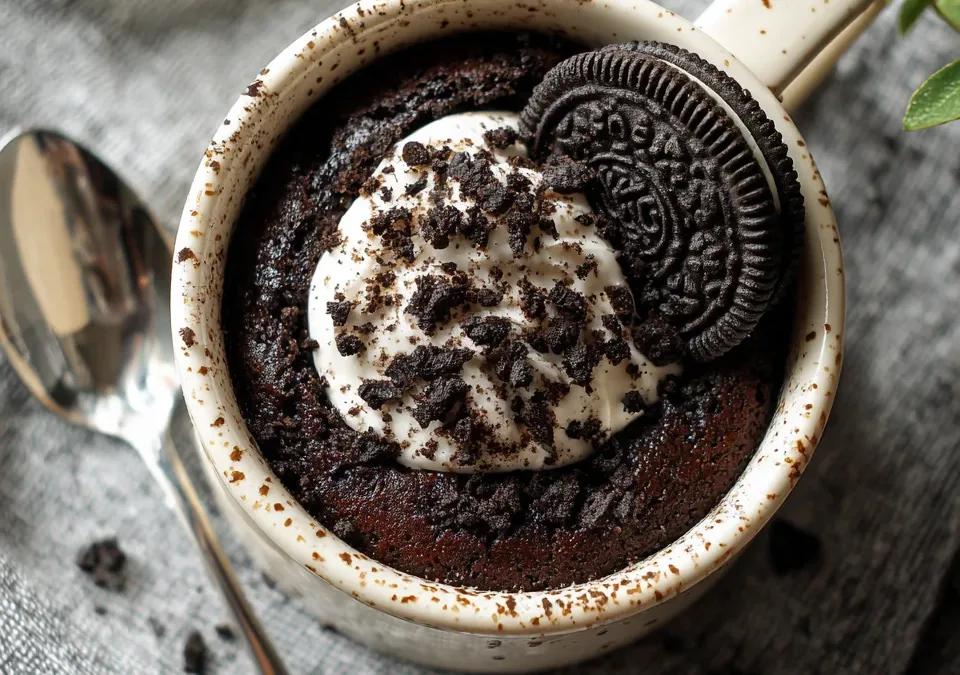
The Ultimate Guide to Making a Fluffy Oreo Mug Cake in Minutes
- Total Time: 7 minutes
- Yield: 1 serving 1x
- Diet: Vegetarian
Description
If you are unfamiliar with the concept, an Oreo mug cake is essentially a “hack” or a simplified baking method that uses crushed sandwich cookies and milk to create a sponge-like cake texture inside a microwave-safe ceramic mug. Unlike traditional cakes that require eggs, butter, and flour, this version relies on the starch and fats already present in the cookies.
Ingredients
- 4–5 Oreo cookies
- 1/4 cup milk
- 1/4 tsp baking powder (optional, for fluffiness)
- 1 tbsp sugar (optional, if you want it sweeter)
Instructions
- Add the Oreo cookies to a microwave-safe mug.
- Pour in the milk.
- Crush and mix everything together until it becomes a smooth batter.
- Stir in baking powder (if using).
- Microwave for 60–90 seconds (depending on your microwave).
- Let it cool slightly before eating.
Notes
A super quick dessert that turns simple cookies into a warm, soft cake in minutes—perfect for instant cravings!
- Prep Time: 5 minutes
- Cook Time: 1–2 minutes
- Category: Dessert
- Method: Microwave
- Cuisine: American
Nutrition
- Serving Size: 1 mug
- Calories: 320
Keywords: Two Ingredient Mug Cake, Microwave Oreo Cake, Cookies and Cream Mug Cake