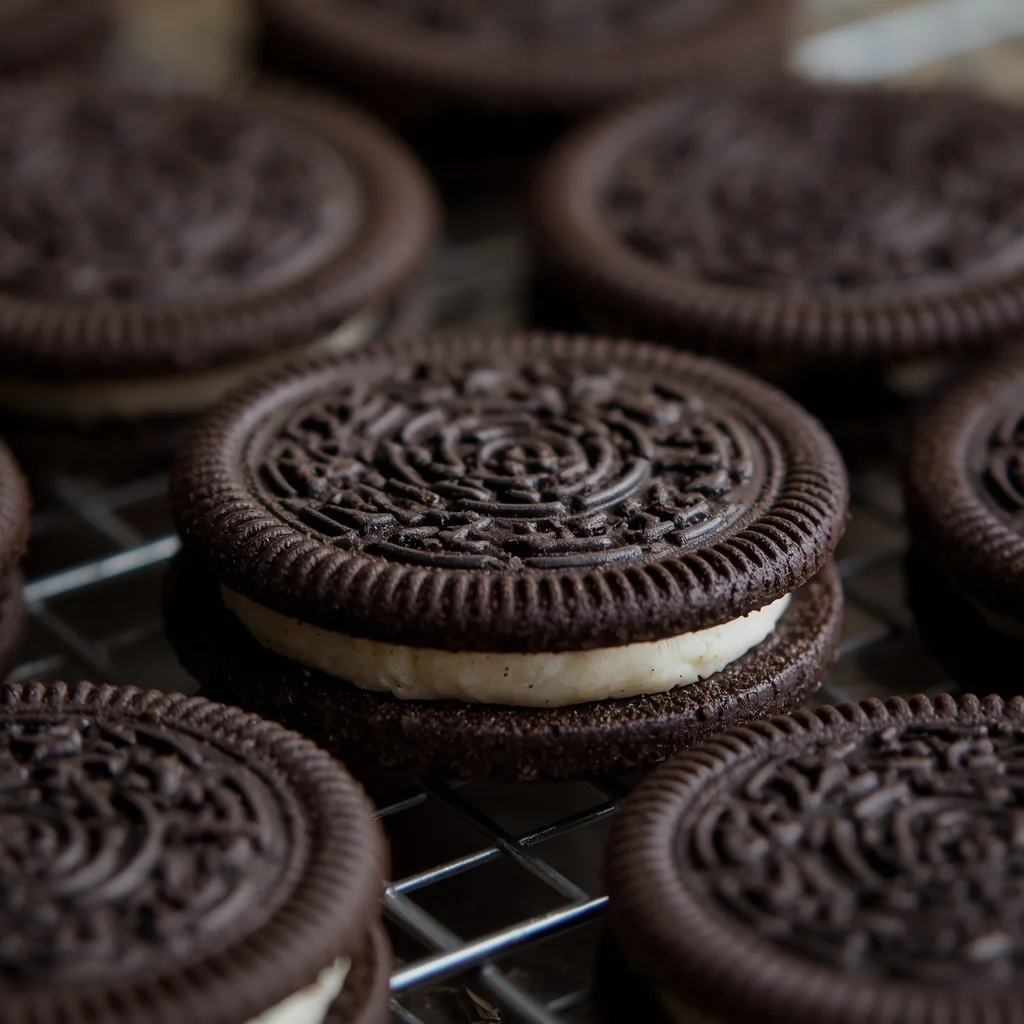
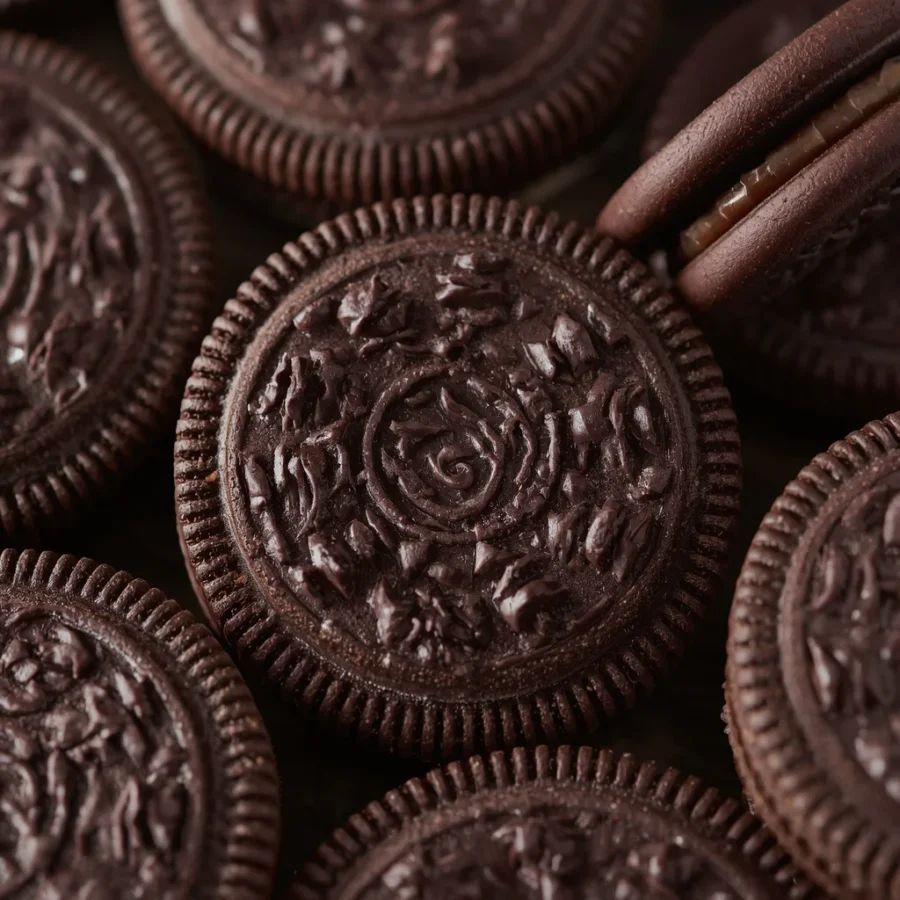
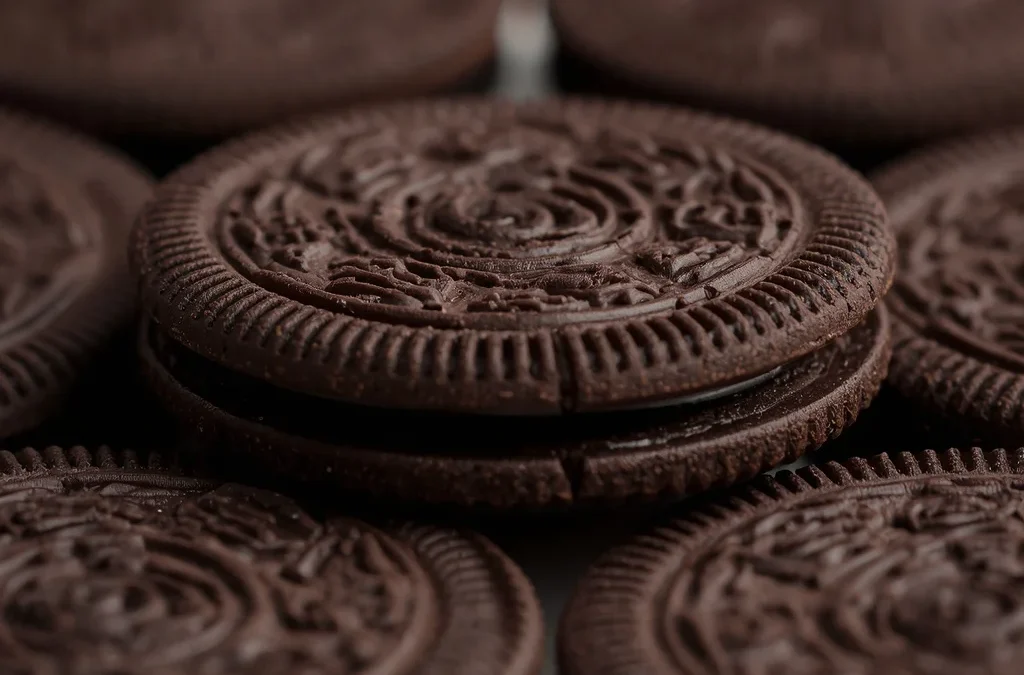
Imagine walking up to a party dessert table and being greeted by an array of adorable, sweet, handcrafted treats that look like spooky little museum artifacts.
Mummy Oreo Cookies are the ultimate no-bake Halloween creation that brings pure delight to both children and adults. By transforming classic dark chocolate sandwich cookies into charming wrapped mummies using velvety white chocolate and cute candy eyes, this
dessert hits every note of festive fun. Whether you are hosting a festive autumn gathering, preparing classroom treats for school celebrations, or searching for a stress-free weekend project to make with your kids, these
Mummy Oreo Cookies are guaranteed to steal the spotlight. They require zero baking skills, take only a few minutes of active preparation, and offer a delicious balance of crunchy dark chocolate cookie and creamy white chocolate coating.
What is the Mummy Oreo Cookies Recipe?
The Mummy Oreo Cookies recipe is an easy, highly visual no-bake confection built around iconic chocolate sandwich cookies. Instead of making cookie dough from scratch, this recipe uses pre-packaged sandwich cookies as a sturdy, delicious base.
The cookies are first completely coated or dipped in a smooth layer of melted white chocolate or white candy melts. Before that initial layer hardens, small edible candy eyes are pressed into place near the top half of the cookie. Once the base coat sets slightly, additional white chocolate is drizzled back and forth in thin, crisscrossing lines over the top surface. These overlapping drizzles simulate the iconic linen cloth wraps of an ancient mummy, leaving just the eyes peeking out through the bandages. The result is a crisp, sweet, visually impressive snack that looks like it came straight out of a professional bakery display.
Why Home Bakers Love Making No-Bake Holiday Treats
No-bake holiday recipes have grown immensely popular because they take the stress out of seasonal entertaining. Traditional baking requires precise measuring, oven monitoring, and cooling times before decorating can even begin.
In contrast, crafting these Mummy Oreo Cookies allows you to skip the oven entirely. This makes the recipe exceptionally safe and accessible for young children who want to join in on the kitchen fun. Furthermore, because sandwich cookies are structurally solid and shelf-stable, these finished mummies hold their shape exceptionally well at room temperature. You can easily make large batches well in advance of your party without worrying about them crumbling or losing their crisp texture.
Origin of the Mummy Oreo Cookies Recipe
The concept of decorating packaged cookies for seasonal holidays emerged in American home kitchens during the late twentieth century. As food manufacturing produced consistent, widely available sandwich cookies, creative parents and party hosts began treating these round black-and-white treats as edible canvases.
Dipping sandwich cookies into melted chocolate became a favorite technique for creating quick cake pops, festive holiday rounds, and giftable confections. The specific origin of Mummy Oreo Cookies stems from the rise of modern Halloween party culture in the early two thousand ten decade. Creative food bloggers and party planners sought low-effort, high-impact dessert ideas that fit dark, spooky themes without feeling overly frightening for young children. By pairing white melted chocolate drizzled in random geometric lines with cute sugar eyes, bakers discovered they could turn simple dark cookies into friendly mummies. The trend caught on quickly across social media platforms and food magazines, establishing itself as a beloved autumn tradition in households around the world.
Ingredients with Quantity: Mummy Oreo Cookies
Making these fun confections requires only a handful of readily available pantry items. Using quality white chocolate or smooth candy melts ensures your mummy bandages look clean and hold their crisp shape.
Here is everything you will need to complete one batch:
-
Oreo cookies: Twelve whole chocolate sandwich cookies (acts as the crunchy chocolate core of your mummies)
-
White chocolate or white candy melts: Two hundred grams (provides the smooth base layer and delicate drizzled bandages)
-
Small candy eyes: Twenty-four individual pieces (creates the adorable mummy expressions; two eyes per cookie)
-
Coconut oil: One teaspoon (optional; thins out the melted chocolate to create a silky, easy-dipping texture)
Step-by-Step Direction and Preparation Method: Mummy Oreo Cookies
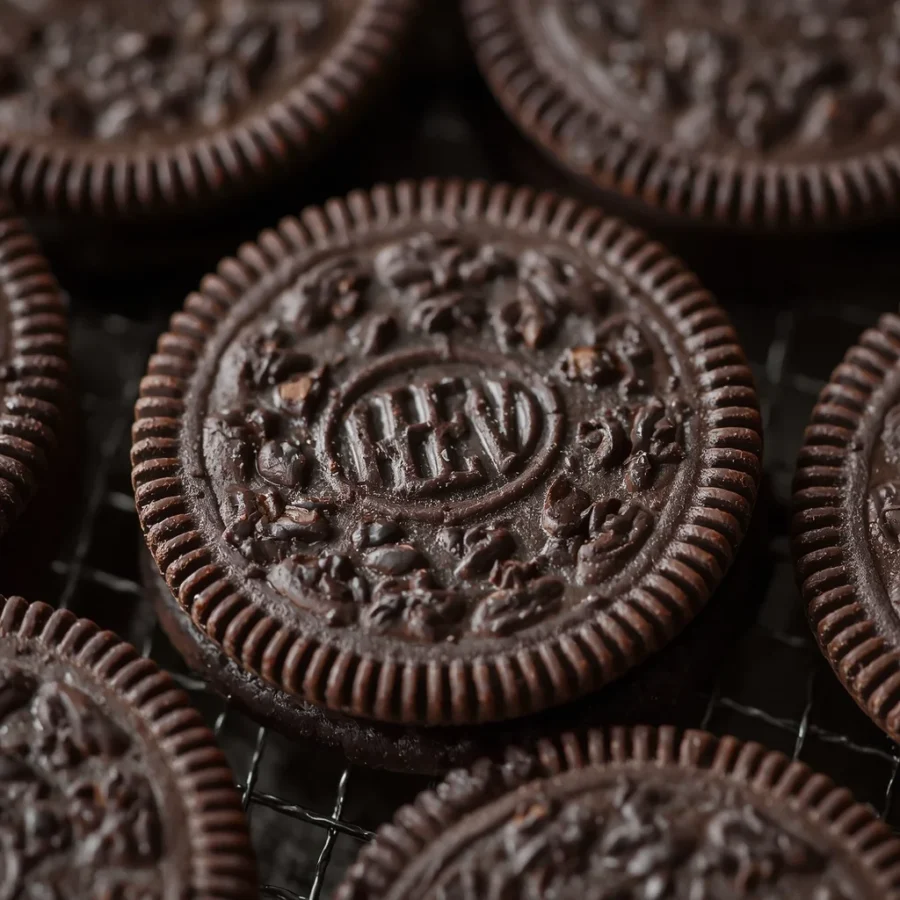
Creating these festive mummies is a smooth, enjoyable process. Following these detailed preparation steps ensures your chocolate melts cleanly without seizing, while your drizzled bandages come out looking neat and professional.
Step One: Set Up Your Assembly Station
Begin by preparing a flat surface for your finished cookies. Line a large baking tray or flat cutting board with a sheet of parchment paper or wax paper. Lining your tray is crucial because it prevents the wet white chocolate from sticking to your metal trays as it cools and hardens.
Step Two: Melt the White Chocolate Base
Place two hundred grams of white chocolate or white candy melts into a clean, dry, microwave-safe bowl. If you are using standard white chocolate chips or chopped chocolate bars, add one teaspoon of coconut oil into the bowl. Microwave the bowl in short twenty-second intervals.
After each interval, remove the bowl and stir the chocolate thoroughly with a rubber spatula. Repeat this process until the chocolate is completely melted, smooth, and free of lumps. Avoid overheating the chocolate, as white chocolate can scorch or turn grainy if exposed to excessive heat.
Step Three: Dip and Coat the Sandwich Cookies
Take one chocolate sandwich cookie and drop it into your bowl of warm melted white chocolate. Use a fork to submerge the cookie fully until every side is covered in smooth white coating. Carefully lift the cookie out of the bowl using the tines of your fork.
Tap the handle of the fork gently against the rim of your bowl for a few seconds so that excess melted chocolate drips off through the tines. Gently slide the coated cookie off the fork onto your prepared parchment paper tray. Repeat this dipping process for all twelve cookies.
Step Four: Attach the Edible Candy Eyes
Work quickly while the white chocolate base layer remains wet and soft. Pick up two candy eyes and press them gently into the upper third of each chocolate-coated cookie. Pressing them in while the base coat is wet ensures they freeze tightly into place once the chocolate hardens, keeping your mummy expressions secure.
Step Five: Pipe the Overlapping Mummy Bandages
Transfer the remaining melted white chocolate from your bowl into a piping bag fitted with a very small round piping tip. If you do not have a piping bag, simply scrape the chocolate into a small plastic zip-top bag and snip off a tiny fraction of one bottom corner using kitchen scissors.
Hold the bag slightly above your tray of cookies. Squeeze the bag gently while moving your hand quickly back and forth in angled, diagonal lines across each cookie. Drizzle the chocolate lines over the top, bottom, and middle sections, intentionally crisscrossing the bands to mimic wrapped cloth. Be sure to leave the center of the candy eyes exposed so your mummies can still look out from under their bandages.
Step Six: Chill and Set the Chocolate
Carefully lift your tray and place it inside your refrigerator. Allow the cookies to chill undisturbed for ten to fifteen minutes. The cold temperature will rapidly harden both the white base coating and the drizzled bandages, locking in the cute mummy design.
Step Seven: Arrange and Serve
Once the white chocolate feels completely firm and smooth to the touch, peel the mummies gently off the parchment paper. Transfer your Mummy Oreo Cookies onto a serving platter or pack them into holiday treat bags. Serve them immediately alongside a cold glass of milk or warm autumn beverages!
Creative Recipe Variations to Try: Mummy Oreo Cookies
One of the best aspects of working with Mummy Oreo Cookies is how versatile they can be. You can tweak the flavor profiles or aesthetic details to match your specific party theme or dietary needs.
Golden Cinnamon Mummy Variation
If you want a different flavor profile beyond classic dark chocolate, swap traditional black sandwich cookies for golden cinnamon sandwich cookies or peanut butter filled sandwich cookies. The golden interior provides a warm autumn spice flavor that pairs wonderfully with sweet white chocolate coatings.
Blood-Shot Spooky Eyes Variation
To create an extra spooky version for adult gatherings or teen Halloween events, choose candy eyes that feature red blood-shot veins. Alternatively, take a toothpick dipped in red food coloring or raspberry syrup and dab tiny red streaks around normal candy eyes before adding your white chocolate bandages.
Peanut Butter Stuffed Mummy Pops
Turn your mummies into fun dessert pops! Gently slide a wooden lollipop stick into the creamy center of each sandwich cookie before dipping them into the melted white chocolate. Coat and decorate as instructed, then allow them to set. These mummy pops make incredible additions to party favor tables and dessert centerpieces.
Dairy-Free and Vegan Friendly Variation
You can easily adapt this treat for plant-based diets. Purchase certified vegan chocolate sandwich cookies and swap traditional white chocolate for dairy-free white chocolate chips or vegan white melting wafers. Ensure your candy eyes use vegetable-based glazes rather than traditional confectioner glaze.
Frequently Asked Questions: Mummy Oreo Cookies
What should I do if my melted white chocolate becomes too thick to drizzle?
White chocolate is delicate and can easily become thick or stiff if it cools down or gets exposed to steam. If your melted chocolate feels too thick to drizzle cleanly, stir in an extra one-half teaspoon of coconut oil or vegetable shortening. Heat the mixture in the microwave for just five seconds and stir vigorously. The fat will immediately smooth out the chocolate, restoring a silky fluid texture that flows effortlessly through your piping bag.
Can I make these Mummy Oreo Cookies in advance?
Yes, these no-bake treats are fantastic for advance meal preparation. Once the chocolate has hardened completely in the refrigerator, place the cookies inside a clean airtight container. Store the container in a cool, dry place at room temperature for up to two weeks. If your room is warm or humid, keep the container inside the refrigerator to prevent the white chocolate from softening. Layer parchment paper between rows so the drizzled bandages do not hook together.
How do I make the mummy bandages look neat without a piping bag?
If you do not have a piping bag or plastic storage bag, you can still create great bandages using a simple fork or small spoon. Dip the tines of a fork into your melted white chocolate, hold it over your cookies, and flick your wrist rapidly back and forth. This creates thin, free-form chocolate threads across the cookies. While the lines may look slightly more organic and rugged than piped lines, they still produce a fantastic, rustic mummy effect!
Conclusion: Mummy Oreo Cookies
The
Mummy Oreo Cookies recipe is a shining example of how simple ingredients and creative presentation can come together to produce an unforgettable holiday treat. By combining crunchy dark sandwich cookies with smooth white chocolate and playful sugar eyes, you create a dessert that brings instant smiles to everyone around your table. The entire process is fast, easy, and completely free of complicated baking steps, making it an ideal choice for busy party hosts and families cooking together. Whether you are filling up a festive dessert table for a Halloween bash, surprising your children with a fun afternoon snack, or gifting party favors to friends, these adorable mummies deliver exceptional sweetness and charm in every single bite. Gather your ingredients, melt your chocolate, drizzle your bandages, and enjoy creating these irresistible treats for your next autumn celebration.