When the winter air turns crisp and the holiday season draws near, nothing captures the enchanting spirit of the season quite like a spectacular homemade
dessert centerpiece. If you are looking to impress your family and friends with a show-stopping festive centerpiece, this
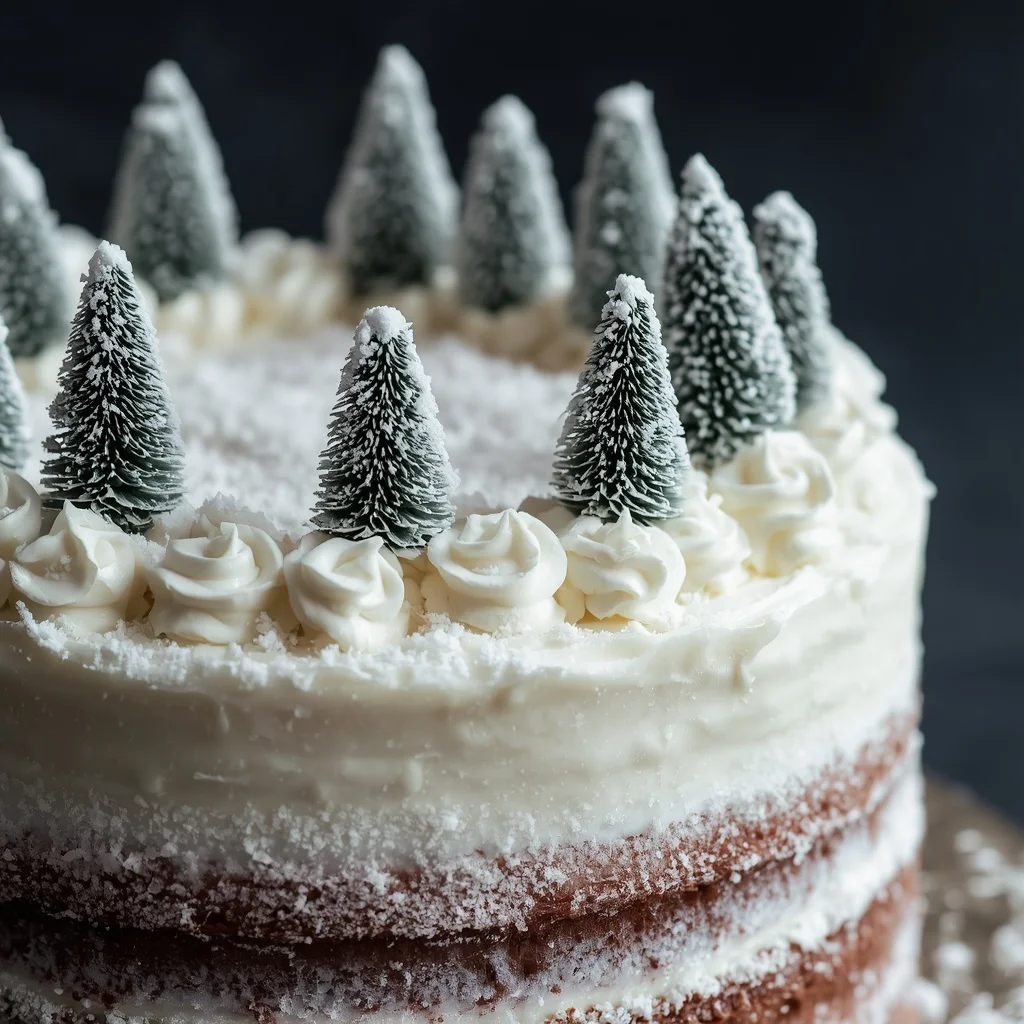
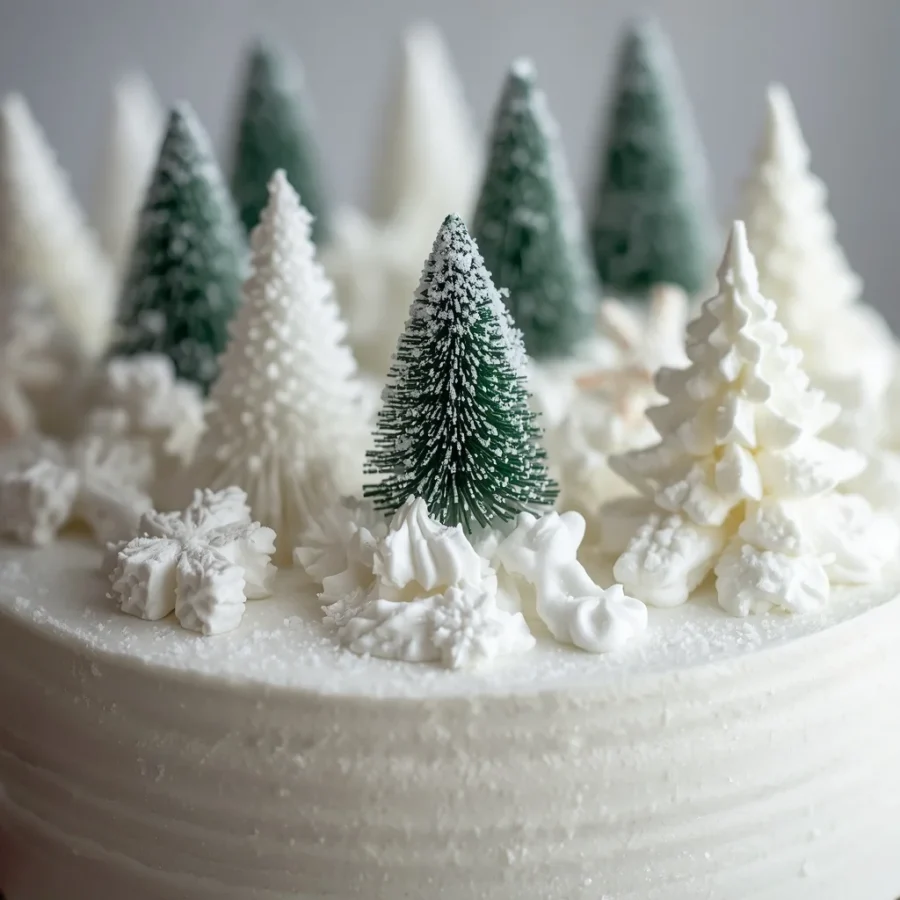
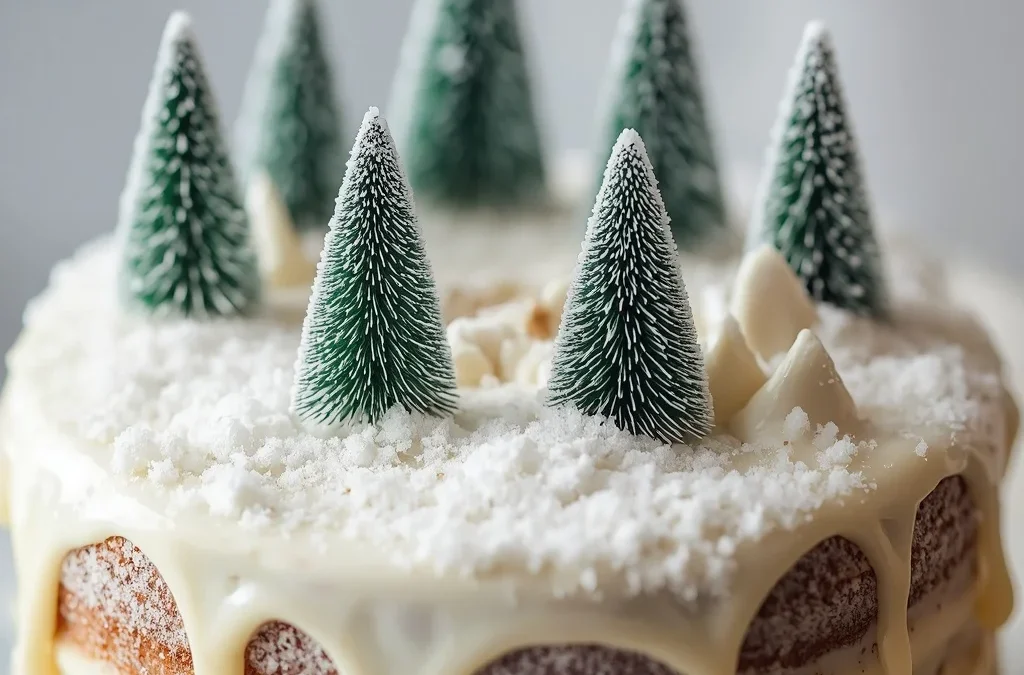
snowy winter wonderland cake recipe is the absolute dream choice for your holiday dessert table. Featuring delicate layers of fluffy vanilla sponge cake wrapped in smooth buttercream frosting and coated in a glistening blanket of white coconut flakes, this magical creation looks as though it was plucked straight out of a fairy tale. Beyond its enchanting appearance, every bite offers a melt-in-your-mouth texture balanced with warm vanilla notes that will keep your guests coming back for second slices.
In this
comprehensive guide, we will break down every single aspect of crafting this majestic holiday cake in your home kitchen. From exploring its delightful background to walking step-by-step through baking, frosting, decorating, and troubleshooting common baking issues, this article gives you the exact blueprint required to surpass bakery-bought cakes in both beauty and flavor.
What is a Snowy Winter Wonderland Cake?
At its core, a
snowy winter wonderland cake is a multi-layered vanilla sponge
cake decorated to mirror a freshly fallen blanket of winter snow. While some elaborate holiday cakes rely on heavy fondant or complex sugar sculpting techniques that require advanced pastry skills, this recipe achieves a breathtaking aesthetic using simple, delicious, and edible pantry ingredients.
The classic design relies on a moist, buttery vanilla cake structure paired with a rich American buttercream frosting. What truly sets this cake apart from standard vanilla cakes is its signature snowy outer finish. By pressing shredded or desiccated coconut, delicate white chocolate shavings, and shimmering sugar pearls onto the freshly frosted surface, you create an instantly recognizable winter landscape effect. It strikes the perfect balance between rustic elegance and approachable home baking, making it ideal for bakers of all skill levels.
The Origin of Winter Snow Cakes
The tradition of baking white or snow-themed cakes during the dark winter months has a rich history rooted in European and early American baking traditions. Historically, light-colored cakes made with white flour, refined sugar, and beaten egg whites were considered luxury items reserved for major celebrations and religious holidays like Christmas. These historic cakes were often called angel food cakes, snow cakes, or silver cakes because of their unusually pale, delicate crumbs.
During the nineteenth and twentieth centuries, home bakers began incorporating dried coconut into their winter holiday baking as tropical ingredients became widely imported across North America and Europe. The stark white appearance and fluffy texture of desiccated coconut naturally reminded bakers of falling snowflakes, leading to a surge in coconut-covered holiday cakes. Today, the modern winter snow cake continues this beloved tradition, combining nostalgic vanilla and coconut flavors into a festive symbol of warmth, hospitality, and winter magic.
Essential Ingredients and Precise Quantities: Snowy winter wonderland cake
Achieving a light, tender cake structure alongside a silky, spreadable frosting requires using accurate proportions of fresh ingredients. Below is the complete list of everything you need, laid out with full written words to keep your preparation straightforward and error-free:
Ingredients for the Fluffy Cake Layers
-
All-purpose flour: two and one-half cups
-
Granulated white sugar: one and one-half cups
-
Unsalted butter, softened to room temperature: one cup
-
Large eggs, at room temperature: four large eggs
-
Whole milk, at room temperature: one cup
-
Baking powder: two teaspoons
-
Pure vanilla extract: two teaspoons
-
Fine salt: one-quarter teaspoon
Creamy Buttercream Frosting
-
Unsalted butter, softened to room temperature: one cup
-
Powdered confectioners sugar: three cups
-
Whole milk or heavy whipping cream: two to three tablespoons
-
Pure vanilla extract: one teaspoon
Ingredients for the Snowy Winter Finishes
-
Fine desiccated coconut or sweetened shredded coconut: one cup
-
White chocolate shavings or curls: optional according to preference
-
Silver or white edible sprinkles: optional according to preference
-
Small edible snowflakes or sugar pearls: optional according to preference
Step-by-Step Directions and Preparation Method: Snowy winter wonderland cake
Baking this gorgeous dessert is fun and easy when you break down the process. Each step builds the structure, flavor, and snowy appearance seamlessly.
Step One: Prepare Your Kitchen Equipment and Cake Pans
Start by preheating your kitchen oven to three hundred and fifty degrees Fahrenheit. Grab two eight-inch round cake pans for this recipe. Grease the bottom and sides thoroughly with soft butter or non-stick baking spray. Line the bottom of each pan with a parchment paper circle. Dust the insides with a small tablespoon of flour, then tap out any excess powder. Preparing your pans correctly stops the sponge from sticking later on.
Step Two: Combine the Dry and Wet Base Ingredients
Grab a medium mixing bowl first. Whisk together the two and one-half cups of all-purpose flour, two teaspoons of baking powder, and one-quarter teaspoon of fine salt. Set that dry mixture aside for a moment. In a separate large bowl, combine one cup of softened unsalted butter with one and one-half cups of granulated white sugar. Beat these two ingredients on medium-high speed for roughly four minutes until pale and fluffy. Add the four room temperature eggs one at a time, mixing well after each addition. Pour in two teaspoons of pure vanilla extract toward the end.
Step Three: Alternate Combining Dry Ingredients and Milk
Lower your mixer speed down to the lowest setting. Add one-third of your dry flour mixture directly into the fluffy butter base. Pour in one-half of the one cup of whole milk right after. Follow up with another third of the flour, then the remaining milk, and finish with the last batch of flour. Mix the batter gently until the dry ingredients barely disappear. Overmixing at this stage creates a dense texture, so keep your handling light and brief.
Step Four: Bake and Cool the Cake Sponge Layers
Divide your smooth batter evenly between the two prepared baking pans. Smooth out the tops with an offset spatula. Slide the pans onto the middle rack of your preheated oven. Bake the layers for twenty-five to thirty minutes. Check readiness by inserting a clean wooden toothpick into the center of the cake. When it comes out clean with no wet crumbs, remove the pans from the oven. Let them rest on wire racks for ten minutes, then turn the cakes out to cool completely.
Step Five: Prepare the Silky Vanilla Frosting
While your baked layers cool down on the counter, start assembling the sweet frosting. Beat one cup of softened unsalted butter in a clean bowl for two minutes until smooth. Gradually add three cups of powdered sugar, adding one cup at a time on low speed. Splash in one teaspoon of pure vanilla extract alongside two to three tablespoons of milk or heavy cream. Turn the mixer speed up to high and beat for two full minutes. The finished buttercream should look pale, light, and very creamy.
Step Six: Assemble and Decorate Your Winter Wonderland Creation
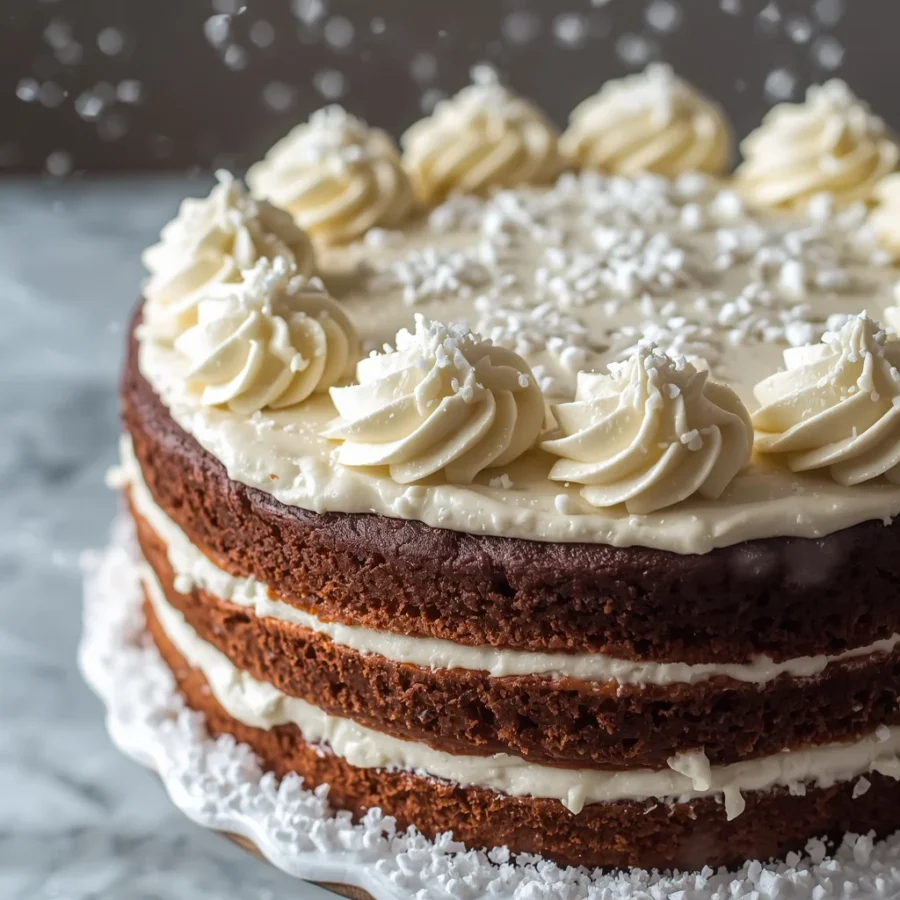
Dab a small drop of frosting onto your serving platter to secure the bottom layer. Place your first cooled cake sponge upside down onto the plate. Spread a generous layer of buttercream over the top surface. Lay the second cake layer on top, flat side facing up toward you. Cover the top and outer sides completely with your remaining frosting. Precision is not required here because the decorative toppings will cover small bumps.
To complete the snowy design, press handfuls of desiccated coconut onto the damp buttercream. Cover the entire top and sides until no bare frosting shows through. Scatter white chocolate shavings across the top along with silver sprinkles or sugar pearls. Chill the finished cake in your refrigerator for thirty minutes before slicing into pieces.
Creative Variations to Suit Special Occasions: Snowy winter wonderland cake
While the classic vanilla and coconut combination is timeless, you can easily customize this snowy winter wonderland cake to incorporate different flavor profiles and visual aesthetics.
Peppermint Winter Wonder Variation
Swap out one teaspoon of vanilla extract in the frosting for one-half teaspoon of pure peppermint extract. The cool mint aroma instantly enhances the festive holiday vibe. Press crushed white peppermint candies around the base of the cake for a lovely crunch and visual border.
Citrus and Berry Sparkle Variant
Grate one tablespoon of fresh lemon or orange zest directly into the raw cake batter. Bright citrus oils cut through the sweet, heavy buttercream wonderfully. Spread a thin layer of cranberry jam between the two cake sponges during assembly for a fruity tart surprise.
Gluten-Free Holiday Adaptation
Replace the standard all-purpose flour with a high-quality one-to-one gluten-free baking flour blend containing xanthan gum. Measure it in the exact same quantity as regular flour. Double check that your decorative sprinkles and chocolate brands are certified gluten-free as well.
Pro Baking Tips for a Picture-Perfect Cake: Snowy winter wonderland cake
-
Use room temperature ingredients: Cold eggs or cold milk will curdle your warm butter mixture. Pull these items out of the fridge an hour before baking.
-
Level the baked tops: Curved domes sometimes form during baking. Slice the top humps flat with a serrated knife so your layers stack neatly.
-
Chill before cutting: Soft buttercream shifts under pressure. Slide the frosted cake into the fridge for twenty minutes before using a warm knife to cut clean slices.
-
Bake layers ahead: Busy holiday schedules demand smart prep. Bake the sponges two days early, wrap them tightly in plastic wrap, and keep them at room temperature until frosting day.
Frequently Asked Questions: Snowy winter wonderland cake
Can I use sweetened shredded coconut instead of desiccated coconut?
Yes, both coconut varieties work wonderfully for decorating. Fine desiccated coconut looks remarkably like soft powder snow. Shredded coconut creates a fluffier, chunkier snowdrift appearance.
How should I store leftover winter cake?
Keep leftover slices inside an airtight container in your refrigerator. The cake stays fresh for up to four days under cold conditions. Set slices on the counter for twenty minutes before eating so the butter softens back up.
Why did my cake turn out dense instead of fluffy?
Overmixing the flour batter usually causes a tough, dense crumb. Using expired baking powder can also prevent the sponge from rising correctly. Mix gently and check your ingredient expiration dates.
Can I freeze the cake layers for later use?
Un-frosted sponge layers freeze exceptionally well for up to two months. Wrap each cooled layer in plastic wrap, then cover with aluminum foil. Thaw the wrapped sponges overnight inside your refrigerator before adding frosting.
Conclusion: Snowy winter wonderland cake
Creating a breathtaking holiday
dessert does not require years of professional pastry experience or complicated decorating tools. By pairing soft, fragrant vanilla cake sponges with silky buttercream and a sparkling coat of fine coconut, this
snowy winter wonderland cake offers an effortless way to bring magical winter charm directly to your dining table. Its approachable step-by-step preparation, versatile flavor variations, and stunning presentation ensure it will quickly become a cherished centerpiece for your seasonal traditions. Gather your baking supplies, embrace the festive joy of homemade holiday baking, and treat your loved ones to a slice of sweet winter magic this season.