Halloween celebrations call for whimsical, mouthwatering creations that bring genuine excitement to the
dessert table. Making homemade
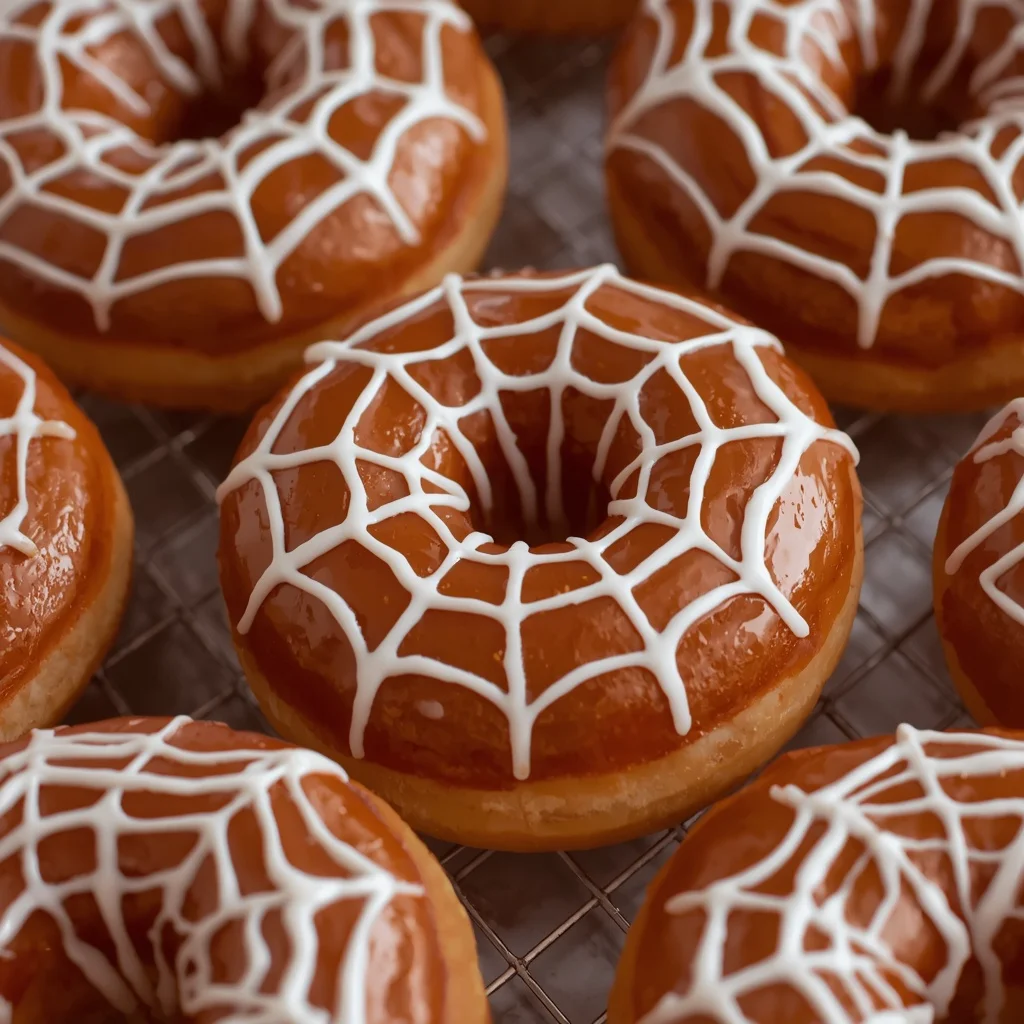
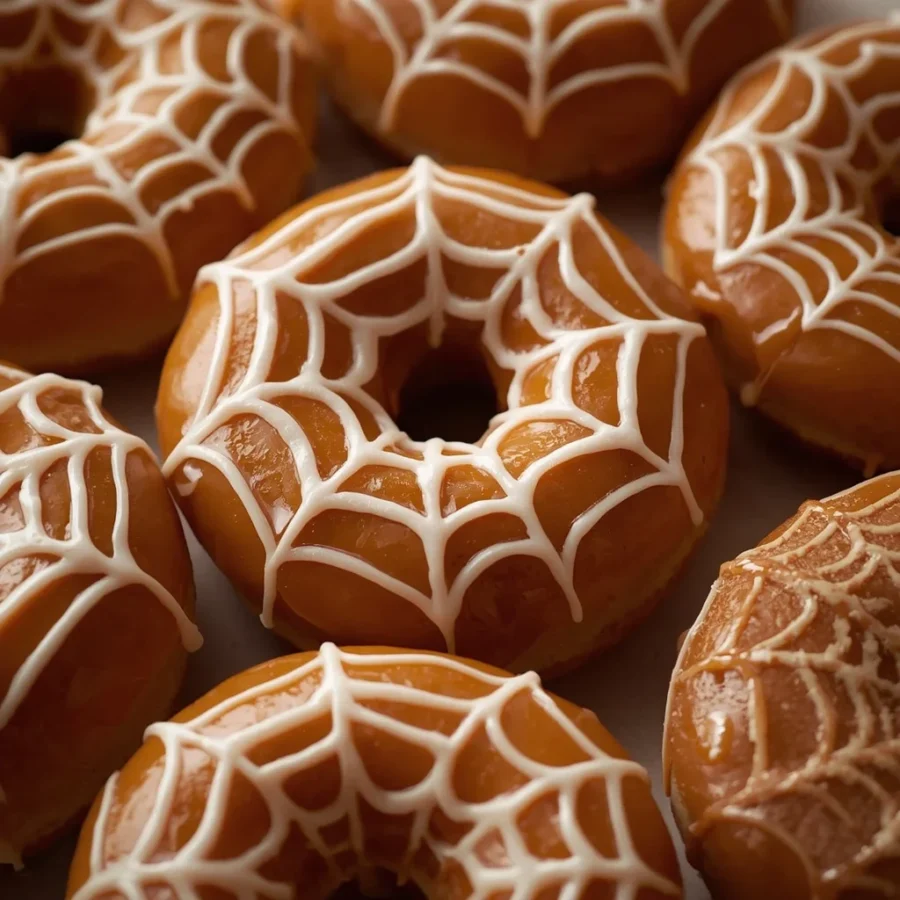
spiderweb doughnuts is the ultimate way to celebrate autumn baking. This recipe combines soft vanilla cake rings with a velvety dark chocolate glaze. A striking white icing web design tops off every single piece. These festive pastries taste even better than they look.
Preparing these
delightful treats at home lets you bypass the mess of deep frying in hot oil. Your kitchen will fill with the comforting aroma of fresh baked goods instead. These snacks are perfect for October school events, spooky birthday bashes, adult costume parties, or cozy family weekend projects. Learning how to make easy
spiderweb doughnuts provides a fun, creative culinary experience. Novice and experienced bakers alike will cherish this simple process.
What Is This Spiderweb Doughnuts Recipe?
This festive
spiderweb doughnuts recipe offers an oven-baked version of the classic chocolate-topped pastry. Home cooks style each piece with an eye-catching Halloween theme. Rather than using yeasted dough that takes hours to rise, this quick recipe relies on a simple cake batter. You make it using pantry staples like flour, milk, egg, and butter.
Bakers pipe the batter directly into a doughnut pan. This step creates perfectly round, uniform baked treats with a tender crumb. Once cooled, you dip the tops of the pastries into a smooth chocolate glaze. The coating uses melted semi-sweet chocolate chips and rich cream. While the chocolate stays glossy and wet, you pipe delicate concentric circles of sweet white icing over the surface. Drawing a simple wooden toothpick from the center outward creates an intricate spiderweb pattern. The final design looks professional yet takes only seconds to achieve.
The Origin of Decorative Halloween Pastries and Spiderweb Treats
Understanding the history behind ring-shaped fried cakes adds extra fun to seasonal holiday decorating. Early Dutch settlers brought fried oil cakes to early America. Over time, creative bakers removed the doughy center to ensure consistent cooking throughout the pastry. That smart modification gave rise to the modern American doughnut tradition.
Meanwhile, spiderwebs have long served as iconic symbols in spooky folklore and Halloween celebrations. Spiders build larger, more visible webs outdoors as cooler October temperatures arrive. As modern home economics and festive party planning flourished, home cooks began adapting traditional baked treats into festive holiday art. Combining chocolate-glazed ring cakes with geometric icing webs evolved naturally into modern spiderweb doughnuts. This fun creation bridges traditional American baking with playful holiday art.
Essential Ingredients and Exact Quantities
Crafting these fluffy treats requires simple, wholesome ingredients that sit in your pantry right now. Precise measurements guarantee a light texture and flawless icing lines every time.
For the Soft Donut Batter
-
All-purpose flour: two cups (two hundred fifty grams)
-
Granulated white sugar: one-fourth cup (fifty grams)
-
Baking powder: two teaspoons
-
Fine salt: one-fourth teaspoon
-
Whole milk: one-half cup (one hundred twenty milliliters)
-
Large egg (at room temperature): one large egg
-
Unsalted butter (melted): three tablespoons (forty-two grams)
-
Pure vanilla extract: one teaspoon
Rich Chocolate Glaze
For the White Spiderweb Icing
-
Powdered confectioners’ sugar: one-half cup (sixty grams)
-
Whole milk: one to two teaspoons (added gradually)
-
Pure vanilla extract: one-fourth teaspoon
Step-by-Step Directions and Preparation Method: spiderweb doughnuts
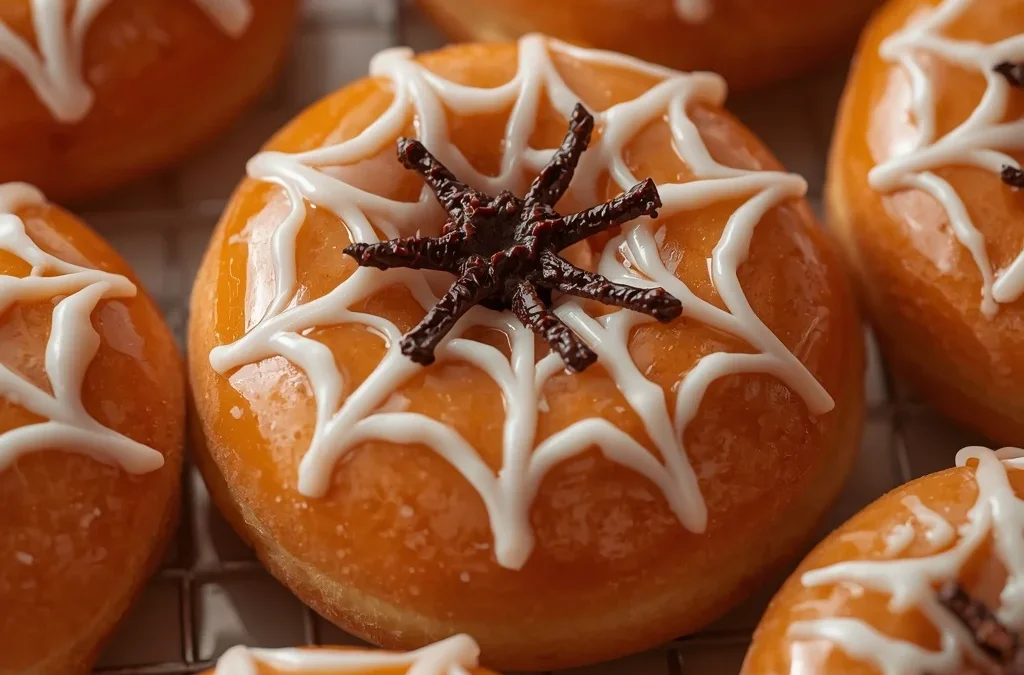
Follow these clear, detailed instructions to bake, glaze, and decorate your homemade spiderweb doughnuts to perfection.
Step One: Oven and Pan Preparation
Preheat your standard kitchen oven to three hundred fifty degrees Fahrenheit. Prepare an eight-cavity doughnut pan while the oven heats up. Lightly grease each ring cavity using melted butter, shortening, or non-stick baking spray. Proper lubrication ensures your baked ring cakes pop out smoothly without sticking or breaking apart.
Step Two: Mixing the Dry Ingredients
Fetch a large, clean mixing bowl. Combine the two cups of all-purpose flour, one-fourth cup of granulated sugar, two teaspoons of baking powder, and one-fourth teaspoon of fine salt. Use a wire whisk to mix these dry ingredients thoroughly for thirty seconds. Proper whisking eliminates any lumps and ensures the leavening agent spreads evenly throughout the mix.
Step Three: Mixing the Wet Base
Grab a separate medium bowl. Whisk together the one-half cup of whole milk, one room temperature large egg, three tablespoons of melted unsalted butter, and one teaspoon of pure vanilla extract. Keep whisking until the liquid mixture becomes completely homogeneous, smooth, and golden in color.
Step Four: Combining to Form the Batter
Pour the wet liquid ingredients directly into the bowl with your dry flour mix. Take a rubber spatula and gently fold the ingredients together until just combined. It is vital not to overmix the batter at this point. Stop mixing as soon as the last flour streak disappears. Careful handling keeps your finished pastries light, airy, and fluffy.
Step Five: Piping Batter into the Pan
Transfer your batter into a large piping bag or a sturdy zip-top plastic bag with one corner cut off. Piping the batter into the ring cavities yields a neat, uniform shape without messy drips. Fill each doughnut cavity approximately two-thirds full. Leaving adequate space allows the batter to rise neatly inside the oven.
Step Six: Baking to Light Golden Perfection
Place the filled pan on the center rack of your preheated oven. Bake for twelve to fifteen minutes. You can test readiness by pressing the tops gently to see if they spring back. A wooden toothpick inserted into the thickest part should come out clean without wet batter. Let the cakes rest in the pan for five minutes. Invert the pan over a wire cooling rack so the baked rounds cool down completely.
Step Seven: Preparing the Chocolate Glaze
Prepare your rich glaze while the ring cakes cool to room temperature. Place one cup of semi-sweet chocolate chips and two tablespoons of milk or heavy cream in a heatproof microwave-safe bowl. Microwave the mix in short twenty-second intervals. Stir thoroughly between each heating burst until the chocolate melts into a glossy, velvety smooth liquid.
Step Eight: Glazing the Pastry Tops
Grasp a cooled baked ring by its sides. Turn it upside down and dip the top half directly into the warm chocolate glaze. Lift the pastry out carefully. Allow any excess liquid chocolate to drip off for a few seconds. Place the ring back onto the wire cooling rack with the chocolate side facing upward.
Step Eight (B): Whisking the White Web Icing
Find a small bowl for the topping. Combine one-half cup of powdered confectioners’ sugar, one teaspoon of milk, and one-fourth teaspoon of vanilla extract. Stir vigorously with a spoon until the icing looks smooth. Add a few extra drops of milk if the mixture feels too stiff to pipe. You want a thick, smooth consistency that holds its shape. Transfer the icing to a small piping bag or a plastic bag with a tiny corner snipped off.
Step Nine: Designing the Spiderweb Pattern
Pipe three to four concentric white icing circles onto each chocolate top while the chocolate glaze remains wet. Start with a small dot in the center and expand outward. Take a clean wooden toothpick immediately after piping. Place the tip at the center dot and gently drag it outward in a straight line toward the outer edge. Repeat this motion six to eight times at evenly spaced intervals around the ring. This easy stroke creates a delicate, stunning spiderweb pattern.
Step Ten: Setting and Serving
Set the decorated pastries aside at room temperature. Allow the chocolate glaze and white icing to firm up for ten to fifteen minutes before serving them to your guests.
Creative Recipe Variations to Try
The classic dark chocolate and white icing combination looks visually striking, but you can easily customize these spiderweb doughnuts to match different party themes or dietary preferences.
Rich Peanut Butter Chocolate Spiderweb Pastries
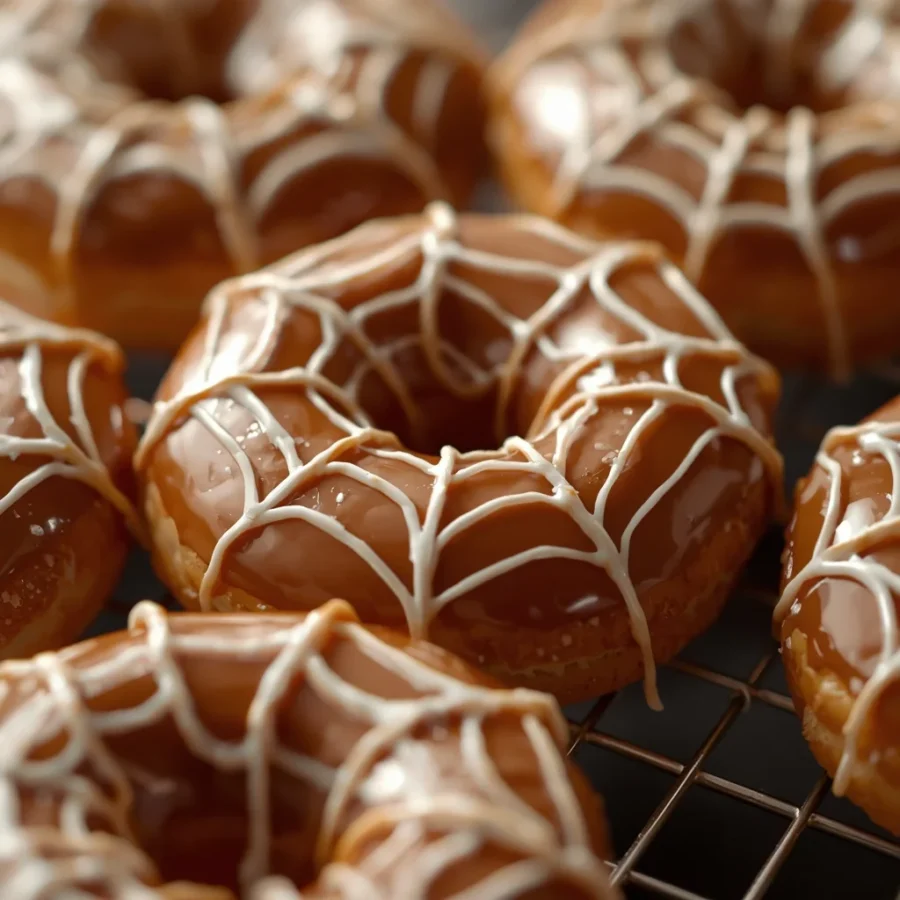
Fans of peanut butter and chocolate can swap the white vanilla icing for a peanut butter piping glaze. Blend two tablespoons of creamy peanut butter with two tablespoons of powdered sugar and one tablespoon of warm milk. Pipe this peanut butter mixture over the dark chocolate base for an irresistible flavor combination.
White Chocolate Candy Pumpkin Twist
Reversing the color scheme provides a bold visual contrast. Melt one cup of white chocolate chips with two tablespoons of cream to make a white glaze base. Dip your baked rings into this white glaze. Use dark fudge or dark chocolate piping gel to draw your concentric circles and create your web patterns. Adding a small orange pumpkin candy in the center hole introduces an extra seasonal touch.
Cinnamon Autumn Spice Variation
Infusing the dough with warm seasonal spices adds great depth. Stir one-half teaspoon of ground cinnamon, one-fourth teaspoon of ground nutmeg, and a pinch of ground ginger into the dry flour mixture. Warm spice notes complement the chocolate coating beautifully, turning these spooky snacks into cozy autumn treats.
Vegan and Dairy-Free Option
Making these Halloween treats friendly for individuals with dairy allergies is easy. Replace the whole milk with unflavored oat milk or almond milk. Swap the melted butter for melted coconut oil or a vegan butter substitute. Use certified dairy-free chocolate chips for the glaze base to keep everything plant-based.
Essential Baking Tips for Complete Success: spiderweb doughnuts
-
Cool Pastries Completely Before Glazing: Never attempt to glaze warm baked goods. A warm base melts the chocolate glaze, causing it to run off the edges and ruin the white icing design.
-
Keep the White Icing Thick: Your piping icing must stay thick enough to hold sharp lines without bleeding into the chocolate background. Whisk in a tablespoon of extra powdered sugar if your icing runs too quickly.
-
Work Quickly While Chocolate Is Wet: Drag your toothpick through the concentric circles while the underlying chocolate glaze remains wet and liquid. A hardened chocolate skin causes the toothpick to drag crusty pieces across the surface instead of creating clean lines.
-
Store Proper Structure: Keep these decorated pastries in a single layer inside an airtight container at room temperature. Stacking them on top of one another smudges the delicate web artwork.
Frequently Asked Questions: spiderweb doughnuts
Can I make spiderweb doughnuts without a specialized doughnut pan?
Adapting this recipe without a doughnut pan is very simple. A standard twelve-cup muffin tin works great as an alternative. Roll small pieces of aluminum foil into small cylinders and place one foil cylinder in the center of each muffin cup. Pipe your batter around the foil cylinders to form ring shapes. Baking the batter as standard cupcakes also works well, allowing you to decorate the flat tops with the chocolate glaze and spiderweb design.
How long do homemade baked doughnuts stay fresh?
These homemade baked goods taste best on the day you bake them because the crumb stays softest then. Leftovers store well in an airtight container at room temperature for up to two days. Avoid refrigerating your pastries because cold temperatures dry out cake-based batters faster. Baking the ring bases one day early and storing them plain works great if you need to prepare ahead of time. Simply apply the fresh chocolate glaze and web decorations on the day of your party.
Can I freeze these spiderweb doughnuts for later use?
Freezing these treats for later use works wonderfully. Freeze the plain baked rings after they cool completely, but do so before adding the chocolate glaze and white icing decorations. Wrap each plain ring tightly in plastic wrap, place them inside a freezer bag, and freeze for up to two months. Thaw the rings at room temperature for one hour before adding fresh chocolate glaze and piping your spiderweb designs.
Why did my doughnut rings turn out rubbery or dense?
Dense or rubbery textures in cake-based pastries almost always stem from overmixing the batter during preparation. Stirring flour into liquid ingredients develops gluten proteins that create structural bonds. Overworking the batter develops too much gluten strength, producing a dense bread-like texture rather than a light cake crumb. Always fold wet and dry ingredients together gently just until the flour disappears.
Conclusion: spiderweb doughnuts
Creating memorable holiday treats should bring joy and stress-free fun to any home baker. This delicious recipe for baked
spiderweb doughnuts combines easy preparation, basic pantry staples, and stunning decoration into one pleasant autumn project. Using an eight-cavity doughnut pan, fifteen minutes of oven time, and a simple toothpick technique allows you to produce bakery-quality festive treats. Family, friends, and party guests of all ages will love these snacks. Choosing to bake instead of fry yields a light, tender texture that highlights the rich dark chocolate and sweet vanilla icing in every single bite. Gather your ingredients, preheat your oven, and enjoy crafting these spooky, delicious treats for your Halloween celebration today.