Nothing matches the pure comfort of taking that very first sip of a cold, rich, and velvety
chocolate peanut butter shake. If you have ever caught yourself craving a
dessert that perfectly strikes the balance between deeply indulgent chocolate and rich, savory nuttiness, you have landed in the exact right place. This drink is a classic favorite across diners, ice cream parlors, and home kitchens for a very simple reason: it delivers maximum satisfaction with minimal effort. Whether you need a quick energy boost in the middle of a busy afternoon, a
post-workout treat packed with protein, or a late-night dessert to settle a sweet tooth, this creamy blend is guaranteed to deliver every single time.
In this complete guide, we will explore everything you need to know to craft the absolute best chocolate peanut butter shake right in your own kitchen. You will learn about its origins, master the core ingredient ratios, explore step-by-step preparation techniques, and discover clever variations that cater to all kinds of dietary needs and personal preferences.
What is a Chocolate Peanut Butter Shake?
At its most fundamental level, a
chocolate peanut butter shake is a cold, blended beverage that combines the rich cocoa notes of chocolate with the salty, nutty goodness of peanut butter, all brought together by a liquid base like milk or ice cream. While some people view it as a quick,
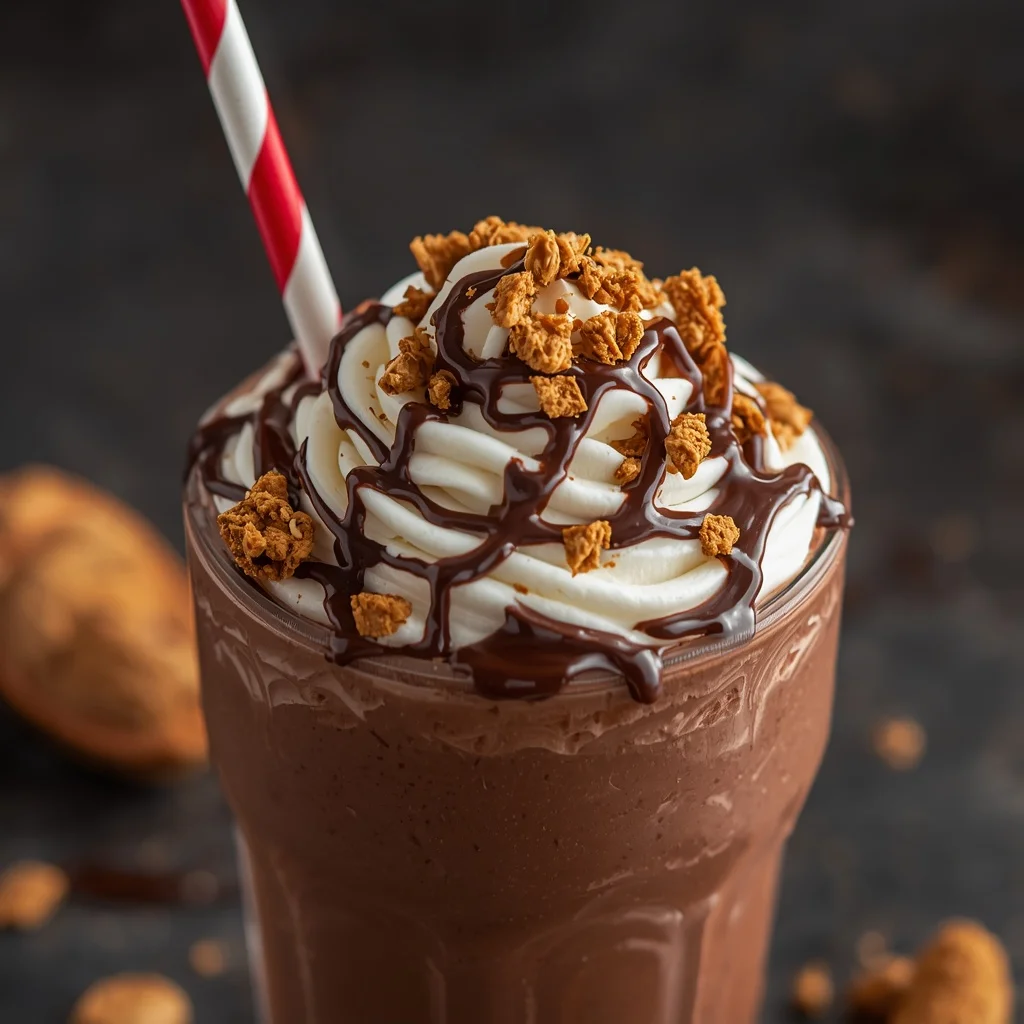
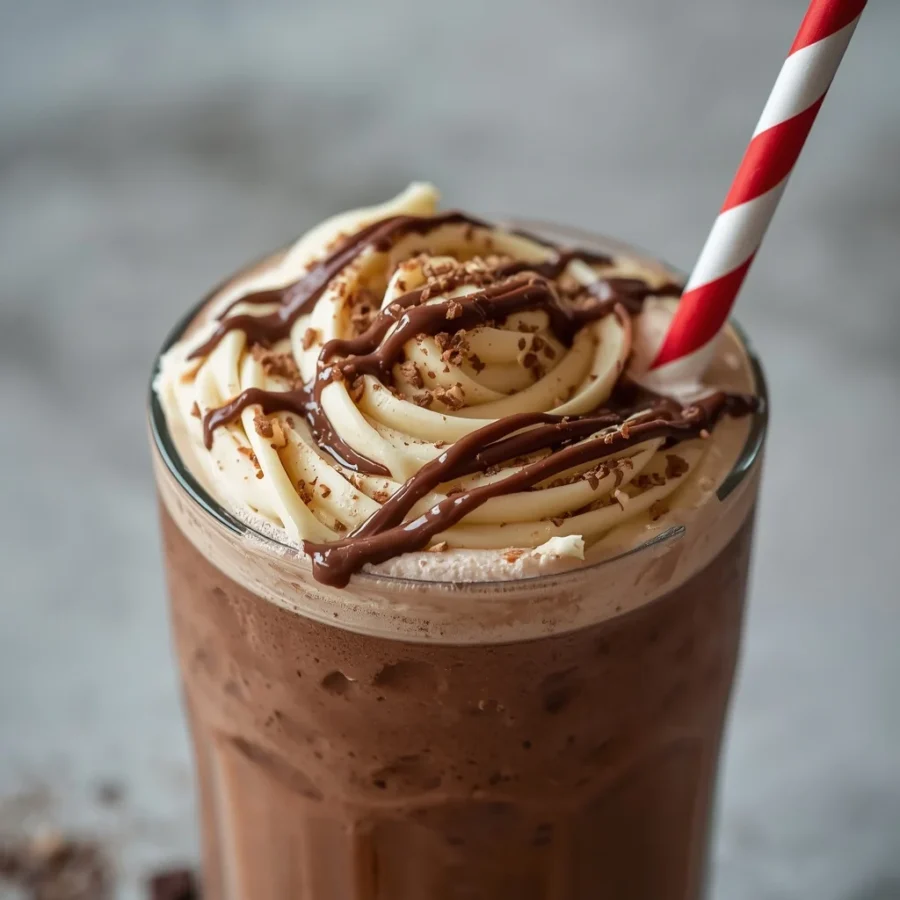
drinkable snack, others treat it as a decadent dessert served in a tall, chilled glass with whipped cream and chocolate drizzle on top.
What makes this particular beverage stand out among other drink options is the incredible harmony between its two main flavor components. Dark, bitter, or sweet cocoa naturally contrasts with the earthy, slightly salty profile of peanut butter. When these two elements are whipped together at high speed with chilled liquid, the fat from the nut butter emulsifies with the milk to create a thick, silky texture that feels luxurious on the palate.
Unlike standard smoothies that often rely heavily on acidic fruits or yogurt, this drink leans entirely into deep, cozy, dessert-forward flavors. However, depending on how you choose to build it, you can easily turn it into a wholesome breakfast option, a protein powerhouse, or an indulgent weekend treat.
The Origin of the Chocolate Peanut Butter Shake
To understand why this flavor pairing holds such a special place in modern food culture, it helps to look back at how chocolate and peanut butter first joined forces. While peanuts have been harvested and processed into pastes for centuries in South America, commercial peanut butter as we recognize it today gained massive popularity in the United States during the late nineteenth and early twentieth centuries.
The true culinary breakthrough happened in the late nineteen twenties when an inventor named Harry Burnett Reese, a former employee of the Hershey Company, created the first commercial chocolate-covered peanut butter cups. The wild success of this combination proved to the world that sweet cocoa and savory peanuts were a match made in heaven.
As American diner culture exploded throughout the mid-twentieth century, soda fountains and drive-ins began experimenting with milkshakes of all kinds. It did not take long for creative cooks to throw scoops of peanut butter and chocolate syrup into heavy-duty blender canisters alongside whole milk and vanilla ice cream. The result was an instant classic. Today, the chocolate peanut butter shake remains a staple menu item in traditional diners and modern beverage spots worldwide, representing a quintessential piece of comfort food history.
Ingredients and Exact Quantities: chocolate peanut butter shake
Creating an exceptional drink requires selecting the right ingredients in balanced proportions. You do not need expensive equipment or hard-to-find items to achieve a high-quality blend. Below is the list of ingredients along with exact measurements to make one large serving or two smaller sharing portions.
Primary Blend Ingredients
-
Cold Milk: One full cup. You can use whole dairy milk for maximum creaminess, or opt for low-fat dairy milk depending on your preference.
-
Peanut Butter: Two full tablespoons. Smooth or creamy style works best for effortless blending, though natural varieties can also be used.
-
Unsweetened Cocoa Powder: One and one-half tablespoons. High-quality natural cocoa or Dutch-processed cocoa gives the drink a deep, authentic chocolate flavor without adding extra unwanted sugars.
-
Sweetener (Sugar or Honey): One to two tablespoons, adjusted entirely to your personal taste.
-
Small Ripe Banana: One small piece. While this ingredient is optional, adding a banana adds a natural sweetness and provides incredible, velvety body to the drink.
-
Vanilla Extract: One-half teaspoon. Vanilla acts as a flavor enhancer, amplifying both the chocolate and nut notes.
-
Ice Cubes: Five to six solid cubes. Fresh ice is critical for chilling the mixture instantly and adding a frosty structure.
Optional Garnish Ingredients
-
Chocolate Syrup: Two tablespoons. Used to line the inside of your serving glass or drizzle over the top for a professional finish.
-
Extra Peanut Butter: One teaspoon. Perfect for dropping right on top of the finished beverage before serving.
Step-by-Step Preparation Method
Preparing a delicious chocolate peanut butter shake takes less than five minutes from start to finish. Following a deliberate order when adding ingredients into your blender ensures that everything incorporates smoothly without leaving chunks of unblended nut butter or ice at the bottom of the container.
Step One: Layering the Blender
Always start by placing your liquids and softest items at the bottom of the blender jar, closest to the blades.
-
Pour the one cup of cold milk directly into the blender container.
-
Add the one and one-half tablespoons of unsweetened cocoa powder and one-half teaspoon of vanilla extract directly into the liquid.
-
Spoon in two tablespoons of peanut butter, placing it directly into the center rather than against the side walls of the container so it does not stick to the glass.
-
Add your sweetener of choice, whether you are using one to two tablespoons of granulated sugar or liquid honey.
-
Slice your small ripe banana into chunks and drop them into the mixture.
-
Top everything off with the five to six solid ice cubes. Placing the heavy ice at the top helps push all the lighter ingredients down into the spinning blades once the motor turns on.
Step Two: Blending to Perfection
-
Secure the lid tightly on your blender container.
-
Turn the machine on a low speed for five to ten seconds to break up the ice cubes and start breaking down the banana chunks.
-
Increase the speed to high and blend continuously for thirty to sixty seconds.
-
Watch the mixture closely. You are looking for a uniform color with no visible flecks of unblended cocoa powder or large ice pieces remaining. The liquid should look thick, glossy, and completely smooth.
Step Three: Taste and Adjust
Before pouring, take a clean spoon, sample a small drop of the blend, and check the flavor balance.
-
If you prefer a sweeter profile, add an extra teaspoon of sweetener and pulse for five seconds.
-
If you want a more pronounced nutty character, add another half tablespoon of peanut butter and blend again until fully incorporated.
Step Four: Glass Preparation and Serving
-
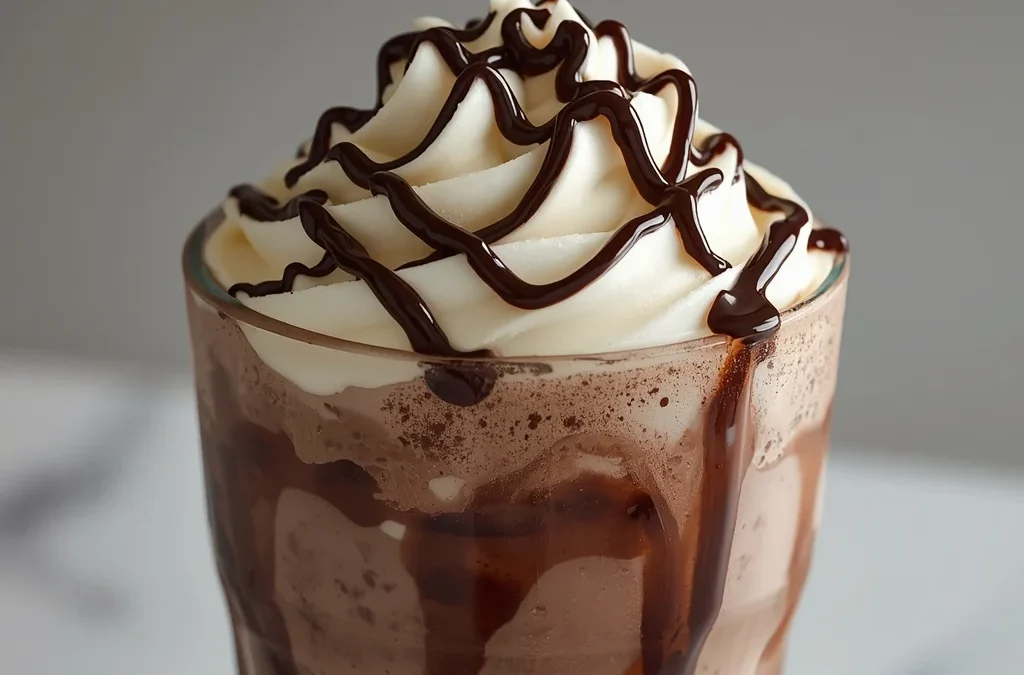
Take a tall glass and tilt it slightly. Drizzle the optional two tablespoons of chocolate syrup along the inside walls while rotating the glass to create attractive dark swirls.
-
Carefully pour your freshly blended liquid directly into the center of the prepped glass.
-
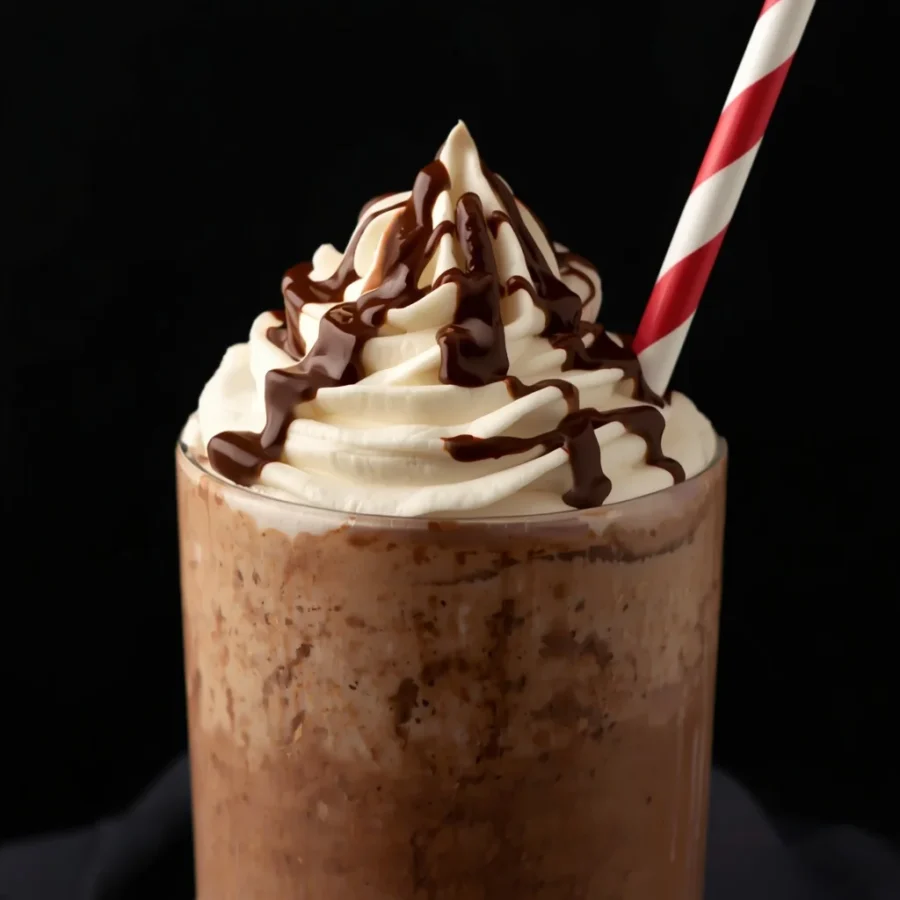
Top the drink with a light drizzle of chocolate syrup or a small dollop of peanut butter right on the surface.
-
Serve immediately with a wide straw while the beverage is icy cold.
Pro Tip for a Dessert-Style Texture
If you want to transform this everyday drink into a rich, restaurant-style dessert, you can easily alter the liquid base. Simply substitute the one cup of cold milk with one-half cup of cold milk combined with one-half cup of premium vanilla ice cream.
Using ice cream introduces additional dairy fats and sugar, resulting in a significantly denser texture that holds its structure longer. This variation is ideal when serving guests or treating yourself on a warm weekend evening.
Delicious Recipe Variations to Try: chocolate peanut butter shake
One of the absolute best features of this recipe is its versatility. You can tweak the ingredients based on what you have in your pantry or tailor the drink to align with specific dietary goals.
Vegan and Plant-Based Option
To create a completely dairy-free version, swap out the cold milk for an equal amount of unsweetened almond milk, oat milk, or soy milk. Oat milk is particularly wonderful in this context because its natural richness mirrors the mouthfeel of traditional dairy. Make sure to use maple syrup or agave nectar instead of honey as your liquid sweetener.
High-Protein Fitness Boost
If you enjoy drinking this after a heavy workout session, you can transform it into an ideal recovery drink. Keep the base recipe as it is, but reduce the cocoa powder slightly to one tablespoon and add one scoop of your favorite chocolate or peanut butter whey or plant protein powder. If the mixture becomes too thick due to the powder, simply add an extra two to three tablespoons of milk to achieve your desired consistency.
Low-Carb and Sugar-Free Adaptation
For those following a keto or low-carb lifestyle, leave out the banana entirely. Replace the traditional sugar or honey with a natural zero-calorie sweetener like stevia, erythritol, or monk fruit sweetener. Ensure that your peanut butter contains no added sugars or palm oils—just simple roasted peanuts and salt. Use unsweetened almond milk or a blend of heavy cream and water to keep the net carbohydrate count low while preserving a rich, fatty mouthfeel.
Crunchy Texture Variation
If you love texture in your drinks, switch out the standard smooth nut butter for extra-crunchy peanut butter. Alternatively, blend the base until smooth first, then toss in a tablespoon of cacao nibs, crushed roasted peanuts, or dark chocolate chips right at the end. Pulse the blender just two or three times to break the chips into small, crunchy fragments distributed throughout the glass.
Frequently Asked Questions: chocolate peanut butter shake
Can I make chocolate peanut butter shake ahead of time and store it in the refrigerator?
While this beverage is undeniably best enjoyed immediately after blending, you can store leftovers in a sealed jar or container in the refrigerator for up to twelve hours. Because the ice will melt and natural separation will occur over time, give the container a vigorous shake or pour it back into your blender with two fresh ice cubes for a quick ten-second refresh before drinking.
What type of peanut butter works best for blending?
Standard commercial creamy nut butter works best because it contains emulsifiers that help it blend seamlessly with cold liquid without separating. Natural varieties containing floating oil can also be used, but you should stir the jar thoroughly before measuring to ensure the correct balance of oil and solid nut paste goes into your blender container.
Can I substitute peanut butter with other nut or seed butter?
Absolutely. If you have a peanut allergy or simply prefer different flavor profiles, you can swap the peanut butter in equal measure for almond butter, cashew butter, or sunflower seed butter. Sunflower seed butter offers a remarkably similar earthy profile while remaining completely safe for nut-free environments.
How do I make my drink thicker without adding ice cream?
If you prefer a thick consistency but want to avoid extra sugar, frozen banana slices are your best friend. Peel and slice your banana beforehand, place the pieces in a freezer bag, and freeze them overnight. Using frozen banana pieces instead of fresh ones adds remarkable body and coldness without diluting the flavor the way extra ice cubes sometimes can.
Summary of Recipe Details: chocolate peanut butter shake
To help you keep track of the basics at a quick glance, here is a breakdown of the key metrics for this drink:
-
Total Servings: Yields one large tumbler or two smaller juice glasses.
-
Total Preparation Time: Requires approximately five minutes of prep and blending time.
-
Required Tools: High-speed electric blender, liquid measuring cup, measuring spoons, and a tall serving glass.
-
Skill Level: Beginner-friendly with zero cooking required.
Mastering the art of making a high-quality
chocolate peanut butter shake at home means you never have to rely on fast-food drive-thrus or expensive coffee shops to satisfy your cravings. By balancing cold milk, savory peanut butter, dark cocoa powder, and natural sweeteners, you create a
satisfying treat that can be customized in endless ways. Try keeping frozen banana slices in your freezer so you are always just five minutes away from whipping up this timeless, velvety favorite whenever the craving strikes.