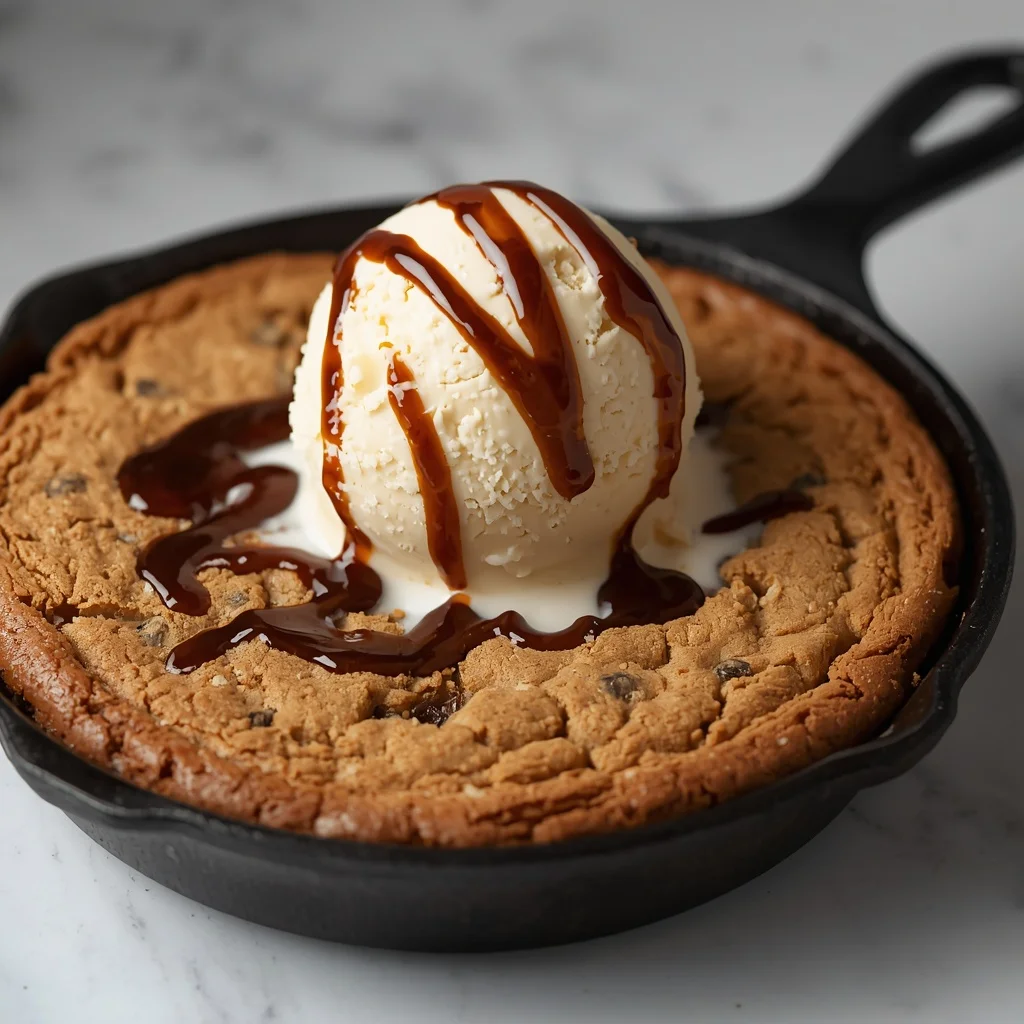
Few desserts capture the imagination and delight the senses quite like a giant, gooey chocolate chip cookie baked to absolute perfection in a heavy cast-iron pan. If you have ever frequented popular casual dining restaurants, you have likely witnessed the sheer joy that spreads across a table when a hot, freshly baked cookie topped with melting ice cream arrives. Making a decadent warm skillet cookie pizookie with vanilla bean ice cream right at home allows you to elevate this classic restaurant dessert into an unforgettable experience. By baking the dough in a single vessel, you achieve a magical contrast of textures that individual cookies simply cannot replicate. Let us explore how to create this crowd-pleasing masterpiece from scratch, ensuring a result that surpasses anything you can order at a restaurant.
What is a Warm Skillet Cookie Pizookie with Vanilla Bean Ice Cream?
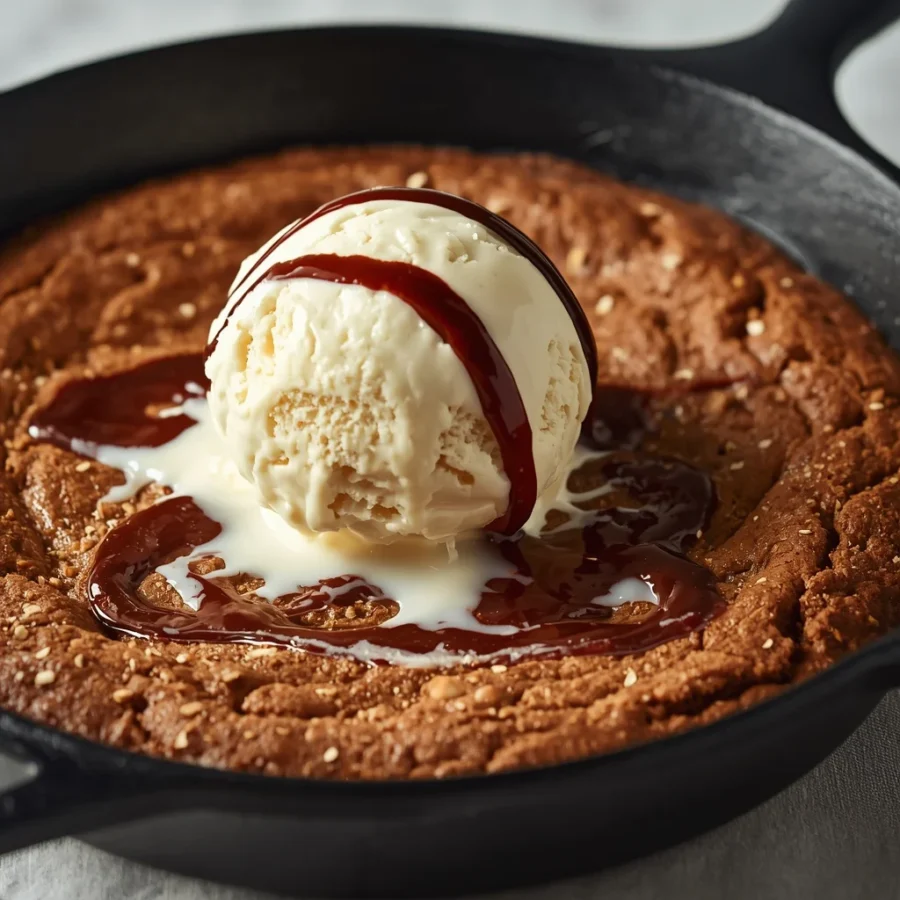
To truly appreciate this spectacular dessert, it helps to understand exactly what makes it such a unique culinary creation. The word itself is a playful portmanteau, combining the words pizza and cookie to describe a deeply comforting treat that is shaped like a deep-dish pizza but tastes like the finest chocolate chip cookie imaginable.
Instead of scooping out individual balls of dough onto a flat baking sheet, the entire batch of dough is pressed directly into a heavy, seasoned pan. When you bake a warm skillet cookie pizookie with vanilla bean ice cream, the cast iron distributes heat with incredible uniformity. This process creates beautifully golden, wonderfully crisp caramelized edges while keeping the deep center incredibly soft, rich, and gooey. As the generous scoops of premium vanilla bean ice cream sit on top of the hot cookie base, they begin to melt into the warm, molten chocolate pockets, creating a luxurious, self-saucing dessert experience.
Origin of the Celebrated Pizookie Dessert
The history of this delightful treat is rooted in American restaurant culture, specifically gaining massive popularity in the late twentieth century. A well-known West Coast restaurant chain popularized the term and the concept by serving giant, deep-dish cookies fresh from the oven to enthusiastic diners who loved the shareable nature of the dessert.
However, the underlying technique of baking cookie dough in a skillet draws inspiration from traditional American cobblers and pan-baked quick breads. Homemakers discovered long ago that baking sweet batters in cast iron produced a superior crust and retained moisture far better than thin aluminum sheets. By applying this historic, rustic baking method to standard chocolate chip cookie dough, bakers created a modern legendary dessert that transitioned effortlessly from commercial restaurant kitchens to the heart of family homes.
Ingredients and Exact Quantities Needed: deep dish pizookie dessert
Crafting the ultimate dessert requires utilizing precise ratios to ensure the perfect balance between a golden crust and a soft, molten center. Here is your complete grocery list with the exact measurements required to serve six eager guests.
For the Skillet Cookie Base
-
One half cup of unsalted butter, softened beautifully to room temperature
-
One half cup of packed light brown sugar, which provides moisture and a rich caramel notes
-
One quarter cup of granulated white sugar for crispness along the edges
-
One large egg, preferably at room temperature to emulsify smoothly
-
One teaspoon of pure vanilla extract for a deep, aromatic background flavor
-
One and one quarter cups of all-purpose flour, spooned and leveled gently
-
One half teaspoon of baking soda to help the dough rise slightly
-
One half teaspoon of fine sea salt to balance the intense sweetness
-
One full cup of high-quality semi-sweet chocolate chips, plus a few extra for the top
-
One half cup of chopped walnuts or pecans, which is completely optional but adds a wonderful crunch
For the Ultimate Presentation
-
Six generous scoops of premium vanilla bean ice cream
-
A rich chocolate sauce drizzle, which is optional
-
A velvety caramel sauce drizzle, which is optional
-
Fluffy homemade whipped cream, which is optional
-
Fine chocolate shavings or colorful sprinkles for decoration, which is optional
Step-by-Step Direction and Preparation Method: deep dish pizookie dessert
Achieving the perfect balance of a crispy exterior and an irresistibly gooey interior requires careful attention to timing and temperature. Follow these detailed steps to guarantee baking success.
Phase One: Preparing Your Equipment and Oven
Begin your baking journey by preheating your oven to three hundred and seventy-five degrees. While the oven is warming up, prepare your baking vessel. Take a small amount of butter or vegetable oil and lightly grease a ten-inch cast-iron skillet or any similar size oven-safe baking dish. Ensure you coat both the bottom and the sides evenly to prevent the sugars in the cookie dough from sticking to the pan during the baking process.
Phase Two: Mixing the Wet Components
In a large mixing bowl, combine the one half cup of softened unsalted butter, the one half cup of brown sugar, and the one quarter cup of granulated white sugar. Using a hand mixer or a sturdy wooden spoon, beat the butter and sugars together vigorously until the mixture transforms into a light, fluffy, and pale pale-yellow texture. This process incorporates air into the fat, which helps create a tender crumb structure. Next, crack in the one large egg and add the one teaspoon of pure vanilla extract. Beat the mixture again for about one minute until the egg is fully incorporated and the batter looks completely smooth and uniform.
Phase Three: Introducing the Dry Components
In a separate medium-sized bowl, whisk together the one and one quarter cups of all-purpose flour, the one half teaspoon of baking soda, and the one half teaspoon of fine sea salt to ensure the leavening agent is distributed evenly.
Gradually add these dry ingredients into the bowl with your wet ingredients. Mix very gently, stopping the moment the white streaks of flour disappear into the dough. Over-mixing at this stage will develop excess gluten, which can make your cookie tough instead of melt-in-your-mouth tender. Once the dough is just combined, use a rubber spatula to gently fold in the one full cup of semi-sweet chocolate chips and the optional half cup of chopped nuts, distributing them evenly throughout the thick dough.
Phase Four: Assembling the Dessert
Transfer the thick cookie dough directly into the center of your prepared, greased cast-iron skillet. Using clean hands or the back of a large spoon, press the dough outward evenly until it covers the entire bottom of the pan in a uniform layer.
To achieve that professional, bakery-style visual appeal, take a small handful of extra chocolate chips and press them gently into the top surface of the dough. This ensures that every square inch of the finished dessert features beautiful, glossy pockets of melted chocolate right on top.
Phase Five: The Crucial Baking Process
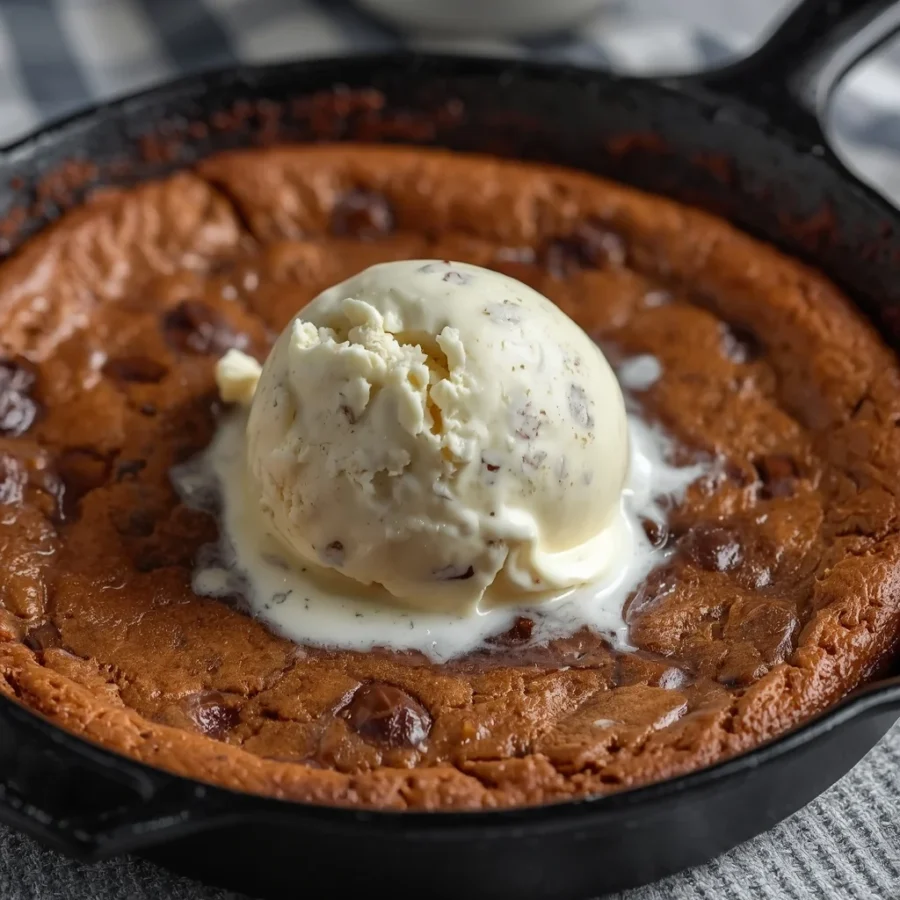
Place the filled skillet onto the center rack of your preheated oven. Bake the dessert for twenty to twenty-five minutes. It is vital to monitor the progress closely during the final few minutes of baking. You are looking for the outer edges to turn a gorgeous, deep golden brown and puff up slightly, while the very center should still look somewhat soft and look slightly under-baked.
Do not be tempted to leave it in the oven until the center is completely firm. The residual heat trapped inside the heavy cast-iron pan will continue to cook the interior of the cookie long after you remove it from the heat, ensuring it reaches the perfect gooey consistency without drying out.
Phase Six: The Cooling and Resting Period
Carefully remove the hot skillet from the oven using thick oven mitts and place it onto a heat-safe surface or trivet. Let the cookie rest undisturbed for five to ten minutes. This resting phase is essential because it allows the molten starches and melted sugars to settle and structure themselves slightly, making the dessert robust enough to support the heavy weight of the ice cream toppings without collapsing into a soup.
Phase Seven: Decorating and Serving Your Masterpiece
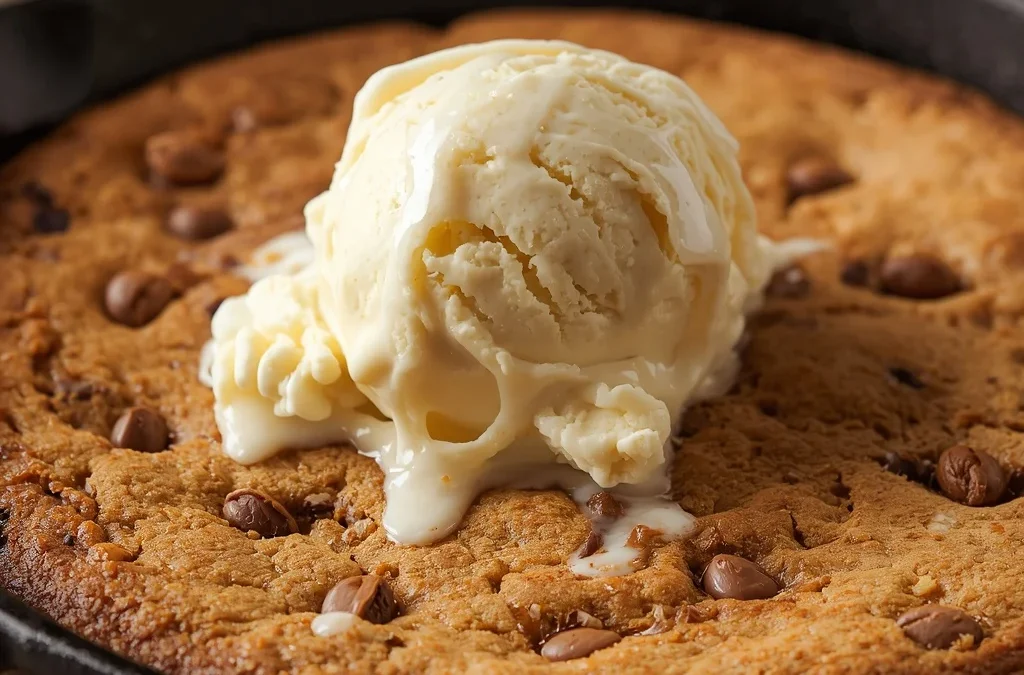
Once the cookie has rested slightly but is still wonderfully warm to the touch, place six large, generous scoops of premium vanilla bean ice cream directly over the center of the warm cookie surface. If you want to maximize the decadence, artistically drizzle rich chocolate sauce and velvety caramel sauce over the top of the ice cream. Finish the presentation with a dollop of fluffy whipped cream and a scattering of delicate chocolate shavings or festive sprinkles if desired. Serve the dessert immediately with six spoons so everyone can dig in together.
Creative Variations to Elevate the Flavor: deep dish pizookie dessert
While the traditional chocolate chip version is undeniably spectacular, you can easily customize the ingredients to create completely new flavor experiences that suit your personal preferences.
The Decadent Triple Chocolate Twist
For the ultimate chocolate enthusiast, transform the base by replacing a quarter cup of the all-purpose flour with a quarter cup of high-quality unsweetened dark cocoa powder. Stir in a combination of white chocolate chips, milk chocolate chunks, and dark chocolate discs instead of just semi-sweet chips. This creates a deeply rich, multi-dimensional chocolate profile that pairs exquisitely with the cold vanilla ice cream.
The Sweet and Salty Caramel Peanut Butter Fusion
If you love a contrast of sweet and savory flavors, reduce the unsalted butter by two tablespoons and fold in one third cup of creamy peanut butter into the wet ingredients. Replace half of the chocolate chips with rich peanut butter chips or chopped caramel bits. Right before serving, sprinkle a generous pinch of flaky sea salt across the top of the baked dessert to enhance the caramel notes.
Frequently Asked Questions: warm skillet cookie pizookie with vanilla bean ice cream
Can I prepare warm skillet cookie pizookie with vanilla bean ice cream ahead of time?
Yes, you can easily make the cookie dough up to two days in advance. Simply press the prepared dough into your greased skillet, cover the top tightly with plastic wrap, and store it in your refrigerator. When you are ready to enjoy it, remove the plastic wrap and place the cold skillet directly into your preheated oven. You may need to add two to three extra minutes to the total baking time to account for the chilled temperature of the pan and dough.
What can I use if I do not own a cast-iron skillet?
While cast iron provides the absolute best crust development, you can still achieve excellent results using a standard nine-inch or ten-inch round cake pan, a pie dish, or a shallow ceramic tart baker. Keep a close eye on the oven, as ceramic and aluminum transfer heat differently than cast iron, which might cause the cookie to bake a few minutes faster.
How should I store and reheat any leftovers?
If you somehow end up with leftovers, let the skillet cool completely down to room temperature. Transfer the remaining cookie portions into an airtight container and store it in your refrigerator for up to four days, or wrap it tightly and freeze it for up to two months. To reheat, simply place a portion on a microwave-safe plate and heat it for twenty to thirty seconds until the chocolate pockets melt again, then top with fresh ice cream.
Conclusion: warm skillet cookie pizookie with vanilla bean ice cream
Creating a spectacular dessert at home is a wonderful way to bring joy to the dinner table, and this comforting warm skillet cookie pizookie with vanilla bean ice cream delivers an unmatched experience. By utilizing quality fats, balancing your sugars, and mastering the art of the intentional under-bake in a heavy pan, you create a dessert that is vastly superior to dry, standard cookies. Whether you are celebrating a special occasion or simply treating your family on a cozy weekend evening, this shareable masterpiece is guaranteed to put smiles on faces. Gather your friends, grab your spoons, and enjoy the glorious contrast of warm, gooey chocolate cookie mixed with cold, melting vanilla bean cream.
Warm Skillet Cookie Pizookie with Vanilla Bean Ice Cream
- Total Time: 40 minutes
- Yield: 6 servings 1x
- Diet: Vegetarian
Description
To truly appreciate this spectacular dessert, it helps to understand exactly what makes it such a unique culinary creation. The word itself is a playful portmanteau, combining the words pizza and cookie to describe a deeply comforting treat that is shaped like a deep-dish pizza but tastes like the finest chocolate chip cookie imaginable.
Ingredients
For the Skillet Cookie
- ½ cup (115 g) unsalted butter, softened
- ½ cup (100 g) brown sugar
- ¼ cup (50 g) granulated sugar
- 1 large egg
- 1 tsp vanilla extract
- 1¼ cups (160 g) all-purpose flour
- ½ tsp baking soda
- ½ tsp salt
- 1 cup (170 g) semi-sweet chocolate chips
- ½ cup (60 g) chopped walnuts or pecans (optional)
For Serving
- 6 scoops vanilla bean ice cream
- Chocolate sauce (optional)
- Caramel sauce (optional)
- Whipped cream (optional)
- Chocolate shavings or sprinkles (optional)
Instructions
1. Preheat the Oven
- Preheat your oven to 350°F (175°C).
- Lightly grease a 10-inch cast-iron skillet or oven-safe baking dish.
2. Make the Cookie Dough
- In a large bowl, beat together the butter, brown sugar, and granulated sugar until light and fluffy.
- Mix in the egg and vanilla extract.
- In a separate bowl, whisk together the flour, baking soda, and salt.
- Gradually add the dry ingredients to the wet ingredients until just combined.
- Fold in the chocolate chips and nuts, if using.
3. Assemble
- Press the cookie dough evenly into the prepared skillet.
- Sprinkle a few extra chocolate chips on top for a bakery-style finish.
4. Bake
- Bake for 20–25 minutes, or until the edges are golden brown while the center remains slightly soft.
- Do not overbake—the cookie will continue to set as it cools.
5. Cool Slightly
- Let the skillet cookie rest for 5–10 minutes before serving.
6. Serve
- Top the warm cookie with generous scoops of vanilla bean ice cream.
- Drizzle with chocolate or caramel sauce if desired.
- Finish with whipped cream, chocolate shavings, or sprinkles.
Notes
Whether it’s movie night, a family gathering, or simply treating yourself, this warm skillet cookie is guaranteed to bring smiles with every spoonful.
- Prep Time: 15 minutes
- Cook Time: 25 minutes
- Category: Dessert
- Method: Baking
- Cuisine: American
Nutrition
- Serving Size: 1 slice (1/6 of skillet) with 1 scoop ice cream
- Calories: 520 kcal
Keywords: cast iron skillet chocolate chip cookie, deep dish pizookie dessert, warm pan cookie with vanilla ice cream
