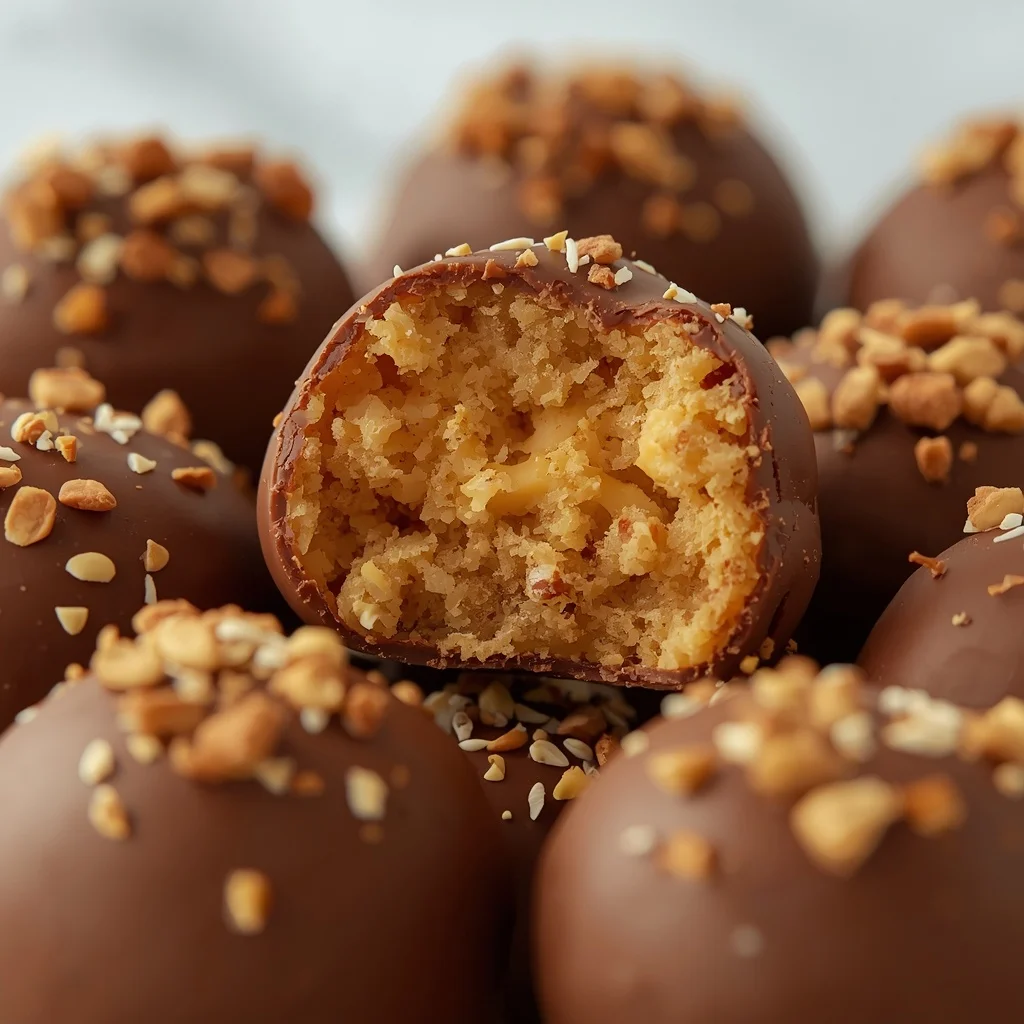
Are you craving a sweet, crunchy, and peanut-buttery treat today? You can satisfy that craving without turning on your hot oven. These easy Butterfinger Balls capture every bit of that classic candy bar flavor. The recipe combines creamy peanut butter with a very satisfying crunch. Everything is wrapped inside a smooth chocolate shell. You can bring these treats to a holiday party. They work equally well as a quick game-day snack. You can even enjoy them as a sweet midnight bite. This simple dessert delivers maximum flavor with minimal overall effort.
What Is the Butterfinger Balls Recipe?
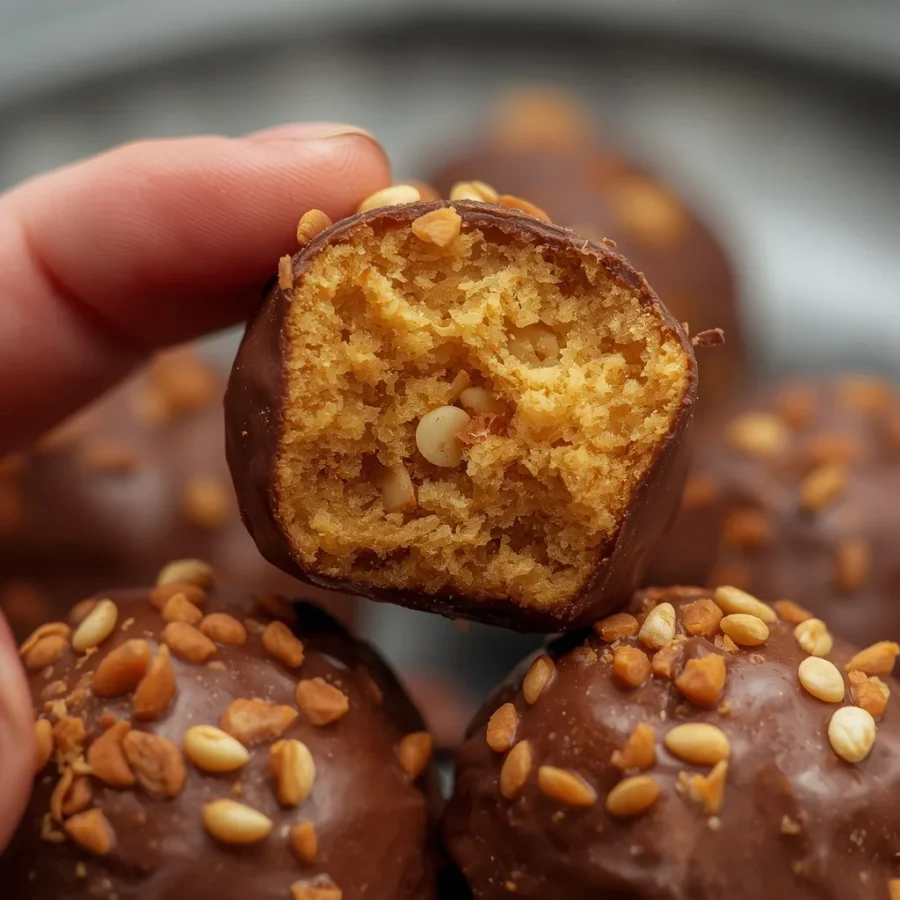
At its core, the Butterfinger Balls recipe is a brilliant confection. Bakers created this no-bake method to replicate a famous candy bar. Traditional candy making requires candy thermometers and hot sugar syrup. This smart recipe skips those hard steps entirely. Instead, it uses crushed cornflakes mixed into peanut butter. That simple swap creates an incredible internal texture.
After shaping the center, you chill the portions briefly. Next, you coat each piece in melted chocolate. The final bite-sized truffle has a wonderful contrast. A silky outer shell gives way to a dense core. You need zero baking time for this task. The process requires only a few standard pantry staples. Home cooks consider this project one of the easiest candies possible.
The Origin of the Butterfinger Balls Recipe
The history of this recipe connects to traditional American party sweets. Decades ago, home cooks loved making basic peanut butter buckeyes. The original Butterfinger candy bar arrived in the nineteen twenties. Otto Schnering invented the famous bar in Chicago. People quickly fell in love with the flaky, crunchy interior. Home bakers soon searched for ways to recreate that texture.
Nobody knows which specific home kitchen invented the very first version. However, the idea spread fast through community cookbooks. Creative cooks discovered that crisp cereal provided the perfect crunch. Mixing cereal with peanut butter and sugar worked like magic. The combination tasted remarkably like the commercial candy bar. Today, homemade Butterfinger Balls appear regularly on holiday dessert tables.
Ingredients and Quantities Needed
You need six basic ingredients to assemble these tasty treats. Gathering your supplies beforehand keeps the preparation quick and clean.
-
One cup of creamy peanut butter — Standard commercial brands work best because they hold their shape.
-
One cup of powdered sugar — This ingredient sweetens the center and binds everything together.
-
One and one-half cups of finely crushed crispy cornflakes — Cereal provides that signature candy crunch.
-
One teaspoon of pure vanilla extract — Vanilla enhances the natural nuttiness of your peanut butter.
-
Two cups of milk chocolate or semi-sweet chocolate chips — These melted chips form the outer shell.
-
One tablespoon of vegetable shortening or coconut oil — Adding fat thins the melted chocolate for easy dipping.
Step-by-Step Preparation and Dip Method: Butterfinger balls
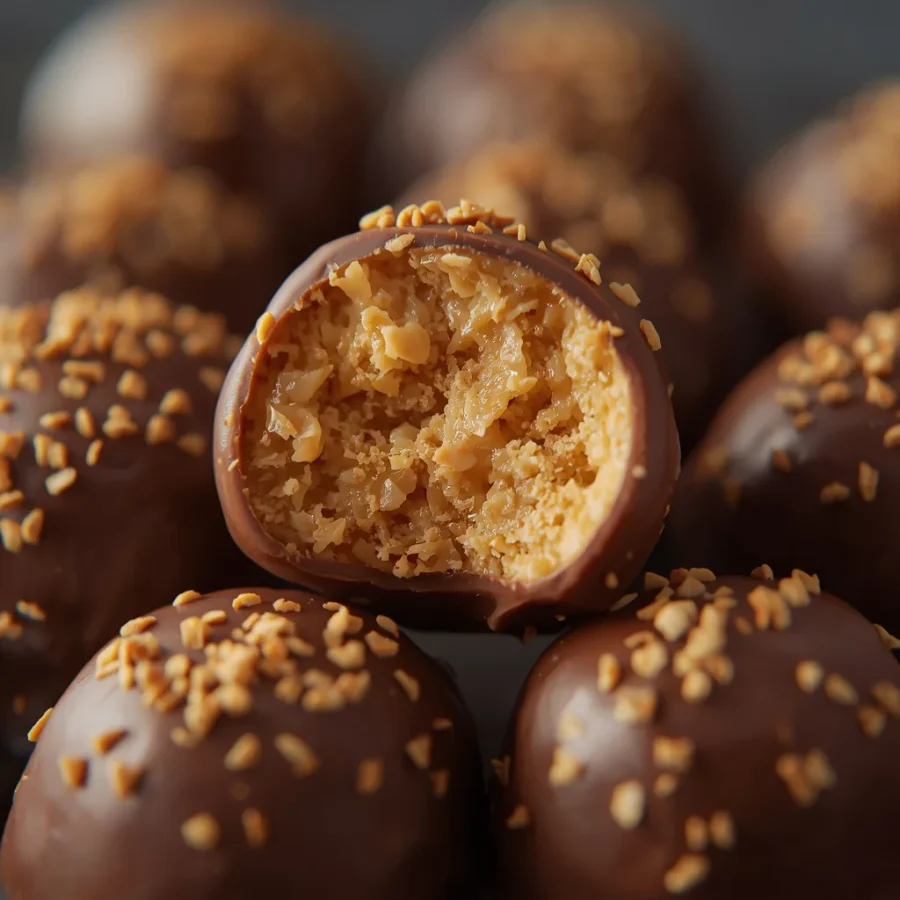
Preparing this dessert is extremely straightforward. Even beginners can achieve wonderful results on their first try. Follow these clear steps to complete your batch.
Mixing the Crunch Base
Grab a large bowl to start your dough. Add the creamy peanut butter and powdered sugar first. Pour in the crushed cornflakes along with the vanilla extract. Take a sturdy spoon and stir all the items together. You want a stiff, uniform dough to form. Make sure the cereal spreads evenly throughout the mixture. Equal cereal distribution guarantees crunch in every single bite.
Shaping into Balls
Prepare a large baking tray by lining it with parchment paper. Scoop out roughly one tablespoon of dough for each piece. Roll the portion gently between your clean palms. Form a smooth, round sphere before placing it down. Set each completed center onto your lined tray. Space them out slightly so they do not stick together.
Chilling for Stability
Place the filled baking sheet directly into your refrigerator. Leave the tray inside for twenty to thirty minutes. Cold temperatures harden the fat inside the peanut butter. Firm centers hold their shape much better during the dipping process. Warm dough would simply melt into your warm dipping chocolate.
Melting the Coating
Prepare your chocolate while the peanut butter centers chill. Pour the chocolate chips into a heat-safe bowl. Warm the chips inside your microwave using short bursts. Stick to twenty or thirty second intervals to avoid burning. Stir the chocolate thoroughly after each heating session. Add your shortening or coconut oil during the final stir. The oil leaves you with a shiny, fluid coating.
Dipping and Coating
Retrieve the firm peanut butter centers from your fridge. Drop one ball at a time into the bowl of chocolate. Use a fork to roll the sphere around completely. Lift the coated treat straight out of the liquid. Tap the fork handle against the rim to shed excess chocolate. Carefully return the dipped candy to your parchment paper.
Setting the Final Shell
Move the tray of finished sweets back into the refrigerator. Allow them to chill for another twenty to thirty minutes. Cold air hardens the melted chocolate into a crisp outer crust. Once the shells feel solid, your candies are ready to serve.
Creative Recipe Variations to Try
The standard version tastes incredible on its own. However, you can easily tweak the base ingredients for fun twists.
Dark Chocolate and Sea Salt Spin
Try swapping milk chocolate for dark chocolate chips. Look for cocoa content around sixty percent or higher. Dark chocolate cuts down the overall sweetness of the treat. Sprinkle a tiny pinch of coarse sea salt onto the wet tops. Do this immediately after dipping before the shell sets. The salty and bitter combination creates a sophisticated flavor profile.
White Chocolate Holiday Drizzle
White chocolate makes these confections look festive for winter holidays. Dip your chilled centers into melted white chocolate chips instead. Let that base layer harden completely inside the fridge. Next, melt a small handful of regular milk chocolate. Drizzle thin chocolate lines across the tops using a fork. This simple step adds an elegant look for gift tins.
Graham Cracker or Pretzel Swap
You can substitute other crunchy snacks if you run out of cereal. Finely crushed pretzel twists work wonderfully in this recipe. Crushed graham crackers also offer a pleasant textured center. Pretzels add a strong salty note that complements sweet peanut butter.
Proper Storage Instructions for Freshness: Butterfinger balls
Good storage habits keep your homemade candies tasting fresh. Follow these simple storage guidelines for the best results.
-
Refrigeration: Place the finished candies inside an airtight container. Use sheets of parchment paper between stacked layers. Stored in the fridge, your treats stay fresh for up to one week.
-
Freezing: You can freeze these treats if you want to prep early. Put the balls inside a heavy-duty freezer bag. They will keep nicely for up to two months. Move them to the fridge one hour before serving so they soften slightly.
Frequently Asked Questions: Butterfinger balls
Why are my peanut butter balls too soft to dip?
Soft centers usually mean the dough did not chill long enough. Always give the rolled centers a full half-hour in the fridge. Warm kitchens can also soften the peanut butter dough quickly. You can place the tray in the freezer for fifteen minutes instead.
Can I use natural peanut butter for this recipe?
Standard commercial peanut butter yields much better results here. Natural varieties contain free-floating oils that separate easily. Those extra oils make your dough greasy and loose. Soft dough struggles to maintain a neat spherical shape.
How do I stop excess chocolate from pooling at the base?
Patience during the dipping phase prevents messy chocolate pools. Hold your dipped ball above the chocolate bowl for a few seconds. Gently tap your fork handle against the bowl’s edge. This vibration forces extra liquid chocolate to fall back down. Wipe the bottom of your fork against the rim before moving to the tray.
Conclusion: Butterfinger balls
Making a batch of homemade Butterfinger Balls proves that delicious candy does not require complicated cooking techniques. Combining simple peanut butter with crunchy cereal creates an irresistible center that anyone can master. Wrapping those crispy centers in smooth chocolate delivers pure nostalgic flavor in every single bite. Grab your basic ingredients today and mix up a fresh tray for your family. These bite-sized confections will disappear from your dessert table faster than you expect.
Print
How to Make Easy Butterfinger Balls: The Ultimate No-Bake Recipe
- Total Time: 50 minutes
- Yield: 20–24 balls 1x
- Diet: Vegetarian
Description
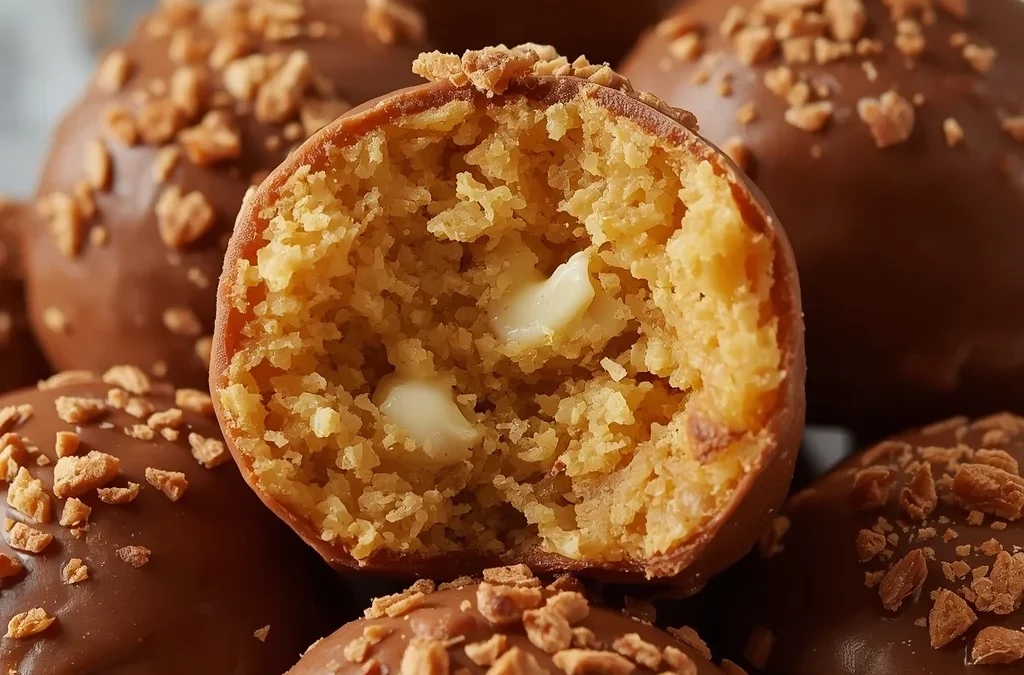
At its core, the Butterfinger Balls recipe is a brilliant confection. Bakers created this no-bake method to replicate a famous candy bar. Traditional candy making requires candy thermometers and hot sugar syrup. This smart recipe skips those hard steps entirely. Instead, it uses crushed cornflakes mixed into peanut butter. That simple swap creates an incredible internal texture.
Ingredients
Scale
- 1 cup creamy peanut butter
- 1 cup powdered sugar
- 1½ cups finely crushed crispy cornflakes
- 1 teaspoon vanilla extract
- 2 cups milk or semi-sweet chocolate chips
- 1 tablespoon shortening or coconut oil (optional, for smoother dipping)
Instructions
- Make the filling:
In a large bowl, mix the peanut butter, powdered sugar, crushed cornflakes, and vanilla until well combined. - Shape the balls:
Scoop out about 1 tablespoon of the mixture and roll it between your palms to form a ball. Place on a parchment-lined tray. - Chill:
Refrigerate the balls for 20–30 minutes to firm them up. - Melt the chocolate:
Melt the chocolate chips in the microwave in 20–30 second intervals, stirring after each interval. Add shortening or coconut oil if desired. - Dip:
Using a fork or dipping tool, coat each chilled ball completely in melted chocolate. Return them to the parchment-lined tray. - Set:
Refrigerate for 20–30 minutes, or until the chocolate is completely firm.
Notes
For an extra crunchy, Butterfinger-style texture, leave some of the cornflakes slightly chunky. You can also drizzle the finished balls with melted peanut butter or chocolate for an extra special touch!
- Prep Time: 20 minutes
- Cook Time: 0 minutes
- Category: Dessert
- Method: American
- Cuisine: No-Bake
Nutrition
- Serving Size: 1 ball
- Calories: ~160 kcal
Keywords: No-bake Butterfinger bites, homemade Butterfinger truffles, peanut butter cornflake balls
