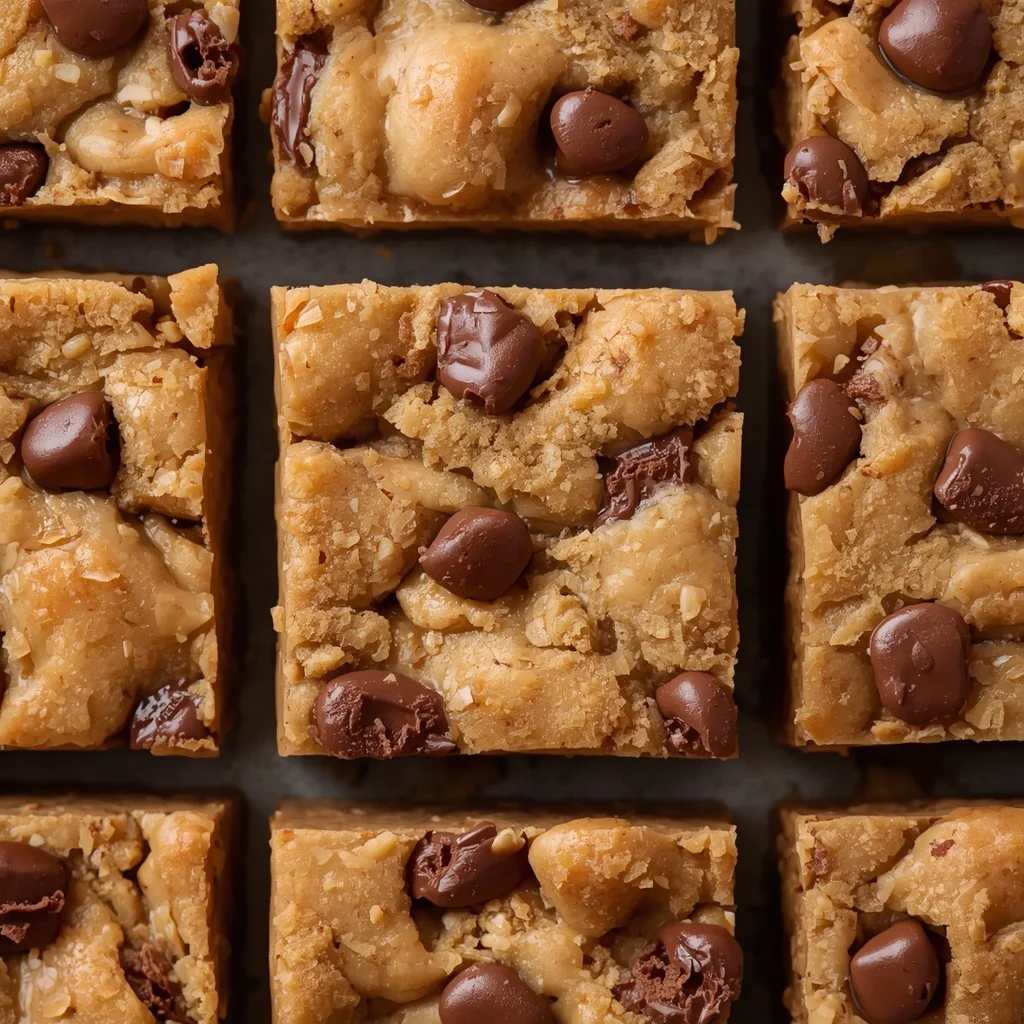
Finding a wholesome, delicious snack that satisfies your sweet tooth while keeping your energy levels steady throughout the afternoon can often feel like a challenge. If you find yourself constantly reaching for store-bought energy bars packed with mysterious preservatives, making No-Bake Protein Cookie Dough Bars at home is the ultimate solution for your meal prep routine. Preparing a batch of No-Bake Protein Cookie Dough Bars gives you total control over every single ingredient, ensuring you fuel your body with complex carbohydrates, healthy fats, and clean protein. These easy No-Bake Protein Cookie Dough Bars capture all the nostalgic magic of sneaking spoonfuls of raw chocolate chip cookie dough straight from the mixing bowl, but with a refined nutritional profile that fits seamlessly into a balanced lifestyle.
What Is No-Bake Protein Cookie Dough Bars?
At its core, this recipe is a smart, health-conscious spin on classic raw chocolate chip cookie dough. Standard baking doughs rely heavily on raw eggs and untreated white flour, which require baking to be safe for consumption. This modern unbaked version completely eliminates those safety concerns by using finely ground oat flour and nut butter as its structural base.
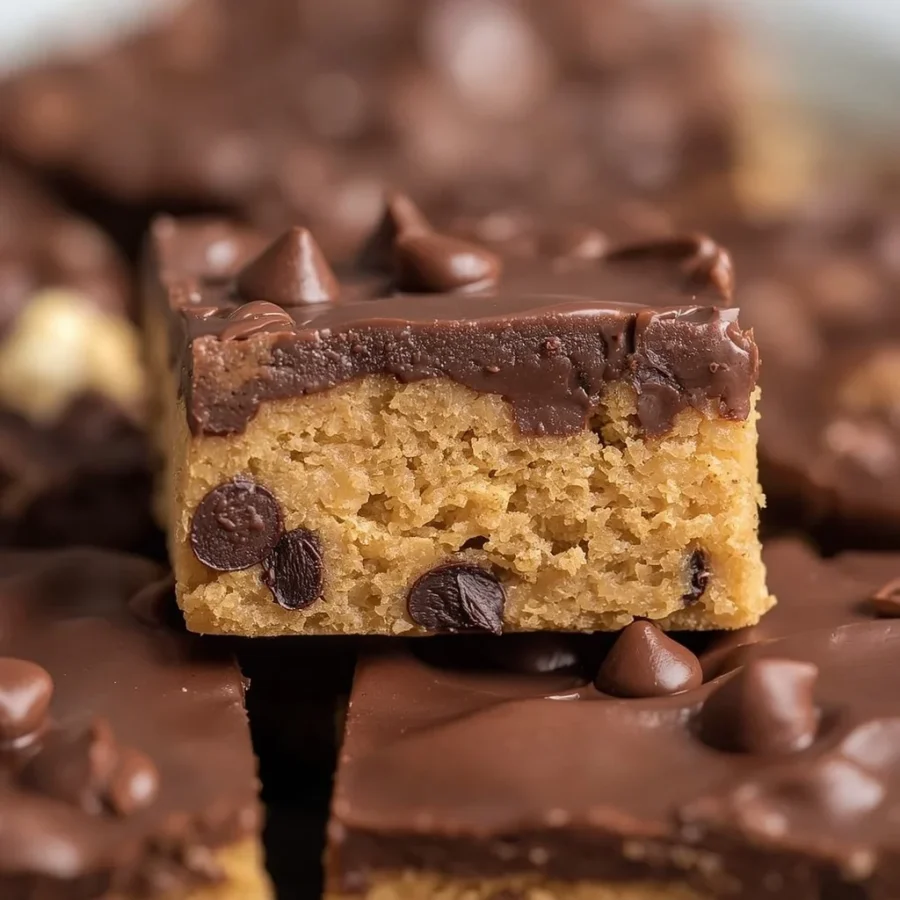
The resulting dough is naturally egg-free and easily adapted to be dairy-free or gluten-free depending on your specific dietary preferences. By adding high-quality protein powder directly into the dry mixture, you transform a standard sweet treat into a functional, macro-friendly power bar. Topped off with a glossy layer of melted chocolate and coconut oil that sets firm in the refrigerator, these bars deliver a satisfying snap with every single bite followed by a soft, fudge-like center.
Origin of No-Bake Protein Cookie Dough Bars
The rise of unbaked energy squares traces back to the modern wellness movement and the growth of athletic meal prep over the past two decades. As busy professionals and fitness enthusiasts began searching for quick, nutrient-dense fuel, home cooks started experimenting with raw, whole-food ingredients like dates, nuts, seeds, and oats to create portable snacks.
As protein powders evolved from chalky athletic supplements into delicious, highly palatable flavor enhancers, creative bakers recognized their potential in raw confectionery. Combining the beloved childhood nostalgia of raw cookie dough with modern functional nutrition sparked a massive trend across health food blogs and boutique cafes. Today, unbaked protein bars represent one of the most popular home prep trends worldwide, offering a fresh, preservative-free alternative to commercial packaged snacks.
Ingredients with Quantity: No-Bake Protein Cookie Dough Bars
Gathering exact measurements before mixing guarantees that your dough achieves the perfect balance between firmness and chewiness. Separate your ingredients into two distinct groups before starting your preparation.
Cookie Dough Base Components
-
One cup creamy natural peanut butter, smooth and well-stirred
-
One third cup pure honey or pure maple syrup
-
One teaspoon pure vanilla extract
-
One and one half cups fine oat flour
-
One half cup vanilla protein powder, plant-based or whey
-
One quarter teaspoon fine sea salt
-
One quarter cup unsalted oat milk, plus extra if needed for texture
-
One third cup miniature semi-sweet chocolate chips
Glossy Chocolate Topping Components
-
One half cup semi-sweet chocolate chips or dark chocolate morsels
-
One teaspoon virgin coconut oil
Step by Step Direction and Preparation Method: No-Bake Protein Cookie Dough Bars
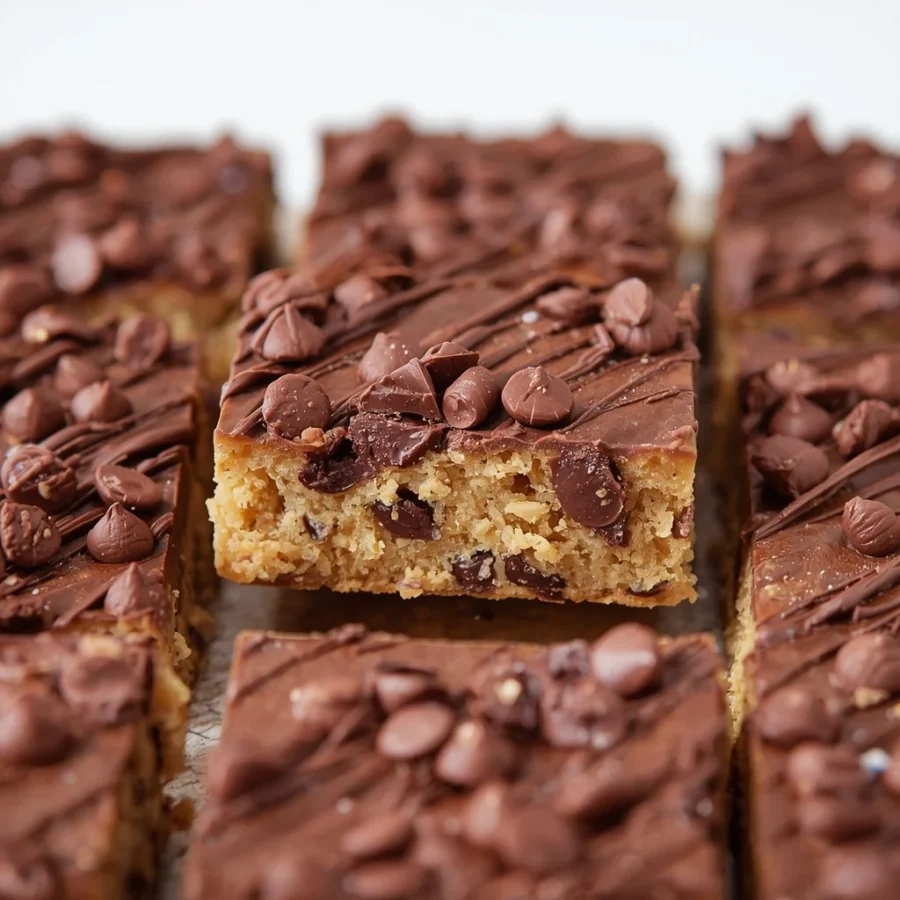
Creating these delicious bars requires zero cooking skills and just a few simple kitchen tools. Follow these clear, organized steps to assemble your tray with complete confidence.
Preparing the Baking Pan
Select a standard eight-inch by eight-inch square baking pan for your base. Cut a piece of parchment paper wide enough to cover the bottom and sides of the pan, leaving an inch or two of overhang on opposite sides. This parchment sling allows you to lift the set chocolate slab out effortlessly once it chills, ensuring clean, straight cuts without scratching your pan.
Blending the Wet Foundation
Take a large mixing bowl and add one cup of creamy peanut butter, one third cup of honey or pure maple syrup, and one teaspoon of pure vanilla extract. Use a sturdy wooden spoon or silicone spatula to stir the liquids together for roughly one minute. Continue stirring until the mixture becomes completely smooth, shiny, and uniform in color.
Incorporating the Dry Powders
Add one and one half cups of fine oat flour, one half cup of vanilla protein powder, and one quarter teaspoon of fine sea salt into the bowl with your wet peanut butter base. Begin stirring the dry ingredients into the wet mixture. The batter will gradually thicken into a dense, heavy dough as the oat flour absorbs the natural oils.
Adjusting Dough Consistency
Measure out one quarter cup of oat milk. Drizzle the liquid into the bowl one tablespoon at a time while working the dough with your spatula or clean hands. You want the dough to hold together firmly when squeezed without feeling dry or crumbly. If your specific protein powder absorbs an exceptional amount of liquid, add an extra tablespoon of oat milk until the texture closely mirrors traditional cookie dough.
Folding in Chocolate Chips
Pour one third cup of miniature chocolate chips directly over the prepared dough. Fold the chips into the mixture gently so they distribute evenly throughout the entire tray. Using mini chocolate chips rather than full-sized morsels ensures that every single bite contains sweet chocolate without disrupting the structural integrity of your slices.
Compressing into the Pan
Transfer the finished dough into your lined eight-inch square pan. Spread the mixture toward the corners using your hands or a spatula. Press down firmly across the entire surface to compact the dough tightly into an even layer. You can use the smooth bottom of a flat drinking glass wrapped in parchment paper to level the surface completely.
Melting the Chocolate Shell
Place one half cup of semi-sweet chocolate chips and one teaspoon of coconut oil inside a small heat-safe glass bowl. Microwave the bowl in twenty-second intervals, stirring thoroughly between each heating burst. Once the chocolate is almost completely melted, stir vigorously until the remaining heat creates a smooth, glossy glaze.
Glazing the Cookie Dough
Pour the warm melted chocolate directly onto the center of your compacted cookie dough layer. Use an offset spatula or the back of a spoon to sweep the liquid chocolate outward, coating the top surface evenly from edge to edge.
Chilling and Slicing
Place the baking pan onto a flat shelf inside your refrigerator. Allow the tray to chill undisturbed for one to two hours so the healthy fats in the peanut butter solidify and the top chocolate shell sets firm. Once set, pull the parchment paper handles upward to lift the entire block onto a cutting board. Use a sharp chef knife to slice the block into twelve equal rectangular bars.
Essential Tips for Success: No-Bake Protein Cookie Dough Bars
Making unbaked snacks is incredibly simple, but applying a few expert kitchen tips will elevate the overall texture and taste of your homemade bars.
Heat Treating Your Oat Flour
While commercial oat flour is generally safe, you can heat treat your flour at home for absolute peace of mind. Spread your oat flour across a baking sheet and place it in an oven set to three hundred fifty degrees Fahrenheit for five minutes. Allow the flour to cool completely before mixing it into your wet ingredient bowl.
Accounting for Protein Powder Variations
Protein powders vary widely in how much liquid they absorb. Plant-based proteins like pea or hemp absorb significantly more moisture than whey isolate. If your dough feels too dry or chalky after mixing, simply add additional oat milk one teaspoon at a time until it reaches a soft, pliable consistency.
Softening the Chocolate Shell
Adding a small measure of coconut oil to your chocolate chips is crucial for easy slicing. Pure melted chocolate hardens into a brittle shell in the fridge, which can crack messily when you press a knife through it. Coconut oil softens the top layer just enough to allow clean, professional cuts without fracturing the top glaze.
Choosing the Right Nut Butter
Select a creamy nut butter that has a smooth, pourable consistency at room temperature. Extremely dry or stiff nut butter from the bottom of an old jar will make your dough overly dense and difficult to bind properly without adding excess liquid.
Delicious Recipe Variations: No-Bake Protein Cookie Dough Bars
This versatile base acts as a blank canvas for endless flavor customizations. Try these creative twists to keep your snack prep exciting week after week.
Dark Chocolate Sea Salt Almond Bars
Substitute the creamy peanut butter with smooth almond butter and swap the vanilla protein powder for an unflavored or dark chocolate variety. Top the finished chocolate glaze with a generous sprinkle of flaky Maldon sea salt right before chilling in the refrigerator.
Peanut Butter Jelly Crunch Bars
Layer two tablespoons of low-sugar strawberry or raspberry preserves directly over the pressed dough before adding your melted chocolate glaze. Mix a quarter cup of chopped roasted peanuts into the dough base to add a delightful crunch that contrasts with the sweet fruit layer.
Double Chocolate Brownie Bars
Replace one quarter cup of the oat flour with unsweetened Dutch-process cocoa powder and use chocolate protein powder in place of vanilla. This rich adjustment turns the classic cookie dough profile into a deep, decadent chocolate brownie experience with high protein content.
Vegan and Lower Sugar Adjustments
Ensure your bars align with vegan standards by choosing pure maple syrup instead of honey and selecting plant-based protein powders. To lower the overall sugar content, substitute the maple syrup with a monk fruit liquid sweetener and opt for sugar-free stevia-sweetened chocolate chips.
Frequently Asked Questions: No-Bake Protein Cookie Dough Bars
How should I store leftover protein cookie dough bars?
Because these bars rely on natural nut butter and liquid sweeteners to hold their structure, they are best stored inside an airtight container in your refrigerator. They will remain fresh, soft, and delicious for up to one week chilled. If left at room temperature for extended periods on a hot day, the peanut butter base will soften significantly.
Can I freeze No-Bake Protein Cookie Dough Bars for long term meal prep?
Yes, these bars freeze exceptionally well. Wrap individual slices tightly in parchment paper and place them inside a sealable freezer bag. They can be stored in the freezer for up to three months. Simply transfer a frozen bar to your refrigerator or lunchbox thirty minutes before you plan to eat it.
Can I make my own oat flour from whole oats?
Making fresh oat flour at home is simple and economical. Place old-fashioned rolled oats or quick oats into a high-speed blender or food processor. Pulse on high speed for thirty to sixty seconds until the oats break down completely into a fine, powdery flour.
Why are my bars falling apart when I try to slice them?
If your finished bars crumble when cut, the dough was likely a bit too dry before pressing into the pan, or the tray was not compacted firmly enough. Next time, add an extra splash of oat milk to bind the dry powders, and use the flat bottom of a glass to pack the dough tightly into the corners of your pan before chilling.
Conclusion: No-Bake Protein Cookie Dough Bars
Preparing a fresh tray of No-Bake Protein Cookie Dough Bars is an effortless way to keep wholesome, satisfying snacks ready in your kitchen at all times. By combining simple pantry staples like creamy peanut butter, fine oat flour, vanilla protein, and dark chocolate, you create a delicious treat that supports your health goals while completely satisfying sweet cravings. The combination of a soft, chewy cookie dough interior with a snappy chocolate top shell ensures that every single bite tastes like an indulgent dessert. Skip the expensive commercial bars filled with artificial ingredients and enjoy crafting this easy, fuel-filled recipe for your family today.
Print
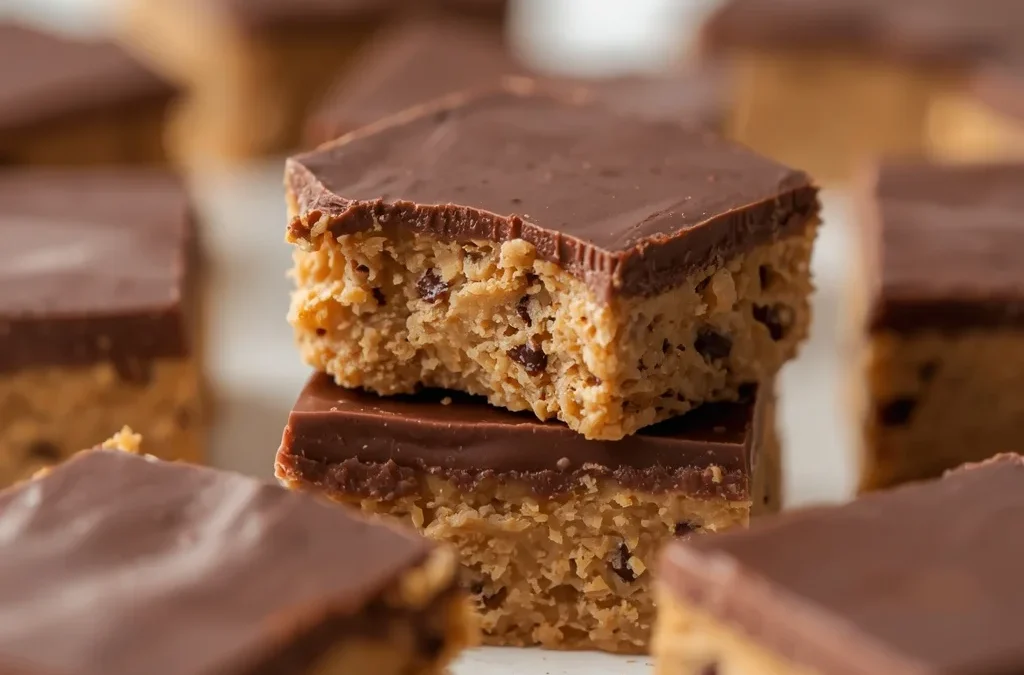
No-Bake Protein Cookie Dough Bars
- Total Time: 1 hour 15 minutes
- Yield: 12 bars 1x
- Diet: Vegetarian
Description
At its core, this recipe is a smart, health-conscious spin on classic raw chocolate chip cookie dough. Standard baking doughs rely heavily on raw eggs and untreated white flour, which require baking to be safe for consumption. This modern unbaked version completely eliminates those safety concerns by using finely ground oat flour and nut butter as its structural base.
Ingredients
Scale
For the Cookie Dough Bars
- 1 cup creamy peanut butter
- ⅓ cup honey or pure maple syrup
- 1 teaspoon vanilla extract
- 1½ cups oat flour
- ½ cup vanilla protein powder
- ¼ teaspoon salt
- ¼ cup oat milk, plus more if needed
- ⅓ cup mini chocolate chips
For the Chocolate Topping
- ½ cup semi-sweet chocolate chips
- 1 teaspoon coconut oil
Instructions
- Prepare the pan
Line an 8 × 8-inch (20 × 20 cm) square pan with parchment paper, leaving some overhang for easy removal. - Mix the wet ingredients
In a large bowl, stir together the peanut butter, honey or maple syrup, and vanilla extract until smooth. - Add the dry ingredients
Add the oat flour, protein powder, and salt. Stir until a thick dough forms. - Adjust the consistency
Gradually add the oat milk, 1 tablespoon at a time, until the mixture becomes soft and dough-like but not sticky. - Add chocolate chips
Fold in the mini chocolate chips. - Press into the pan
Transfer the dough to the prepared pan. Press it down firmly and evenly using a spatula or the bottom of a glass. - Make the chocolate topping
Melt the chocolate chips and coconut oil together in the microwave in 20-second intervals, stirring between each interval, until smooth. - Add the topping
Pour the melted chocolate over the cookie dough and spread into an even layer. - Chill
Refrigerate for 1–2 hours, or until firm. - Slice and serve
Lift the bars out using the parchment paper and cut into 12 bars. Store leftovers in an airtight container in the refrigerator for up to 1 week.
Notes
- Use heat-treated oat flour if you want a ready-to-eat cookie-dough texture with extra food-safety precautions.
- Different protein powders absorb different amounts of liquid, so adjust the oat milk as needed.
- For more protein, use a higher-protein peanut butter or add an extra tablespoon of protein powder.
- You can substitute almond butter or cashew butter for peanut butter.
- For a lower-sugar version, use a sugar-free syrup and sugar-free chocolate chips.
- Prep Time: 15 minutes
- Cook Time: 0 minutes
- Category: Snack
- Method: No-Bake
- Cuisine: American
Nutrition
- Serving Size: 1 bar
- Calories: 285 kcal
Keywords: unbaked protein cookie dough bars, homemade protein cookie dough squares, no-bake chocolate chip protein bars
